Lariat Heated Seats into XLT- Write Up
 12-03-2012, 06:31 PM
#1


I have been working on compiling write ups of the various stages of converting an XLT SC to a lariat interior with leather seats, heated/power seats, Memory presets and adjustable pedals, and last but not least EATC. I know not everyone is interested in doing a complete lariat swap but may be interested in certain aspects like the leather seat swap and getting power to both pass and driver seats and hooking up the heater pads in the seat.
This write up is on how to hook up the heated seat modules. The donor seats are from a 2004 lariat SC with loaded black leather seats and the receiver is an 06 XLT SC. The wiring should be the same for most 2004-2008 applications. If you are interested or need info on how to get the power functions to work check out this link:
https://www.f150forum.com/f4/leather...ite-up-183448/
Now for the heated seat modules.
Note: I am laughably and hopelessly colorblind so I do not bother with trying to source appropriately colored wire in places where I had to add wiring. I only used BK. DG, RD, and BL wires so don't be confused if pics keep showing the same 4 wires over and over.
Driver's Side:
This is the more complicated of the two. The connector for this seat has 17 wires in it. If you were lucky enough to get both sides of the connector you can snip out the unnecessary wires and cleanly solder the pigtails where they need to go. I was not lucky so I used some fleabay 4 prong weather proof connectors and made my own connectors.
Driver's Seat:
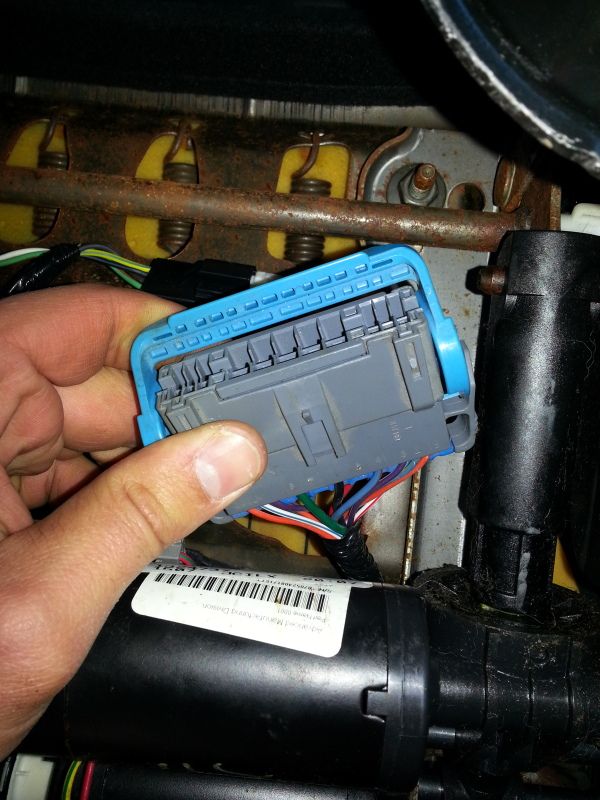
This is the pinout of the connector (C3135)
A1 WH/RD, A2 BK/LB, A3 PK/WH, A5 RD/BK, A7 LB/BK, A9 LB/RD, A10 OG/RD, A11 PK/BK, B1 OG/LG, B2 LB/GR, B3 VT/WT, B4 LB/RD, B6 BK, B8 DG, B9 VT, B10 WT/BL, B11 OG/WH
For the heater controls you will need 6 of these wires, B10, A5, B3, A3, A1, and B6. Since you have to complete the wiring for the power seat adjustments to mount these seats, B6 should already be grounded to chasis and you shouldnt have to worry about it at this time.
A5, the RD/Bk wire , is the all time 30A hot required to run the heater. For this I splice the wire to the DG wire that was already in the floor harness and is the all time hot 30A supply that was originally used for the driver's seat in the XLT.
Note:In my project I ran both power adj seats and seat heater all time 30A hot off of DG on the drivers. In the lariat config the Driver, pass, and heaters all have their own dedicated 30A circuit in the fuse panel. It is my opinion from my experience that in order to bust this fuse I would have to be running both heaters on high and adjusting both seats simultaneously to come in danger of drawing 30A through the circuit. Others may disagree with this. If you are unconfortable with this you can either try to hook these circuits up in the fuse panel or run the 2 extra power sources directly from the battery with an inline 30A fuse.
Next is B10, WH/LB, this is the acc hot circuit activated when the truck is in the keyed on position. In the lariat this runs off the fuse panel from a 10A fuse. You can run this off any known acc on wire( I.E. the radio, or climate control, etc) because this circuit does not draw any real amperage load. My suggestion is that you run this to the acc hot in the cilimate control unit on the dash. In my application I ran this to the EATC that I am converting to if you are not converting to EATC your stock manual air control. The wire you are looking for in both EATC or EMTC is WH/VT and can be found on the smaller black connector to the far right of the unit if you are facing the unit from the seat. Splice a wire to the WH/VT wire on the climate control unit and run it all the way to the underside of the seat to the WH/LB wire in pin B10
The Last 3 wires all relate to the activator button and light indicators on the dash unit. In my application I am using an EATC unit that has the heated seat buttons built into it. Unfortunately i cannot offer much help if you plan on retrofitting in some different buttons for the application. All the Wires are located in the small white pigtail next to the black connector mentioned earlier in the EATC.
A1 WH/RD is the activator wire that tells the heater module that heat is requested. This wire is the the same color at the EATC and at the connector on the seat so all you need to do is run a wire from the EATC to the seat connector and solder them together.
A3, PK/WH, and B3 VT/WH are both for the led indicator on the button. If you are not Using an EATC I cannot tell you if you do not need these or not. On the schematic there is a resister in the EATC connected to these wires, I am not sure if this just indicates the light or if there has to be resistance on this wire in order for the module to fire up the heat. Again both of these wires are the same color at the EATC and at the connector on the seat so just run a wire between then and solder them to the corresponding colored wire.
Another Shot of the connector C3135
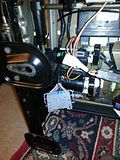
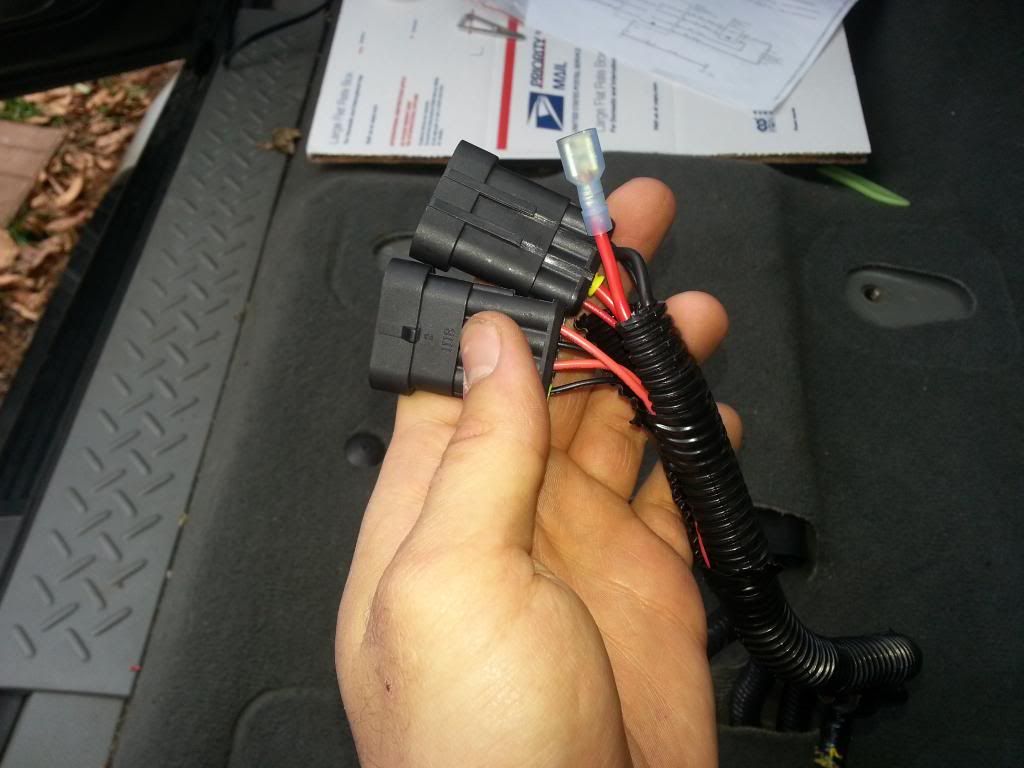
Wires Cut from the Connector
New Connector
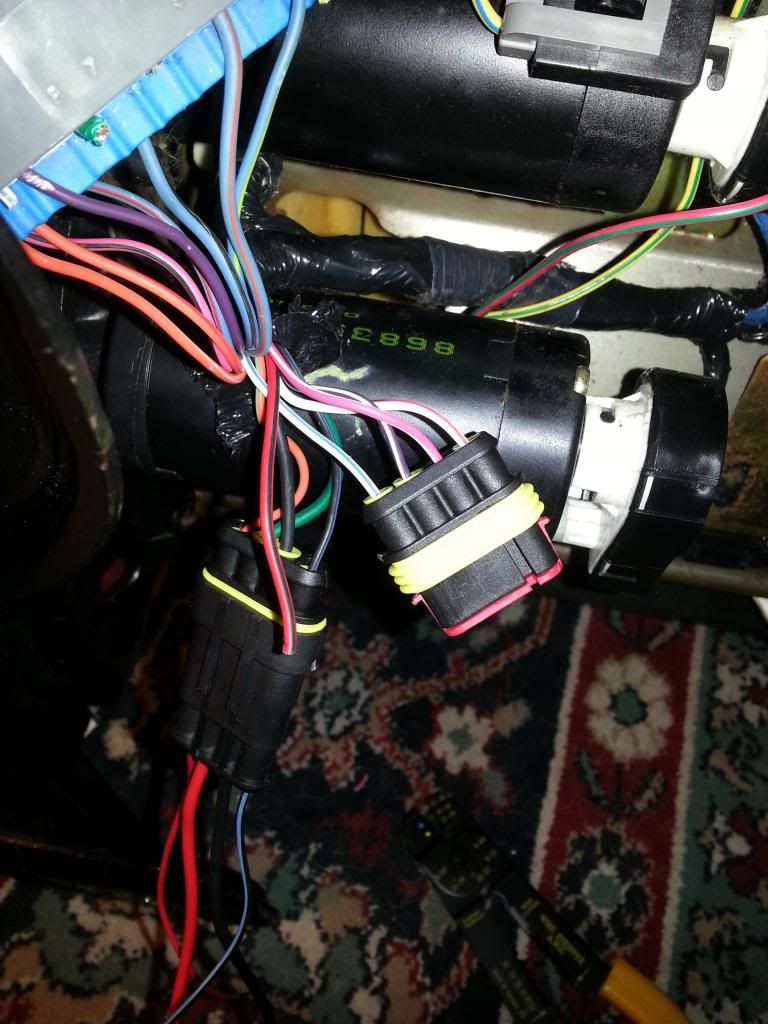
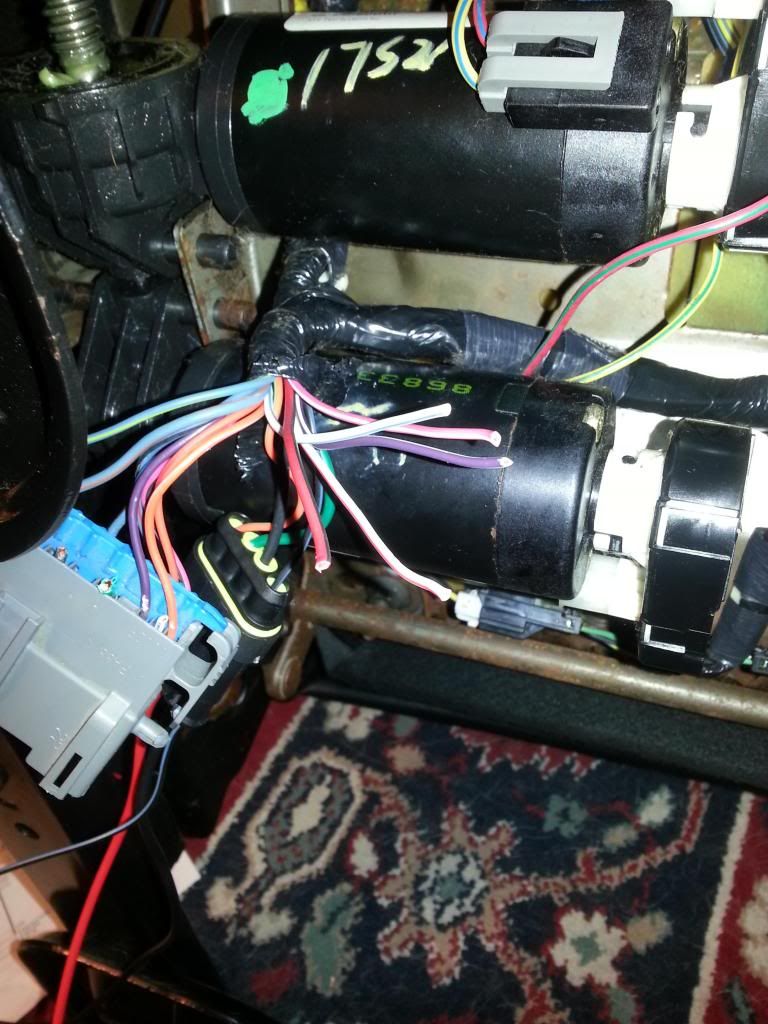
Pic of RD/BK spliced to the seat Power
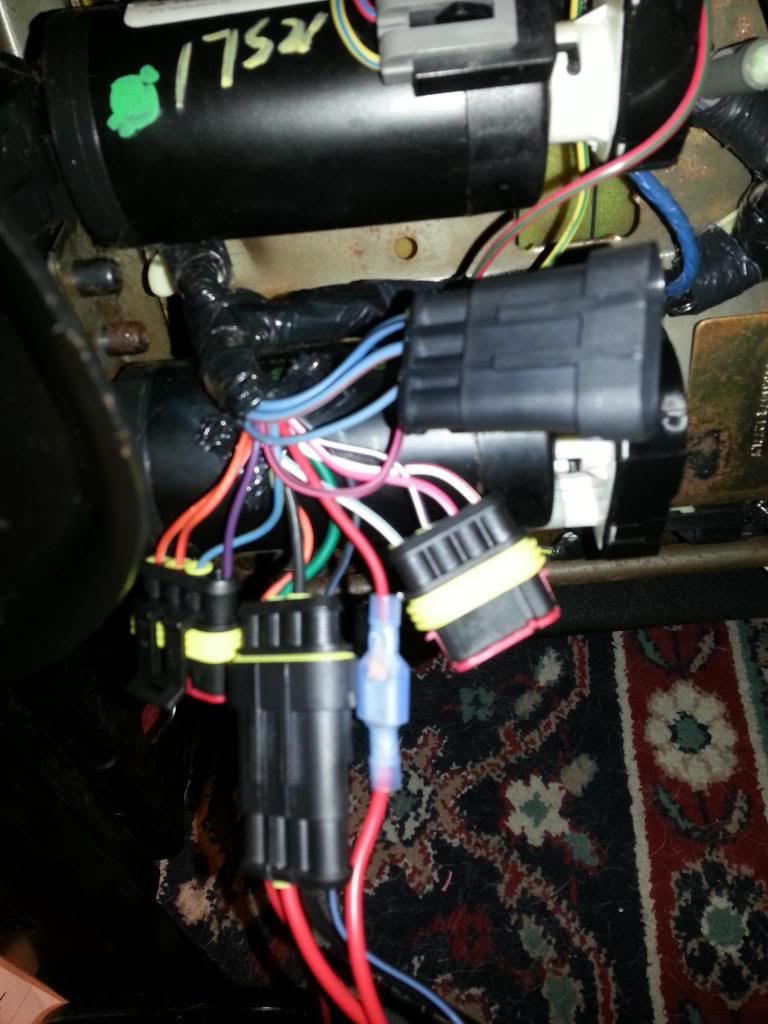
This is a pic of the DG and BK wires that I am using as my power source for both seats, you can see the connector I cut off in the back ground

Passenger Seat:
Again on the Pass seat there are 6 wires associated with the heated seats. THese should be easier to find because they should be the only ones left in the connector after you wire in power to the seat. These wires are: RD/BK, WH/LB, BK, BK, RD, WH/YE. You will notice that black is indicated twice, these two wires can be distinguished by their size. One is the main ground for the seat and is a much heavier gauge while the other is a lighter gauge wire. The heavier BK wire should already be grounded if you have already hooked up the power adjust circuit, if not just run this to chassis ground where ever is convenient for you. Since I am already running alot of wires under the carpet I ran this BK wire across to the original ground under the drivers seat (which is also BK)
RD/BK is the all time 30A hot. I ran this to the 30A hot under the drivers seat (see note in previous section).
WH/LB is the keyed acc on. again see above section for suggestions of where to tap into the acc on. Since I already ran a wire from the EATC to the Drivers seat for this purpose I soldered and shrink wrapped a T in the newly created wiring harness underneath the center console.
This write up is on how to hook up the heated seat modules. The donor seats are from a 2004 lariat SC with loaded black leather seats and the receiver is an 06 XLT SC. The wiring should be the same for most 2004-2008 applications. If you are interested or need info on how to get the power functions to work check out this link:
https://www.f150forum.com/f4/leather...ite-up-183448/
Now for the heated seat modules.
Note: I am laughably and hopelessly colorblind so I do not bother with trying to source appropriately colored wire in places where I had to add wiring. I only used BK. DG, RD, and BL wires so don't be confused if pics keep showing the same 4 wires over and over.
Driver's Side:
This is the more complicated of the two. The connector for this seat has 17 wires in it. If you were lucky enough to get both sides of the connector you can snip out the unnecessary wires and cleanly solder the pigtails where they need to go. I was not lucky so I used some fleabay 4 prong weather proof connectors and made my own connectors.
Driver's Seat:
This is the pinout of the connector (C3135)
A1 WH/RD, A2 BK/LB, A3 PK/WH, A5 RD/BK, A7 LB/BK, A9 LB/RD, A10 OG/RD, A11 PK/BK, B1 OG/LG, B2 LB/GR, B3 VT/WT, B4 LB/RD, B6 BK, B8 DG, B9 VT, B10 WT/BL, B11 OG/WH
For the heater controls you will need 6 of these wires, B10, A5, B3, A3, A1, and B6. Since you have to complete the wiring for the power seat adjustments to mount these seats, B6 should already be grounded to chasis and you shouldnt have to worry about it at this time.
A5, the RD/Bk wire , is the all time 30A hot required to run the heater. For this I splice the wire to the DG wire that was already in the floor harness and is the all time hot 30A supply that was originally used for the driver's seat in the XLT.
Note:In my project I ran both power adj seats and seat heater all time 30A hot off of DG on the drivers. In the lariat config the Driver, pass, and heaters all have their own dedicated 30A circuit in the fuse panel. It is my opinion from my experience that in order to bust this fuse I would have to be running both heaters on high and adjusting both seats simultaneously to come in danger of drawing 30A through the circuit. Others may disagree with this. If you are unconfortable with this you can either try to hook these circuits up in the fuse panel or run the 2 extra power sources directly from the battery with an inline 30A fuse.
Next is B10, WH/LB, this is the acc hot circuit activated when the truck is in the keyed on position. In the lariat this runs off the fuse panel from a 10A fuse. You can run this off any known acc on wire( I.E. the radio, or climate control, etc) because this circuit does not draw any real amperage load. My suggestion is that you run this to the acc hot in the cilimate control unit on the dash. In my application I ran this to the EATC that I am converting to if you are not converting to EATC your stock manual air control. The wire you are looking for in both EATC or EMTC is WH/VT and can be found on the smaller black connector to the far right of the unit if you are facing the unit from the seat. Splice a wire to the WH/VT wire on the climate control unit and run it all the way to the underside of the seat to the WH/LB wire in pin B10
The Last 3 wires all relate to the activator button and light indicators on the dash unit. In my application I am using an EATC unit that has the heated seat buttons built into it. Unfortunately i cannot offer much help if you plan on retrofitting in some different buttons for the application. All the Wires are located in the small white pigtail next to the black connector mentioned earlier in the EATC.
A1 WH/RD is the activator wire that tells the heater module that heat is requested. This wire is the the same color at the EATC and at the connector on the seat so all you need to do is run a wire from the EATC to the seat connector and solder them together.
A3, PK/WH, and B3 VT/WH are both for the led indicator on the button. If you are not Using an EATC I cannot tell you if you do not need these or not. On the schematic there is a resister in the EATC connected to these wires, I am not sure if this just indicates the light or if there has to be resistance on this wire in order for the module to fire up the heat. Again both of these wires are the same color at the EATC and at the connector on the seat so just run a wire between then and solder them to the corresponding colored wire.
Another Shot of the connector C3135
Wires Cut from the Connector
New Connector
Pic of RD/BK spliced to the seat Power
This is a pic of the DG and BK wires that I am using as my power source for both seats, you can see the connector I cut off in the back ground
Passenger Seat:
Again on the Pass seat there are 6 wires associated with the heated seats. THese should be easier to find because they should be the only ones left in the connector after you wire in power to the seat. These wires are: RD/BK, WH/LB, BK, BK, RD, WH/YE. You will notice that black is indicated twice, these two wires can be distinguished by their size. One is the main ground for the seat and is a much heavier gauge while the other is a lighter gauge wire. The heavier BK wire should already be grounded if you have already hooked up the power adjust circuit, if not just run this to chassis ground where ever is convenient for you. Since I am already running alot of wires under the carpet I ran this BK wire across to the original ground under the drivers seat (which is also BK)
RD/BK is the all time 30A hot. I ran this to the 30A hot under the drivers seat (see note in previous section).
WH/LB is the keyed acc on. again see above section for suggestions of where to tap into the acc on. Since I already ran a wire from the EATC to the Drivers seat for this purpose I soldered and shrink wrapped a T in the newly created wiring harness underneath the center console.

The following users liked this post:
toddman1973 (02-27-2024)
12-03-2012, 06:32 PM
#2
WH/YE, RD, BK(The lighter Gauge) all are the same color at the seat and the EATC so just run and solder a wire from the dash to the seat to hook them together... The WH/YE wire is the Heat request wire that activates the module. Again I am uncertain if the system will work without the other two wires attached to anything.. If you are using a different activator button you will need one that grounds the WH/YE wire when you push it (grnd once Hi heat, twice low heat, thrice off)
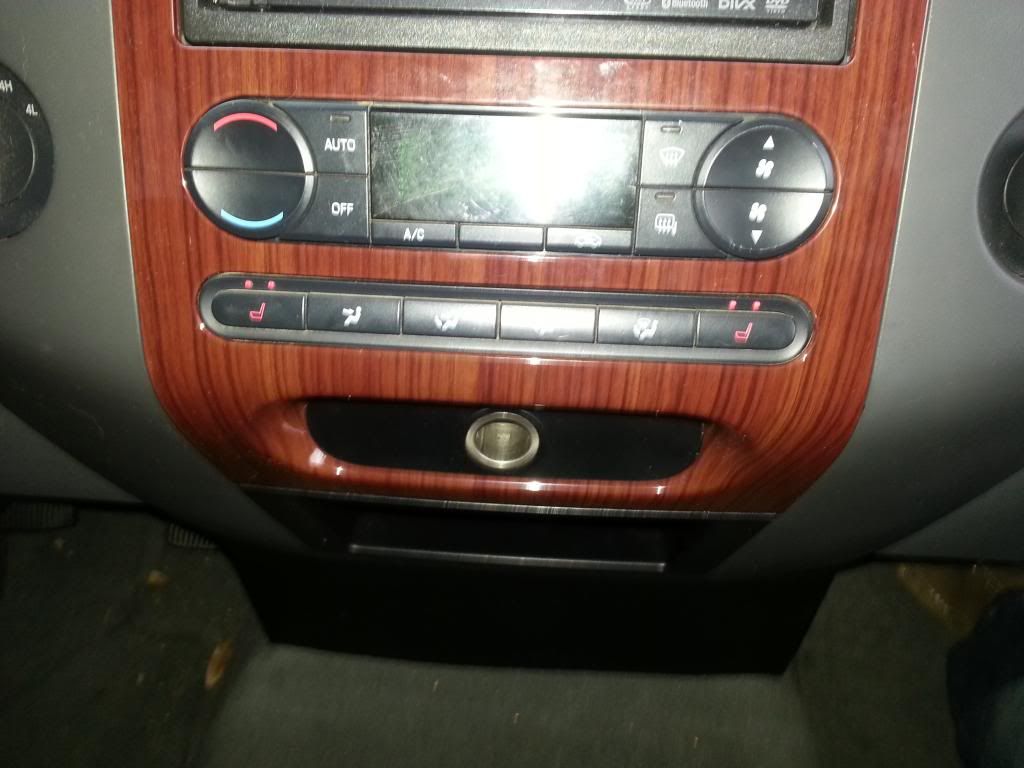
This pic shows the white connector on the back of the EATC. I tried to spread it out as best as I could:
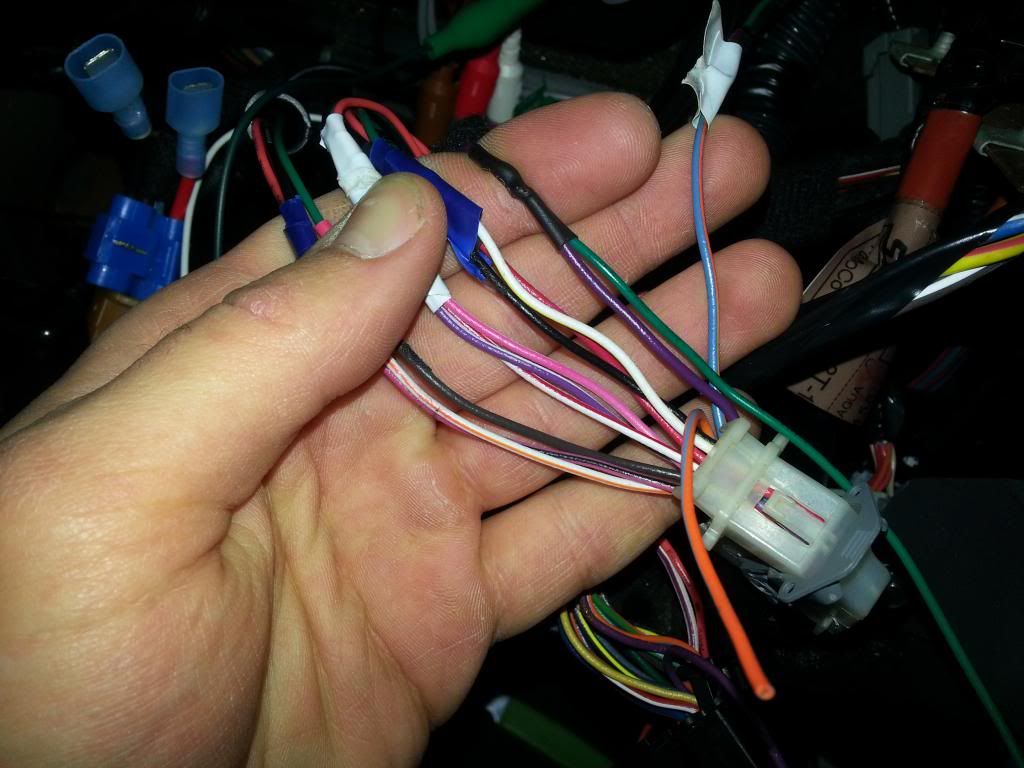
Note: In the above picture you see a VT wire that i have soldered and shrink wrapped and extra wire to. This VT wire is connected to the truck UBP system if you intend on trying to eventually use the memory preset controls from the lariat seat you will need to access the UBP system. So if you plan on doing this project in the future it may behoove you to go ahead and splice to this VT wire and run the wire to the underside of the driver's seat and tape it up for future use.
This pic shows the black connector on the back of the EATC where I spliced into ACC on hot for the heater modules:

Note: If you are planning to do the EATC swap this plug is already in your manual air setup and will be retained. Regardless of whether you plan to go EATC or have EMTC systems the wire that provides acc on for the system is WH/VT
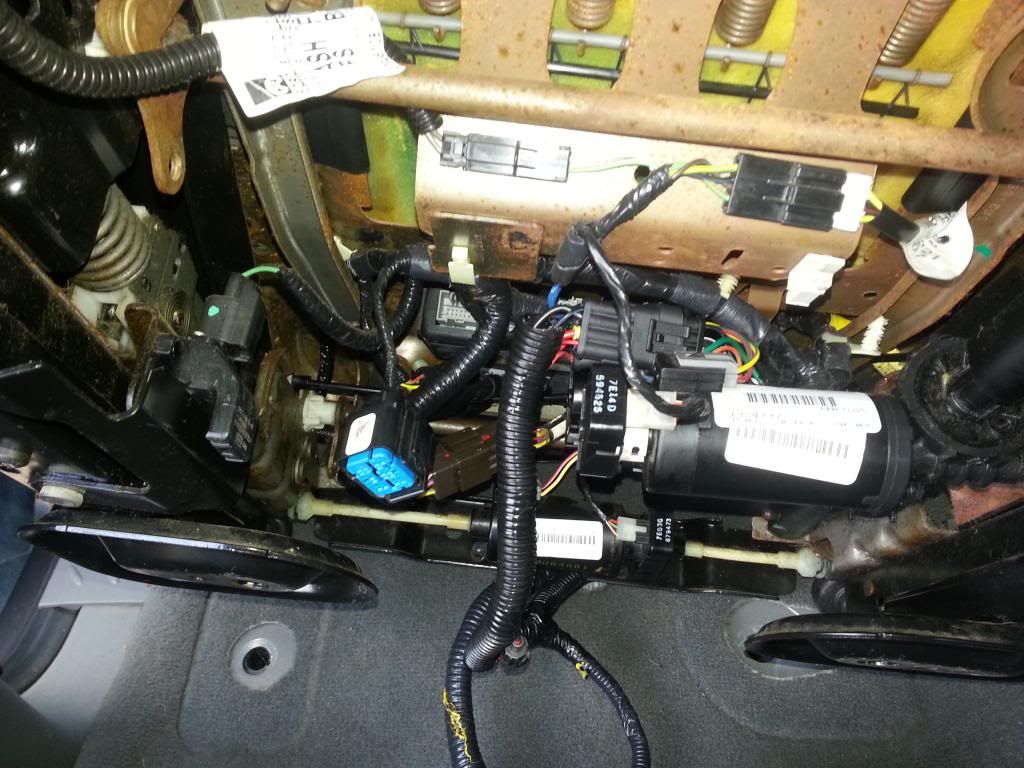
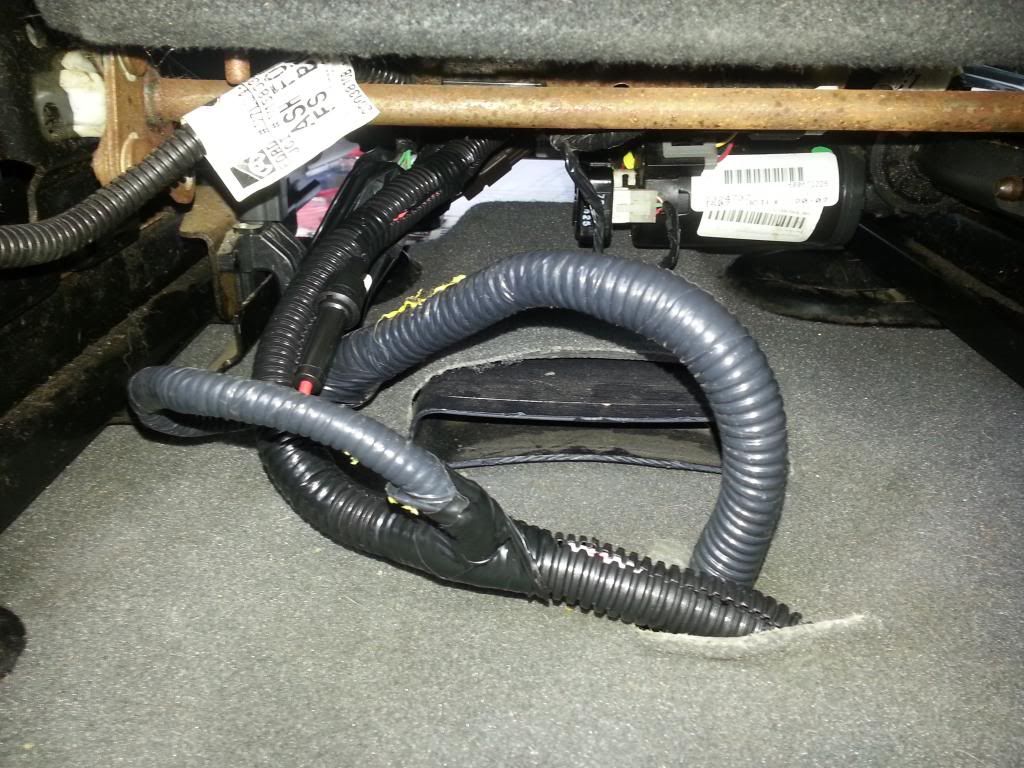
Here is a pic of newly constructed floor harness where it T's off at the center console (here you can really tell how I applied little rhyme or reason to the color coding):
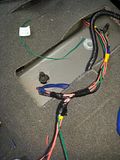
Wires running from dash into the carpet:

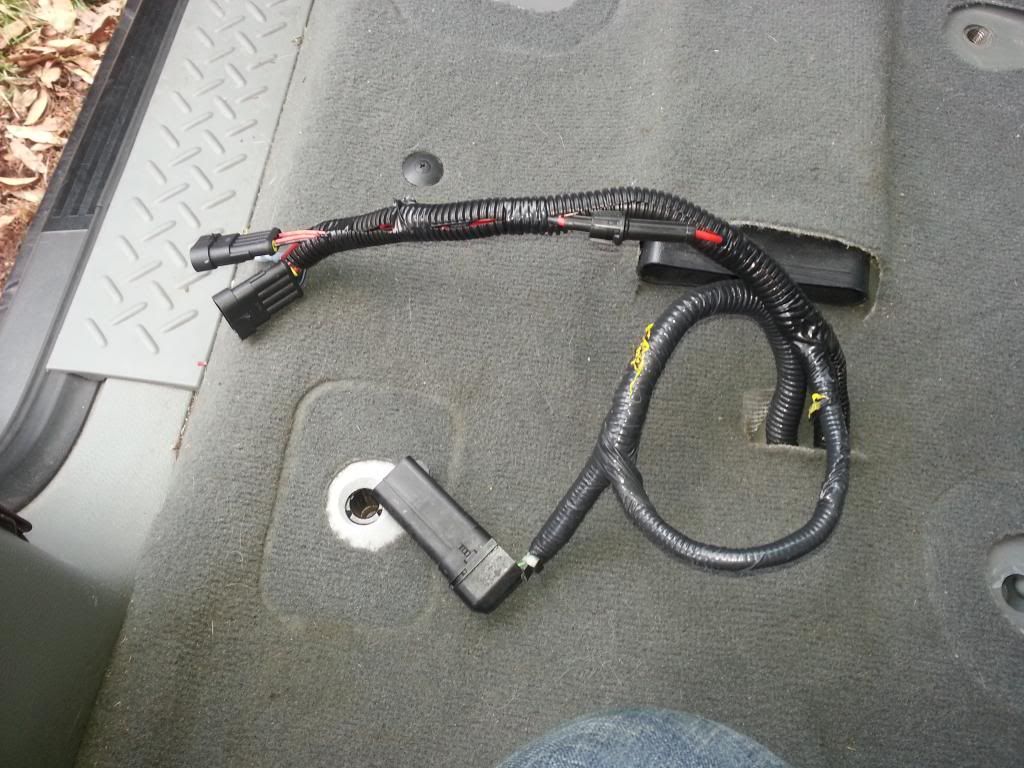
Here are some pics of the wires all dressed with conduit under the driver's seat:
The Activator buttons:
Hi:
Low:

Well that is all for the Heated seat Circuits guys. This is an ongoing project so if you are interested in other aspects of the lariat swap check out the links below:
Heated Seat Swap Write up:
https://www.f150forum.com/f4/leather...ite-up-183448/
Memory Seat Swap:
(Coming Soon)
Adjustable Pedal in XLT Swap:
(Coming Soon)
EMTC to EATC Swap:
(Coming Soon)
This pic shows the white connector on the back of the EATC. I tried to spread it out as best as I could:
Note: In the above picture you see a VT wire that i have soldered and shrink wrapped and extra wire to. This VT wire is connected to the truck UBP system if you intend on trying to eventually use the memory preset controls from the lariat seat you will need to access the UBP system. So if you plan on doing this project in the future it may behoove you to go ahead and splice to this VT wire and run the wire to the underside of the driver's seat and tape it up for future use.
This pic shows the black connector on the back of the EATC where I spliced into ACC on hot for the heater modules:
Note: If you are planning to do the EATC swap this plug is already in your manual air setup and will be retained. Regardless of whether you plan to go EATC or have EMTC systems the wire that provides acc on for the system is WH/VT
Here is a pic of newly constructed floor harness where it T's off at the center console (here you can really tell how I applied little rhyme or reason to the color coding):
Wires running from dash into the carpet:
Here are some pics of the wires all dressed with conduit under the driver's seat:
The Activator buttons:
Hi:
Low:
Well that is all for the Heated seat Circuits guys. This is an ongoing project so if you are interested in other aspects of the lariat swap check out the links below:
Heated Seat Swap Write up:
https://www.f150forum.com/f4/leather...ite-up-183448/
Memory Seat Swap:
(Coming Soon)
Adjustable Pedal in XLT Swap:
(Coming Soon)
EMTC to EATC Swap:
(Coming Soon)
The following users liked this post:
toddman1973 (02-27-2024)
12-30-2016, 01:38 PM
#3
BAMF Club
Nice writeup. Do you have the links for the other steps in your conversion?

