Install homelink into your visor
 09-02-2011, 01:55 PM
#1
Moderator (Ret.)
Thread Starter

I came across this post in another forum (FTE) from member "05LariatPSD". He did a great write up, and rather than post links to other forums (not really appretiated... ), I figured I'd give the poster his credit due, and just copy his proceedure here with his pictures. I did it to my 05 STX. All you have to do is buy a "donor" visor with the HomeLink. Any model can be used: I bought a visor from an '06 Caddy for $30.00, removed the Homelink and tossed the visor when done. The Homelink module is the same for Dodge, GM, and Ford, so just search Ebay for one cheap. Doesn't have to be from a Ford.
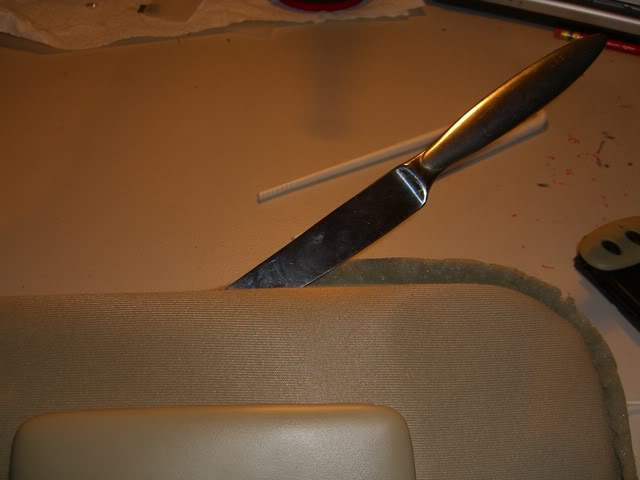
This picture shows how to use a simple butter knife to carefully seperate and remove the cloth cover. You don't have to remove all the cloth; just about half of the upper corner to gain access to the part in the hard plastic that will be removed to snap the Homelink module into.
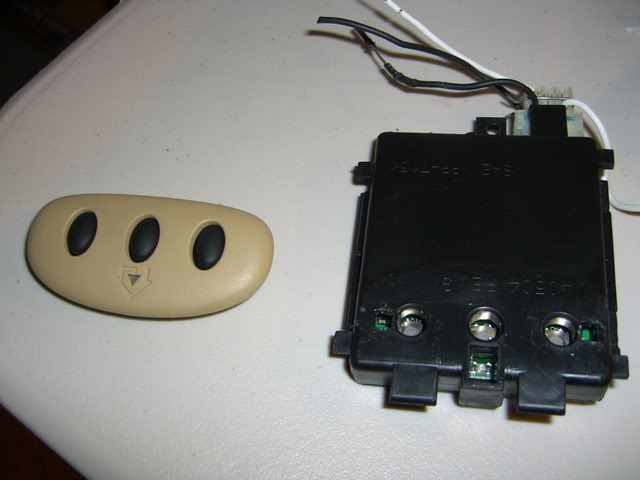
This picture shows the Homelink module from the "donor" visor.
Use a sharp knife or exacto blade to remove the plastic "square" the Homelite module snaps into. This picture shows the Homelink module installed in plastic. If your existing visor had a power mirror, then you can wire the "+" and "-" to it's terminals. If not, then add lengths of wire to feed out of the wire so you can run the wiring through the headliner (I drilled a small hole to run the wiring through the plastic part of the visor that attaches it to the headliner), then down the left plastic trim piece (along windshield), then to a constant power source, such as the cigarette lighter.

Use an old credit card (as to not ruin it's code on the strip!) or simular, and push the cloth back into the seam.
Done!
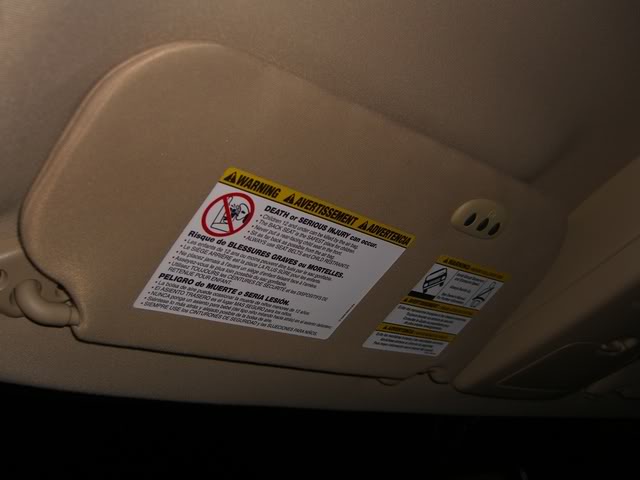
Last picture shows a slit that's cut into the cloth visor to snap the button/outside cover. Use your fingers to "feel" the location of the module to make the slit.
Now go to HOMELINK's web site to download free instructions on how to program it to your garage door opener.
), I figured I'd give the poster his credit due, and just copy his proceedure here with his pictures. I did it to my 05 STX. All you have to do is buy a "donor" visor with the HomeLink. Any model can be used: I bought a visor from an '06 Caddy for $30.00, removed the Homelink and tossed the visor when done. The Homelink module is the same for Dodge, GM, and Ford, so just search Ebay for one cheap. Doesn't have to be from a Ford.This picture shows how to use a simple butter knife to carefully seperate and remove the cloth cover. You don't have to remove all the cloth; just about half of the upper corner to gain access to the part in the hard plastic that will be removed to snap the Homelink module into.
This picture shows the Homelink module from the "donor" visor.
Use a sharp knife or exacto blade to remove the plastic "square" the Homelite module snaps into. This picture shows the Homelink module installed in plastic. If your existing visor had a power mirror, then you can wire the "+" and "-" to it's terminals. If not, then add lengths of wire to feed out of the wire so you can run the wiring through the headliner (I drilled a small hole to run the wiring through the plastic part of the visor that attaches it to the headliner), then down the left plastic trim piece (along windshield), then to a constant power source, such as the cigarette lighter.
Use an old credit card (as to not ruin it's code on the strip!) or simular, and push the cloth back into the seam.
Done!
Last picture shows a slit that's cut into the cloth visor to snap the button/outside cover. Use your fingers to "feel" the location of the module to make the slit.
Now go to HOMELINK's web site to download free instructions on how to program it to your garage door opener.
Last edited by Mod (Ret.); 09-02-2011 at 02:27 PM.

The following users liked this post:
Ricktwuhk (08-25-2014)
09-02-2011, 02:36 PM
#2
Senior Member


i like it!! question tho..... is there a lump where the black box sits? or do you open up your visor and carve out a place for it? in theory you could do this to any vehicle right, not just our f150s?
09-02-2011, 02:43 PM
#3
Moderator (Ret.)
Thread Starter
There will be no bump, as the cloth is padded, and when you remove the "plug" from the plastic within the visor, the module snaps in.
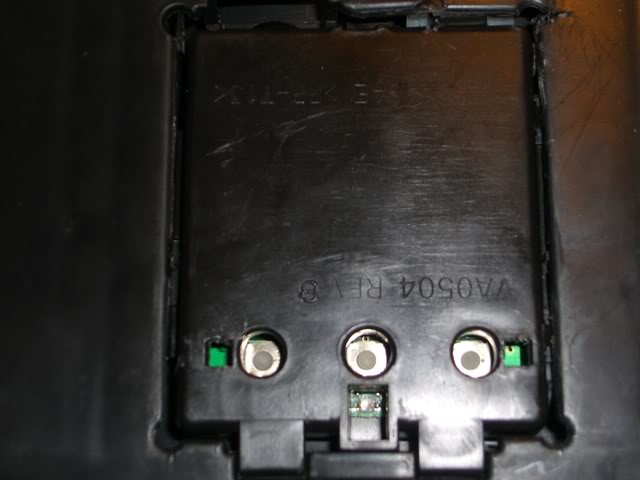
Here's another picture of this "plug" that you'll need to remove once the cloth is pulled back.
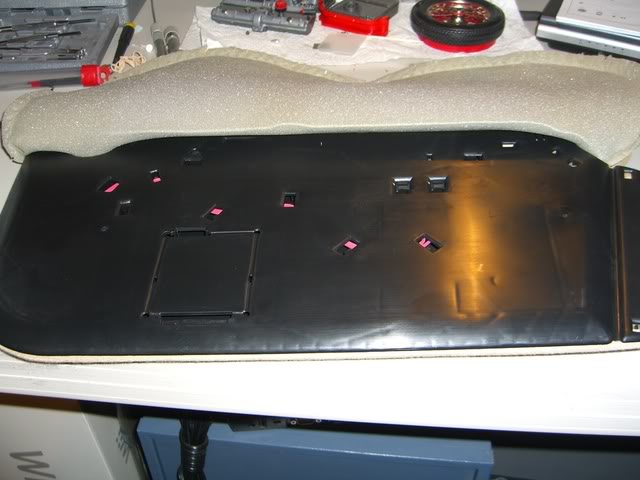
In this picture, the entire cloth was removed, but it's not nessesary. Just pull back enough to cut out the plug and do the wiring (either to a lighted mirror (if equipped), or extend the wiring out of the visor.
Last edited by Mod (Ret.); 09-02-2011 at 03:55 PM.
Trending Topics
10-08-2011, 03:46 PM
#8
Senior Member

I followed this guys write up. It is easy to just solder the power and ground wires to the open traces by the light assembly:
http://www.f150online.com/forums/art...e-up-pics.html
http://www.f150online.com/forums/art...e-up-pics.html
10-08-2011, 05:14 PM
#9
Moderator (Ret.)
Thread Starter
No, when you push the cloth back into the visor, you'll notice the teeth that grab and hold the cloth. In my original post, I mentioned using an old credit card or plastic type applicator to push the cloth back into place.
The following users liked this post:
Mrocha85 (09-01-2012)
