Checking My List
 04-21-2014, 02:51 PM
#21
Member
Thread Starter
Your tail lights look great. Looks like that will be on the list for this weekend. LOL
I will also have my son look on CARID for headlights. I appreciate the input.
I will also have my son look on CARID for headlights. I appreciate the input.
 04-21-2014, 03:02 PM
#22
No problem. You're truck looking really good! Thanks for starting the thread it gave me some ideas for my own haha
04-29-2014, 12:02 PM
#23
Captain Stringer

Here is my thread: https://www.f150forum.com/f4/chrome-...e-blue-257261/
 05-02-2014, 05:06 PM
#24
Member
Thread Starter
Well now that the kid has found out his old man can paint…….He had me PTM his Grill along with the lower accent Grill. Sanding all the angles of the Grill was a real PITA.
The Front Bumper had numerous paint chips that now had surface rust in them. So I removed the bumper, sanded it down, putty glazed the whole bumper to fill in all the little pits, sanded for hours, primed and then painted back to original Dark Charcoal Gray with several coats of clear.
Now getting the Front Bumper Assembly back on and “gapped” properly……..#$%*&^#
I guess it was worth it. The kid loved it!
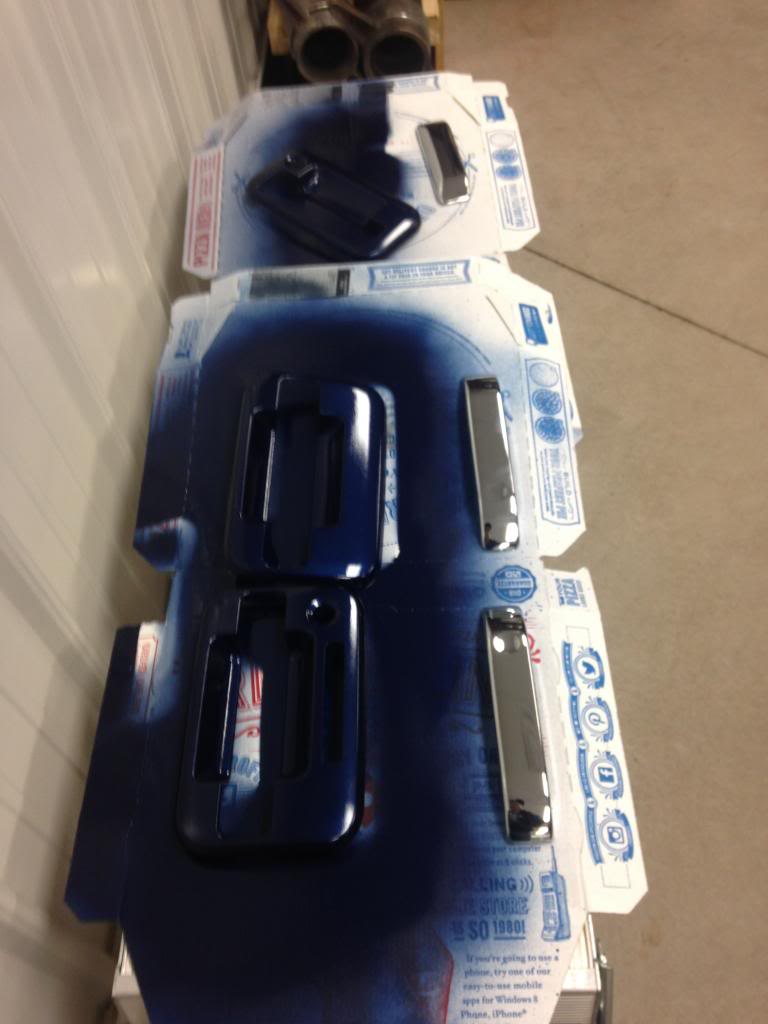
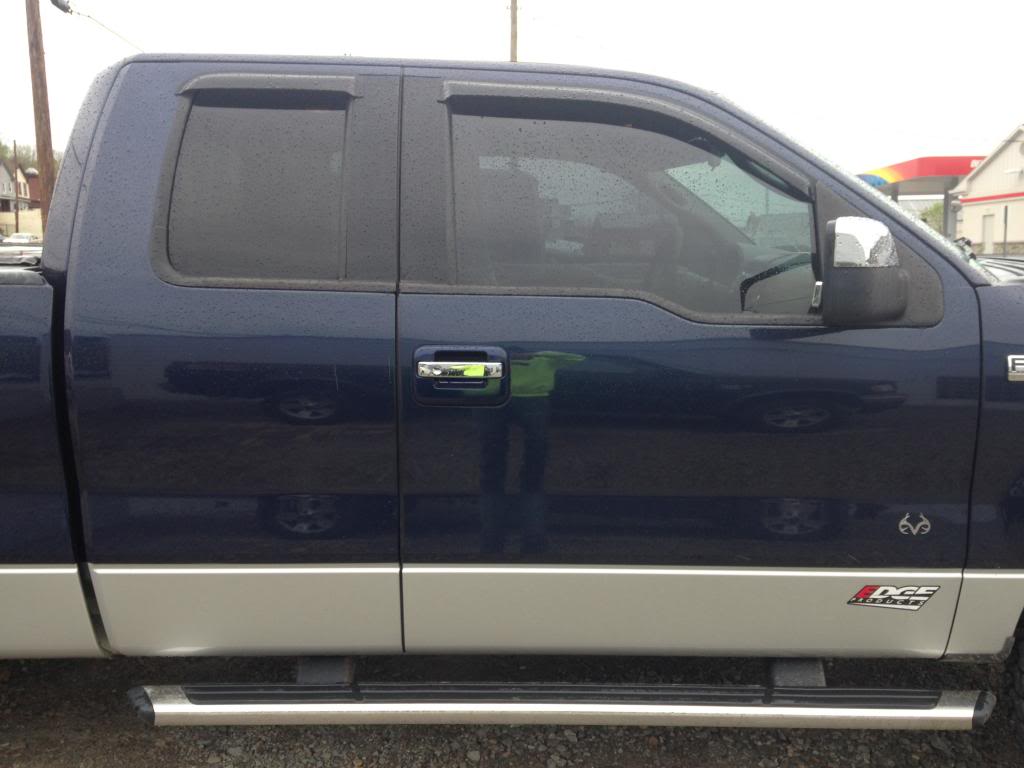
Still haven’t PTM the Door Handles yet. I am going at the speed of my son’s budget. He is having the crappy window tint that was on it removed and having it redone by IDS Window Tint in Littleton today. I will probably finish detailing the Front Fender Wells and Front Suspension this weekend. That is if I don’t go home tonight and he has found something else for me to do………..
Vinman FX4
Weekend Project Master
The Front Bumper had numerous paint chips that now had surface rust in them. So I removed the bumper, sanded it down, putty glazed the whole bumper to fill in all the little pits, sanded for hours, primed and then painted back to original Dark Charcoal Gray with several coats of clear.
Now getting the Front Bumper Assembly back on and “gapped” properly……..#$%*&^#
I guess it was worth it. The kid loved it!
Still haven’t PTM the Door Handles yet. I am going at the speed of my son’s budget. He is having the crappy window tint that was on it removed and having it redone by IDS Window Tint in Littleton today. I will probably finish detailing the Front Fender Wells and Front Suspension this weekend. That is if I don’t go home tonight and he has found something else for me to do………..
Vinman FX4
Weekend Project Master
Last edited by VinmanFX4; 05-04-2014 at 10:25 PM.
05-04-2014, 10:19 PM
#30
Member
Thread Starter
Well I still have to PTM the Door Handles and Tail Gate Handle. Probably going to take a break next weekend. The wifey said if I spent all of Mothers Day weekend in the garage I would be sleeping in the garage......
Still waiting on the Overlays for the Front and Rear Ovals. The kid ordered White Background with Grey Ford and Ring. Also waiting on White Inlays for the Factory Side and Rear Emblems. If they show up I will sneak in the out in the Garage and take some pics.
VinmanFX4
Weekend Project Master
Still waiting on the Overlays for the Front and Rear Ovals. The kid ordered White Background with Grey Ford and Ring. Also waiting on White Inlays for the Factory Side and Rear Emblems. If they show up I will sneak in the out in the Garage and take some pics.
VinmanFX4
Weekend Project Master