When you click on links to various merchants on this site and make a purchase, this can result in this site earning a commission. Affiliate programs and affiliations include, but are not limited to, the eBay Partner Network.
If you are considering adding an expensive backup camera and monitor to your truck, hope you find this helpful.
I used an Esky EC170-06 HD camera ($19.99 at Amazon) and a 5'' HD 800x480 TFT LCD Car Rear View Monitor ($25.99 at Amazon)
Very pleased with quality of picture
Monitor: Came with three banana plug leads and one power banana plug extension wire (red and black) Camera: Came with mounting hardware (detachable), two banana plug leads, yellow banana plug extension wire, power banana plug extension wire, and drill bit
Testing:
Mistake: Initially used AC adapter that output 12v DC. This just caused the monitor to flicker between white and black.
Then tested directly at car battery (photo shows method), which worked
Caution: Wrap the exposed wires prior to connecting at the battery. I didn’t and ruined one monitor.
Monitor picture during testing
INSTALLATION
Camera
Used long jumper wires to connect everything at rear of truck to determine best location to mount camera.
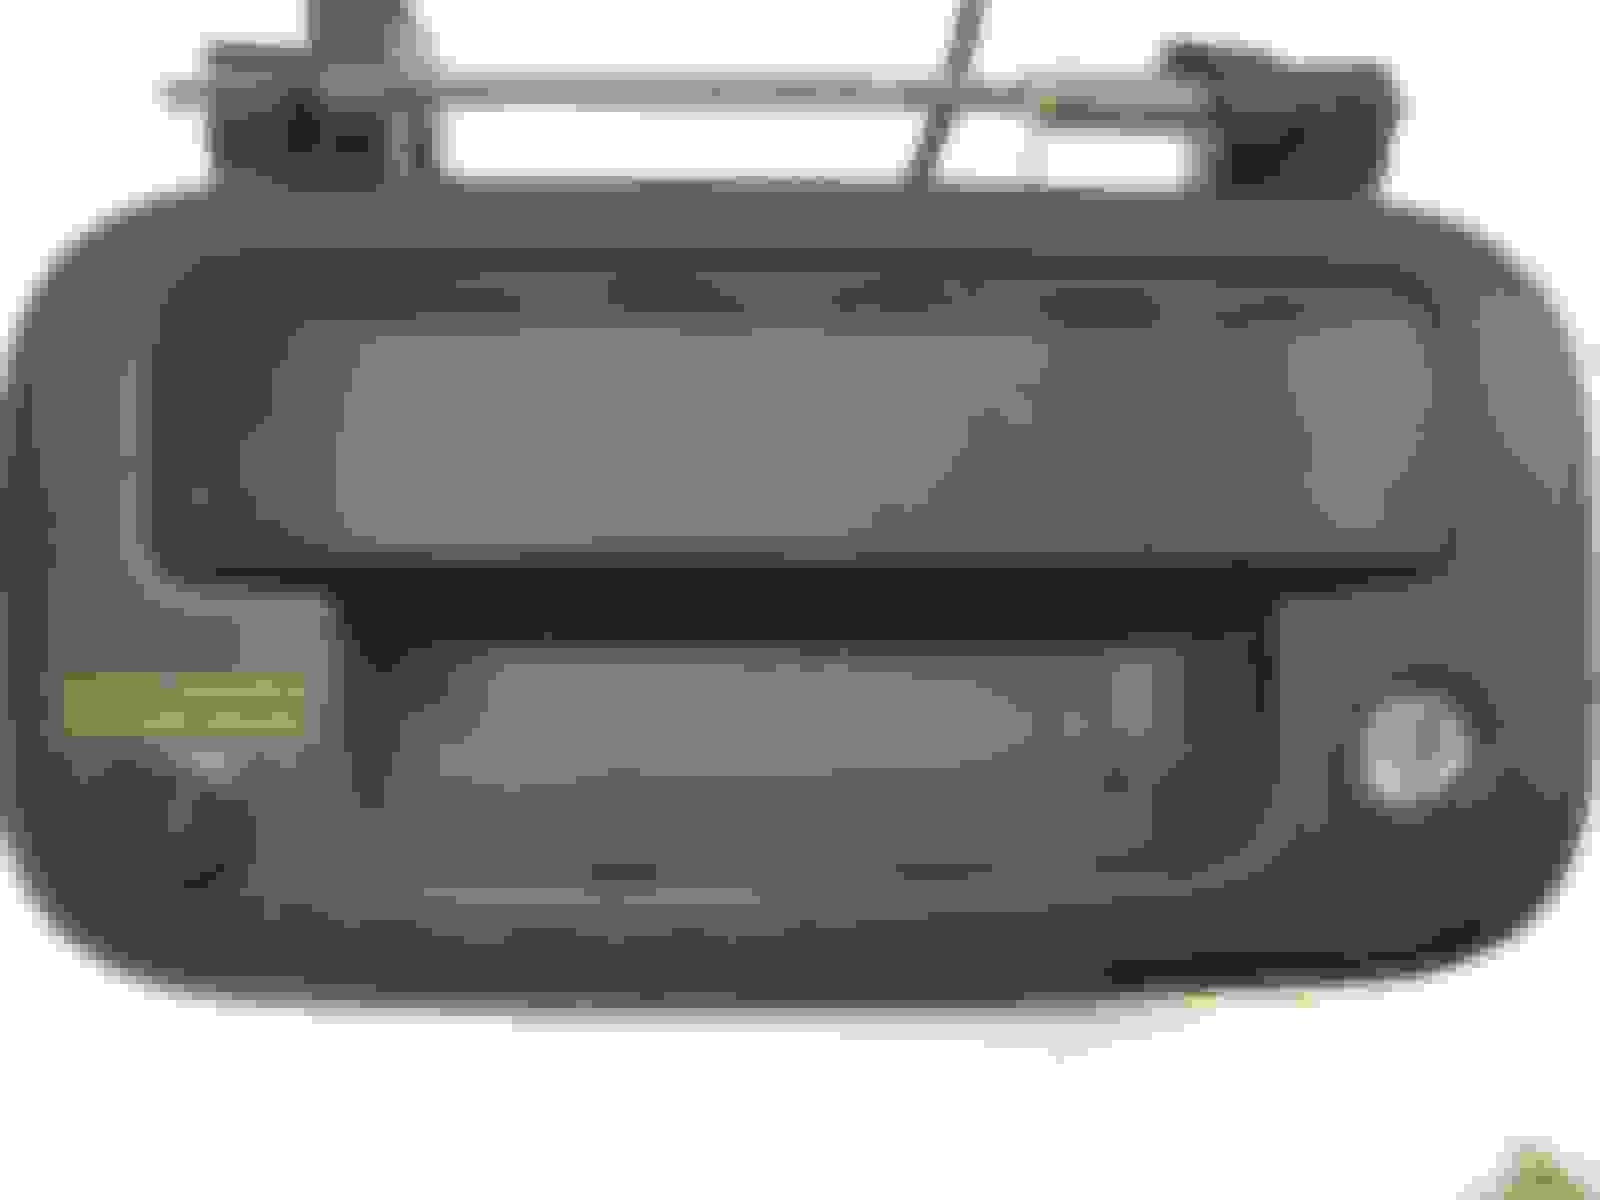
Decided on plastic tailgate handle, removed handle, drilled hole with bit provided with camera, and secured with silicone
NOTE: In hindsight, I wish I had drilled the hole with a downward tilt.
• Note: I viewed several online videos showing how to remove the handle before starting.
• Tip: To disengage the blue clasps that hold the latch rods, pull up on the narrow end of the clasp (I used a 90� pic).
Connected camera’s red banana plug to extension wire with black banana plug
Connected camera’s yellow lead to extension wire with yellow banana plug on each end
Fished wires down through two 2” holes in tailgate’s support frame
Wrapped wires in �” loom, and dropped below tailgate
Caution: Before closing tailgate make sure that the handle is pulling the two rods to unlatch it. If not, push the lock mechanism’s slotted rivet up.
Removed taillight cover (two screws) and identified the wire colors for backup light: power = black/pink and ground = black.
Traced these wires to loom under truck near tailgate, removed about 4” of electrical tape on loom, and pulled the backup light wires out of loom
Tested wires to ensure black/pink had power only in reverse, and black was a regular ground
Stripped away about one inch of each wire’s covering
Obtained about eight feet of 18-gauge wire to extend power to monitor
Soldered red lead from camera and the 18-gauge wire to the black/pink wire, then wrapped with electrical tape
• Note: Camera’s red lead wire was extremely tiny and flimsy which made soldering difficult
Soldered black lead from camera to back up light’s black wire, then wrapped with electrical tape
• Note: Camera’s black wire was also extremely tiny and flimsy
Covered wires at junction with loom, wrapped the “Y” junction with electrical tape, and secured to frame with plastic tie
Loomed the 18-gauge wire (power for monitor) with the yellow banana plugs wire and secured against frame from back of truck to firewall (in front of accelerator pedal) with plastic ties
Removed factory installed rubber plug (3”) in firewall on engine side behind accelerator pedal.
Pulled carpet back and removed precut 3” circular interior insulation behind rubber plug
Pulled loomed wires through hole into driver’s floorboard
Monitor
Disconnected trim around radio, removed two screws, and lifted plastic tray with rubber mat out
Drilled hole in plastic tray, cut hole in rubber mat, fed wire through hole, and secured wire to tray with grommet
Fished loomed wires up behind radio
Connected red banana plug from monitor to black banana plug on extension wire (supplied with monitor; has red and black wires at end)
Drilled 1/8” hole in metal brace (under tray), inserted screw, wrapped ground wire from monitor around screw and tightened.
Crimped power wire from backup light to red lead from monitor using bullet connector
Connected yellow banana plug from camera to white plug from monitor.
• Note: The supplied wire was long enough
Verified system was working, then reinstalled parts removed (after cutting center hole in rubber plug for loom, and making a radius cut to allow re-installation)
There is a new version for that camera. It is Esky EC170-08 HD Camera. It includes night vision, and has a wider viewing angle, and comes with a clip to mount on a surface. The price is $21.99 BUT IF YOU LOOK towards the bottom, you will see "others" listed for $19.99 with the free shipping. I just bought this and the rear view screen and paid $38.45 shipped to my door. Had $6 credit in points on the Amex.
That last line? You say connect yellow to yellow camera and LCD. But instructions say yellow to WHITE connector on LCD. Instructions say the yellow is for optional video signal connector. Just want to make sure before install this week. Thanks.
Well it's done! Took me 4 1/2 hours. It was very easy! The only problem I had was the camera was upside down. I didn't use the handle, I placed it on top of the bumper, then when it was upside down i couldn't use the bracket to make it right side up. So I screwed it to the flags on the bottom of the bed. All thats left is to secure the LCD so it doesn't slide in the tray. Thanks!
That last line? You say connect yellow to yellow camera and LCD. But instructions say yellow to WHITE connector on LCD. Instructions say the yellow is for optional video signal connector. Just want to make sure before install this week. Thanks.
You're right. My mistake. I've corrected the post to say yellow to white at the monitor. Thanks.
 08-03-2017, 01:22 AM