4R75W removal questions
 02-11-2015, 10:55 PM
#1

Hey guys,
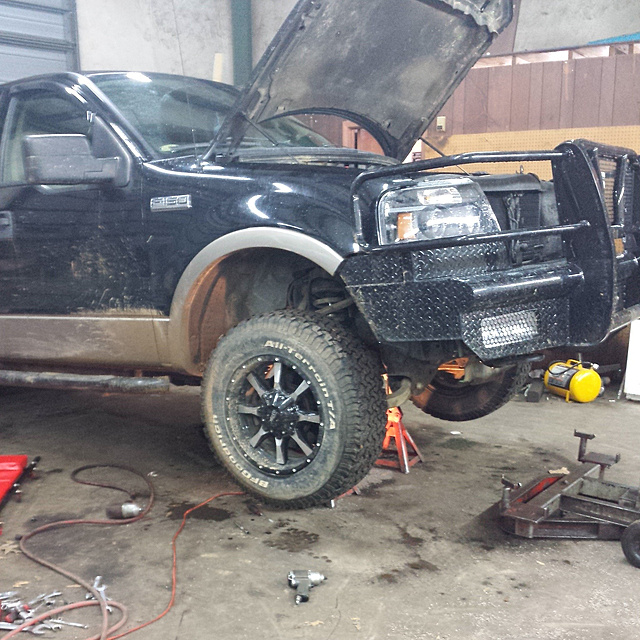
I'm starting the process of removing the tranny from my 04 F150 5.4 RWD and have a few questions.
So far I have removed the two piece driveshaft and will drop it off at Driveshafts Unlimited in town to have all the U joints and carrier bearing replaced and balanced. I've disconnected the wiring harness, drained the pan, and disconnected the shift linkage.
So, on to my questions.
Thanks for any help you can give. I want to get this thing out so I can rebuild it over the weekend. I have the stage 1 raybestos full rebuild kit, the Sonnex fix kit to fix all the factory flaws, a transgo shift kit, beefier separator plate, all new Pistons, new solenoids and wiring kit, new bearings, races, o rings, new tails shaft with the forced lube modification, a new deep aluminum pan and a new converter. Looking forward to yanking this out and getting it on the bench. This will be able to withstand 600 HP/ 600 Torque when I'm all done.
Pics of the whole process to come!
I'm starting the process of removing the tranny from my 04 F150 5.4 RWD and have a few questions.
So far I have removed the two piece driveshaft and will drop it off at Driveshafts Unlimited in town to have all the U joints and carrier bearing replaced and balanced. I've disconnected the wiring harness, drained the pan, and disconnected the shift linkage.
So, on to my questions.
- Is removing the Cats needed to access the top bellhousing bolts?
- What is the best way to rotate the crankshaft in order to reach the four torque converter bolts?
- What should i do to keep the tourque converter from falling out when i pull the tranny off the motor?
- Do I need to remove the rear transmission brace runner completely?
Thanks for any help you can give. I want to get this thing out so I can rebuild it over the weekend. I have the stage 1 raybestos full rebuild kit, the Sonnex fix kit to fix all the factory flaws, a transgo shift kit, beefier separator plate, all new Pistons, new solenoids and wiring kit, new bearings, races, o rings, new tails shaft with the forced lube modification, a new deep aluminum pan and a new converter. Looking forward to yanking this out and getting it on the bench. This will be able to withstand 600 HP/ 600 Torque when I'm all done.
Pics of the whole process to come!
 02-12-2015, 01:14 AM
#2
Senior Member

Attachment 570424
Lift the truck up, will make it easier, having a air lift is also very nice to have
Is removing the Cats needed to access the top bellhousing bolts? No, but you will need to drop the driveshaft and get it out the way, and have about a 3 foot extension with a swivel to reach over, dont be scared to push those fuel lines up to get your hand in there. And you will have to remove the support crossmember, but do that last while you have a jack under the transmission. The Dip stick is a pain but should pop out just be careful with the o ring when putting back in, sometimes they tear.
What is the best way to rotate the crankshaft in order to reach the four torque converter bolts? There is a inspection plate that you remove on the engine side, then there is a circle hole on the bottom of the transmission, pop it off, use a good strong flat head and rotate the engine via flywheel, Make sure its in there good to prevent damaging the teeth. (If you dont prefer this, get someone to turn it over by hand with a ratchet at the crankshaft) Then break them loose with whatever fits cant remember, them remove the nuts from the inspection side while holding it still with the flathead so you can break it loose.
What should i do to keep the tourque converter from falling out when i pull the tranny off the motor? Mine stuck in the transmission as it came down to ground level front first, the rear was propped on the exhaust, he had to tap it before it fell out on the ground, but they are thick and hard to damage. Just try your best to get it out gently to where the balancer weights don't get broke off.
Do I need to remove the rear transmission brace runner completely? Yea, get 2 big jacks, and make you a custom board to fit the pan, get a couple 2x4 peices and nail them to a flat thick board. This way you can balance it by the pan as it comes out with your helping friend.
PS. Before touching, Disconnect everything on it at the top that you can reach, drop pan and drain all fluids, make sure filter is good, replace gasket if necessary. Clean your pan!!! Put pan back on before removal. This will save you alot of weight, time and prevention of debree getting into it.
BE 100% SURE THE TRANMISSION IS STABBED CORRECTLY when REINSTALLING OR YOU WILL **** IT UP. Also this is a good time for you to redo the rear main seal. Get the Felpro brand, they are much better made than the little thin motorcraft one.
Lift the truck up, will make it easier, having a air lift is also very nice to have

Is removing the Cats needed to access the top bellhousing bolts? No, but you will need to drop the driveshaft and get it out the way, and have about a 3 foot extension with a swivel to reach over, dont be scared to push those fuel lines up to get your hand in there. And you will have to remove the support crossmember, but do that last while you have a jack under the transmission. The Dip stick is a pain but should pop out just be careful with the o ring when putting back in, sometimes they tear.
What is the best way to rotate the crankshaft in order to reach the four torque converter bolts? There is a inspection plate that you remove on the engine side, then there is a circle hole on the bottom of the transmission, pop it off, use a good strong flat head and rotate the engine via flywheel, Make sure its in there good to prevent damaging the teeth. (If you dont prefer this, get someone to turn it over by hand with a ratchet at the crankshaft) Then break them loose with whatever fits cant remember, them remove the nuts from the inspection side while holding it still with the flathead so you can break it loose.
What should i do to keep the tourque converter from falling out when i pull the tranny off the motor? Mine stuck in the transmission as it came down to ground level front first, the rear was propped on the exhaust, he had to tap it before it fell out on the ground, but they are thick and hard to damage. Just try your best to get it out gently to where the balancer weights don't get broke off.
Do I need to remove the rear transmission brace runner completely? Yea, get 2 big jacks, and make you a custom board to fit the pan, get a couple 2x4 peices and nail them to a flat thick board. This way you can balance it by the pan as it comes out with your helping friend.
PS. Before touching, Disconnect everything on it at the top that you can reach, drop pan and drain all fluids, make sure filter is good, replace gasket if necessary. Clean your pan!!! Put pan back on before removal. This will save you alot of weight, time and prevention of debree getting into it.
BE 100% SURE THE TRANMISSION IS STABBED CORRECTLY when REINSTALLING OR YOU WILL **** IT UP. Also this is a good time for you to redo the rear main seal. Get the Felpro brand, they are much better made than the little thin motorcraft one.
Last edited by MHOWELL34; 02-12-2015 at 01:22 AM.
The following users liked this post:
GoneBallistic (12-28-2023)
02-12-2015, 03:43 PM
#3
This is extremely helpful information! Thanks a bunch!
One thing, when you say be sure the tranny is stabbed 100%, what do you mean by that? I know when I finish rebuilding the internals I have to make sure I install the mechanical diode in the correct rotation or else kaboom... Is that what you are referring to?
Thanks again for the great info!! I'm hoping to drop mine this evening!
 02-12-2015, 06:47 PM
#5
Senior Member
Yes stabbing just means lining it up and putting it back in line with flywheel. Or you will shred some internals
Another tip. Leave the top 2 bolts in transmission while putting Jack under it. Then remove when you are ready to slide back
Another tip. Leave the top 2 bolts in transmission while putting Jack under it. Then remove when you are ready to slide back
03-31-2015, 01:38 AM
#6
Update: got the tranny out with the help of a good friend. I have the entire unit torn down to the valve body and the outer casing, which I have cleaned and am ready to begin installing my TransGo shift kit, Sonnex sure fit kit to fix all factory design flaws, new hardened separator plate, and my complete rebuild kit with Kevlar overdrive and reverse bands, and Raybestos friction discs with new steelies. Very excited to get this going! Pics will be forthcoming!
Just a note, upon teardown I noticed the tiniest crack in the original separator plate where the 2-3 accumulator piston can strike the plate. Knowing this could happen I had already ordered the beefier plate ahead of time.
The internals looked pretty good. It looks like there had been a rebuild at some point in its life as all of the fractions looked used but definitely not trashed or burnt. The fluid was a little darker red than I'd have liked. So far so good!
Last edited by sigmanf150; 03-31-2015 at 01:45 AM.
Trending Topics
03-31-2015, 02:36 PM
#9
The Sonnax sure cure kit addresses the factory design flaws that are inherent in the AODE/4R70W/4R75W/E. It fixes things like O/D activation/slippage, shift performance, etc. it will supposedly eliminate all issues except drive abuse or neglect.
03-31-2015, 04:55 PM
#10
12 Second Truck

Ordered a beefer plate as well. I built my trans this past Friday evening and plan to install it this weekend.
http://www.oregonperformancetransmis..._Code=SUP-K092
http://www.oregonperformancetransmis..._Code=SUP-K092
Last edited by Blown Ford; 03-31-2015 at 06:31 PM.