When you click on links to various merchants on this site and make a purchase, this can result in this site earning a commission. Affiliate programs and affiliations include, but are not limited to, the eBay Partner Network.
2004 - 2008 F150 Mini H1 Projector Retrofit how-to
Let me start off by saying that this is my first attempt at a retrofit. I have opened aftermarket heads before to paint the bezel, so I had experience only there and in the painting of parts. On a scale of 1-10, I would say this is a 7 on difficulty, 10 being the hardest. If you are prepared, take your time and research as much as you can, anyone with basic hand tools and an oven can do this. I highly suggest browsing the HIDPlanet forum. I met some very helpful, eager to lend and opinion members over there, especially member HK45, he did the bulb shimming how to I link below.
First step was to buy all the retrofit parts. I went right to the best site there is, The Retrofit Source. I did however do this with "budget" in mind, in case I got frustrated or overwhelmed. Only the painting got the best of me, and that was purely optional. I bought as much as I could from the "closeout" section.
Materials needed:
Mini H1 projectors
Orbit shrouds with centric rings (a must for these shrouds)
MOTOCONTROL BIXENON controller harness: H13/9008
Morimoto H1 6500K bulbs (I suggest the 5000K, my only regret, the 6500K is too blue)
Ballasts and igniters : 35W Morimoto XB35 Ballasts & Morimoto XB Igniters
New black housing headlights from ebay, these are great quality, better than other sets I have bought: http://www.ebay.com/itm/191251395531?_trksid=p2057872.m2749.l2649&ssPageName=STRK%3AMEBIDX%3AITFeel free to use your stock headlights if they are in good shape, but they will be harder to open.
This total for me was now at $230. I could have stopped there, but I wanted to custom paint everything and use some CREE switchbacks, that I also got from The Retrofit Source.
Step 1:
Aim the new headlights. I thought this was a good idea to get them as close to the old headlights pattern as possible, to try and make the final aiming easier. Honestly, I think the pre-aim helped in the end.
Step 2:
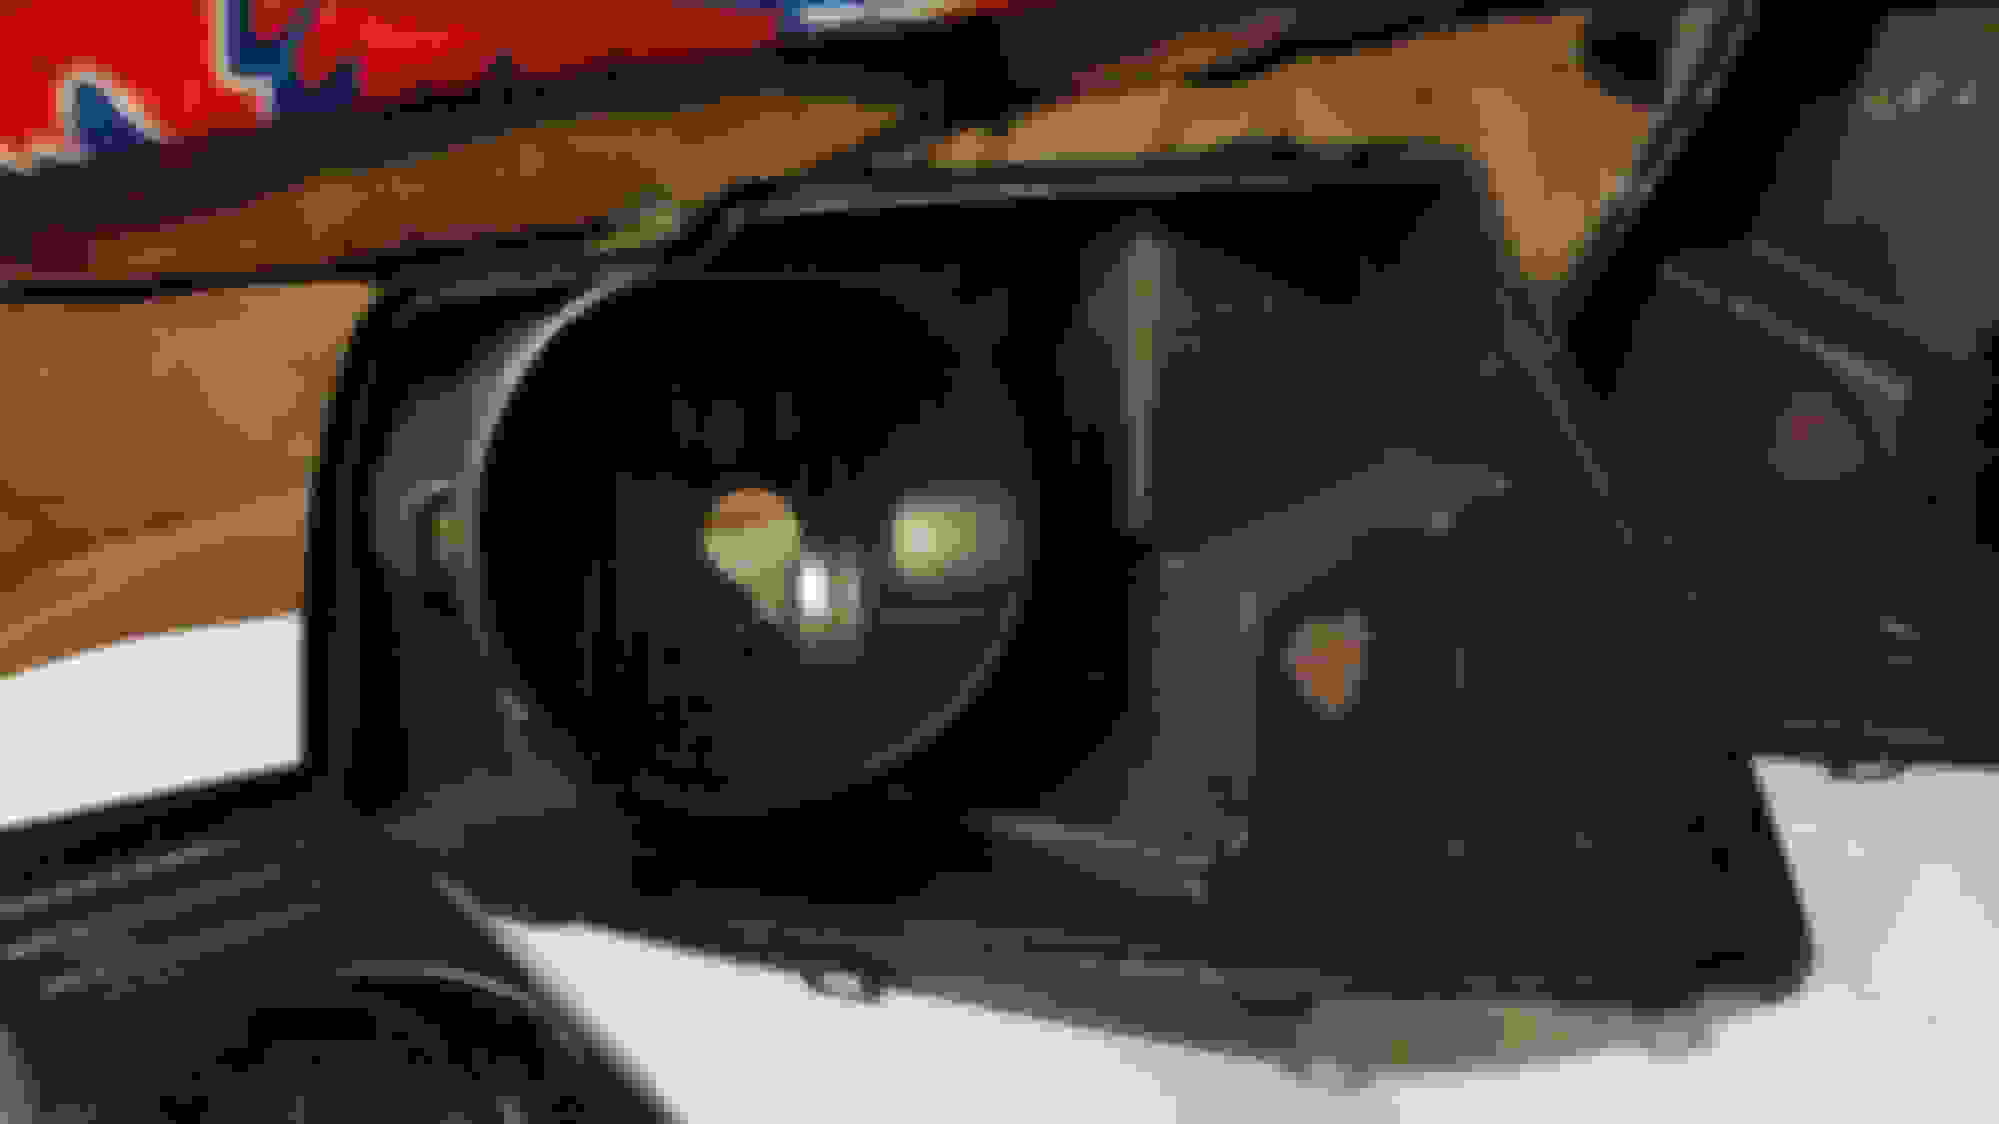
Bake open the headlights. I preheated the oven to 200 degrees, turned it off, put a piece of cardboard in it and put the headlights in for 10 minutes. Make sure the lenses are clean or dirt can get baked into them. I started prying on the top inside corner of the headlights, as if you were looking at the truck from head on. Amazingly, this was all it took to open them up. If you bought new headlights, save the plastic protecting the lens, this proved valuable to my build to protect them throughout the process.
At this point I put the protective plastic back on the lens and removed the bezel for paint. 2 screws hold the bezel to lens. I then put the lens back into the shipping boxes and closed them up. VERY IMPORTANT, put the lens face up (inside of the lens facing down), you do NOT want any dirt on the inside of the lens. If you have to wipe it down, it will scratch very easily. I have had the issue in the past and read numerous posts on that happening.
Step 3:
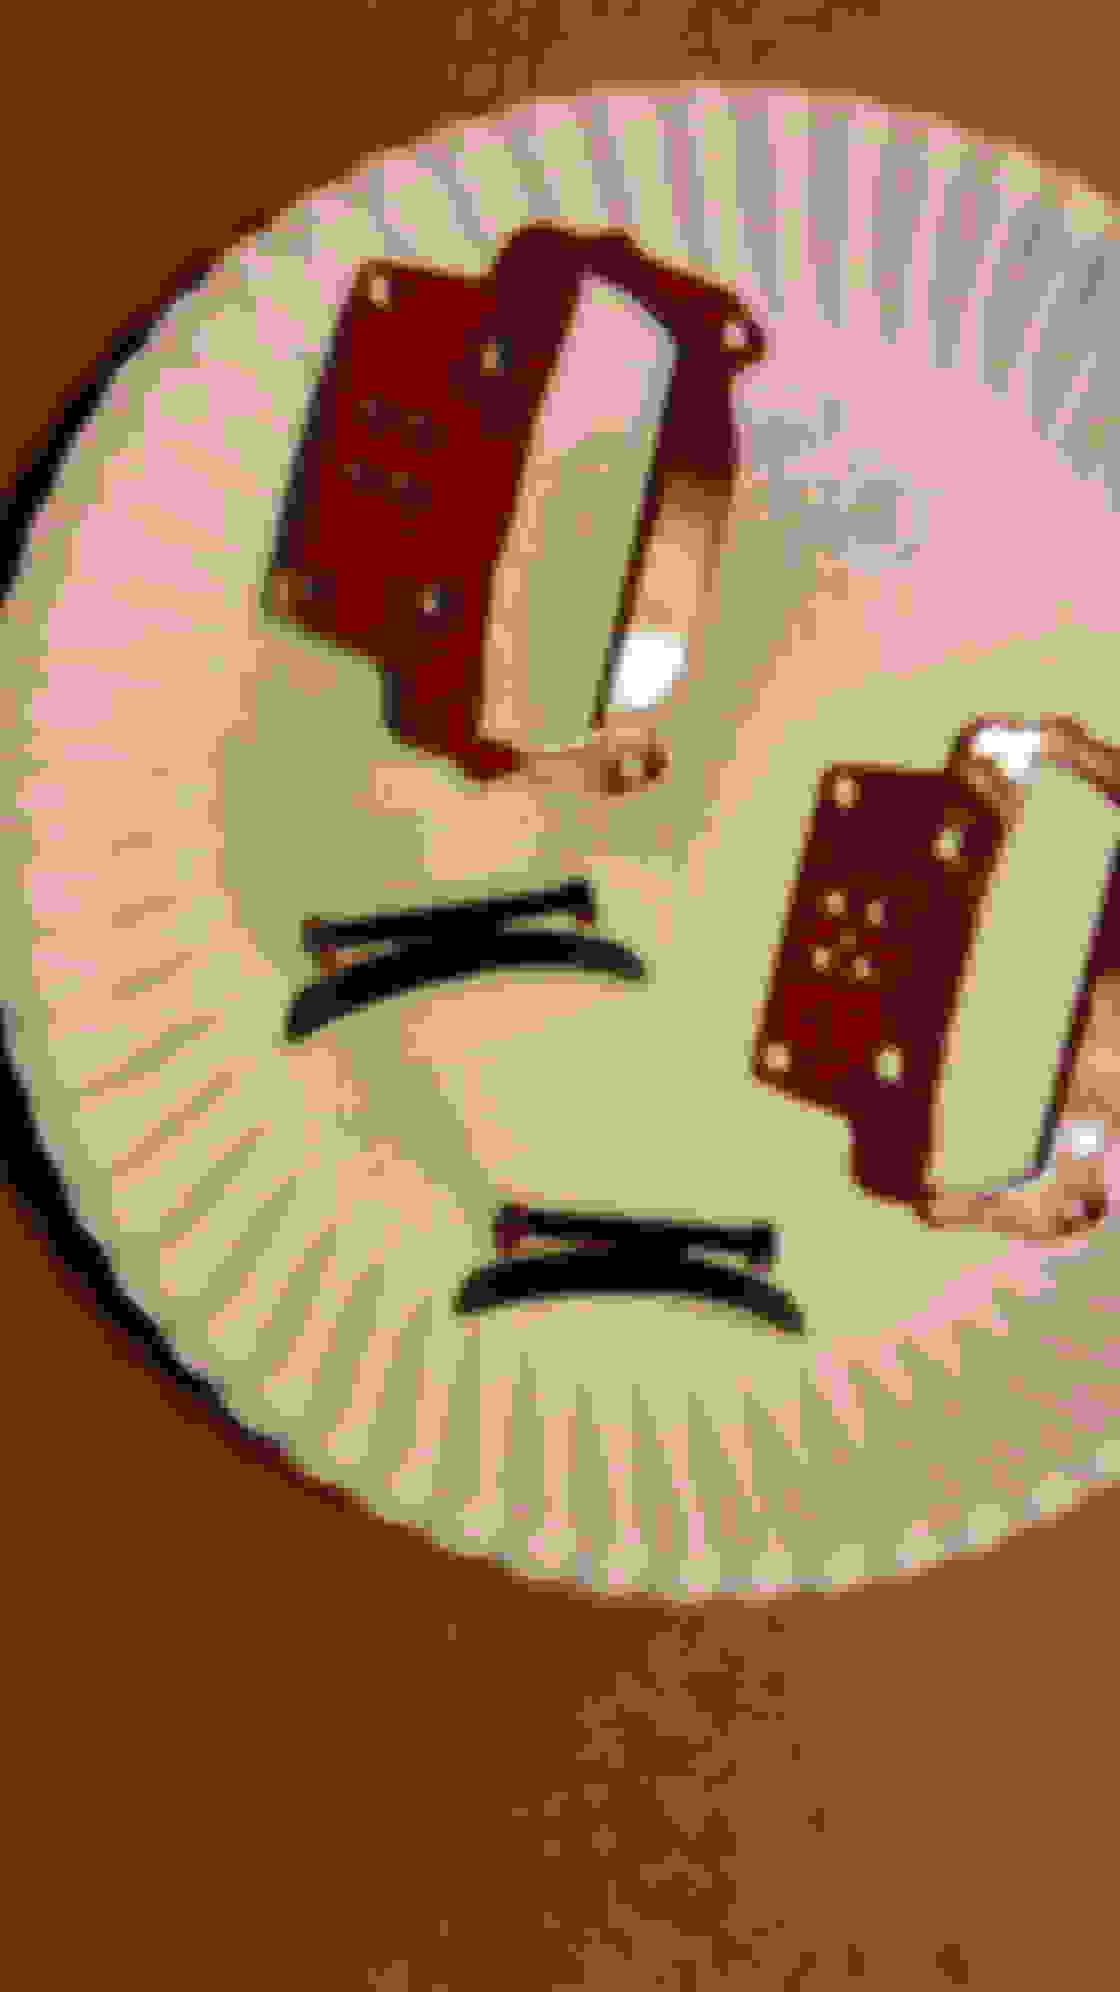
Trimming the back of the bowl/bezel. I used a dremel, which made this process so quick it was insane. There are 2 rings on the back of the bowl. You must remove just the inner ring and remove all 3 "tabs" that are the locking tabs for the H13 bulbs. Also make a groove toward the bottom for your solenoid wires to pass through.
Step 4:
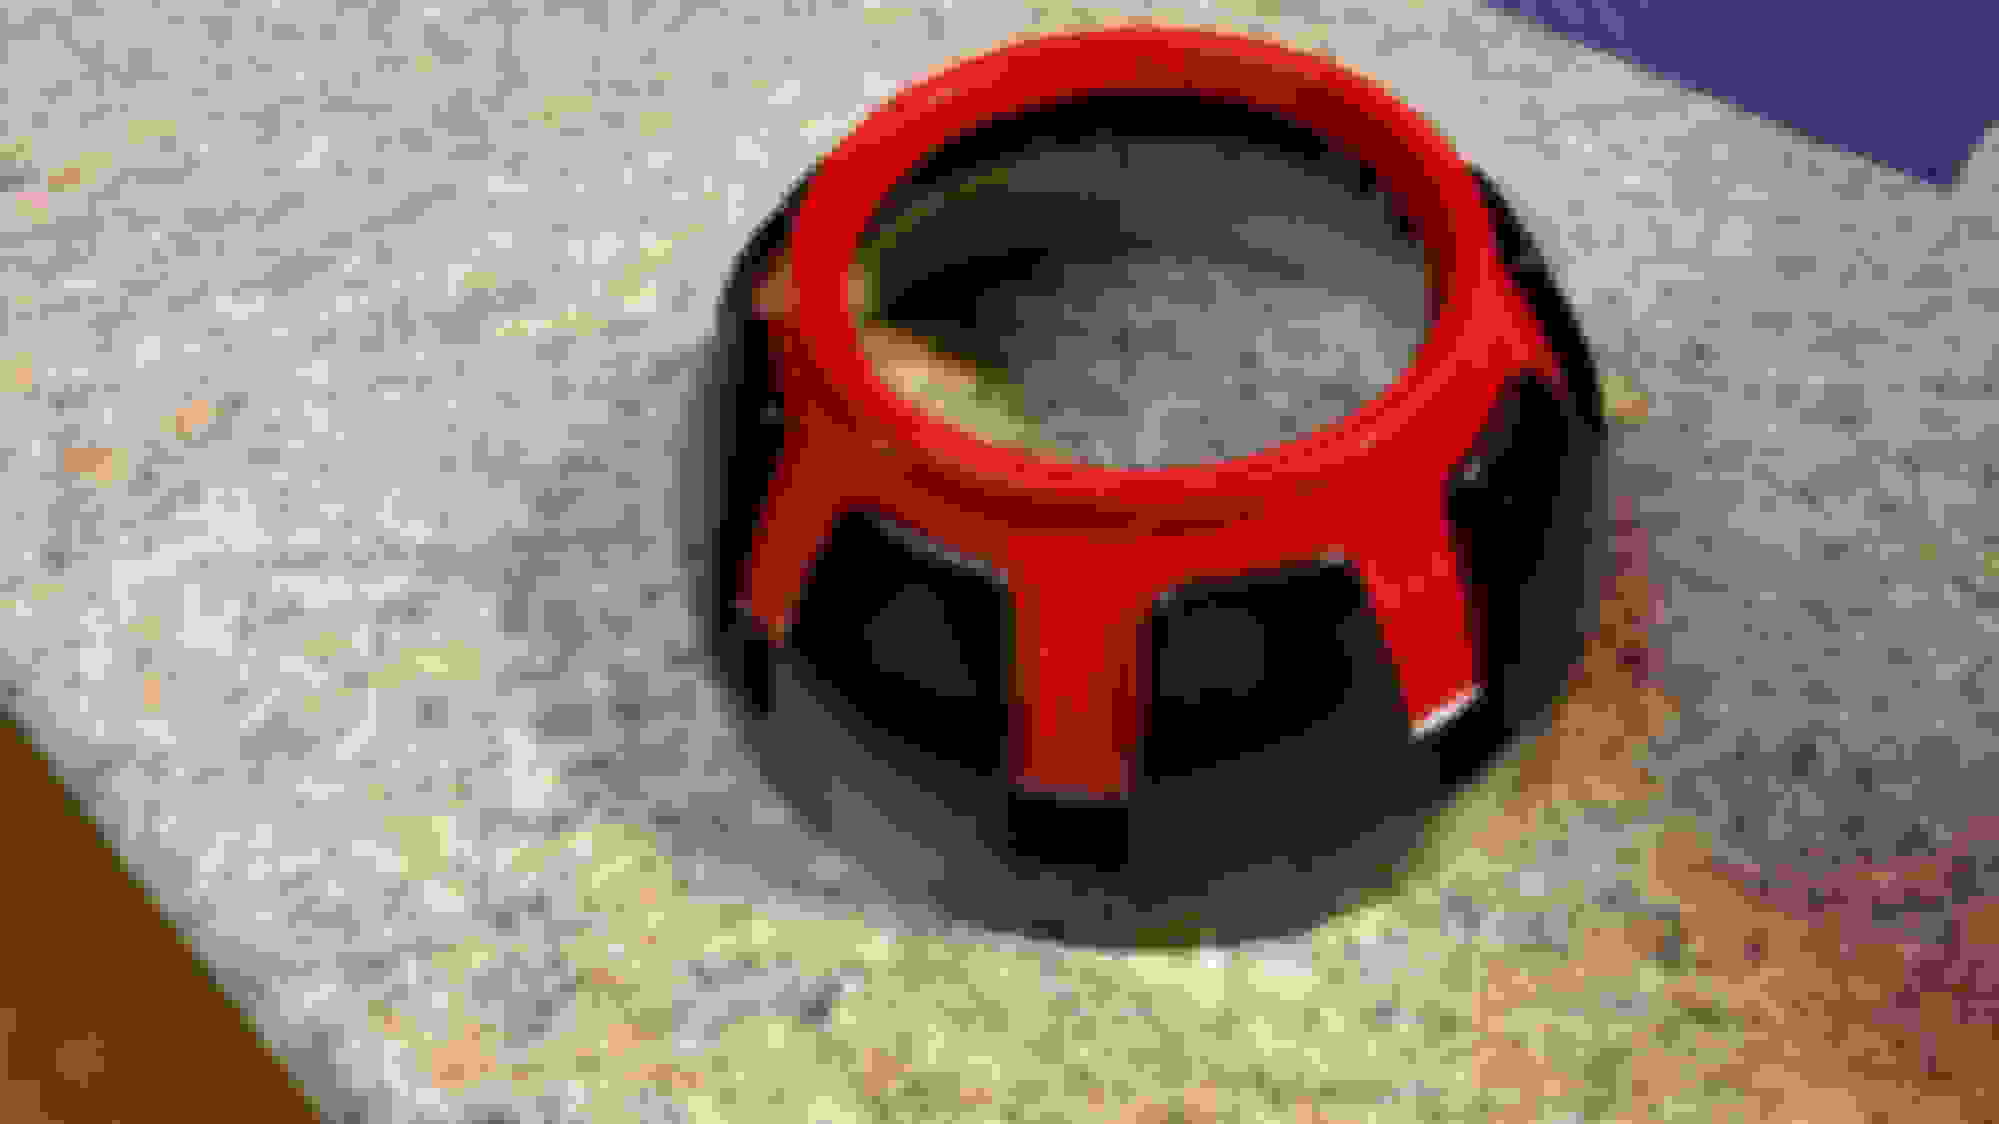
Paint everything if you want a more custom look. I used Rustoleum 2X flat black for the bowl/bucket and bezel. To be honest, its more of a satin versus flat. It has built in primer, but I used self etching primer. For all intensive purposes, I wont get into the whole painting ordeal. This will need to have some research on your part. The only critical part is that if you paint the cutoff shield or high beam shield, you MUST use high temp paint. I used Duplicolor Engine Enamel. For the shrouds I used Duplicolor E4 Vermillion red and Duplicolor Universal gloss black. Make sure everything dries well, several days at least for durability. Remember to sand any paint off the edges of the cutoff shield or high beam shield to avoid "ridges" on your cutoff line. I also used VHT Nightshades with Duplicolor Exact match clearcoat on the reflector lens.
Step 5:
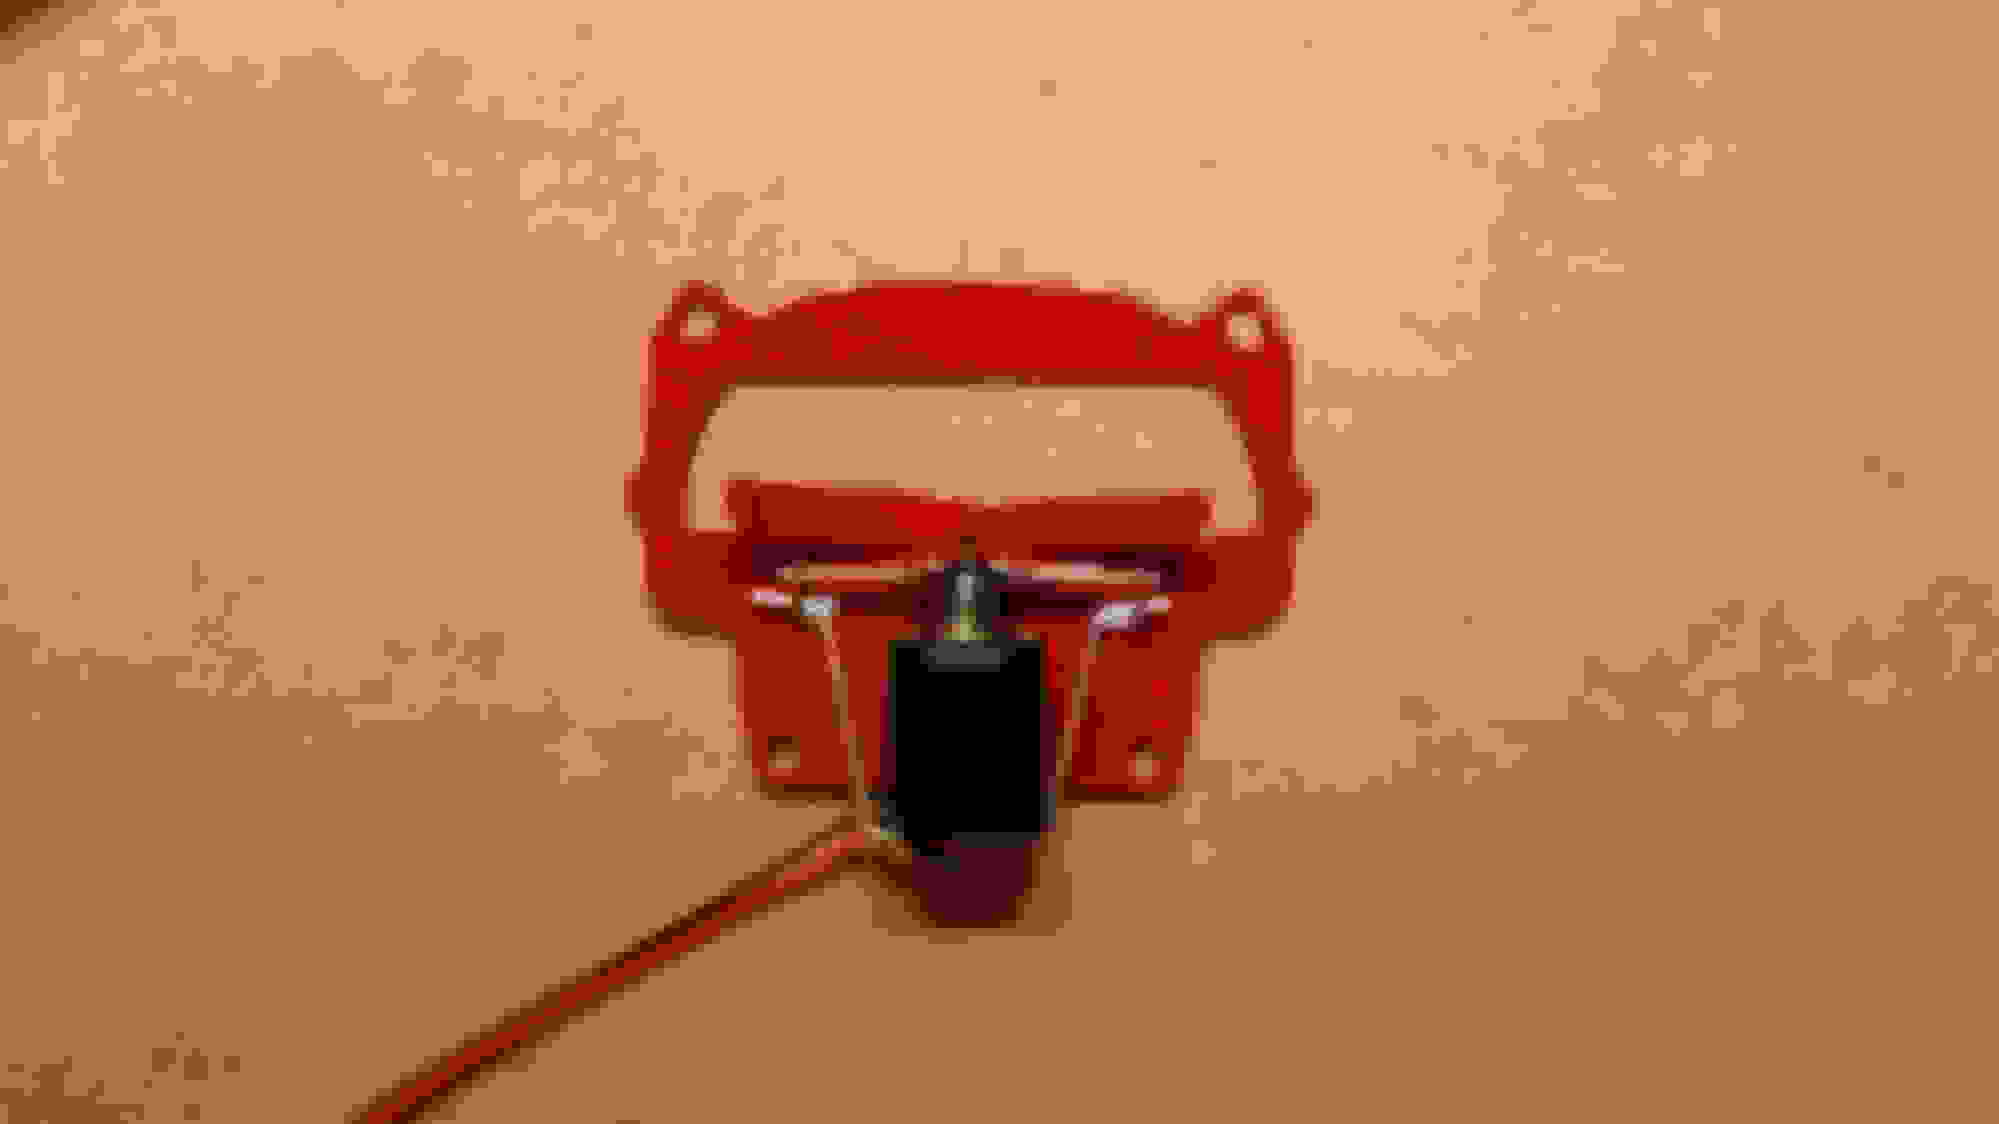
Reassemble the Mini H1 projector. Several things to note, take the plunger that has the spring attached and sand it smooth, then use a little high temp lube. Graphite works as well. I used ZEP 45NC. Also stretch the spring out a little. Then test the solenoid operation with a 9 volt battery. I use alligator clamps connected by wires. I cycled the solenoid 100 times, thats right, 100 times. You can't fix the solenoid after you have the headlights sealed, so this step is important. When the solenoid pulls down the cutoff shield, this is when you get your high-beams. We all love a good high-beam.....lol
Step 6:
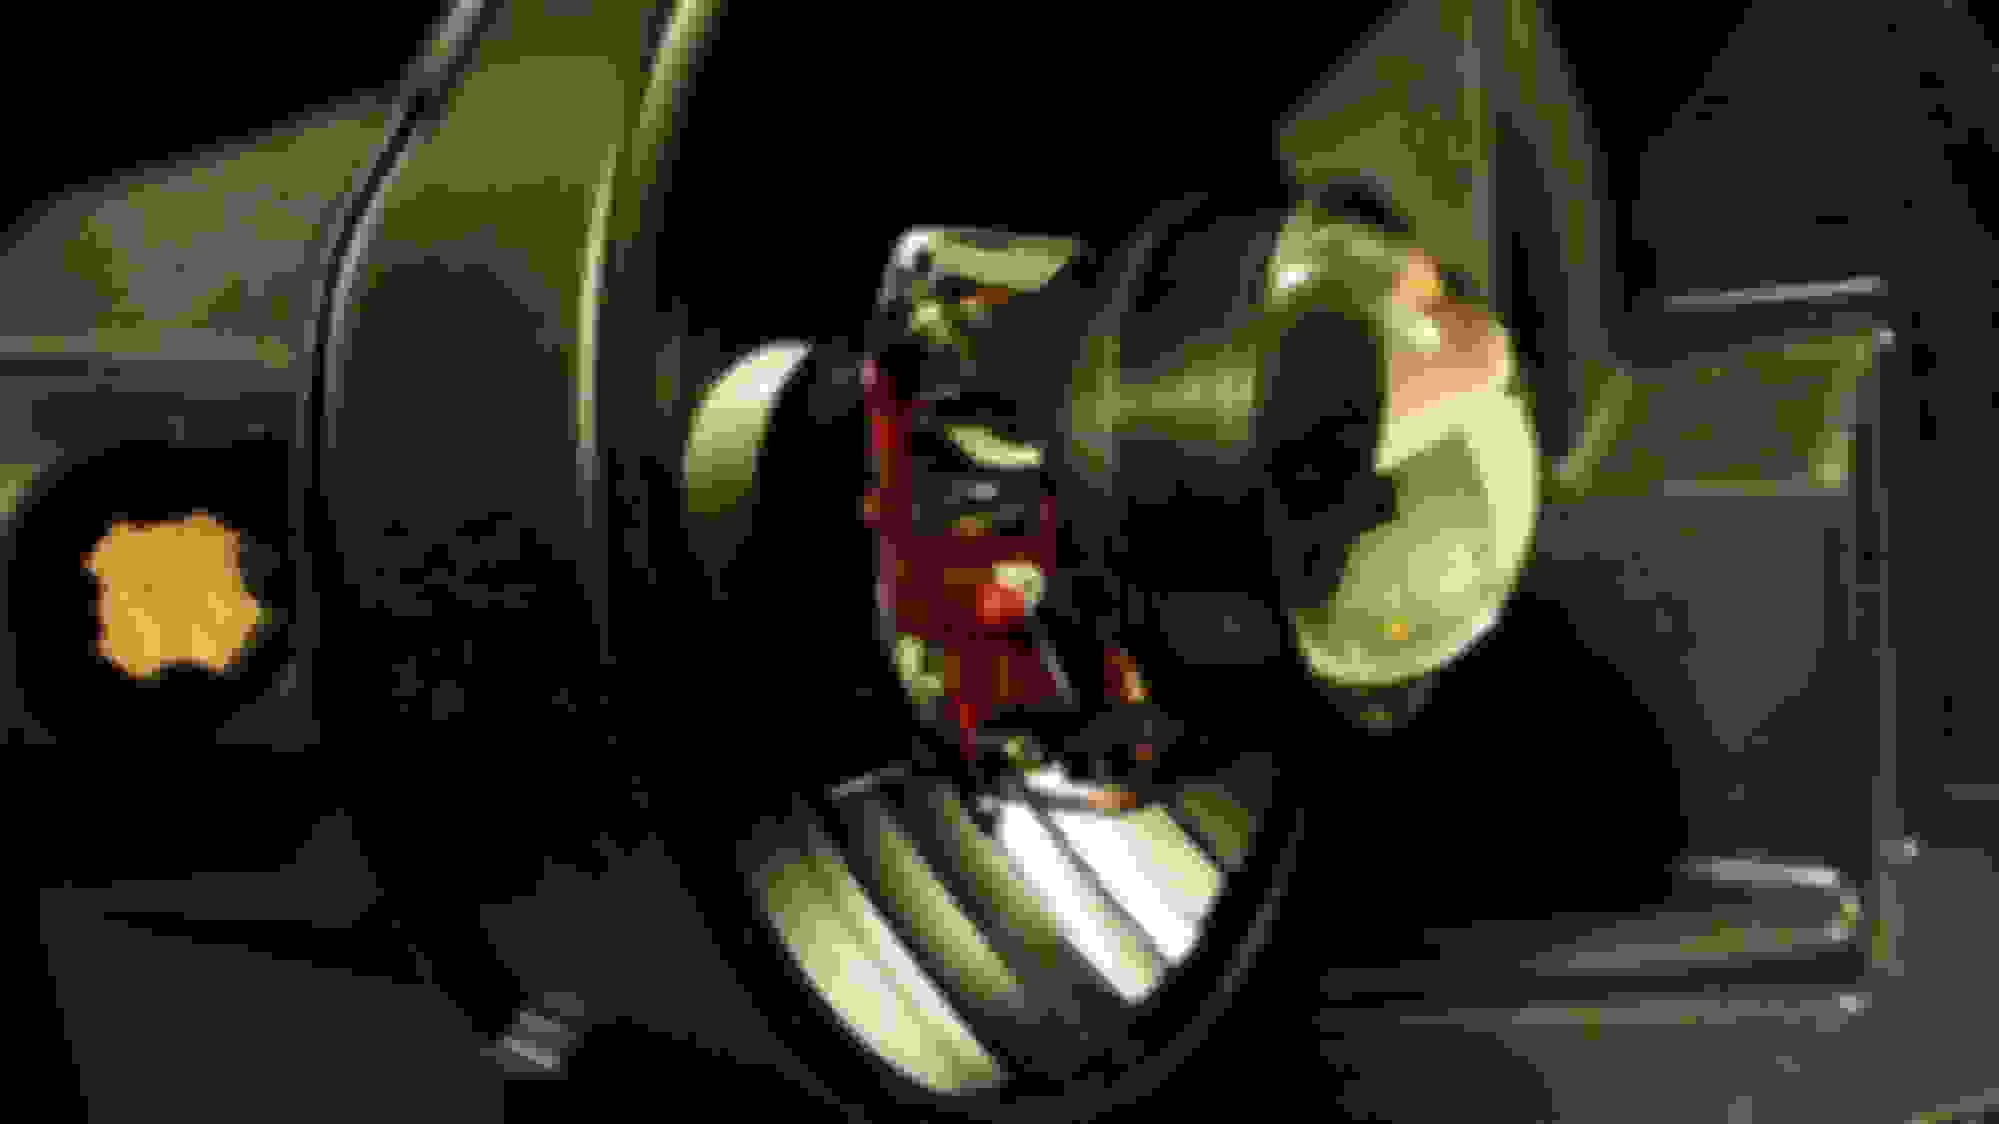
Install the projector into the bowl/bucket. My order of assembly on the front of the bowl went: bowl, large curved silicone washer, projector. On the backside of the bowl was: bowl, small silicone washer, large 3 tab washer, lock nut then bulb holder. Hand tighten this only as the lock nut deforms under heavy pressure. You will tighten the nut fully after aiming the projectors.
After I aimed the projectors, I did my best to tighten the nut without moving the projector. I did find out that you can get the nut very tight and the projector will still move a little. Thats when I really cranked down on the lock nut and got a very good aim. Next step is jb weld on the back side, covering the 3 tab washers and where it meets the bowl. This sets the aim and helps secure the projector from any movement.
Step 7:
Reinstall the lens. I used compressed air to blow any dust and debris off the lens, bowl and bezel. I used butyl that forum member dom07 sent me that was left over from his retrofit. He got it from TRS. I slowly stretched the butyl and just added to the original butyl in the housings channel. Do not over fill the channel! I preheated my oven to 230 degrees, turned it off and put my cardboard piece back in. After laying the lens on the housing I placed it in the oven for 10 minutes. Upon removal, I used channel locks to squish the 2 pieces together. One side had to go in another 5 minutes to get a good seal. Once that set, I ran a bead of black RTV silicone around where the lens meets the housing for added moisture protection.
Link to reseal headlights:
Step 8:
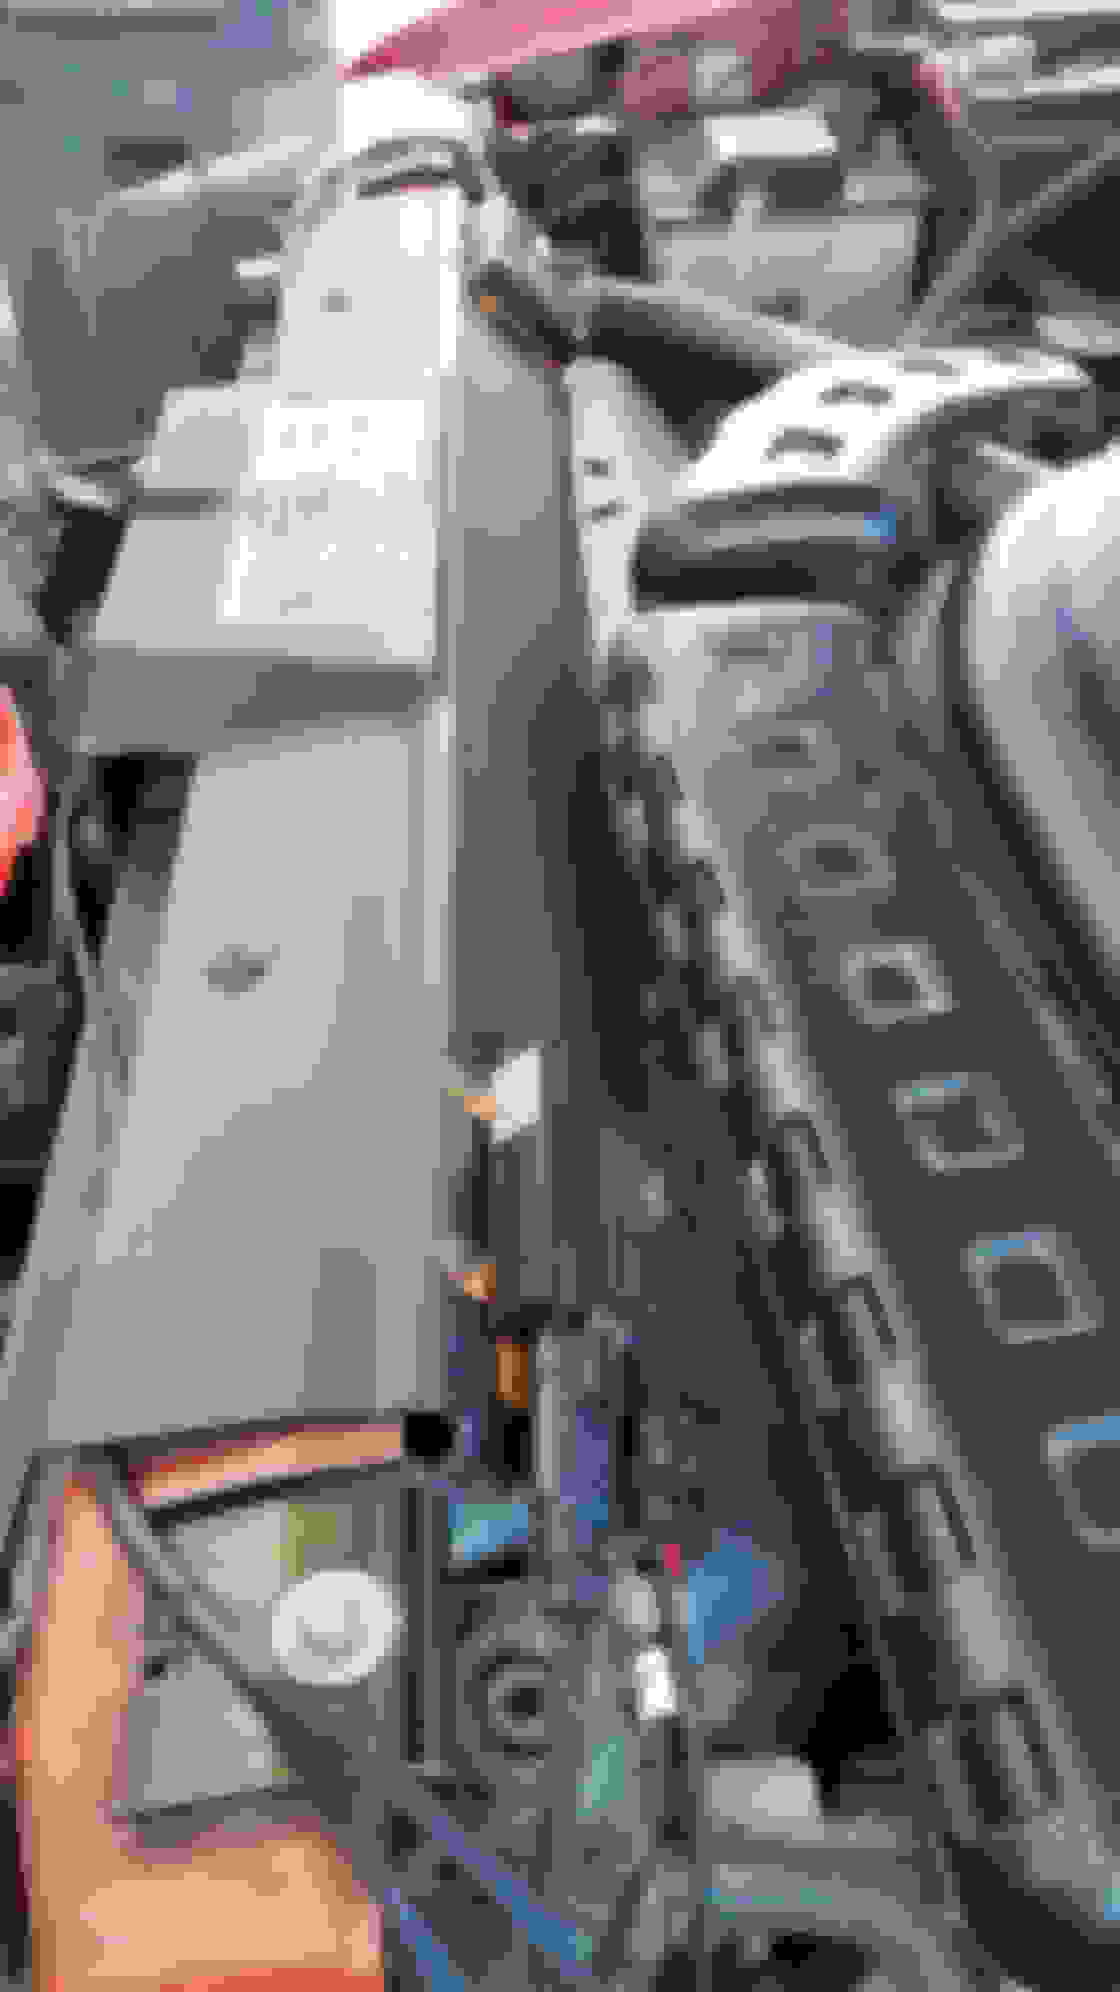
Permanently mounting the ballasts, mounting the relay harness and hooking up the grounds and hot wire. This is pretty basic and really no one correct location to do it. I used the tabs behind the headlights to hook up the grounds and just to the left of the passenger headlight is where I mounted the relay harness controller box. All I have are basic pics of my ballasts location. What worked for me may not be to your liking, so I suggest you experiment on where you want to hook everything up. Make sure to use dielectric grease on all connections.
Also during the process, you will have to figure out how to connect the red and black solenoid wires coming from your projectors to the red and black plug labeled "high beam" on your control harness. I chose to use male/female spade connectors. I then wrapped them in electrical tape right before I mounted the finished headlights.
At this point you are almost done. Dont forget to disable your preimeter lighting that lights up from unlocking with the key fob if you have that feature. Now you just need to do the final height adjustment. Mine were WAY high, but luckily my daughter was home in her Grand Prix and we drove around the block several times to get the headlights adjusted so it wasn't blinding. I then drove around for an hour admiring my new lights, waiting to be flashed. I never was flashed by any oncoming drivers so I called success and put him back into the garage.
I tried to get as many small details in here as possible. I hope I didn't look over any of the larger more straight forward items. Once again, this was my first retrofit and I wouldn't hesitate to do another. Any questions, just ask away!
Here are some extra pics:
I also painted the backside of the shield with bar-b-q paint, this is known as the flying squirrel mod.
Just few more things, remove all bulbs and the dust boot from the headlights before baking. You will reuse the dust boot after you install the lens back onto the housing. I ran a bead of black rtv around the inside where the boot slips past the 3 prong washer and on the outside of the boot, where it meets the housing. As far as my temps go, if you arent sure, go cooler with the temps. The hotter you get, the more likely you will cause stress cracks known as spidering cracks in the lens, and nobody wants that!
Great write up and looks great Summers, thanks.
Do you get any kind of color when the lights are on or when off from painting the cutoff shield? I just emailed TRS and asked them about the template bracket that they have listed in one of their kits. I am contemplating doing my retro on my Spec-D heads and adding a second projector for the extra bulb. If they don't reply by Monday, I will be ordering the new set up heads that you posted above and going that route.
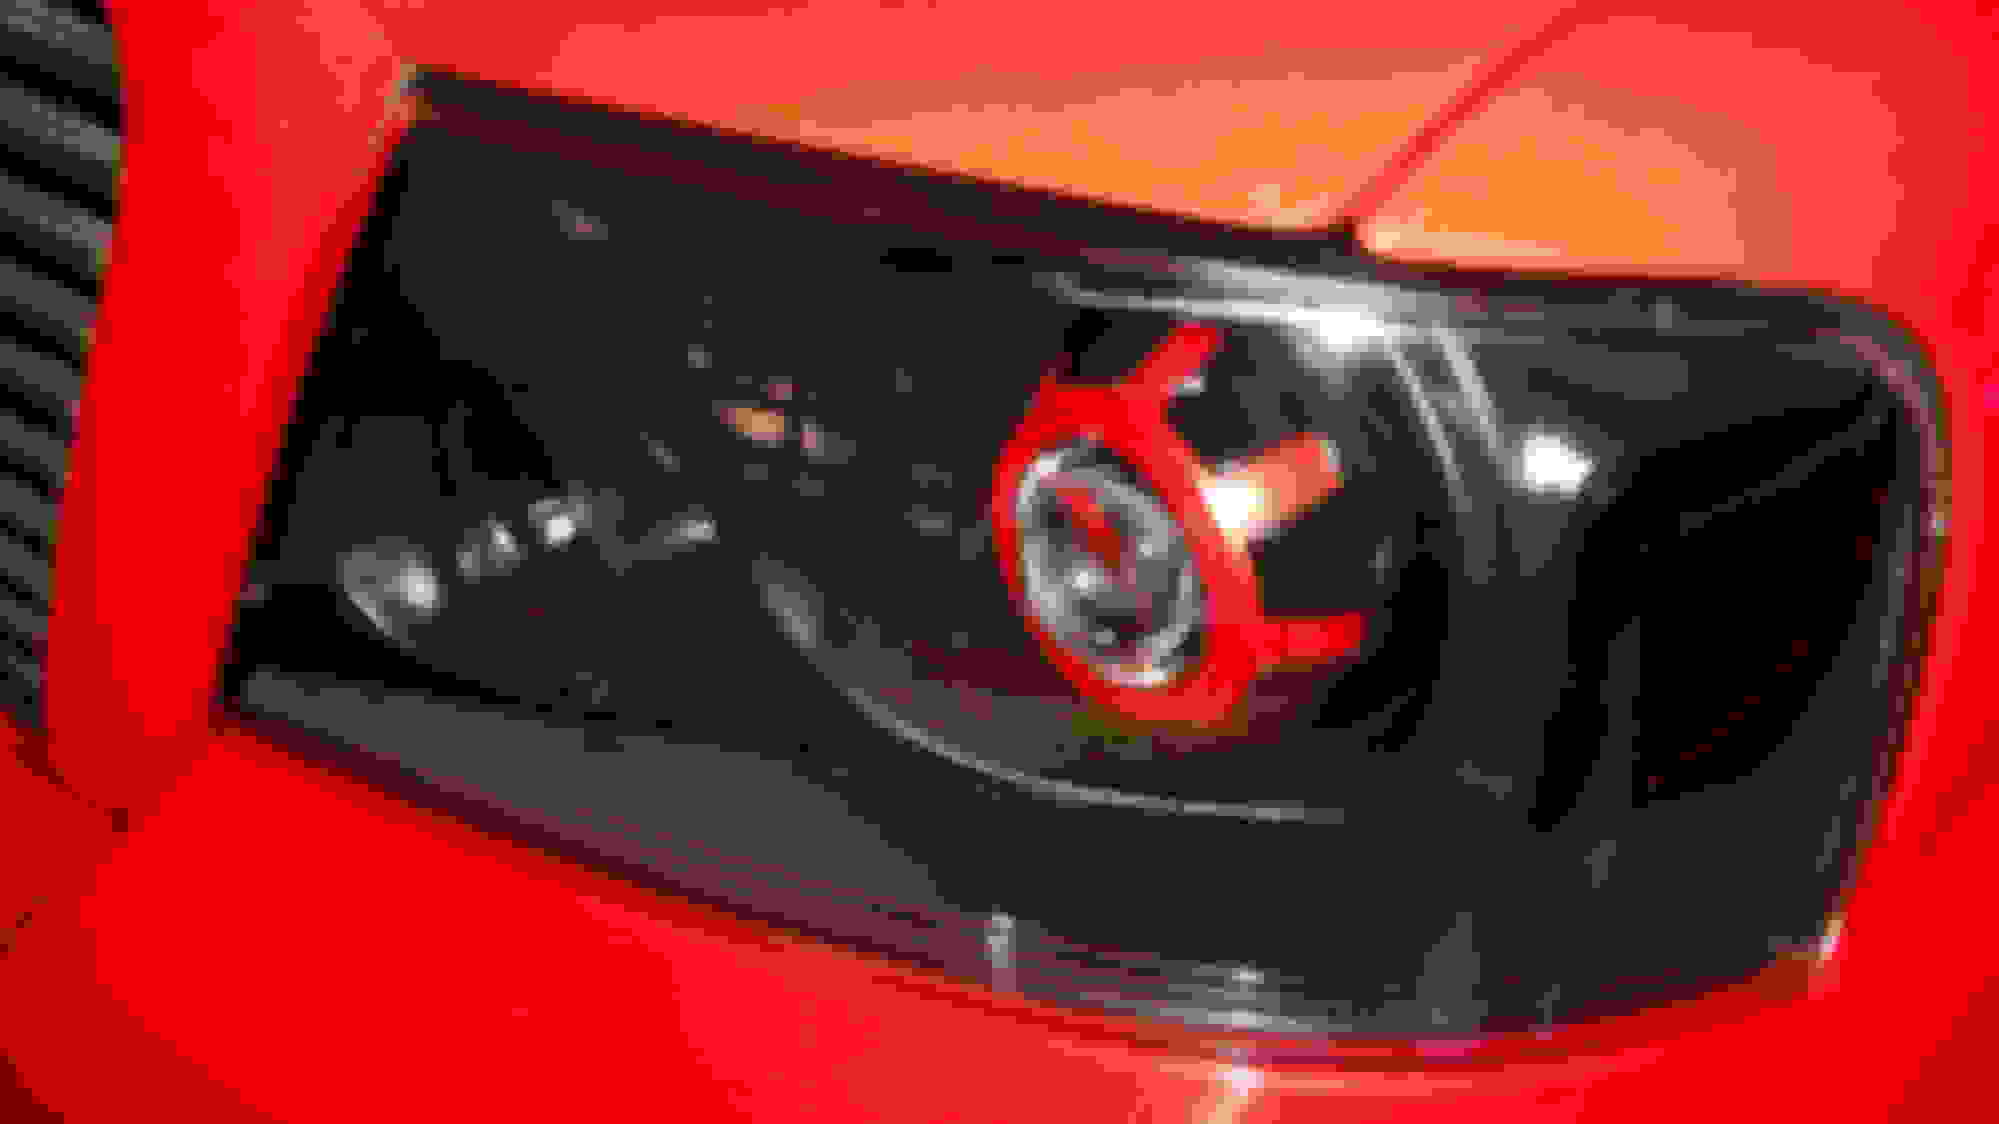
No, there is no color but the bulb color. You only paint the front of the cutoff shield a color, thats for a "passive demon eye". I painted the side facing the bulb black so there is not a spot in the sky or on trees, building etc when the high beams are on. Probably a useless mod, but I just cant leave well enough alone.
Also I will get output shots up, but my driveway is not level, and I cant get a perfect pic of the cutoff line thats not at an angle. The output on the road is perfect and simply amazing. I got the "steps" very close against the wall, but they look even better 150' out on the road!
Well looking at the job that you did, I decided to not go with the retrofit of my SpecD aftermarket right now and to pull the trigger and buy the ones that you posted above. They should be here around March 8th, so now I am just waiting. I think its great that the Mods made this thread a sticky, it will be used a lot and won't get buried in the other threads.
Well looking at the job that you did, I decided to not go with the retrofit of my SpecD aftermarket right now and to pull the trigger and buy the ones that you posted above. They should be here around March 8th, so now I am just waiting. I think its great that the Mods made this thread a sticky, it will be used a lot and won't get buried in the other threads.
I am glad it persuaded you top go with an all out retrofit. You won't regret it!
 02-27-2016, 10:41 PM