When you click on links to various merchants on this site and make a purchase, this can result in this site earning a commission. Affiliate programs and affiliations include, but are not limited to, the eBay Partner Network.
Alright, I made it through this whole thread. Something that would be helpful for me (and maybe others?) is for those of you that did this, post up what paint you used, how many months ago and how it's holding up now.
I did it at least 1 1/2 years ago, maybe closer to 2, and zero problems. I think it was Rustoleum for plastic, that I used.
Last edited by johnday in BFE; 04-10-2016 at 06:41 PM.
After the edge is painted, are you guys sealing the opening with silicone to help protect the paint, or just leaving it as is? I know the open side will be towards the truck body but I still wanted to ask.
I've read where folks were using RTV sealant; my guess because it's black and that's the color. Otherwise most others just said "silicone." I plan to use RTV.
My paint and info in post 766 - I've only had this done a few weeks, but I used a pin striping paint that was recommended on here. I used it thick, took a day to dry, but I don't think there is any way this stuff will fade or wash away - looks like good stuff. I did not use anything to seal with - just the heavy coat of paint.
After the edge is painted, are you guys sealing the opening with silicone to help protect the paint, or just leaving it as is? I know the open side will be towards the truck body but I still wanted to ask.
Myself, nothing used to seal the edges, never thought of that. LOL
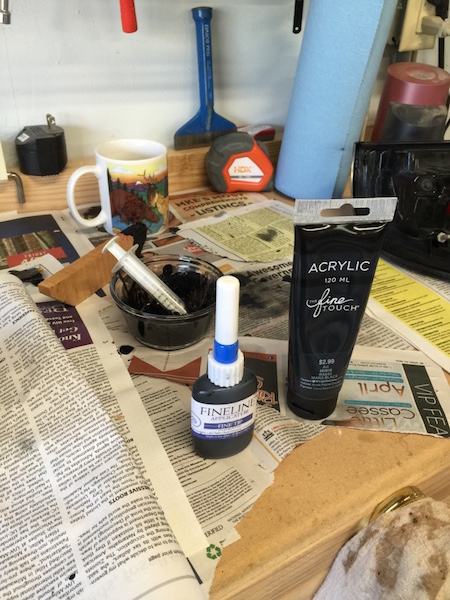
Finally did this this weekend. Took awhile to dry due to humidity, but it went pretty smoothly. Decided to go with black acrylic as it's cheap and is water resistant once dry - so hopefully my decision to not use silicone to seal will be a good one.
Thanks to poster above who recommended the "fine tip" bottle - worked like a charm! I did have a syringe/w needle handy but the fine tip bottle worked swimmingly. Not much glue to remove at all.
I finally got around to starting this. I'm using an outdoor acrylic black paint and a needle from my dogs medicine bag; 16 to 18 gauge. Think I'll seal it up with black RTV.
I first used an exacto knife and chipped away some of the bigger pieces of glue, but for the most part I just ran the exacto knife around the edge to ensure the needle could wedge in.
Needle was 100% the way to go. I ended up having just a few spots where the paint couldn't get to because of glue and simply stuck the needle in with a bit more force and fixed those spots right up.
Tip:
Go around the whole edge with a medium coat of paint first, then go back and figure out where you are having glue interference and fix those spots. I made the mistake of thoroughly painting my first coat so when I went back to fix those little missed spots I had excessive amounts of paint in certain spots and it would overflow making a bit of a mess.
Use a hairdryer afterwards if you're using acrylic paint. It dries pretty quickly and it will help hold any runny paint in place. You'll see it haze over a bit as it dries.
Do a second coat if you have time and try to avoid scraping the needle against the plastic, you'll only scratch up what you've already painted.
Don't use a paint brush, it has the same affect as the needle as the paint starts to dry; scratches it up.
Will post photos once finished and of the paint and needle.
It goes really fast once you get the hang of it. The first one took me about 90 minutes because as I stated above, I did a thorough coat the first time which made a mess when I went back to get the gaps filled. The second one took me 30 minutes.
I've since gone back and touched up a couple of spots and it goes really easy using the needle method.
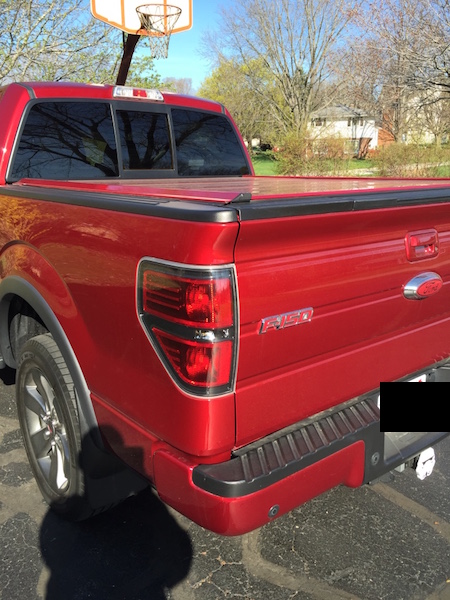
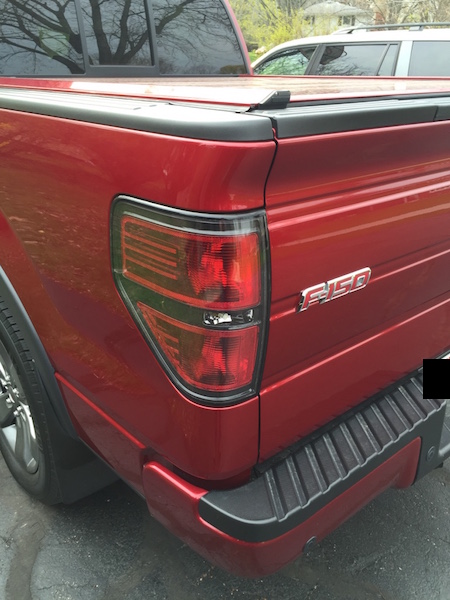
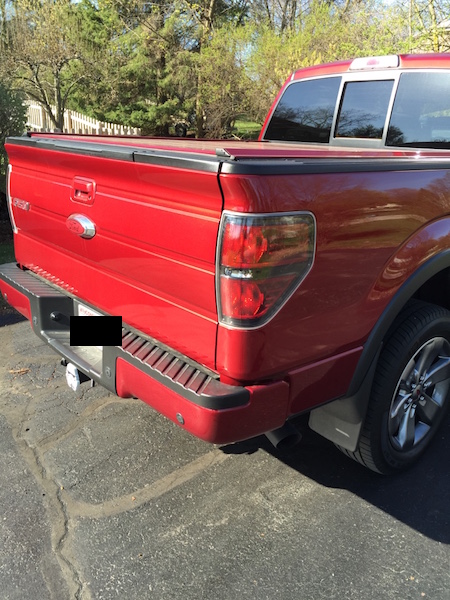
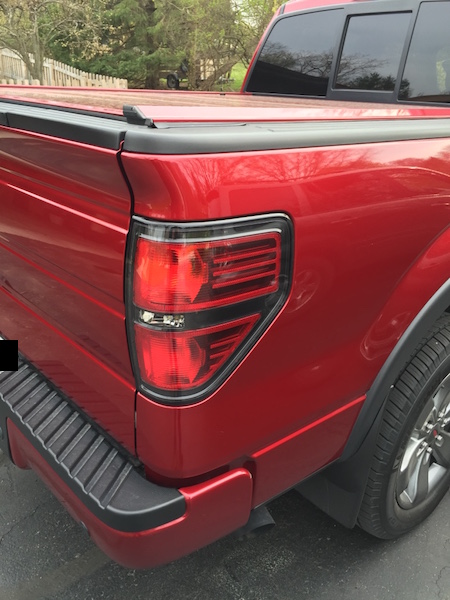
Wow, hate to bump a 1.5 year old thread, but I finally caved and made the decision to do this to my lamps. My question is, are there different shades of black craft/model/pinstriping/hobby paint? It seems like some have used a tone of black that is significantly darker than the factory black on the FX lamps, which looks a bit out of place IMO, but there are other pics I've seen that look like a dead-on match to the existing black on the lamps. People have talked about using black automotive touchup paint but there are countless different shades of black, arent there?. This must be true for craft/hobby paint as well, right?

 04-10-2016, 06:35 PM