When you click on links to various merchants on this site and make a purchase, this can result in this site earning a commission. Affiliate programs and affiliations include, but are not limited to, the eBay Partner Network.
New to retrofitting here. Wishing I had the funs to spend on some raptor retrofit hid headlamps but unfortunately I don't so I started my own for less than a quarter of the cost of the raptors. I've never done this before so everything I do is with the help of you all and youtube. first and foremost i had bought a stock set of chrome halogen headlights awhile back for $100. Then a short time later I found another set and talked them down to $80. I'm keeping the second set for backup incase this first set doesnt work out. if all goes well i have a few friends that drive an f150 maybe i can build another set for them.
On to the process...
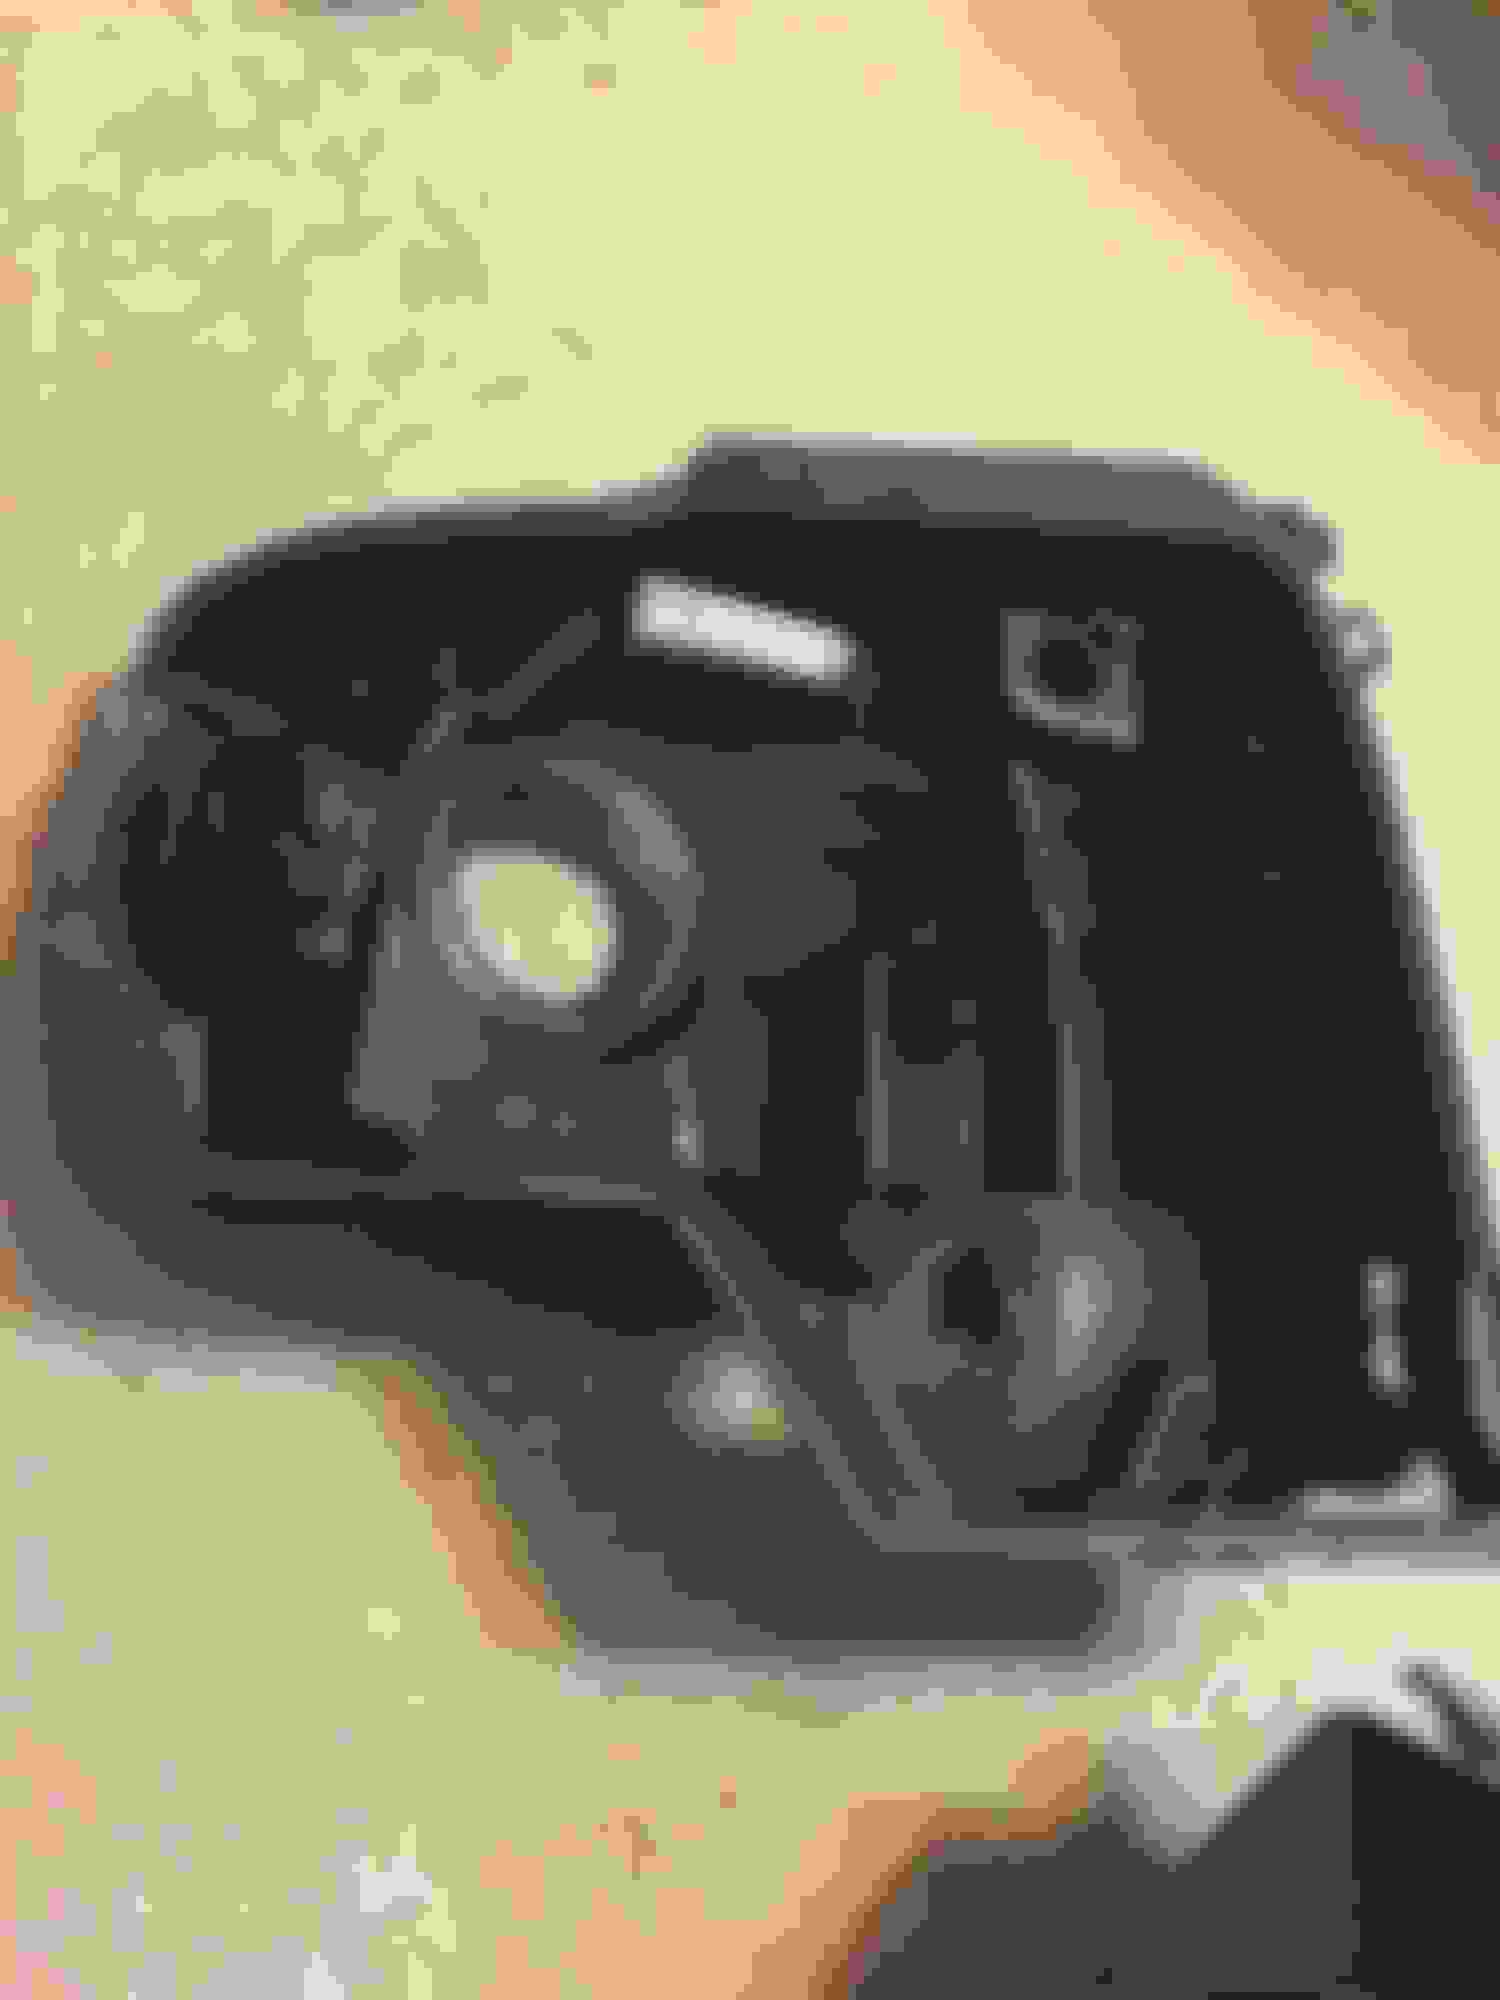
1. I placed the headlights in the oven at 250 degrees and baked them for 20 min and started to pry them apart. Got part of it opened so i put them back in for 10 minute intervals until i finally got them seperated.
2. When i seperated the buckets and bezel i drilled a hole in the back of the assembly to reach the third screw.
3. Next was paint which i probably should have waited till after dremeling the bucket to prevent all the dust from sticking. Anyways I couldn't decide how i wanted them painted so I ended up just going black. I painted the bezel gloss black and then used matte black for the buckets. You can also see that i dremeled off the little mounting post for the bulb shield. this will be used for a majority of the wiring and wont be seen anyways.
4. bought all the parts for the build. Used the forums promo code on the retrofit source to save 25%.
Mini h1 7.0 projectors with included centric rings
55w ballasts
6500k bulbs
switchback panamera shrouds (painted those red to match the truck)
3 inch switchback led strips (2 on each side)
3 inch rgb led strips (1 on each side)
80mm rgb halos to fit over the shrouds (still on backorder as of now)
rgb demon eyes
Bought 5 9006 female pigtails to attach to the wiring kit included with the pieces mentioned above to keep wiring simple. These were found at the local autozone for $30
When i recieved my order i opened all the boxes to see what it all looked like and to see if i was missing any pieces. one of the boxes for the switchback strips was missing a strip and the centric rings were not in their either. called trs and they were quick to send me the missing pieces. It was a holliday weekend so i did have to wait a few extra days. no biggie since the halos are still on backorder.
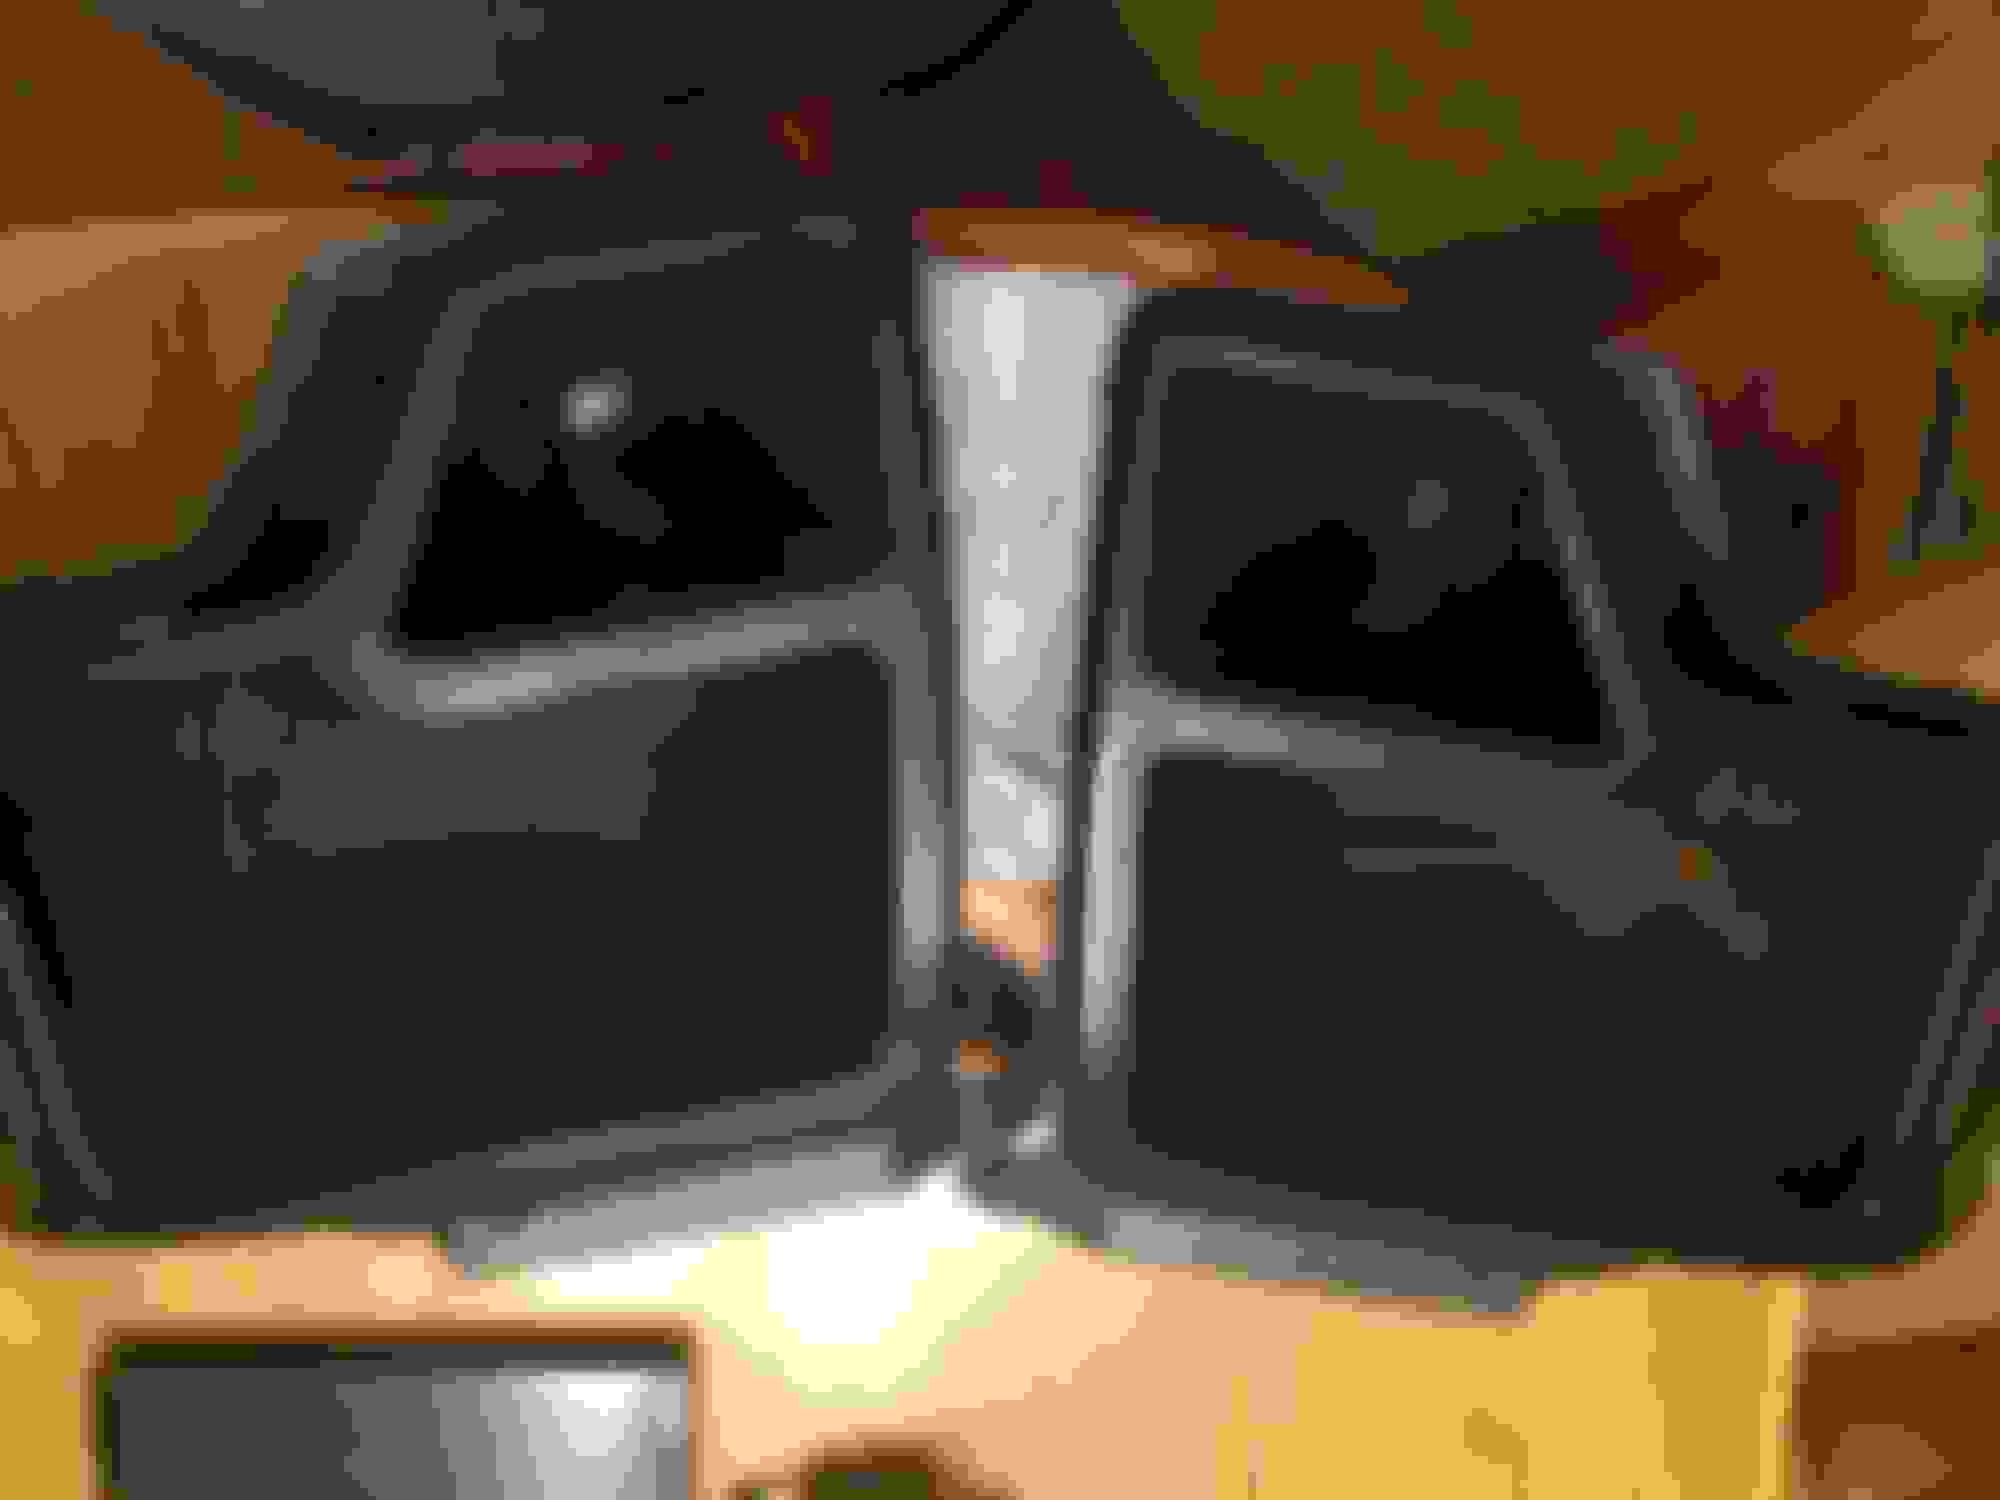
5. Test fitting. I put the projectors and shrouds together and test fit them in the buckets. the back of the bucket had to be dremeled out to fit properly. I used the supplied h7 rubber ring and mounting bracket. to proper fit the mounting bracket far enough to where i could get the lock nut and bulb bracket on i had to dremel 3 channels for the bracket to slide into.
6. With the projector and shroud fitting properly time to move on to mounting the extras. Will report back throughout the process.
Nice build, I really enjoy doing retrofits. I found that the best way to clean the plastic parts of dust prior to paint was a compressed air and then a swifter duster to pickup the remaining lint. As far as having to drill a hole to unscrew part of the housing, those ball and socket joints come apart without too much fuss, that's how I always do them. Looking forward to see more progress, I'll be starting my build for my '12 in the next few months.
Thanks for the write up, this is on my to-do list... would love to put the original headlights that came on the truck to use rather than having them sit in a box. Was gunna sell them originally, but figured this might be a good project eventually.
Got one set of strips mounted with some eppxy. With the curve of the bucket it kinda makes the strips look a little curved but they should be fine once installed and lit up. Not to worried about it. The one in the middle is the color changing.

 09-09-2016, 01:57 AM