When you click on links to various merchants on this site and make a purchase, this can result in this site earning a commission. Affiliate programs and affiliations include, but are not limited to, the eBay Partner Network.
Edit: FYI this is NOT meant to be a how-to in installing leather upholstery. This post is simply to show what I went through as a novice in installing this kit. I made mistakes that did cost me money and affected the fit and finish of the kit.
When I got my tax return earlier this year, I decided to treat myself to my first 'mod' for my new-to-me 2013 F150 XLT. I debated the usual stuff.. intake, programmer, exhaust, leveling kit, etc... but I guess my 34 years of age is finally getting into my brain, because I decided I wanted to do mods that I liked, and helped the truck's resale value. So, for about $600 shipped, I ordered a leather upholstery kit from Pecca leather.
Pecca isn't quite as widely known as Katzkin or Leatherseats.com, but they had good reviews from buyers and on other forums from people that had used their products.
Out of the box, the covers look and feel very high quality. It's important to note that the front covers are full leather except on the seat sides and back, those parts are vinyl. On the rear seat, only the passenger side and driver side inserts are leather, the rest is vinyl.
The color is uniform and consistent on the leather and vinyl portions, however, the leather tends to reflect light when photographed, which is why those panels look like they're a lighter shade of grey. When viewed with the naked eye, the covers are one solid grey color.
I spoke with two local upholstery shops regarding installation. The first shop quoted me $400 (If I removed the seats and brought them in), and said it could be done in a day. They stated the hardest part would be the rear seat, and that it would take up to an hour just to un bolt and remove the rear seat (which I didn't buy, it looked very easy to me). The second shop quoted me $650, and said the center console would be the most difficult part. I agreed.
One night, sitting in my computer room being bored, I researched just how hard it would be for me, a regular DIY'er kinda guy, to do this job myself. I found some great videos online that gave an overview of the job, and some websites that showed common mistakes. I don't consider myself an experienced mechanic, aside from my engine building experience, but my experience in upholstery was very limited. About the most I had ever done was remove the cloth upholstery from the rear seat of my daily driver Saturn, and install a set of used factory leather upholstery covers. In that job, the hog rings were rust-welded in place and proved to be a nightmare (mostly because I didn't have a hog ring tool). To this day, zip ties hold those covers in place.
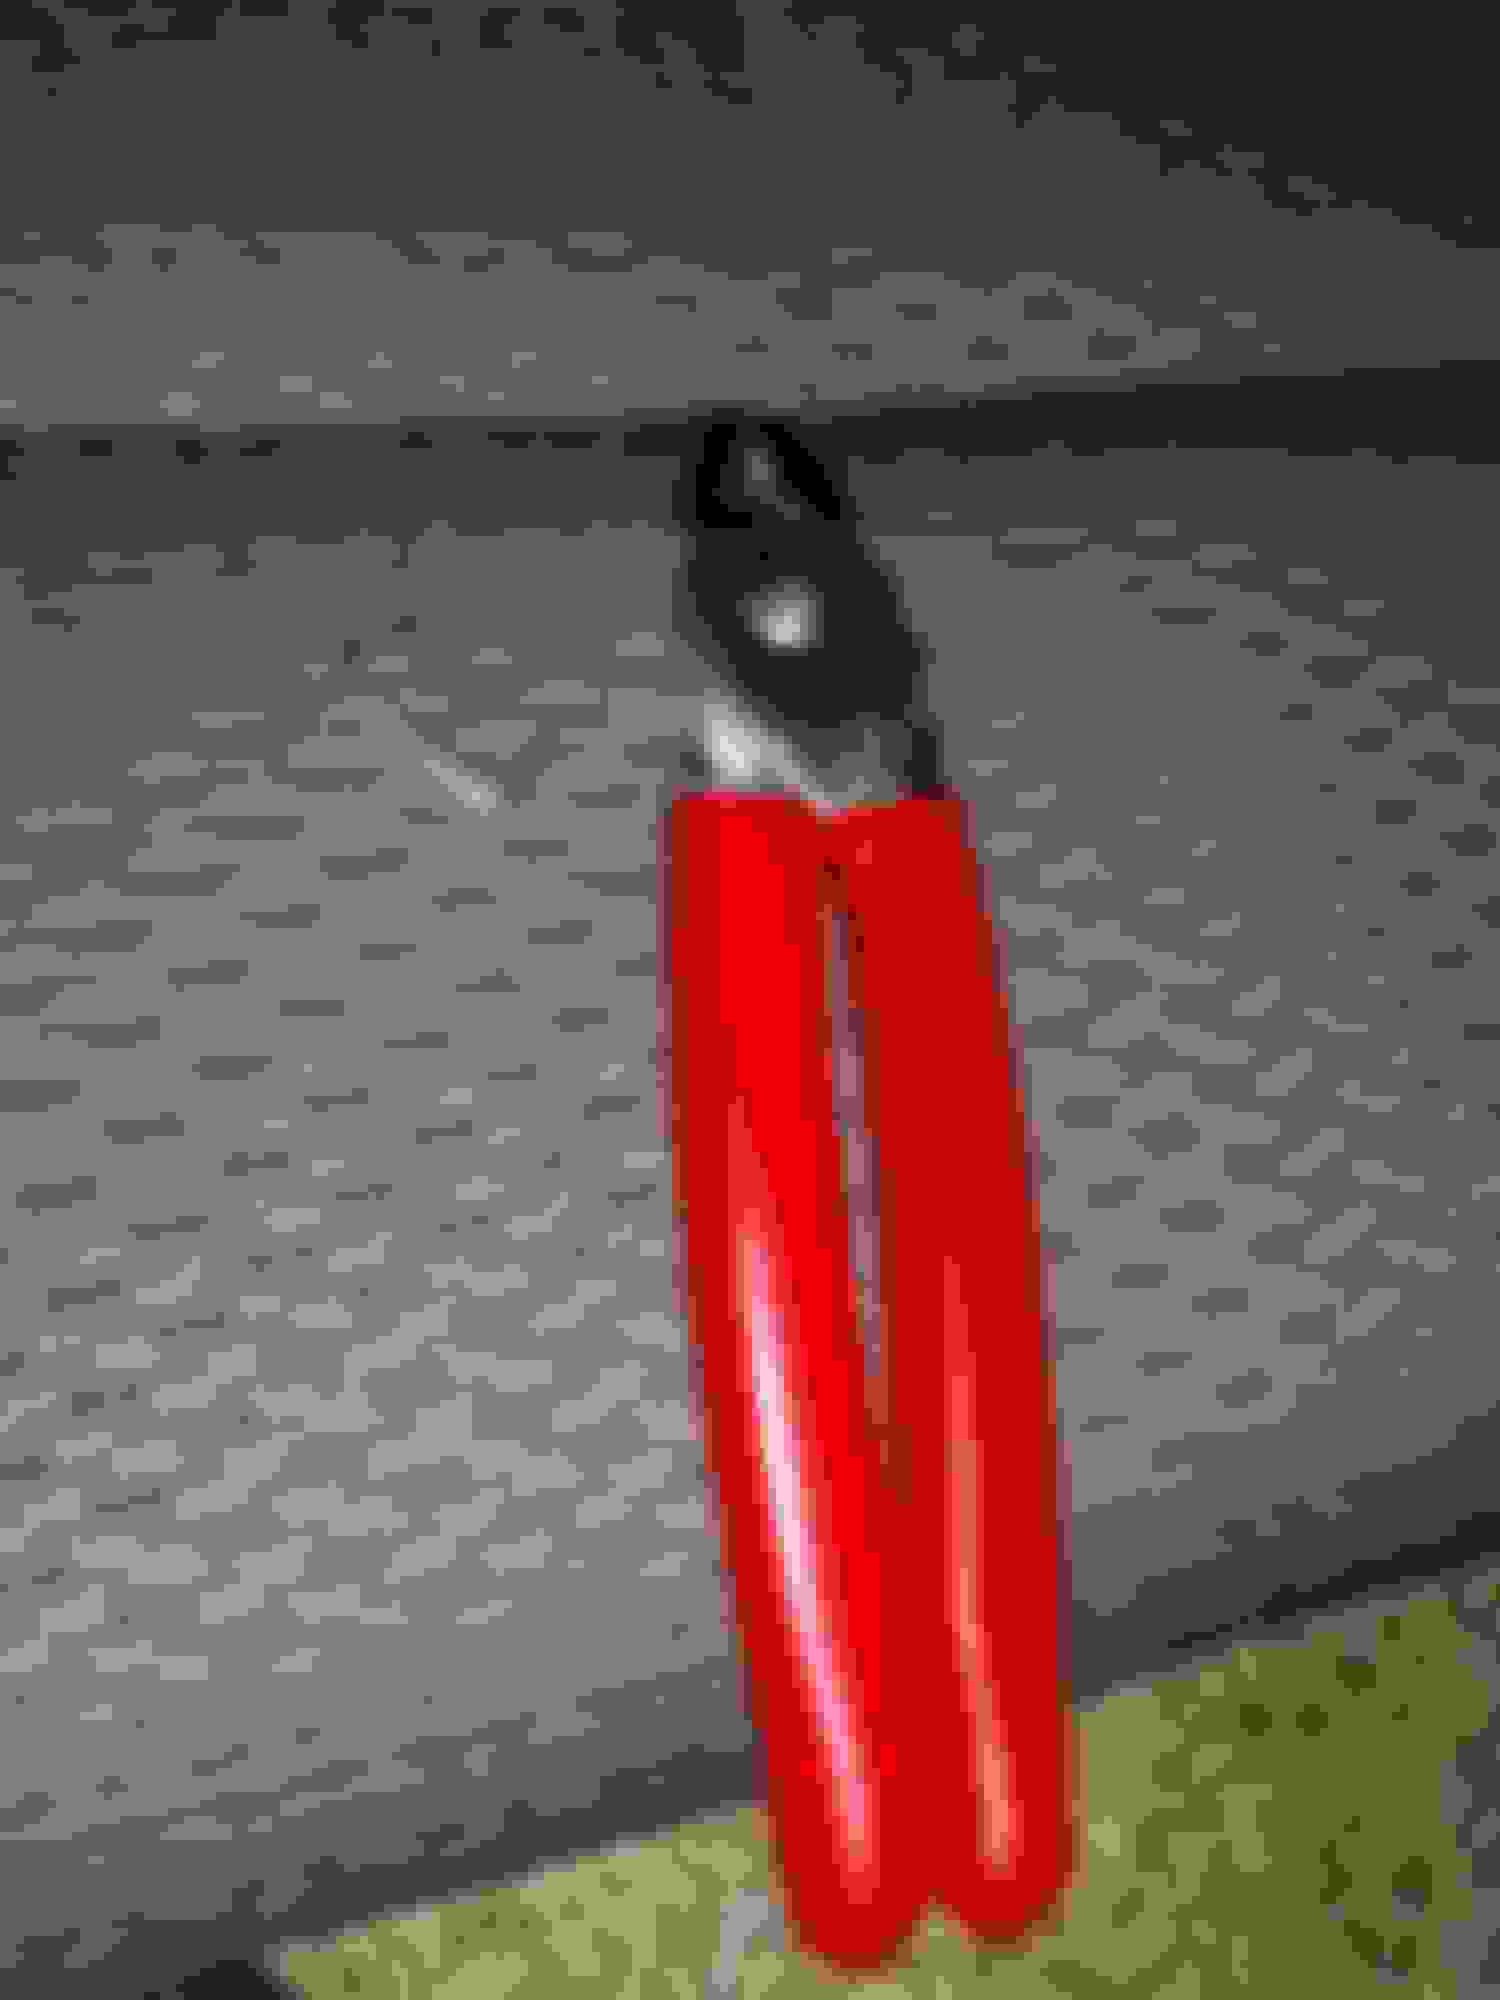
With that in mind, I hit up Amazon for a pair of angled hog ring pliers and a bag of 100 automotive hog rings. (They make hog rings to hold fencing in place that are made from a different material)
To be continued...
Last edited by Fordtrucktexan; 07-12-2016 at 11:55 PM.
Once the pliers and hog rings arrived, it was time to get started.
One night after work, I went outside and scoped out how hard it would be to yank out the rear seat. The guy at the upholstery shop claimed it to be an hour job, and that you'd need an 18mm ratcheting wrench because you couldn't get to the rear-most bolts. Either he was forgetful, or making the job sound harder than it really is. I unlatched the rear seat back and folded the seat forward, which made ample room to stick a 6-point 18mm socket with extension onto the bolts and drive them out with my 19.2v cordless impact. I flipped the seat bottoms up and removed the front-most bolts with the impact as well. With the bolts out, don't forget to pull the center seat belt through the seat and out of the way. I was able to lift and carry the entire rear seat by myself but, honestly, it's really a two person job.
With the seat inside and set down with space around it, it's time to get to work. Knowing I'm a full blown amateur at this type of work, I started with something easy, the rear head rests. I was surprised when I was able to easily pull the cloth cover right off the driver rear headrest.
Installing the leather replacement cover is just as easy, you don't even have to fold it inside out. Literally, it just slides right on. For the button, you take a straight edge razor blade and cut a hole smaller in diameter than the button, and just wrap it in place. Clips hold it all in place on the bottom.
In this image, the headrest appears baggy, but it has tightened up a good bit after being in the truck out in the sun.
The center head rest is a little tighter, but still very doable by hand.
Now, in all of the instructional videos, they show technicians placing the naked headrests in a special jig, wrapping it in plastic, and pulling a vacuum on it to compress the foam and make the new leather cover easier to get on. A good home-brew alternative to this method is wrapping the headrest in a trash bag and using a shop vac to pull a vacuum on the foam, which shrinks it down considerably. This becomes very necessary on the front headrests because they have a thick plastic core that keeps the foam from compressing.
It's important to note that if you run into any trouble, do not ever force the cover onto the foam. You can easily tear the cover at the seams if you do so.
With the head rests complete, I now had enough confidence to move on to the rear seat backs.
I started with the '40' section. After removing the plastic trim panel, I simply use a flathead screwdriver or seat trim tool to pop the tongue and groove channel apart and unfold the cover from the rear seat back. Be careful when pulling up on the cover, it's best to slide your hand up under the cover and unfasten the hook and loop fasteners carefully. You can actually pull the entire strip right off the foam if you're not careful.
This was my first encounter with the hog rings. Removing the old ones was easy, I used the hog ring pliers to grip them, and give a gentle sideways twist to separate the ends, making it easier to pull the plastic channel of the seat upholstery free.
Again, use caution and don't get too forceful. The hog rings hold the plastic channel of the seat upholstery to an embedded metal rod in the seat foam. If you pull hard enough, you can rip the rod out.
Installing the new cover is literally reverse of removal. Take the new leather cover, flip it inside out, and unfold it over the seat foam. I've heard some people say to use a steamer, or let the covers sit out in the sun before install. I did neither, and I'll admit the leather was tight during the install. Do your research and pick a method you think will work best.
Installing the new hog rings was a breeze with the tool. Each end of the jaw has a groove to hold the ring in place (think of an overgrown staple with razor sharp ends). Get the plastic rod as close to the metal rod, and use the hog ring to cinch them together. Remember, point the sharp ends into the foam.
Continue to unroll the new cover onto the foam, and check inside the cover to make sure the hook and loop (or velcro, whatever) strips are lining up with each other. Once you've unrolled the entire cover, gently press down on the cover along the lines of the hook and loop fasteners so that they hold the cover tightly to the foam. Connect the tongue and groove channel at the bottom of the cover, and cut the holes for the rear seat latch and headrests posts.
The headrest posts are a little tricky. The video I watched showed the technician using a special pencil to draw out the holes by feeling where the plastic posts were under the cover. He then cut out a slightly smaller hole and pushed the cover down and around the plastic. I didn't have a pencil, and just cut the hole based on feel. It kinda worked, but I did make mistakes that I'll show later.
I didn't take a lot of pics of installing the seat bottom, but it is very similar. You do have to remove the foam from the pan (you actually have to do this on ALL of the seat bottoms) and be super careful with the velcro. This is where I actually ripped up some of the velcro from the seat foam, even pulling carefully, using one hand to hold the black velcro down while I pulled up on the old cloth cover. There are also two plastic clips that pull the sides of the seat cover to the center by clipping to the pan. The bottom seat latch stays in place but with the Pecca kit, the holes are pre-cut for the latch. So you simply give the latch bezel a nice tug and it pops off. Once the new cover is on, it snaps back in place. The same can't be said for the seat hangers, those plastic hooks under the '60' seat bottom. I broke one pulling it off, and decided not to reinstall them once the new covers were on.
Pressing the new leather cover around the black metal LATCH attachment hooks was also a bit of a pain.
If you do rip up the velcro, which I did, I found that 3M Super 77 is made to adhere to foam and worked great in reattaching the OEM strips. To hold the strips in place, I used quarters to wedge down in the foam. It was ready to go in about 20 minutes.
The driver portion of the rear '60' seat back installs in a very similar fashion to the '40' portion. There is one 'stray' hog ring that is easy to forget, it's a small flap that holds the upper cover in place in the opening of the center seat belt.
With all the covers installed, the end result was pretty good IMO
I called a friend over and the two of us heaved the newly cover seat into place.
Removing it from the cab is pretty easy, IIRC it's held in with four 15mm bolts, the front two are different from the rear two, so don't get em mixed up. Now, the front seats have airbags in them. For safety, disconnect the battery before proceeding. The electrical connection to the seat is held in place with a connector that has a plastic lever to lock it in place. There is a small plastic tab that holds the lever in place, press it gently with a flathead screwdriver, pull the lever forward, and the connector should pop free. There's also a torx bolt that holds the seatbelt to the seat chassis, it's behind a plastic panel along the seat bottom. Pop the panel free with the flathead, and remove the seatbelt from the seat.
You have to start with the bottom cushion. To do so, you have to remove the plastic trim panel entirely, which is held in place by a 7mm bolt near the seat hinge, and a torx screw located behind the removable trim panel with the faux diamond plate. Underneath the panel, it's clipped to a metal rod. You then use a flathead screwdriver or trim panel tool to push in the metal clip that holds the seat recline lever in place, and pull it off. Now, the plastic side panel should come off. Once it's off, you can start removing the seat cushion.
Once the side panel is off, you'll see that the cushion side is clipped to the metal rod with a large plastic j-hook. Pop it loose. On the other side, the cushion was clipped in place with a similar flap that I popped loose with a trim panel tool. I then unhooked the rear of the cushion by unclipping the rear of the cover from the bottom of the seat pan. There are velcro strips that hold the cushion cover sides in place against the back of the seat cushion, and on mine I actually had to use a trim tool to break the velcro loose. Once you unclip the front of the cover from the seat pan, you should be able to lift it off of the seat frame. BE EXTRA CAREFUL, the seat frame has MANY JAGGED AND SHARP EDGES.. I lost count of how many times I cut myself and the new leather covers did go on with bloody fingerprints that I had to clean off.
With the cushion off, you can them remove the cloth and install the new leather cover. When removing the cloth, there is a black elastic band that holds the rear of the cover to the seat foam and resides in a groove.
Before you can put the bottom on, you have to change out the top cover.
Remove the headrest first. Unclip the top cover from the bottom, another tongue and groove clip-connector. Unzip the rear of the cover and reach up under the seat back, the upper part has an internal clip that clips to the seat frame. Pull it loose. Then pull the front of the bottom of the cover forward and begin unrolling it from the foam. Again, use caution with the velcro. The airbag in the side makes things a little tricky.
It's held in place by two 10mm bolts that you can access from the seat back. Now, there's competing schools of thought and without access to the OEM procedures, or any procedures for this job, I just pulled the entire airbag assembly out of the cloth cover (it's wrapped in a sleeve sewn to the cover) without disconnecting the wiring harness. Once it was out, you can finish removing the cloth cover. I flipped the new leather cover inside out and installed the airbag into it's new sleeve, pushed it back onto the seat frame and bolted it back into it's original holes, then slid the new cover down over the foam at a weird up/slanted/sideways angle. It made putting new hog rings in a challenge, but not impossible. This is where I actually ran into my first "What in the..." problem.
On the seat back, the OEM cloth cover clipped to the seat frame new the top, which makes it easy to slide stuff in and out of the rear seat pocket. The new covers had a similar plastic clip, but it didn't have the same tension as the OEM clip, and was too long to clip into the same slot. However, I was able to slide the whole clip assembly into the open slots inside the seat frame and effectively hold the cover in it's proper place without clipping it. Hard to explain and impossible to photograph since it was all done by feel inside the cover.
The second "What in the..." problem was when I got the new cover full unrolled, pressed, and ready to clip it all together. The OEM cloth cover has a large plastic J-hook tongue and groove clip that holds the cover together at the bottom. The new leather cover was either sewn in error, or who knows, but instead of a tongue and groove, it was groove-and-groove. I saw there bewildered, looking at these two large plastic strips, wondering how on earth and I going to clip them together. It was literally two solid plastic bars, that somehow, I was supposed to fasten together. My first thought was to haul the whole mess down to the upholstery shop for them to sew on the correct clips. But in the spirit of "nobody will see it anyway" and "screw it", I reached for the hog ring pliers, three hog rings, and crimped both plastic bars together and finished the job. There's a flap that comes down to hide the whole mess, so you don't see it anyway.
The finished product
The headrest proved to be a bit of a pain all on it's own. For starters, the cloth cover will unclip, but almost flat refuse to give up it's vice-like hold on the headrest foam. I'm not sure of the correct method, but I found that pulling the headrest posts (which are embedded in a hard foam core sandwiched in the soft foam of the headrest) out first makes it a little easier. I then reached in, and pulled out the soft foam padding. To get the new cover on, I re-installed the soft foam onto the hard foam core and wrapped it all in a trash bag. I then stuck the snout of my shop vac up against the core and held the bag tight around the shop vac hose and switch the vac on. Once it was on, it pulled the trash bag tight around the foam and compressed the foam a good bit. I was then able to wrestle the new leather cover on, but even then it still wasn't easy and the risk of ripping it was pretty high IMO.
After I finished the passenger front seat, I removed the center console. It's held in place by two 13 mm bolts to an aluminum floor bracket, don't forget to unclip the plug for the rear 12v outlet.
Look, this is where everything went pretty bad. To make a long story short, I f'd up the center console by cutting the seatbelt hole in the wrong location. It's still sitting in my computer room right now in a million parts while I wait for the upholstery shop to receive the new leather material that will repair my 'more guts than brains' screw up.
Re-upholstering the center console should be it's own thread, it's such an involved process requiring several different tools. Every single bolt is either torx or hex and requires a different size bit. It's completely ridiculous.
There's actually a video dedicated to it on youtube
To be fair, the factory cloth was in pretty good shape.
The only difference between the driver and passenger seat in this case was my driver seat has the power option, which added a little weight but not much more complexity. You have to cut a larger hole in the material after installing the new leather to have clearance for the power switch and electrical connector. The driver lumbar feature doesn't make things any more difficult.
I ran into the same problem clipping the seat back material to the seat frame and had to hog ring the bottom of the top cover together.
I'd say the driver seat was easier to do than the passenger seat because by now I had learned the procedure enough to gain a little speed.
Before the wrinkles scare anybody, it's important to note that as of this post, the seat hasn't even been in my truck 24 hours and over half of those wrinkles have already flattened out as the material has started tightening up.
Here's a few things I've learned from this job:
- Research heavily before jumping in. Watch videos, google it, and read leather installations from users on other forums.
-Measure twice, cut once. Especially with the center console seatbelt hole.
- Use an angled razor (box cutter blade) when making cuts for the seat side panels and head rest holes, when I used a straight edge razor, I kept over cutting and ended up with a few slits that are visible where they shouldn't be.
- Get a seat/trim panel tool kit. They were on sale for $5 at harbor freight and made reaching in to unclip hard to reach fasteners so much easier.
- Patience patience patience. Installing upholstery is a combination of mechanical skills and craftsmanship. Just because you can build an engine and/or transmission doesn't mean you can do this to perfection, as I learned. It's more of a craft than a mechanical job. You CAN do it wrong!
- Keep plenty of bandaids on hand.
As of right now I just have the rear seat and driver seat installed. The driver seat is smoothing out and looking more OEM by the hour, LOL. The passenger seat is sitting in the house until I get the center console complete and reassembled. The local upholstery shop is going to remove the damaged section from my leather center console cover, sew in a new piece of leather, install it onto the part for me, and install the new material onto the lid, for $150.
Will update as things progress.
Last edited by Fordtrucktexan; 07-13-2016 at 01:10 AM.
Nice write-up, that's definitely a big job and not for the feint of heart. I look forward to seeing pictures of the finished product, hopefully more of the creases and bagginess goes away!
Yea, the wrinkles look a lot scarier than they actually are. I had Katzkin covers installed about 6 years ago in my 99 F150 and they looked just as bad at first with wrinkles, and took almost 2 weeks to smooth out.
At the time, I couldn't find a similar kit from Katzkin for under $800. But right now, there's someone on ebay selling them for $575 plus shipping. If that deal is legit then that's about what I paid for my Pecca kit. Pecca is well known across Asia and Europe in the aftermarket scene and they even make aircraft interiors.

 07-12-2016, 10:59 PM