When you click on links to various merchants on this site and make a purchase, this can result in this site earning a commission. Affiliate programs and affiliations include, but are not limited to, the eBay Partner Network.
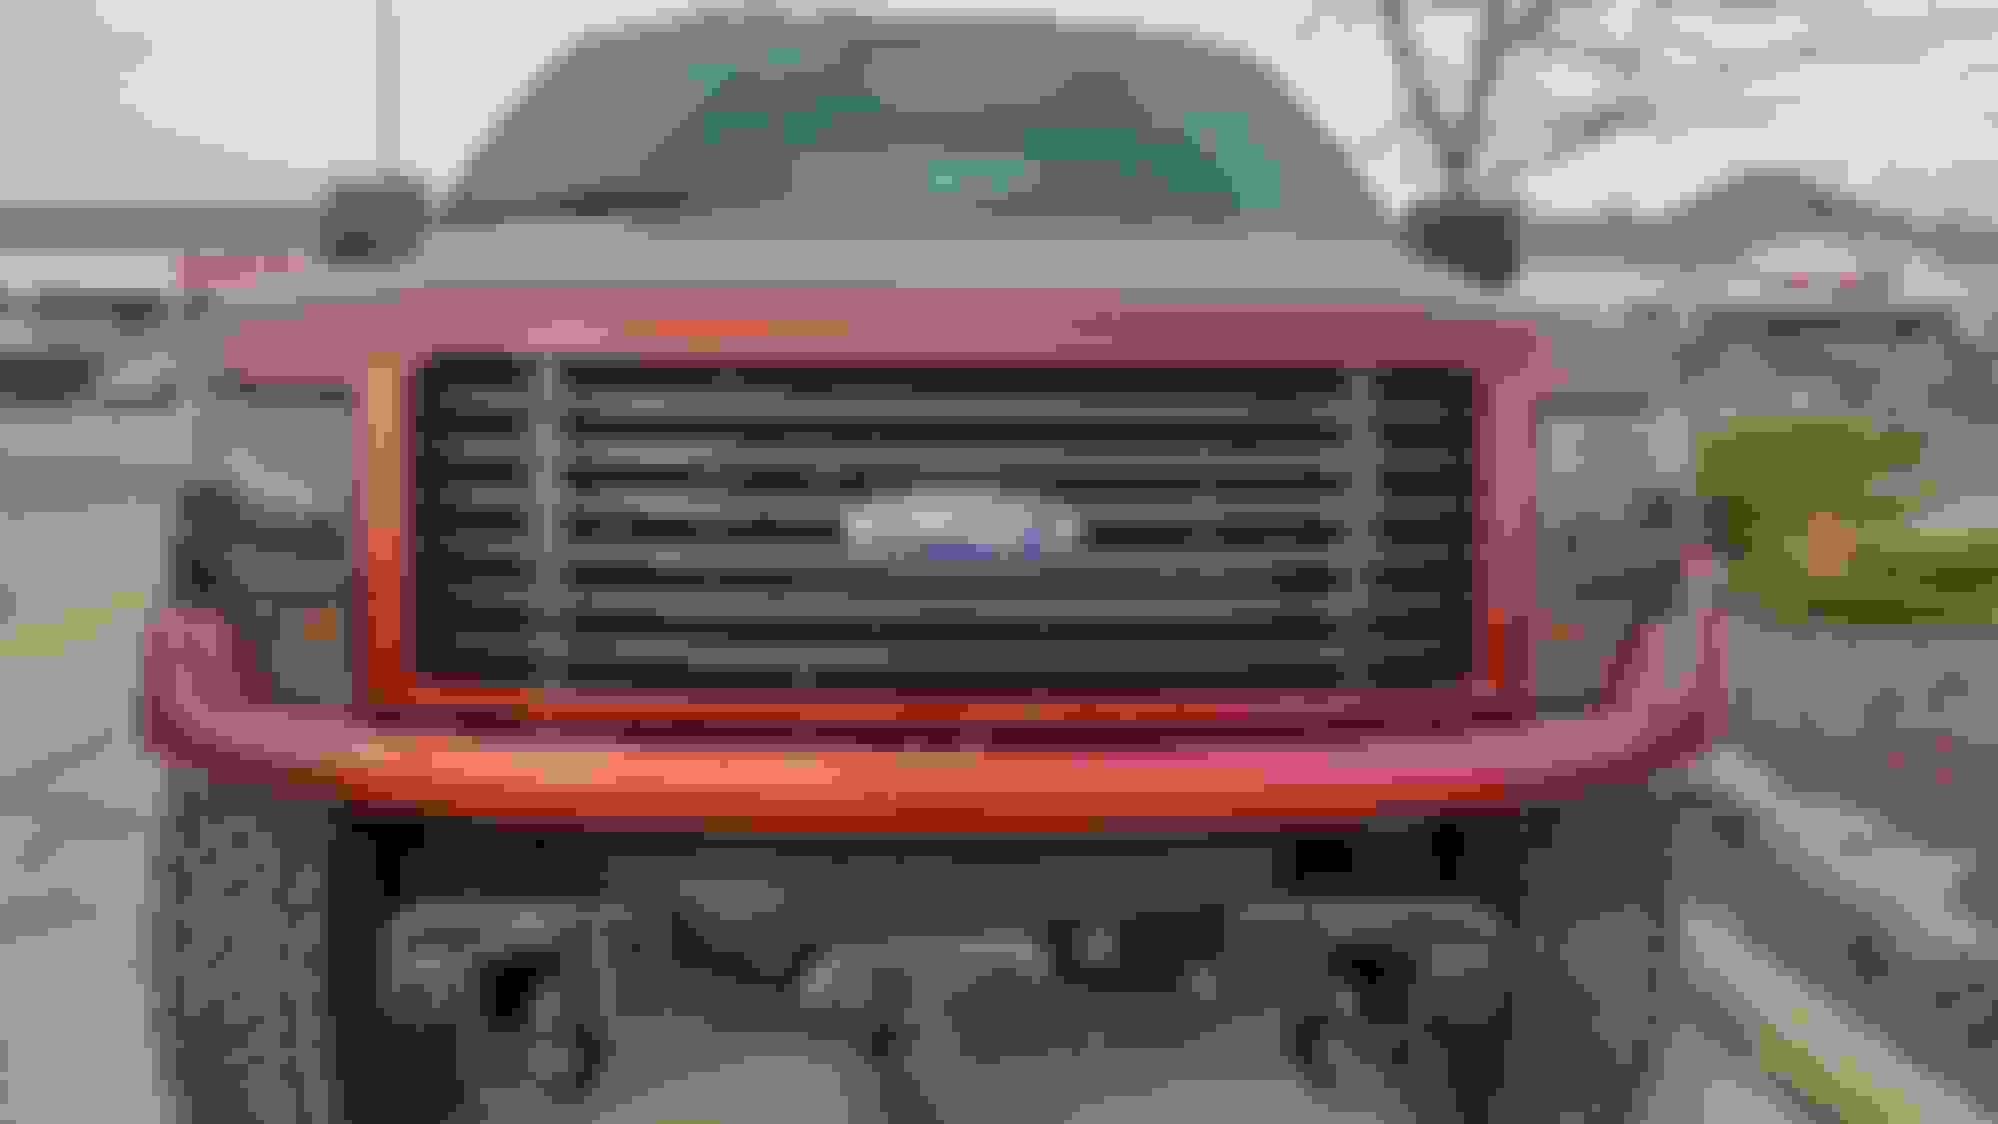
Just finished my headlight retrofit! I have been extremely impressed with the light output of the Morimoto Mini H1 projectors. Difference in light output is night and day over the stock halogens!
Parts (from The Retrofit Source):
Projectors: Morimoto Mini H1 7.0
Ballast: 35W Morimoto XB35
Bulbs: Morimoto H1 XB 5500K
Shrouds: Apollo 2.0 (PTMd)
Halos: 110 mm Motimoto XSB 2.0 Switchback
Wire Harness: MotoControl Bixen on H13/9008
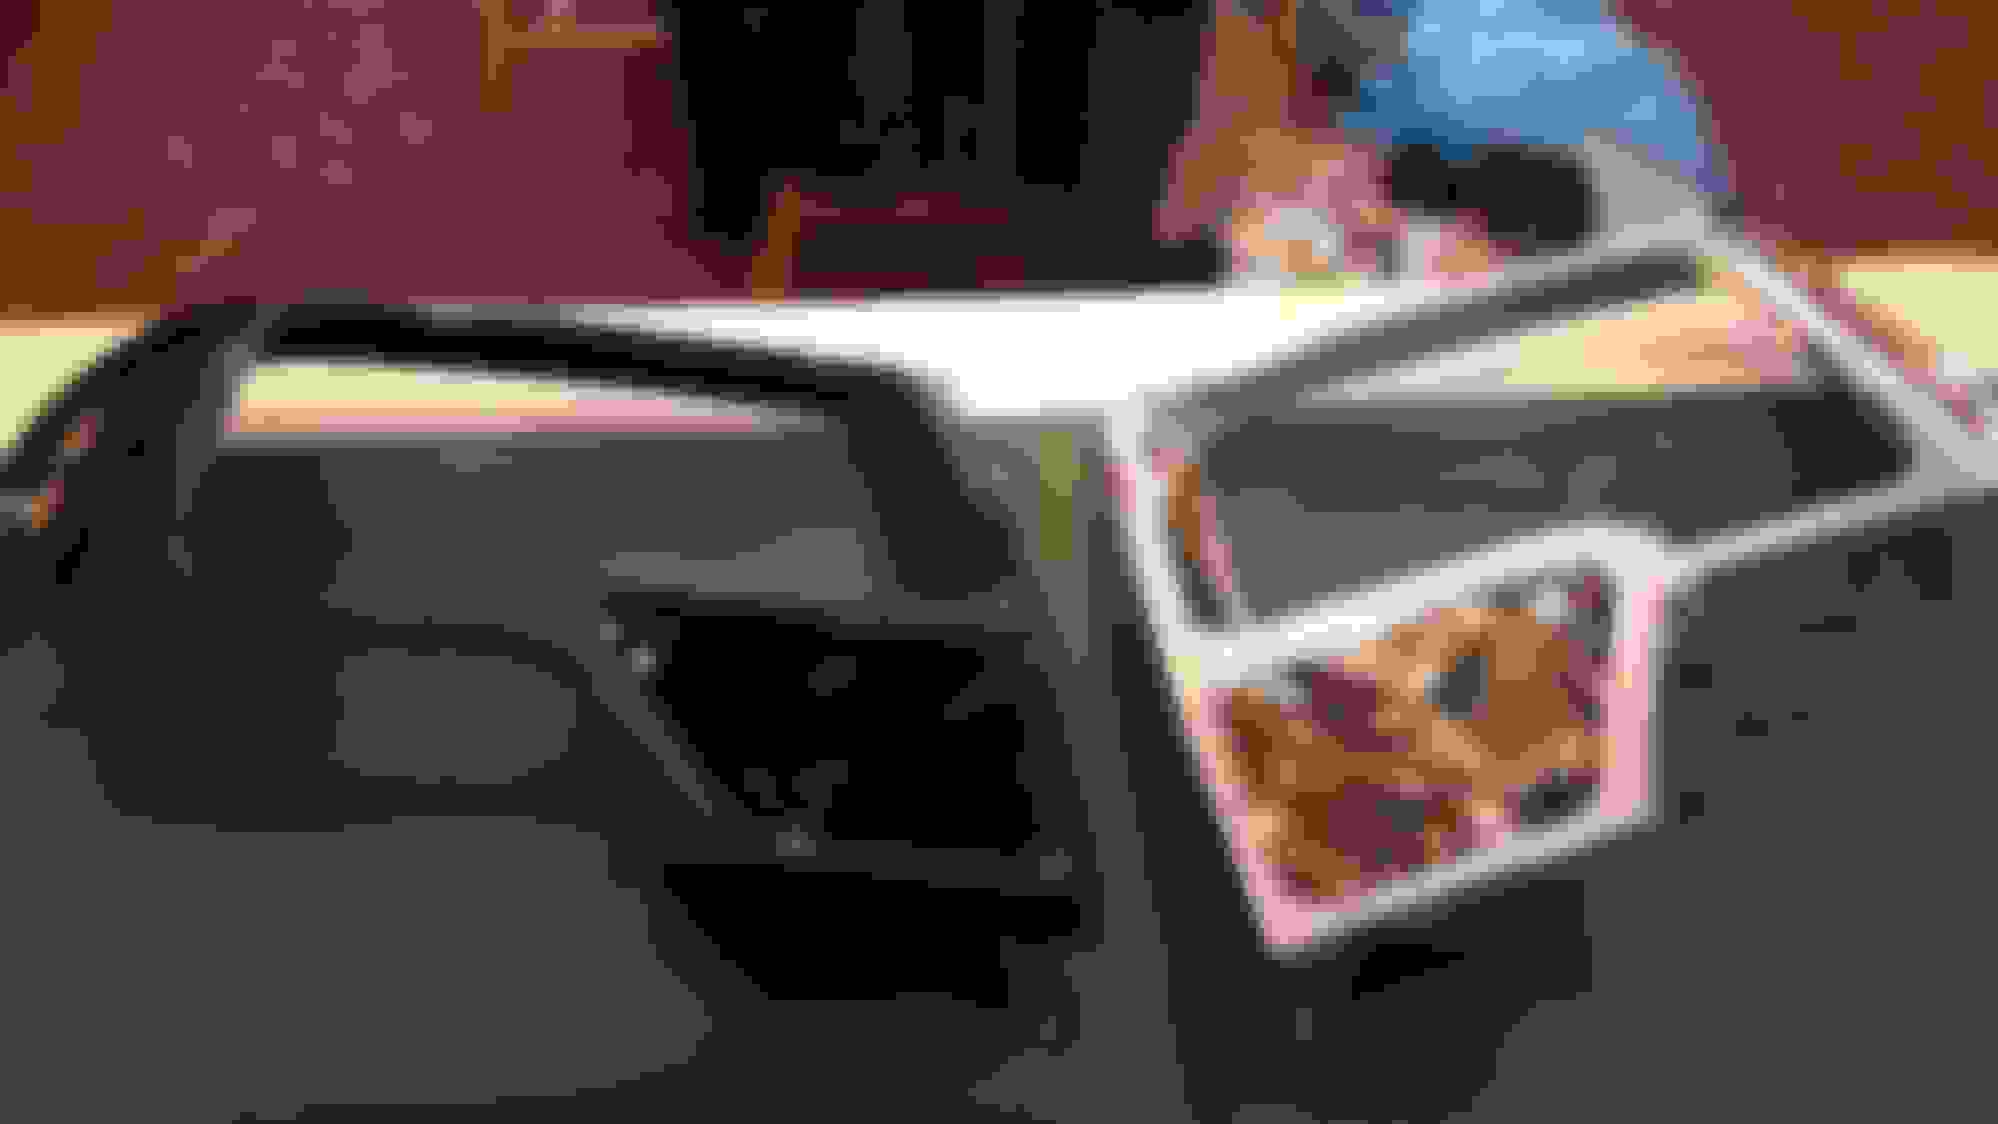
I started by removing the one screw out of the back of each housing and baking the headlights in the oven at 250 degrees for 30 minutes. I ended up getting some minor spider webbing on one light but it is over the turn signal lens and is luckily not very noticeable.
Then I used a stiff putty knife to work into the corner by the turn signal. You can't be scared to really get rough with these or you will never get it apart. Even if you warp the housing a bit it can always be bent back later. Once you have enough room to get your fingers between the lens and the housing, use both hands and pull them apart. Again, don't be scared that you will break them. They pry apart fairly easily when hot but it does take a fair amount of force.
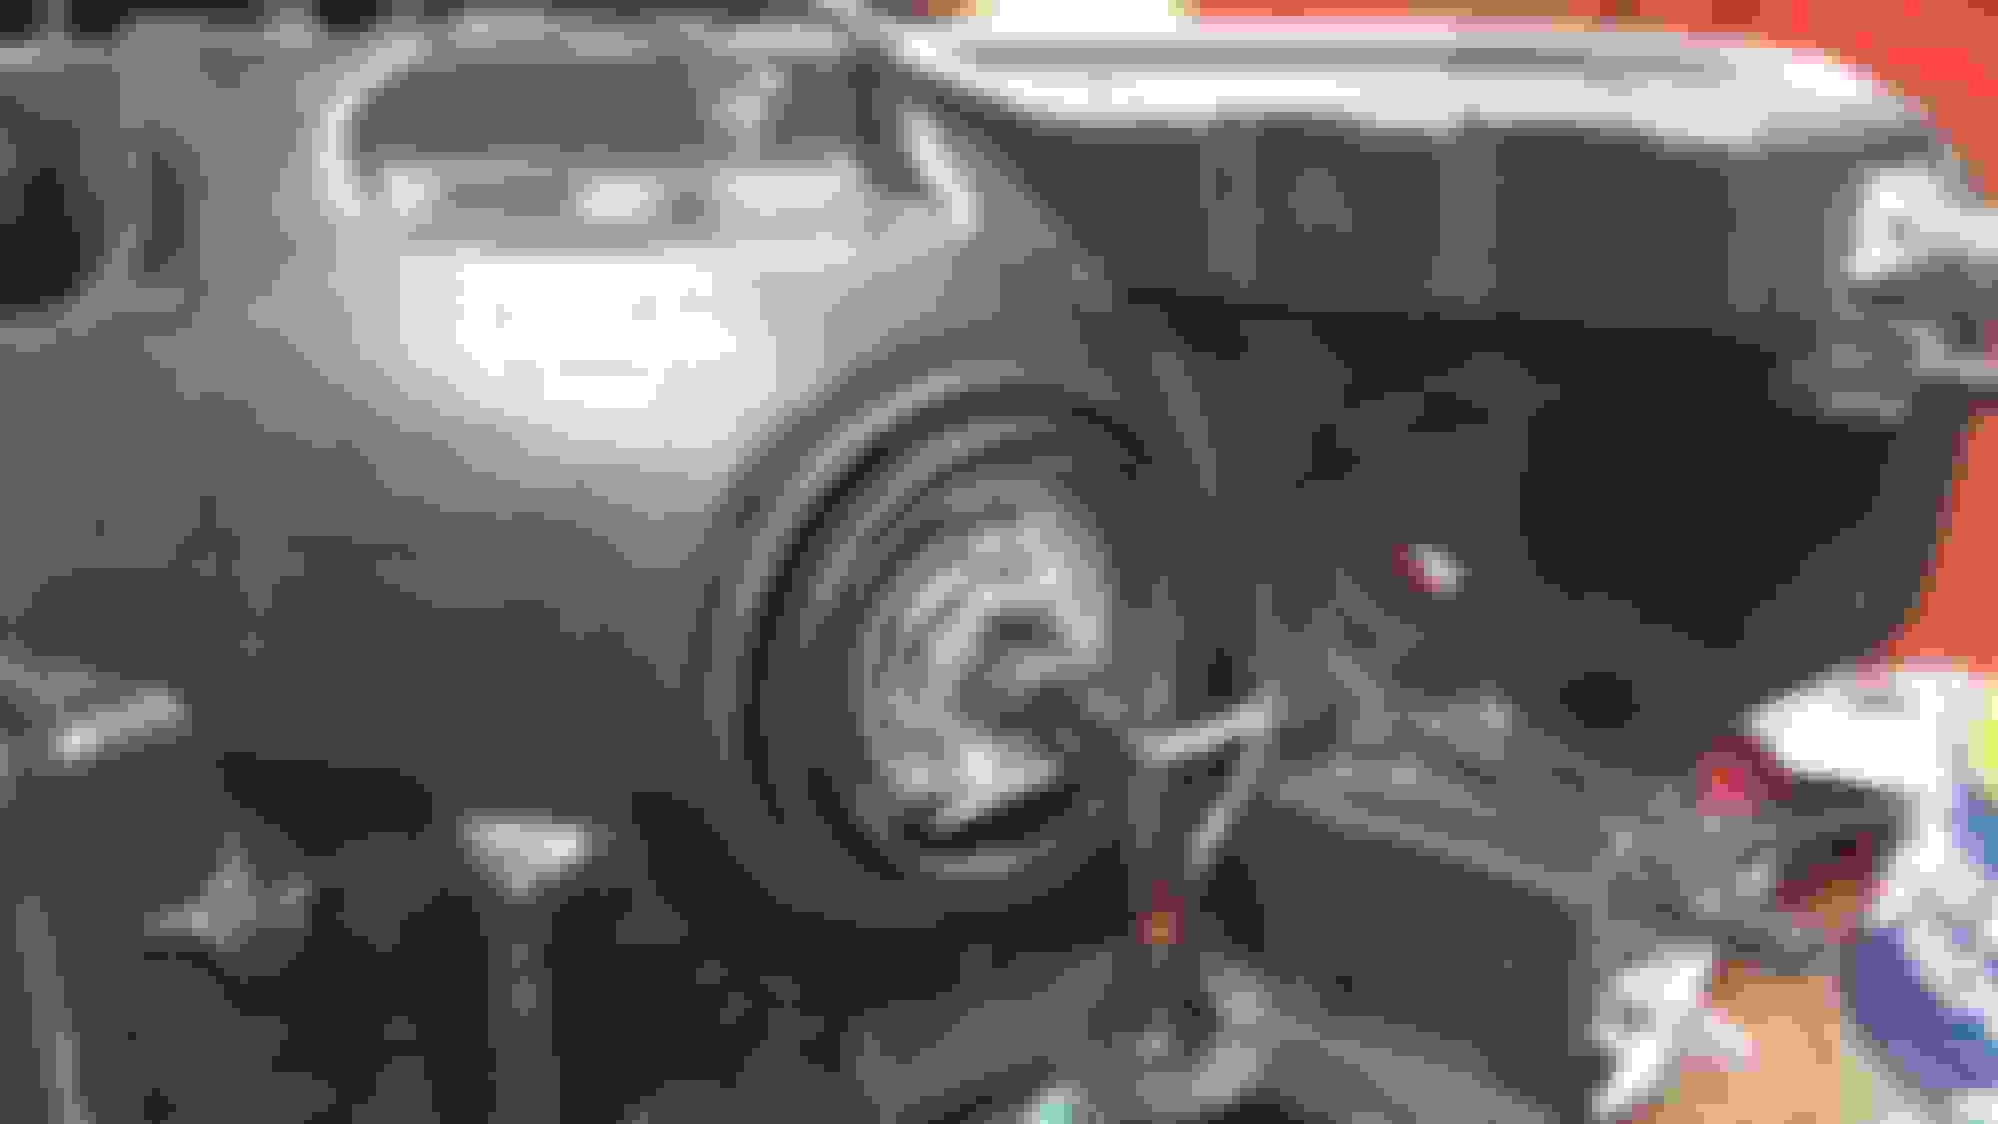
After that you take out a few screws that connect the the chrome bezel to the lens and separate them.
I then put my lenses in sealed plastic bags because I have read that it is very easy to scratch the inside of the lenses. After this I used Easy Off Oven Cleaner to strip the chrome off of the shrouds, bezels, and reflector buckets. The shrouds strip very quickly. The bezels and buckets take much longer for the chrome to come off.
I was going to leave the bezels unpainted but I accidentally left the oven cleaner on for too long and at into the gloss black of the plastic so I sanded them down for paint.
If I could do it again I would have just scuffed and painted the chrome finish instead of stripping the bezels and reflector buckets. It was a PITA and honestly I don't think it helped the paint stick any better.
I then painted the bezels and buckets with Krylon Fusion. The bezels came out fine but I was not impressed with how the paint stuck in the reflector buckets. Once the lenses are back on though you can't see the minor paint flaws.
I then attempted to paint the reflectors with VHT Nightshade and it did not take well AT ALL. I ended up sanding it all back off (which sucked) and hitting them with a few light coats of krylon fusion which worked much better.
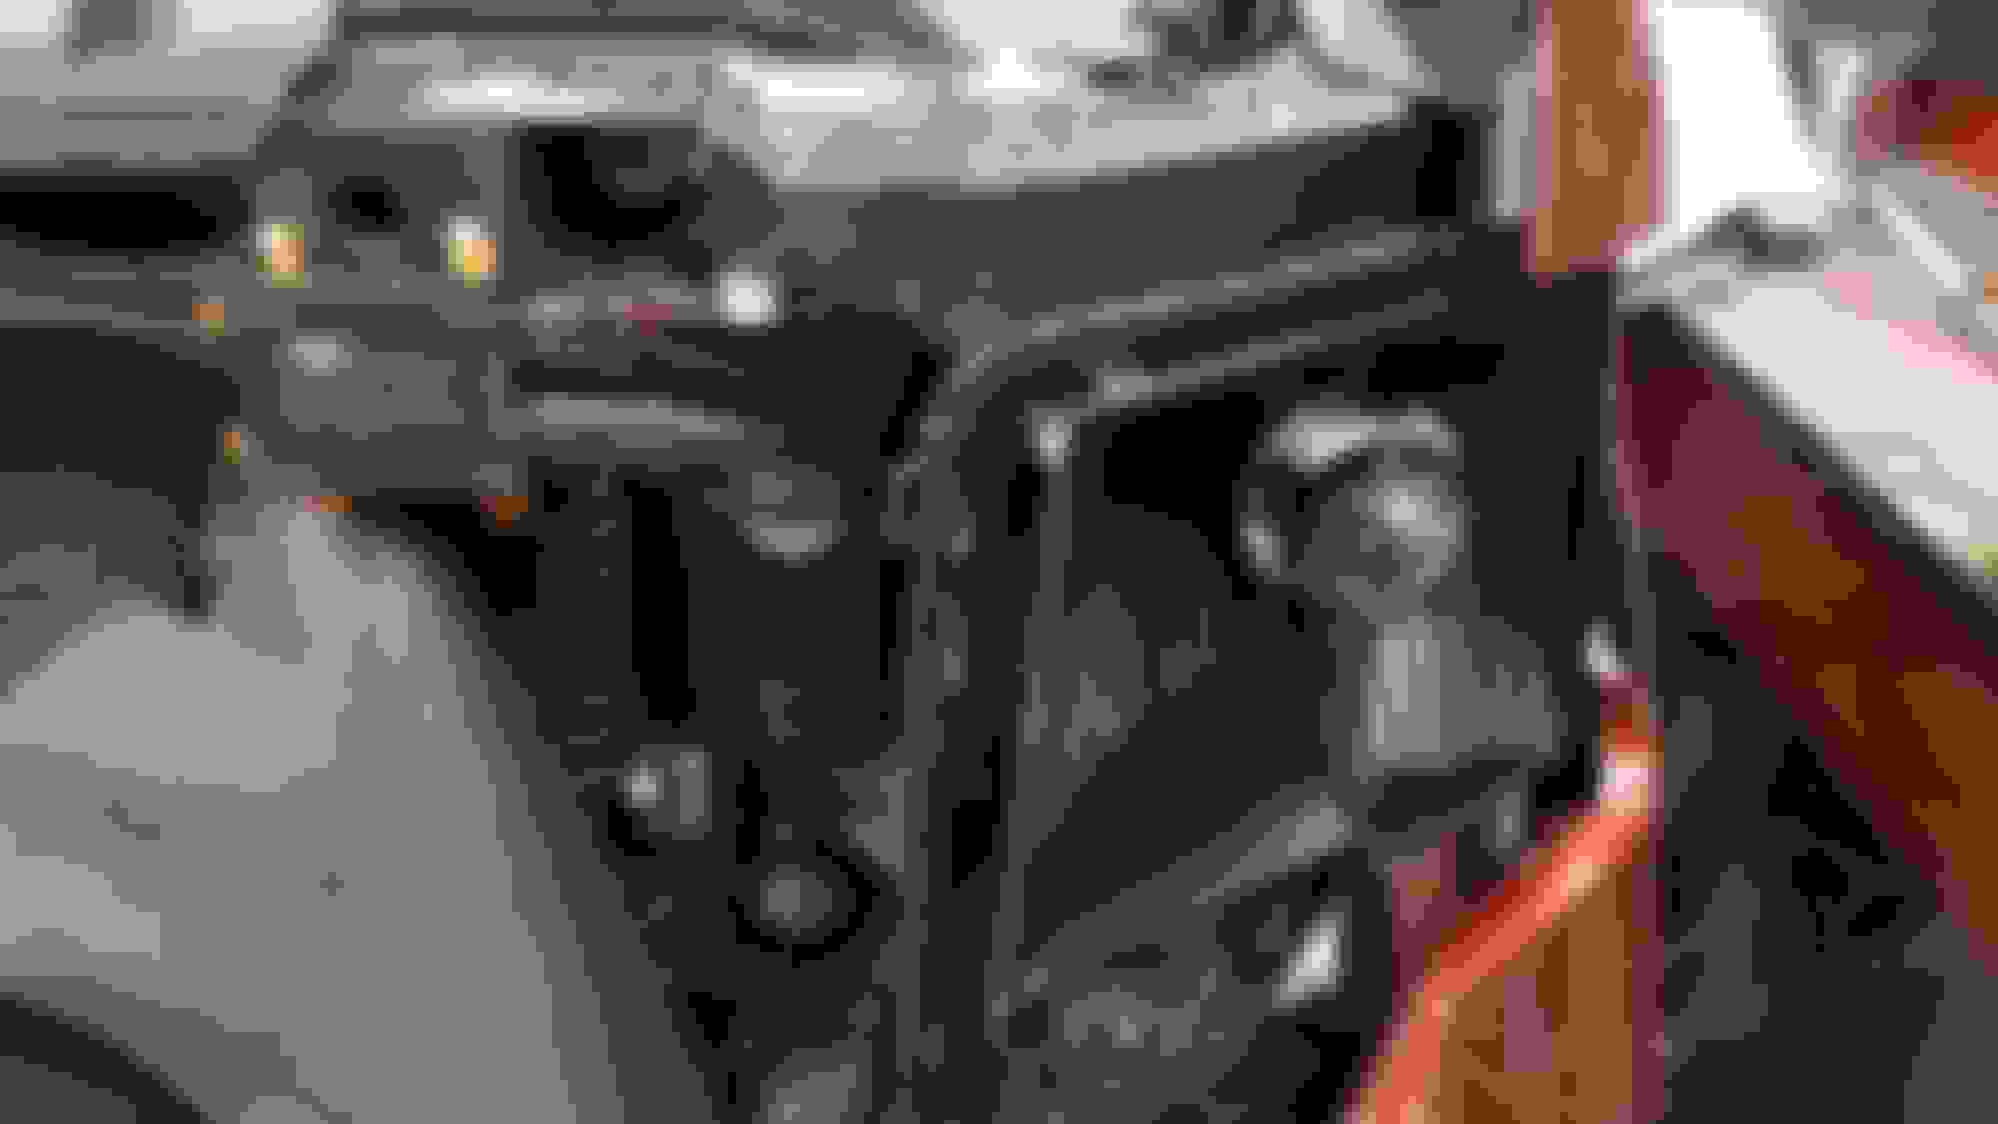
I then dremeled out the front and back reflector buckets enough so that the projectors would fit. I also expanded the hole that held the little shield to run my halo and solendoid wires through.
I then trimmed the top and bottom of the shrouds to fit into the reflector bucket and took them to a local body shop and had them painted to match my truck.
Last edited by Sunset_5.0; 02-19-2016 at 12:48 PM.
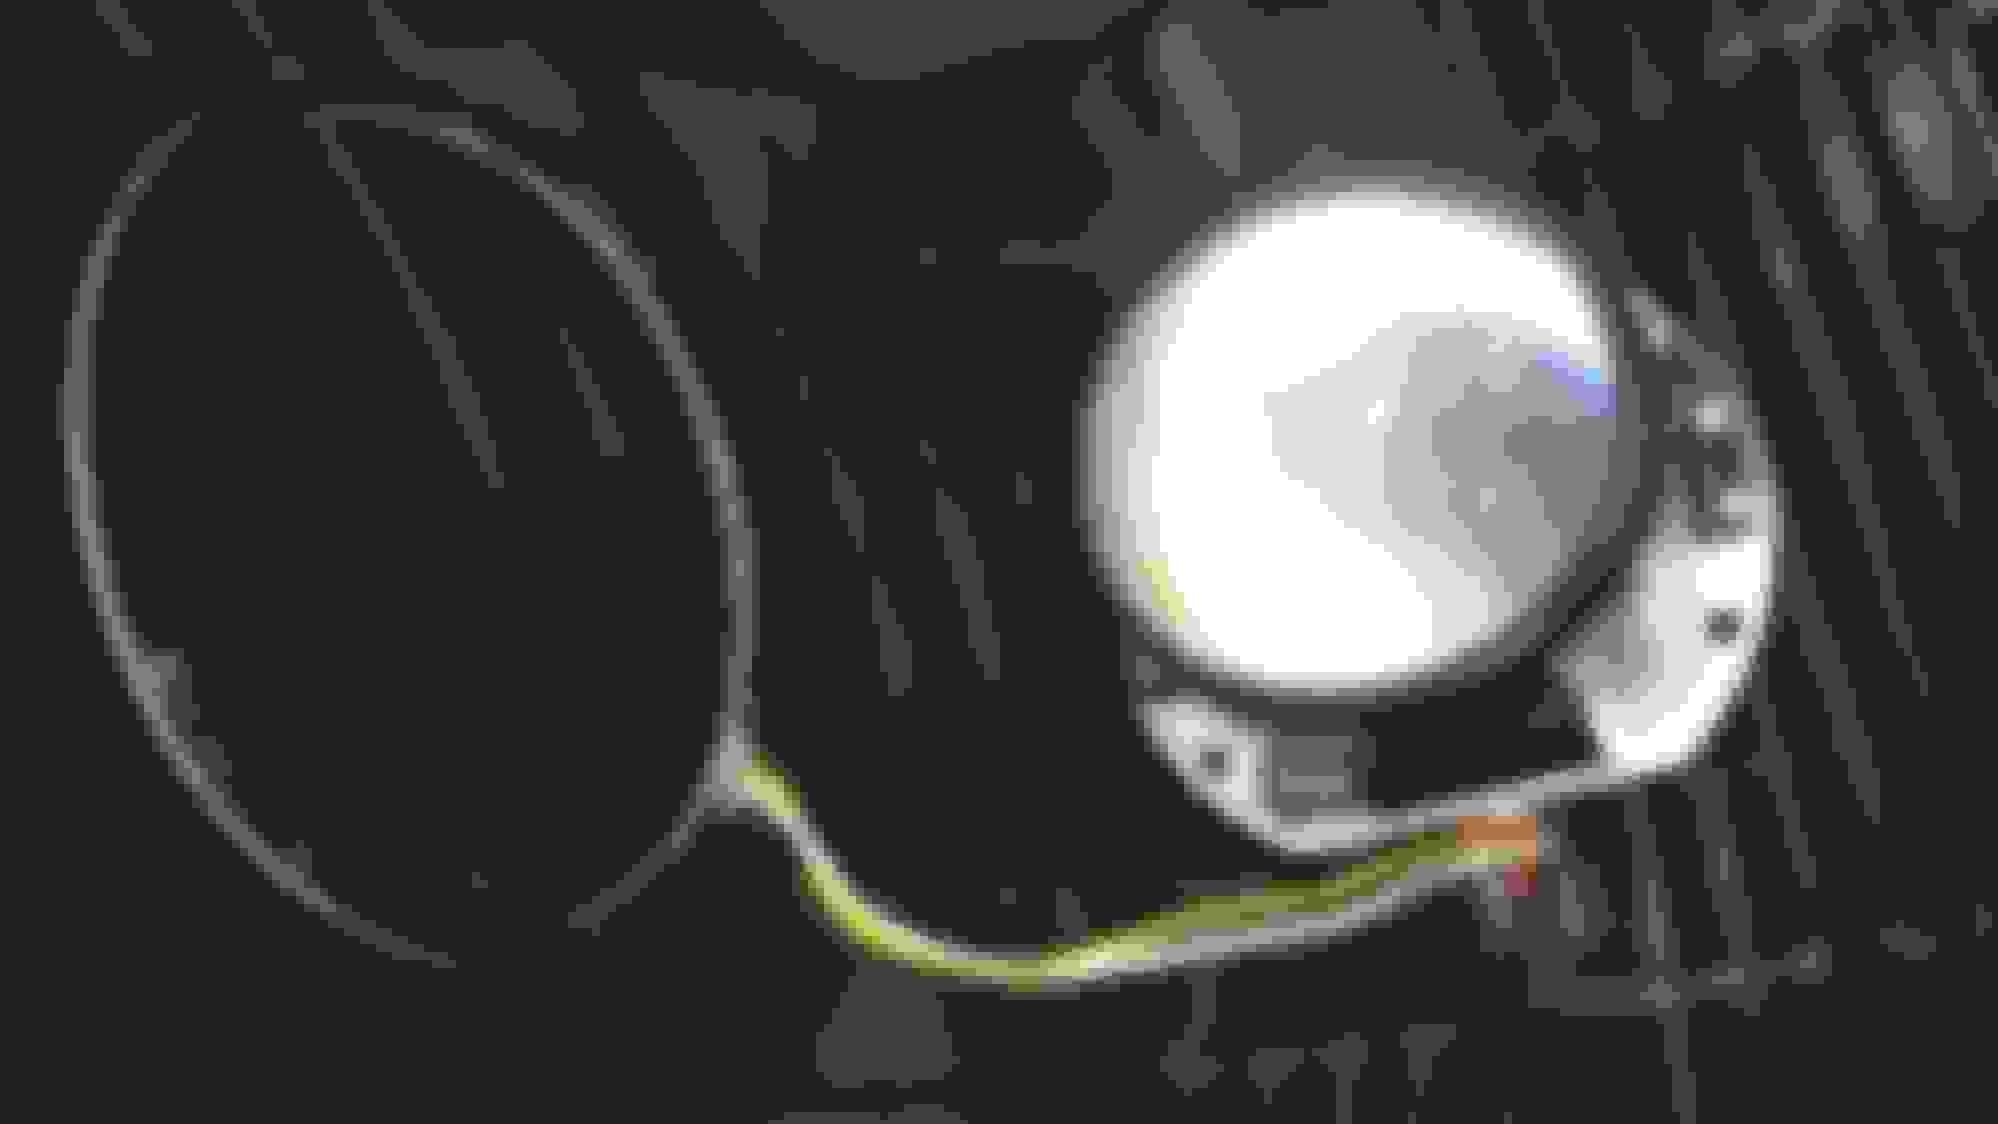
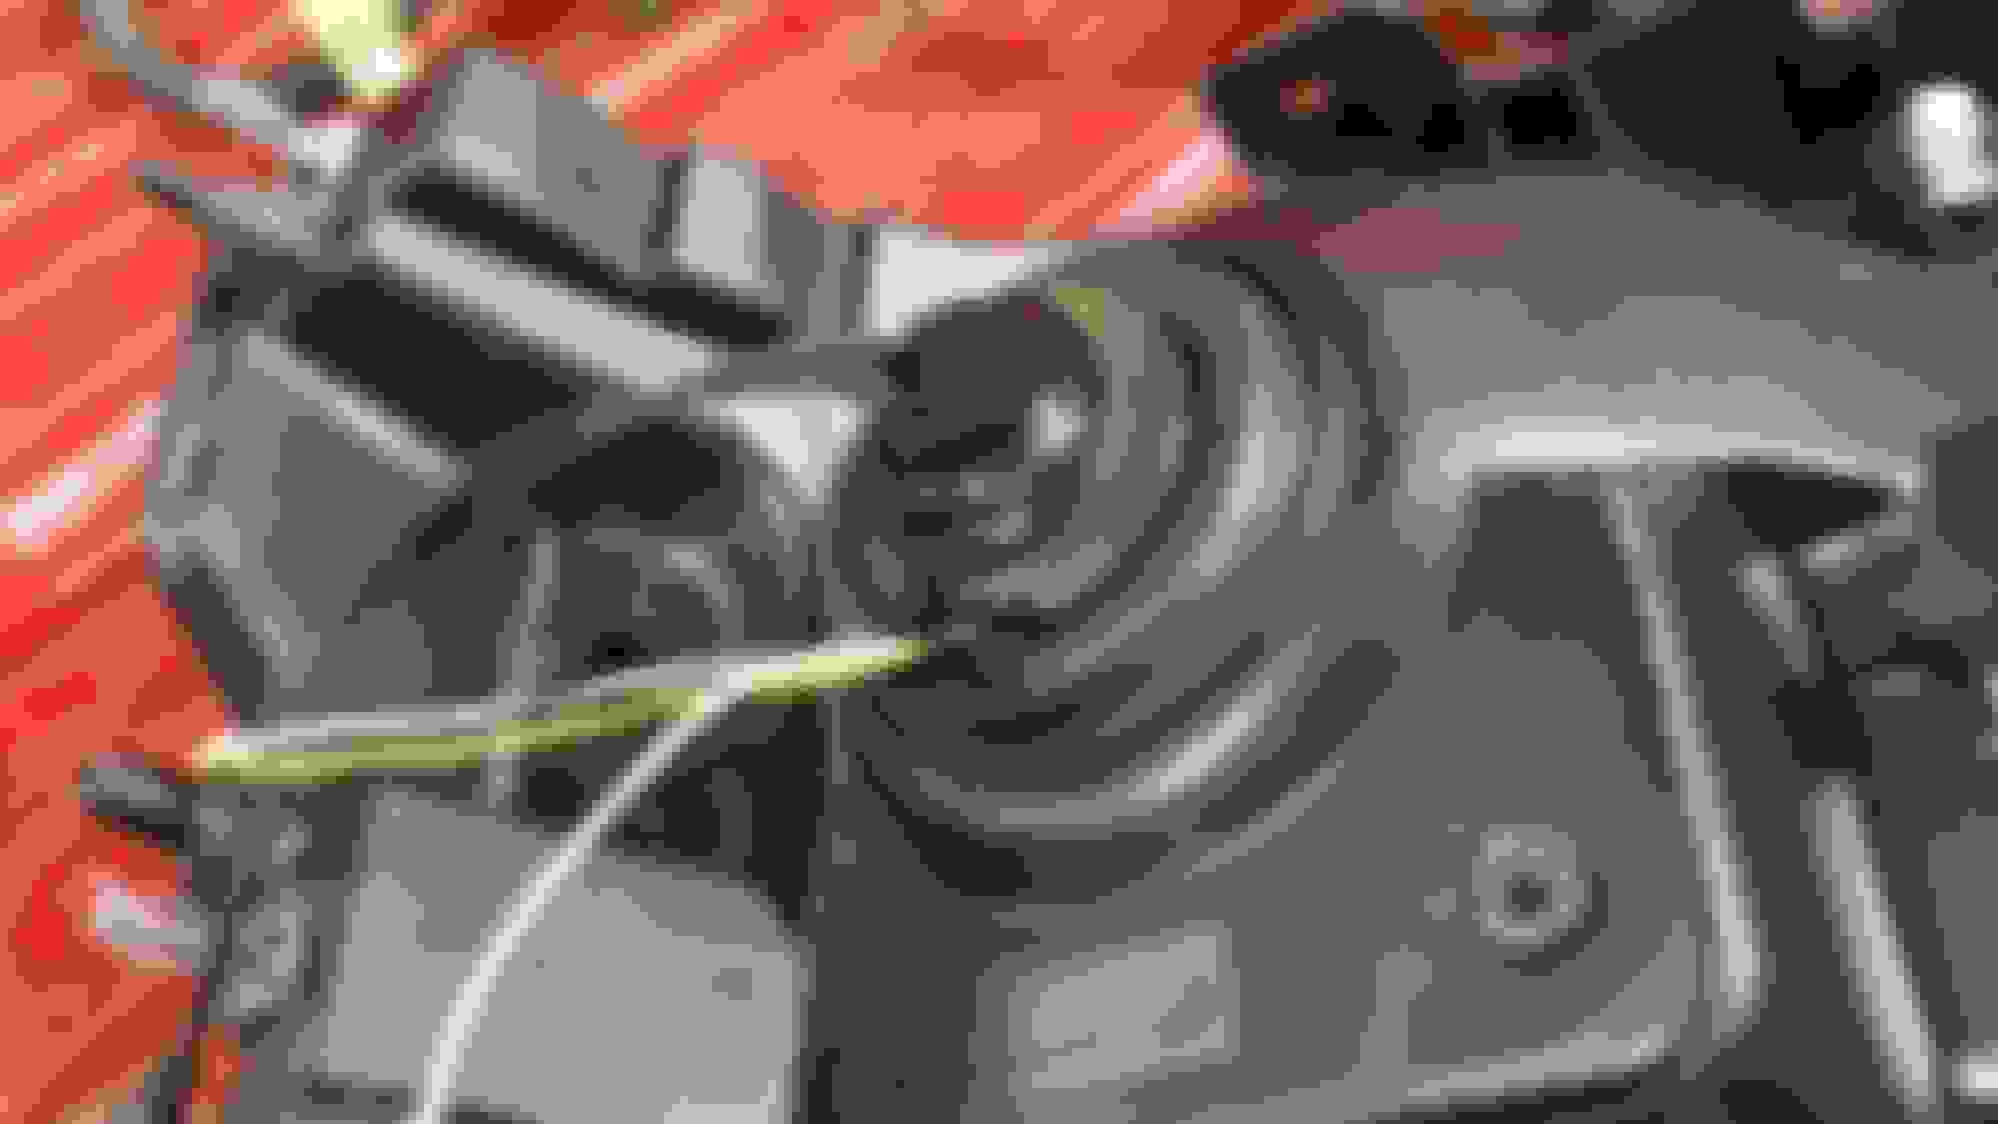
The next step was wiring, aiming, and permanently mounting the projectors. The mini H1s are fairly easy to aim. Just tighten the nut on the back until it's held in firmly. Then turn the lights on manually adjust until they are straight on the wall. After that I used JB Steel Stick to permanently attach them.
Next step is wiring up the halos and tying them into the turn signals so that the switchbacks are functional.
After this I just used Steel Stick to attach the halos behind the shrouds.
I then used Steel Stick to permanently mount the shrouds to the projectors.
I then used RetroRubber to fill then groove between the housing and the lens and popped the lights back in the oven. Once they were warm I took them out and pressed them back together. This turned out to be rather difficult and I had to put the lights back in the oven several times. I also ended up breaking the top allignment tabs on both housings because I wasn't paying attention to how the headlight were supported while I was pressing down on them.
I then used RTV to seal the wires into the rubber boot on the back of the housing.
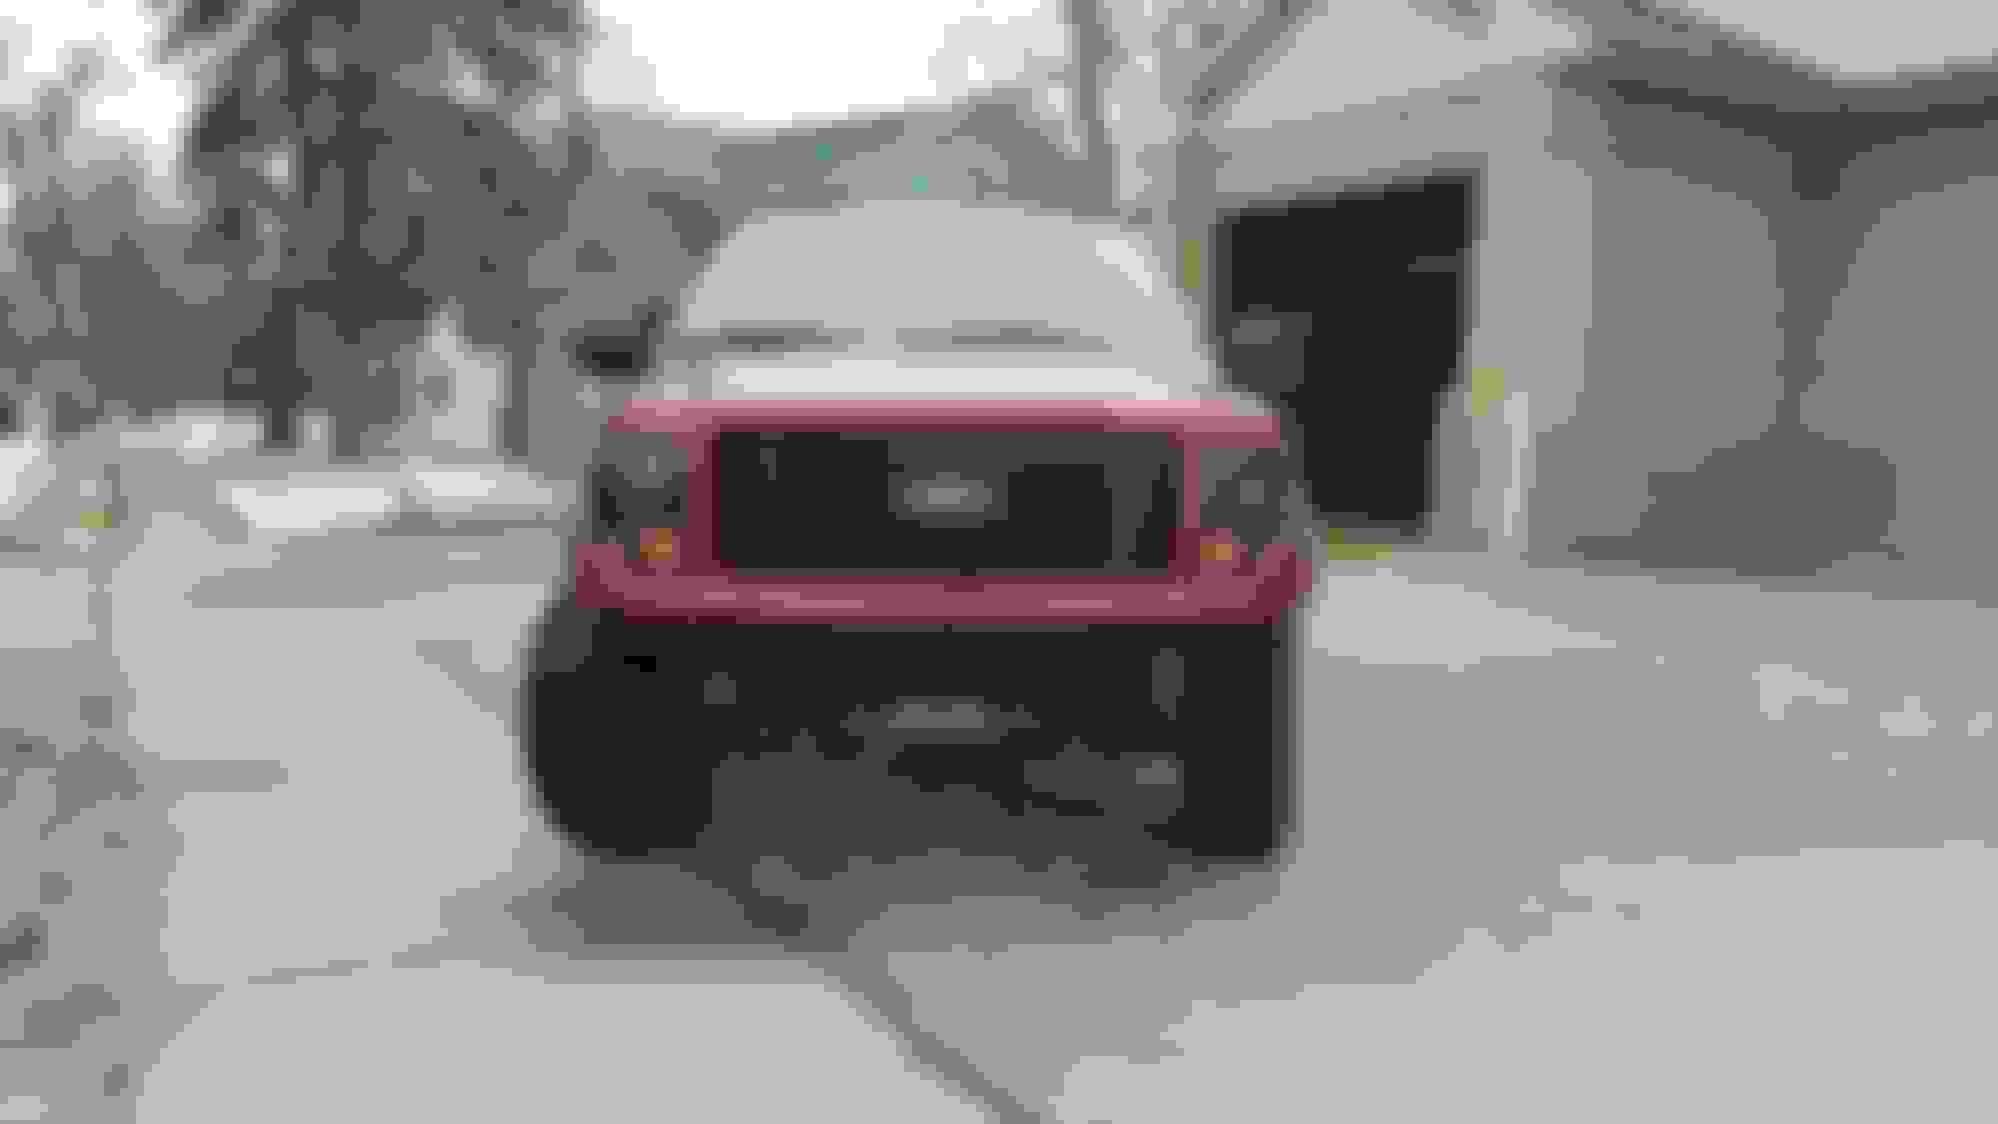
Once the RTV dried it was time to reinstall the lights!
Thanks for the detailed instructions and pictures, very helpful for those of us that want to tackle this mod. The final product looks fantastic, well done!
Thanks for the detailed instructions and pictures, very helpful for those of us that want to tackle this mod. The final product looks fantastic, well done!
Thanks! I'm pretty happy with it!
I just figured the writeup would be helpful to some people. I couldn't find a lot out there while I was working on mine and felt like I was flying blind pretty often haha.
Sweet, thanks. Do you have any night time output shots, of the halogens and projectors?
I honestly didn't think to get output shots of the halogens before I started my project. I also don't have any output shots of the new lights yet but I will try to post some soon. Definitely is a huge improvement over stock though.

 02-18-2016, 10:31 PM