Topic Sponsor
2009 - 2014 Ford F150 General discussion on 2009 - 2014 Ford F150 truck.
Sponsored by:
Sponsored by:

Best modifications under $50

Thread Tools
 
Search this Thread
 
Old 07-29-2014, 07:43 AM
  #4101  
Member
 
kjt8ro's Avatar
 
Join Date: Sep 2013
Location: Greater Atlanta Area
Posts: 53
Received 10 Likes on 8 Posts
Default

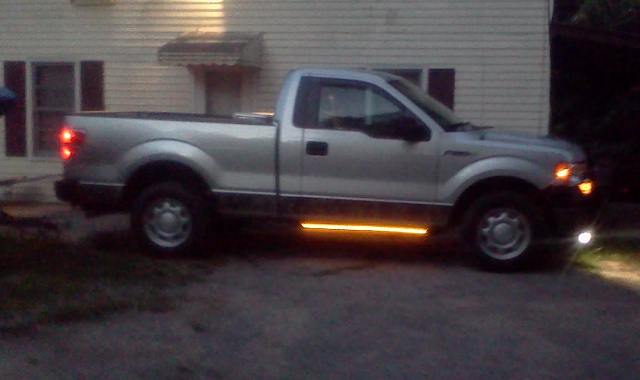
Added LED Running Lights under the doors. 48 inches long ~ $7.99 each side $3.00 in wire attached to the parking lights.Total under $19.00

Best modifications under -728lights.jpg
The following users liked this post:
Red13 (07-30-2014)
Old 07-30-2014, 11:04 AM
  #4102  
twoone
 
twoone's Avatar
 
Join Date: Apr 2011
Location: No Calif.
Posts: 115
Received 6 Likes on 6 Posts
Default

Say that looks good and i'ed like to due the same would you mind giving some information as to where and how you tied in the lights(wireing) and also where you purchased the the lights.
Thank You
Old 07-30-2014, 11:58 PM
  #4103  
Member
 
kjt8ro's Avatar
 
Join Date: Sep 2013
Location: Greater Atlanta Area
Posts: 53
Received 10 Likes on 8 Posts
Default

Originally Posted by twoone
Say that looks good and i'ed like to due the same would you mind giving some information as to where and how you tied in the lights(wireing) and also where you purchased the the lights.
Thank You
I ran the wire inside the frame to the front ~ used mechanics wire from the front to rear (to frame hole under the door).
There are holes in the side of the frame. then pulled the headlights (3 10mm bolts) and used a push wire tie clip to the parking light wire (hot) the ground I just drilled where the bushing mounts are under the door & used a self tapping screw.
I got the lights off ebay 48" long.
http://www.ebay.com/itm/221483247063...84.m1497.l2648 $7.99each with free shipping.

Took about 30/45 minutes. I did wash down and dried the frame first before mounting the lights.
The following users liked this post:
twoone (08-01-2014)
Old 07-31-2014, 11:48 AM
  #4104  
twoone
 
twoone's Avatar
 
Join Date: Apr 2011
Location: No Calif.
Posts: 115
Received 6 Likes on 6 Posts
Default

kjt8re: THANK YOU: for the helpful information just one question what is a PUSH WIRE TIE CLIP.Again the more I look at your truck the more I like your mod.turns me on.
Old 07-31-2014, 06:49 PM
  #4105  
Senior Member
 
Tyssa'sRide's Avatar
 
Join Date: Nov 2011
Posts: 927
Received 86 Likes on 39 Posts

Default

Originally Posted by twoone
kjt8re: THANK YOU: for the helpful information just one question what is a PUSH WIRE TIE CLIP.Again the more I look at your truck the more I like your mod.turns me on.
http://delphi.com/connectors/assets/...ith%20clip.PNGhttps://www.google.ca/search?q=pish+...51%3B308%3B206
Attached Images  
The following users liked this post:
twoone (08-01-2014)
Old 07-31-2014, 07:36 PM
  #4106  
Junior Member
 
eye-five's Avatar
 
Join Date: Jul 2014
Posts: 24
Likes: 0
Received 3 Likes on 1 Post
Default

Added a toolbox organizer to the center console. Available from Menards for $4.99 and they had a couple different models depending on how many compartments you want.
Attached Thumbnails Best modifications under -image-174561239.jpg   Best modifications under -image-325264299.jpg  
The following 3 users liked this post by eye-five:
bsmit24 (08-14-2014), FX4_2014F150 (10-05-2014), joefrog (08-01-2014)
Old 07-31-2014, 07:39 PM
  #4107  
Wyatt
 
meaz93's Avatar
 
Join Date: May 2014
Posts: 1,373
Received 163 Likes on 136 Posts
Default

Now that's using your space in a productive fashion....and not just for flash!
Old 07-31-2014, 07:46 PM
  #4108  
Member
 
jpedric's Avatar
 
Join Date: Sep 2013
Location: Illinois (south of Chicago)
Posts: 38
Likes: 0
Received 11 Likes on 6 Posts
Default

Originally Posted by Brett2013fx4
Looks good. I had a transformer one in my ranger shooting on the back wall. Been looking at getting some for the fiddy. Do you have any pics of the bracket by chance?


Sorry. No pics, but it was a very simple bracket. I used a piece of metal about 1/8 thick (can use anything stiff enough to support the weight) about 2 inches by 4 inches and drilled a small hole in one end then used the hole saw that came with the light to drill a hole at the other end. then I installed the light in the hole then with the other hole bolted it to the bottom of the running board using an existing hole from the factory that was not used. luckily this hole was right behind the front running board bracket so it blocks mud/snow/debris from getting thrown up and damaging the light. before putting it in I wrapped the light with a bunch of electrical tape in case the light housing wasn't water proof.
Old 07-31-2014, 10:28 PM
  #4109  
Member
 
SOUNDWAVE's Avatar
 
Join Date: Jul 2014
Location: Cambridge Ont.
Posts: 52
Likes: 0
Received 6 Likes on 6 Posts
Default

where did you purchase these? just a small thing but cool!


Originally Posted by Shape_Shifter
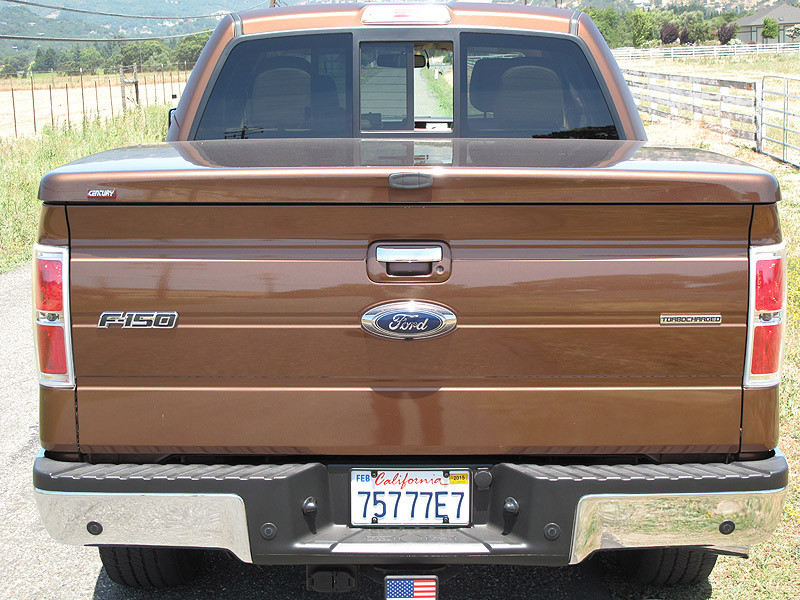
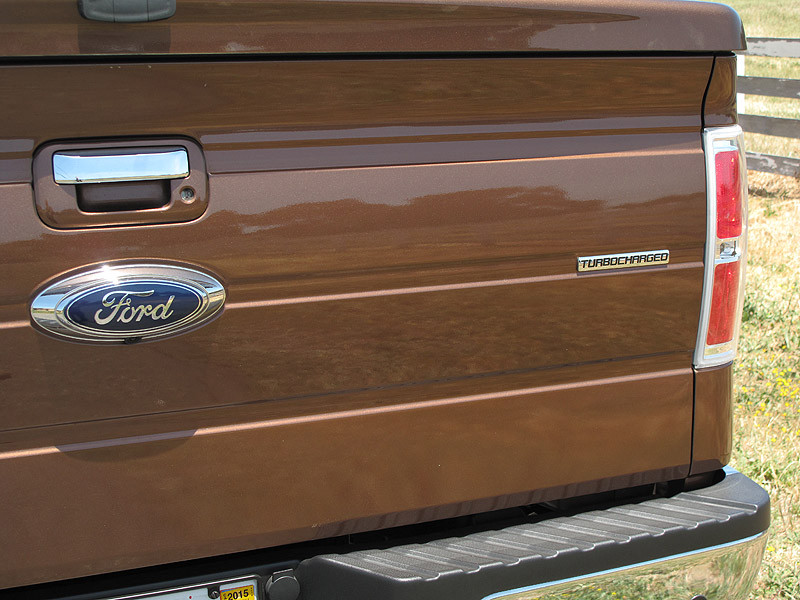
Performance badges. They make the truck feel faster.......


The following users liked this post:
threegr8katz (09-10-2014)
Old 07-31-2014, 10:38 PM
  #4110  
Senior Member
 
Brett2013fx4's Avatar
 
Join Date: Sep 2013
Location: Cincinnati, OH
Posts: 3,242
Received 198 Likes on 183 Posts
Default

Originally Posted by jpedric

Sorry. No pics, but it was a very simple bracket. I used a piece of metal about 1/8 thick (can use anything stiff enough to support the weight) about 2 inches by 4 inches and drilled a small hole in one end then used the hole saw that came with the light to drill a hole at the other end. then I installed the light in the hole then with the other hole bolted it to the bottom of the running board using an existing hole from the factory that was not used. luckily this hole was right behind the front running board bracket so it blocks mud/snow/debris from getting thrown up and damaging the light. before putting it in I wrapped the light with a bunch of electrical tape in case the light housing wasn't water proof.
Cool cool. Thanks bro


Quick Reply: Best modifications under $50


All times are GMT -4. The time now is 04:27 PM.