$$$ 8 dollar Puddle Lights!!
 04-24-2012, 09:37 AM
#21
Senior Member
Thread Starter

Tennis, Yes that is possible. The wire does come out the side but that isn't a big problem as the wire is very small gauge. btw, they already have 3m tape on them! I just didn't like the looks of it sticking down so I decided to do the mod and make it look like OEM Puddles. Also I did the reflector mod for turn signal and parking lights, with this method posted the Light / cap snaps in and out just like it did from factory and if I have to change out or fix anything it is an easy fix. Of course if you take a hair dryer to it the way you are thinking about doing it it would still come off. Maybe you could look for a smaller version of the light I used that would just fit over the cap so you could still pop it in and out!

 04-24-2012, 02:19 PM
#23
Girthy Member
I think I have a puddle light blank in my workshop. I scavenged all the useful parts from the mirror I broke last winter. If you want it I'll have a look-see tonight, to confirm its existence.
04-24-2012, 02:26 PM
#24
Meaner than ymeski56
Originally Posted by sllydderrr
I think I have a puddle light blank in my workshop. I scavenged all the useful parts from the mirror I broke last winter. If you want it I'll have a look-see tonight, to confirm its existence.
 04-24-2012, 08:18 PM
#26
Girthy Member
04-25-2012, 01:21 AM
#28
Senior Member
mamonti...thanks for the reply, just read your other post about interior lighting, nice job! That interior looks great. Now I have another mod to work on. This forum sure does keep me busy.
04-27-2012, 08:12 PM
#29
I've been looking to add puddle lamps and wasn't crazy about spending $50 on lamps that I was going to cut up to put LED bulbs into. This is a great idea.
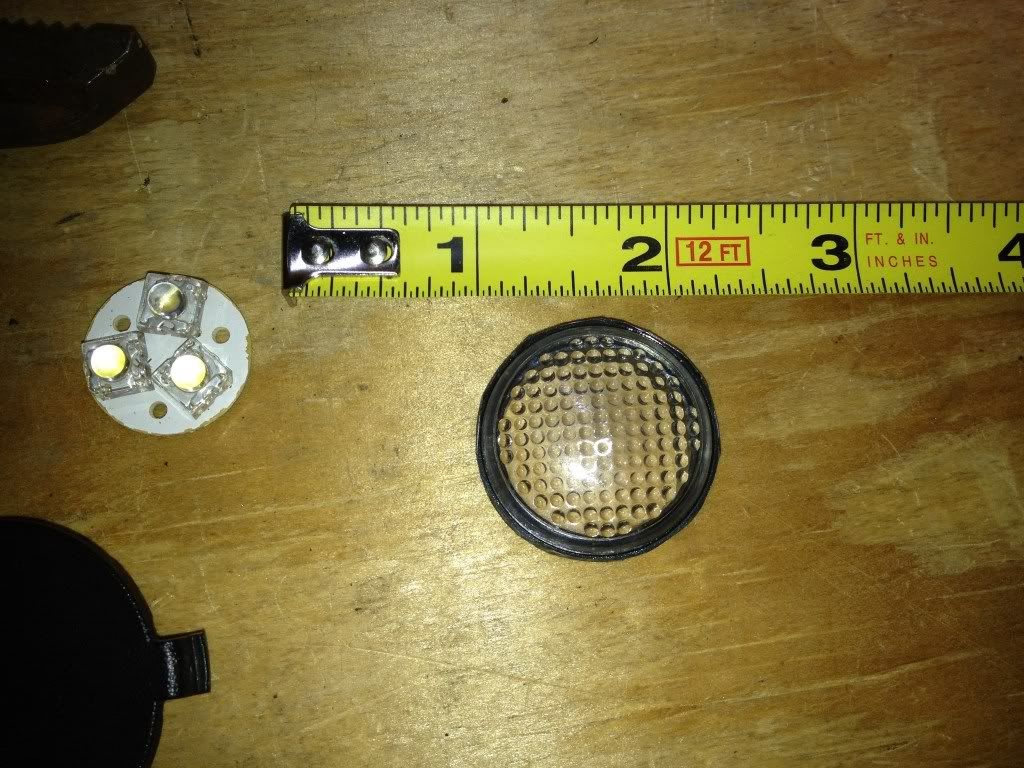
I ordered a pair (in black) and chopped it up and assembled to the blanks. Here's the pics so far...
I used a dremel cutting wheel to cut around the plastic housing. You need to leave about 2mm from the lens.

You have to pull the LED circuit board off the backing. The wires will pull out of the board when you do this and will need to re-solder the wires back on the circuit board.
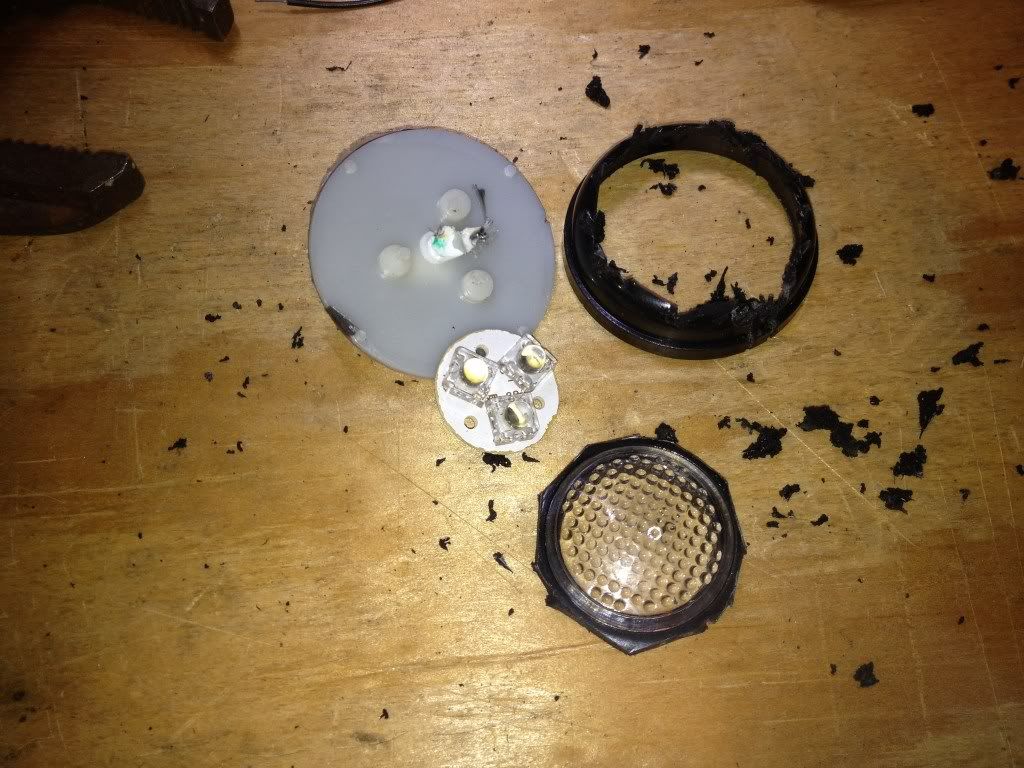
I cleaned up the cuts around the lens on a grinding wheel. A 1-1/8" hole drill will be the right size for the blank. I didn't have one so I used a dremel to cut out the hole in the blanks.
I used clear silicone to glue the circuit board to the lens housing and then to the blank. It takes about an hour to dry to the touch (not tacky) and 24hrs to set.

I soldered the wires back on the circuit board and covered the whole circuit board with silicone. I tested before and after applying the silicone and the lights work.
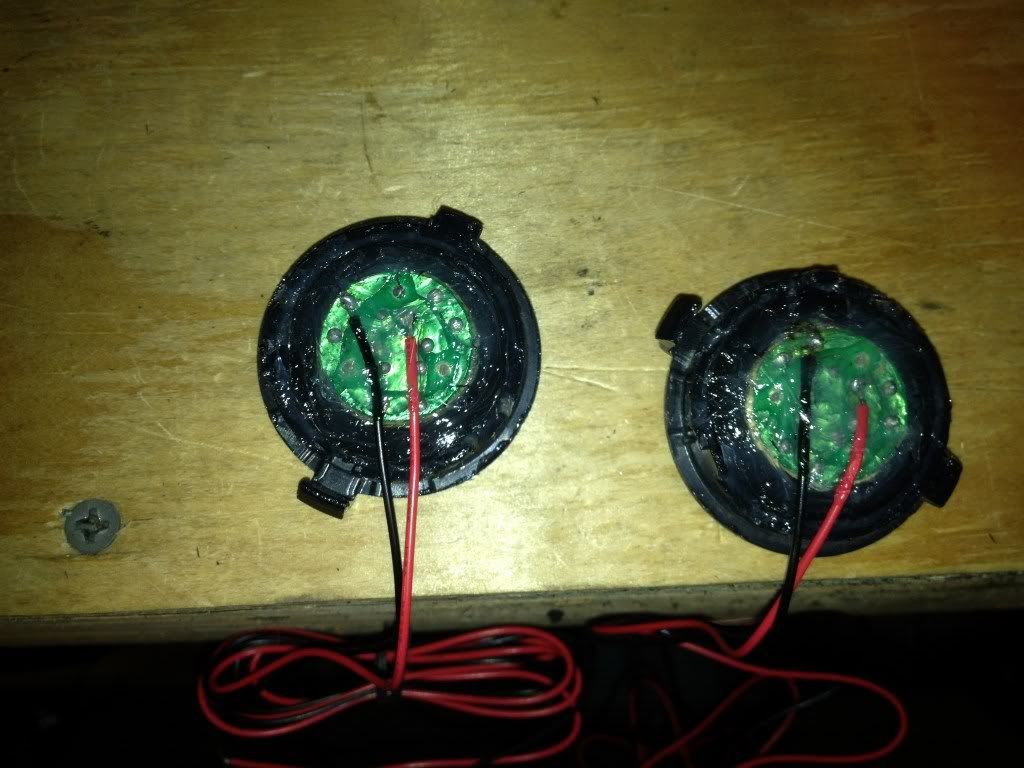
It was getting cold out so I figure I'll let the silicone set overnight and finish this tomorrow.
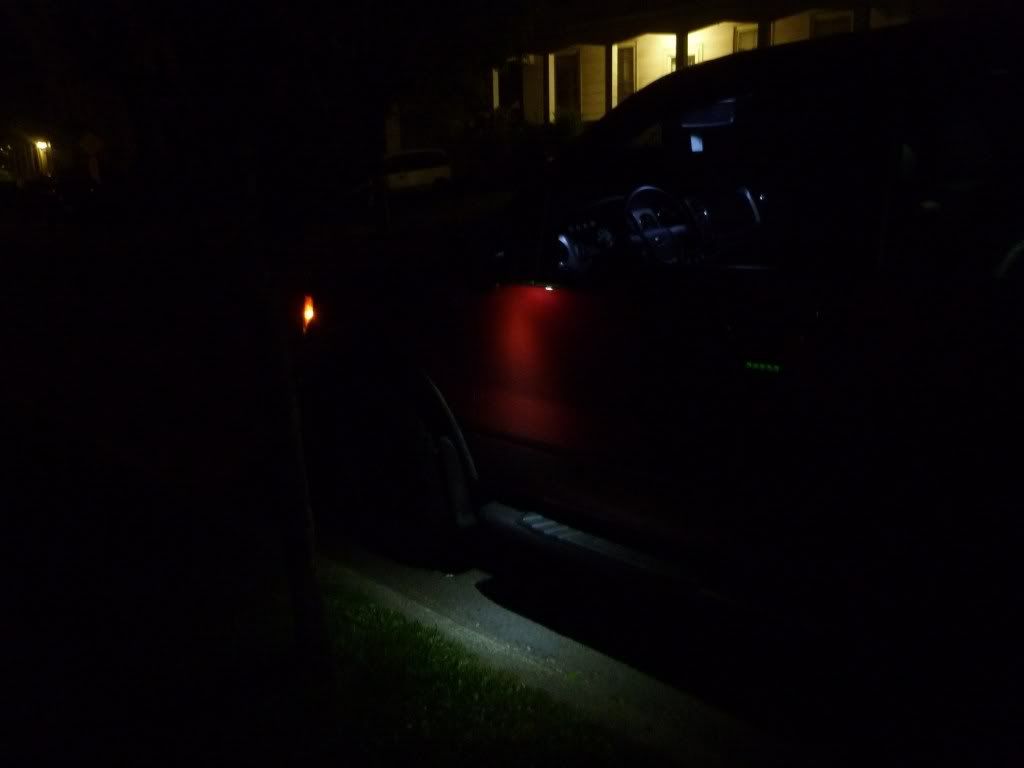
The 3 LED's on the circuit board is low power and not all that bright as far as LED's go. There should still be a decent amount of light for puddle lamps. I would guess they're about 5500k temp.
I ordered a pair (in black) and chopped it up and assembled to the blanks. Here's the pics so far...
I used a dremel cutting wheel to cut around the plastic housing. You need to leave about 2mm from the lens.
You have to pull the LED circuit board off the backing. The wires will pull out of the board when you do this and will need to re-solder the wires back on the circuit board.
I cleaned up the cuts around the lens on a grinding wheel. A 1-1/8" hole drill will be the right size for the blank. I didn't have one so I used a dremel to cut out the hole in the blanks.
I used clear silicone to glue the circuit board to the lens housing and then to the blank. It takes about an hour to dry to the touch (not tacky) and 24hrs to set.
I soldered the wires back on the circuit board and covered the whole circuit board with silicone. I tested before and after applying the silicone and the lights work.
It was getting cold out so I figure I'll let the silicone set overnight and finish this tomorrow.
The 3 LED's on the circuit board is low power and not all that bright as far as LED's go. There should still be a decent amount of light for puddle lamps. I would guess they're about 5500k temp.