
09+ Rear brakes **How to**
 03-22-2014, 04:11 PM
#1

So I ended up having to do my rear brakes today. Had one pad grinding metal on metal. Not sure how that happened, because the other pad is fine.
Forgive the very fast nature of this thread. I kind of took pics quickly, as I decided to do this thread last second. Figured I did a front brake how to, why not this. Might be another on here, I didn't look.
Tools not pictured, sorry) torque wrench. 10mm wrench, 10mm socket with ratchet, pry bar or giant flat head screwdriver, rubber mallet, ball peen (for more persuasion) c clamp, and a couple of random bolts that will thread into the rotor hub.
New stuff I got: (also not pictured, sorry... Did I mention I decided to do this last second lol)Hawk LTS rear brake pads. And 2 new centric rotors. I like them because the hub and vented disc are powder coated.
Not going to explain how to lift the truck, that is in your manual, and all over google. You are responsible for that.
So here we go,
Truck is up, and wheel is off
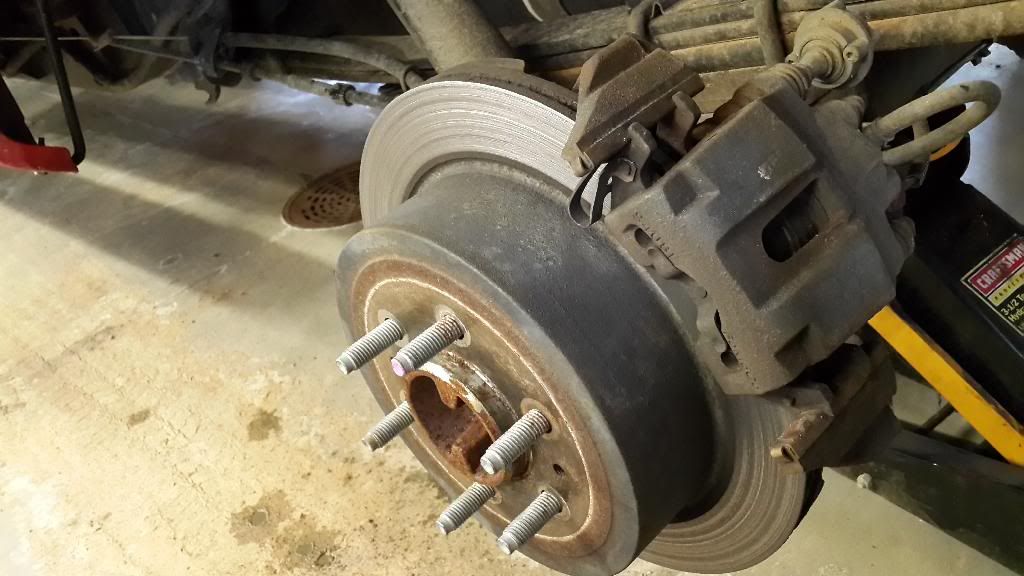
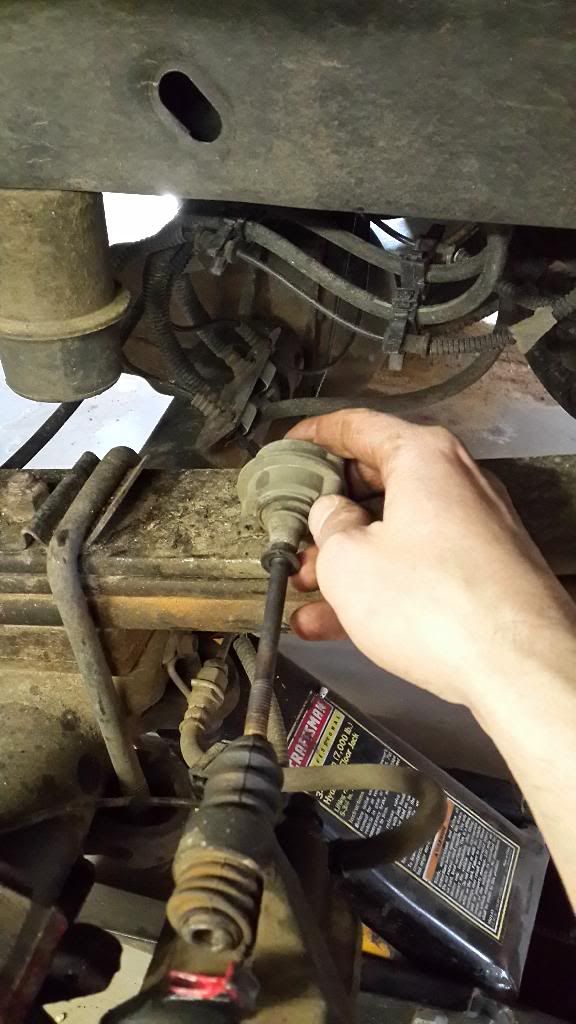
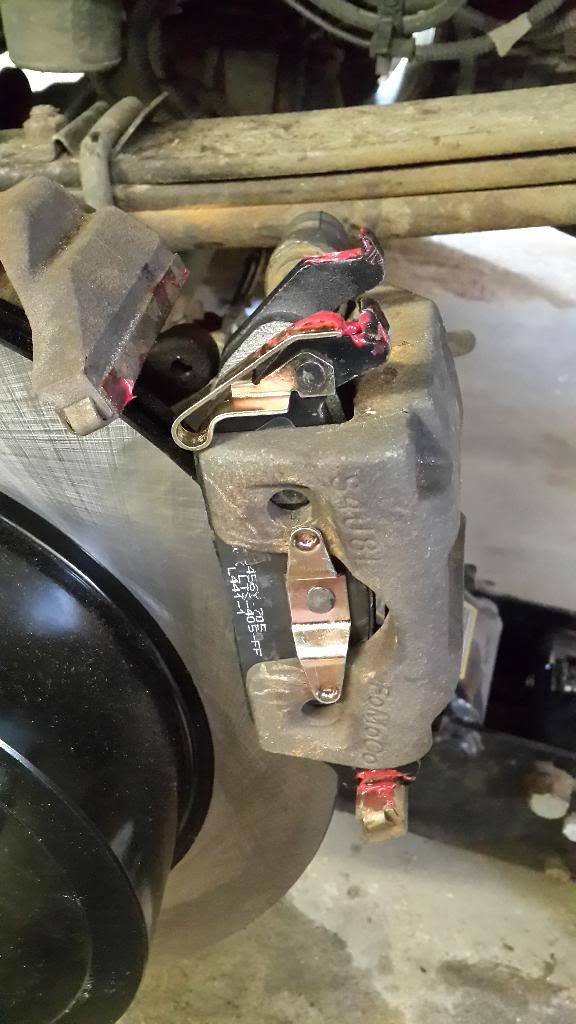
First thing you are going to notice it's this thing, circled in red. I don't know what it is. Many sources on the internet say it's a vibration dampener, part of the traction control, I don't know. Either way, it's attached to the top bolt of the caliper.

Use a 10mm wrench. This is the only way unfortunately. I was not able to slide this out all the way, as it was hitting the leaf spring. Had to wait until the caliper was off
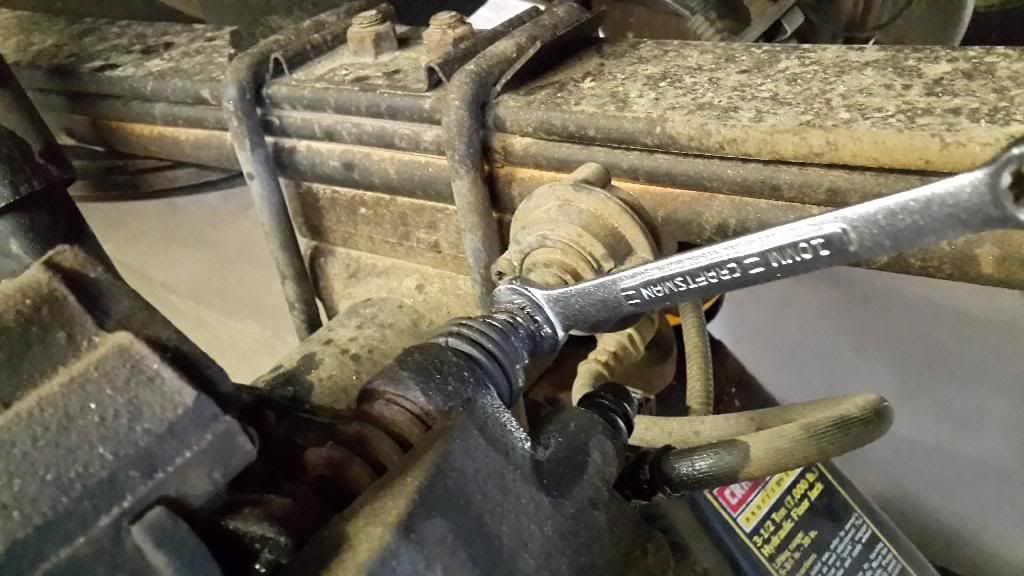
Bottom caliper bolt also 10mm.
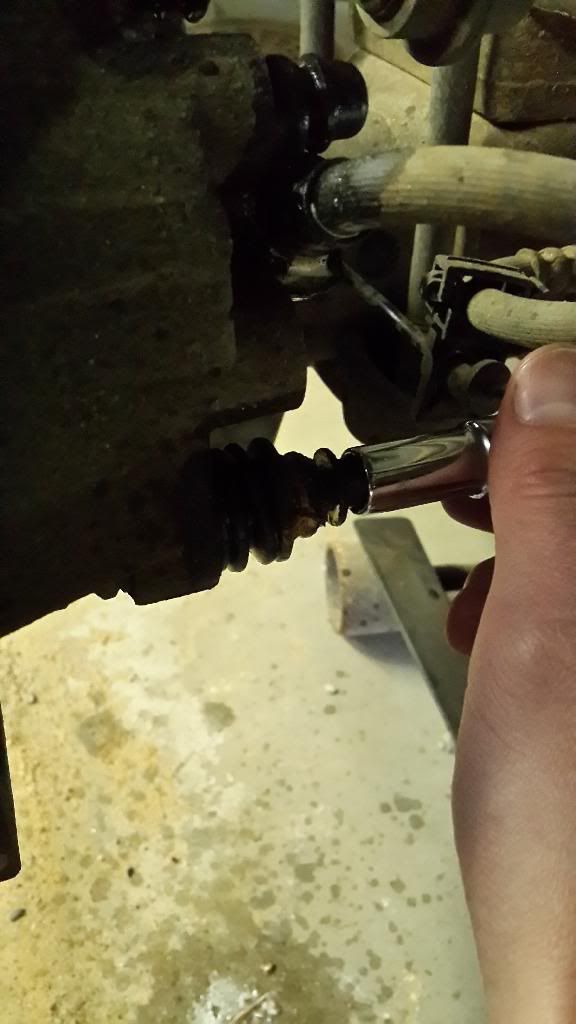
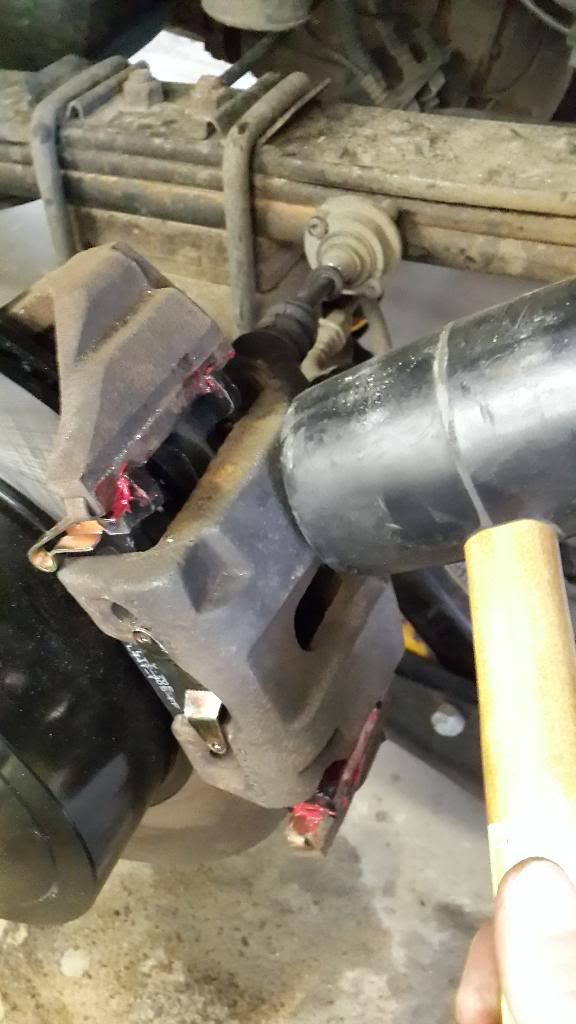
Caliper off. You may need to pry, wiggle, finagle this off. Now you can totally remove that dampener bolt thing. I hung the caliper on the leaf spring for later.
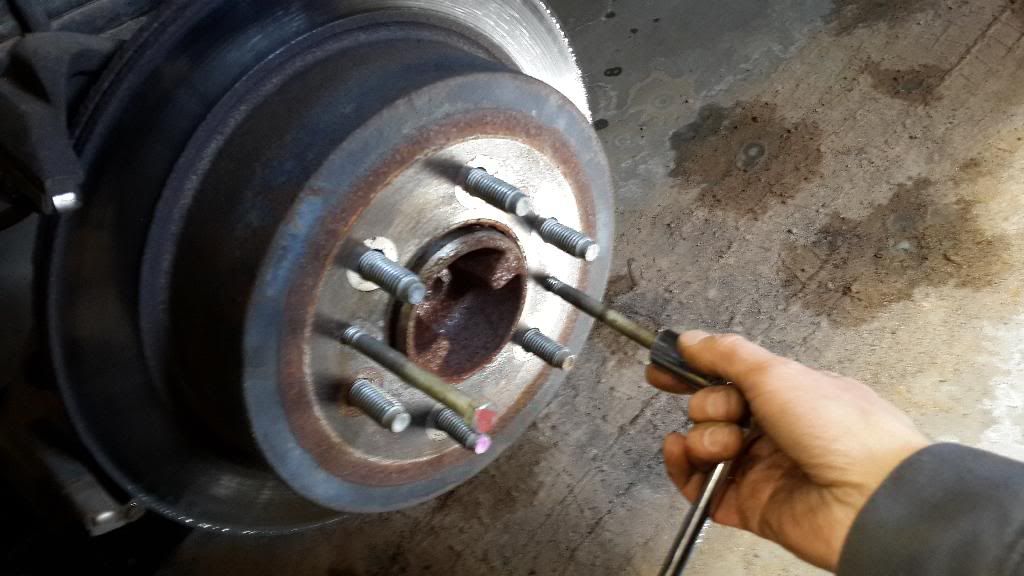
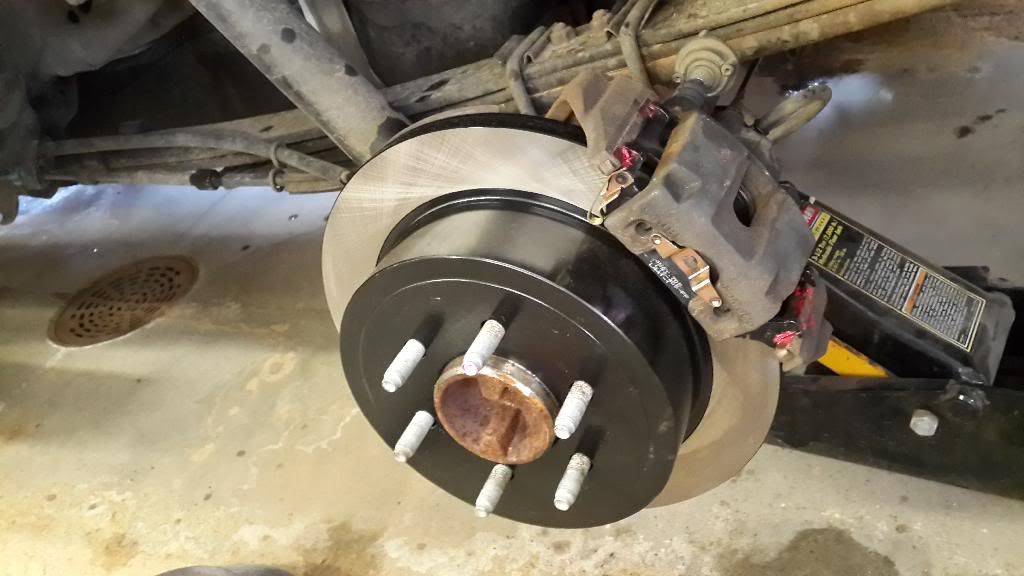
OK you are going to notice this is the other side. Because I forgot to get a pic of the first side... Sorry again. Because the rotors have a drum brake inside them, they take a little more persuasion to get off. I used a few bolts I had lying around and threaded then into the holes of the hub. Tightening equally it pushed the rotor off.
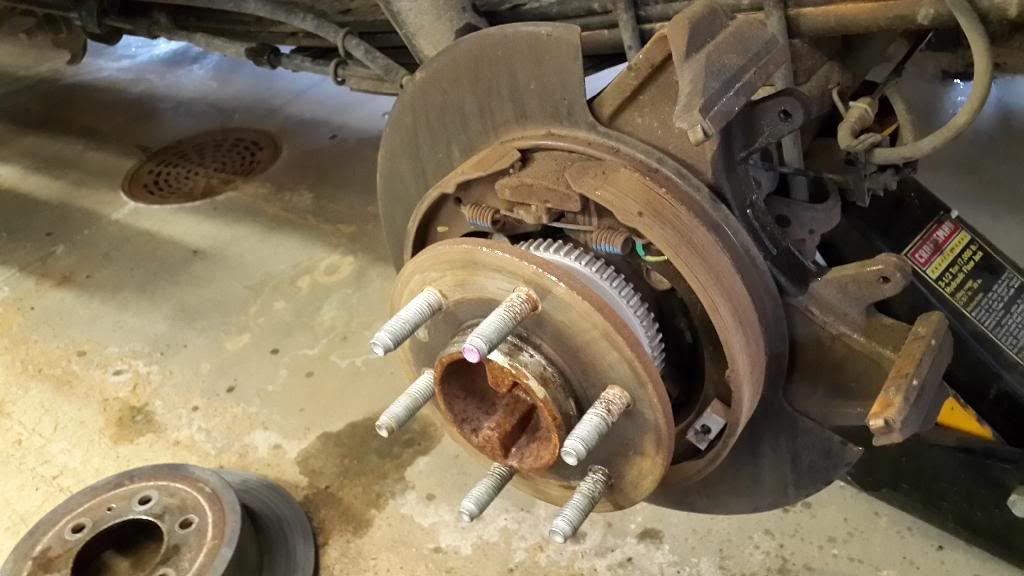
Now you can see the drum brake inside. This is the parking brake.
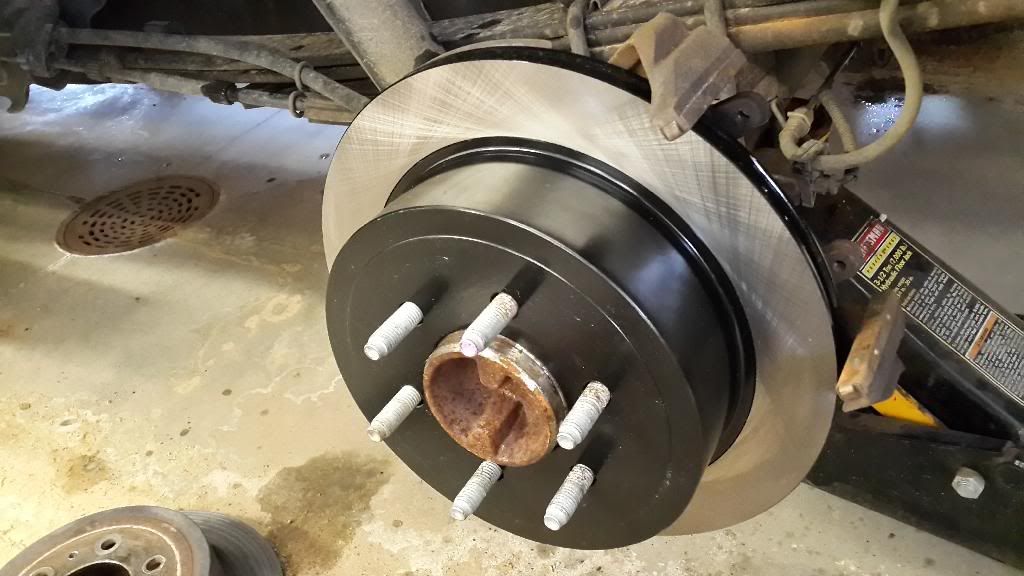
New rotor slipped right on.
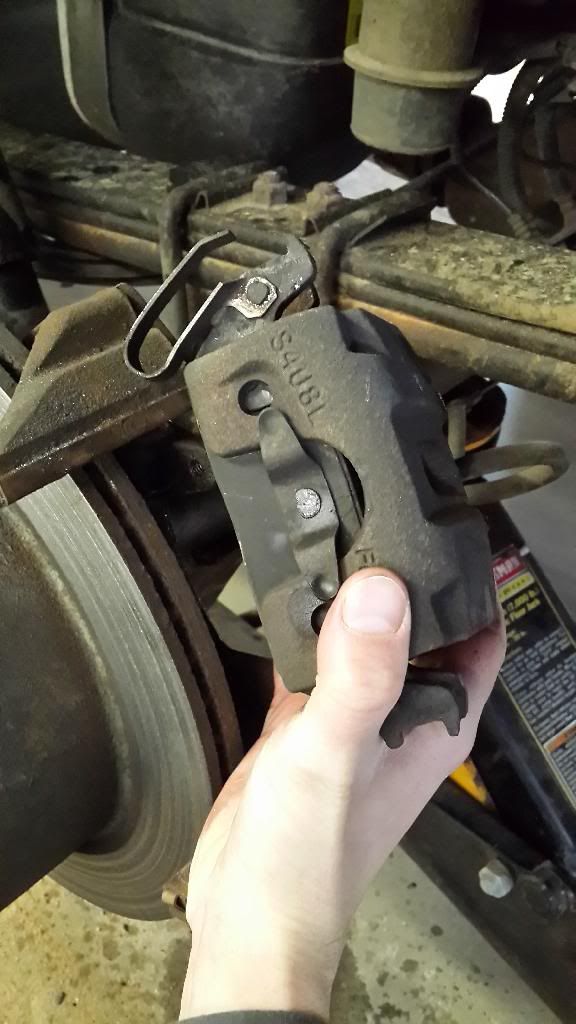
Now I pulled the pads out of the rotor. This will take some bending/prying. Be patient, don't hurt yourself. They will come out. I left to inboard pad in, so I could push against it with a c clamp, to push the piston back in.
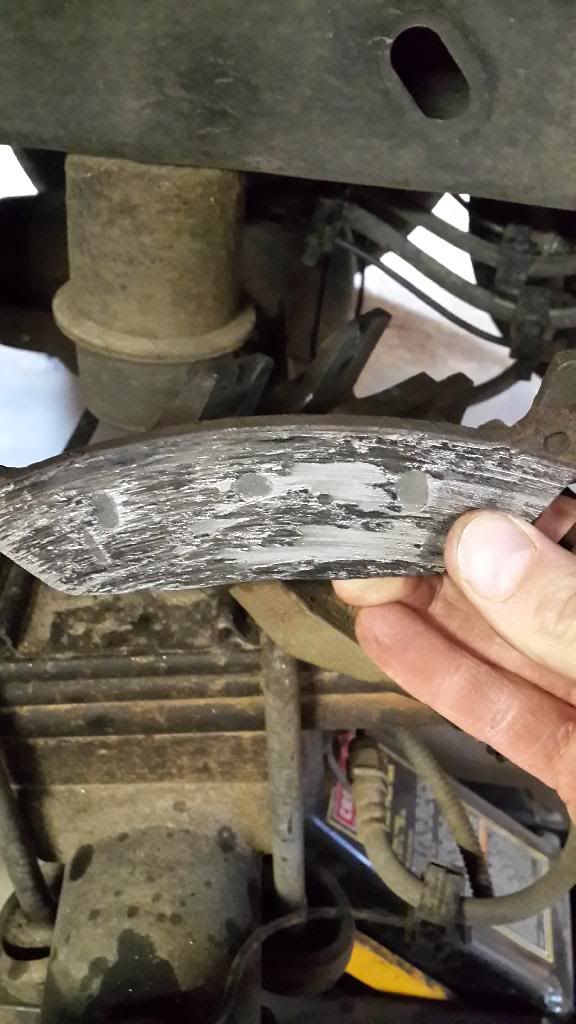
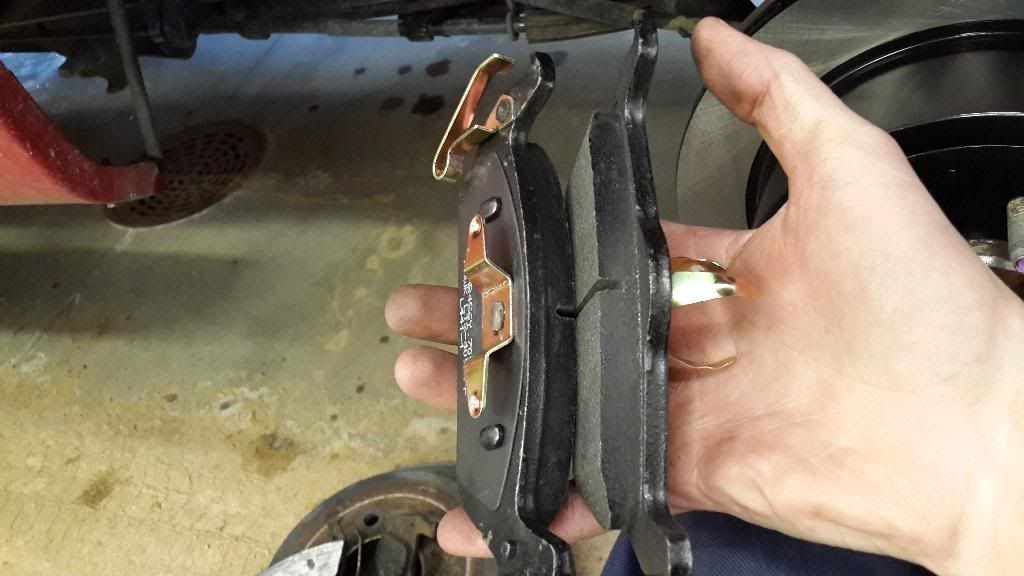
The bunk pad in question
Forgive the very fast nature of this thread. I kind of took pics quickly, as I decided to do this thread last second. Figured I did a front brake how to, why not this. Might be another on here, I didn't look.
Tools
not pictured, sorry) torque wrench. 10mm wrench, 10mm socket with ratchet, pry bar or giant flat head screwdriver, rubber mallet, ball peen (for more persuasion) c clamp, and a couple of random bolts that will thread into the rotor hub. New stuff I got: (also not pictured, sorry... Did I mention I decided to do this last second lol)Hawk LTS rear brake pads. And 2 new centric rotors. I like them because the hub and vented disc are powder coated.
Not going to explain how to lift the truck, that is in your manual, and all over google. You are responsible for that.
So here we go,
Truck is up, and wheel is off

First thing you are going to notice it's this thing, circled in red. I don't know what it is. Many sources on the internet say it's a vibration dampener, part of the traction control, I don't know. Either way, it's attached to the top bolt of the caliper.

Use a 10mm wrench. This is the only way unfortunately. I was not able to slide this out all the way, as it was hitting the leaf spring. Had to wait until the caliper was off

Bottom caliper bolt also 10mm.

Caliper off. You may need to pry, wiggle, finagle this off. Now you can totally remove that dampener bolt thing. I hung the caliper on the leaf spring for later.

OK you are going to notice this is the other side. Because I forgot to get a pic of the first side... Sorry again. Because the rotors have a drum brake inside them, they take a little more persuasion to get off. I used a few bolts I had lying around and threaded then into the holes of the hub. Tightening equally it pushed the rotor off.

Now you can see the drum brake inside. This is the parking brake.

New rotor slipped right on.

Now I pulled the pads out of the rotor. This will take some bending/prying. Be patient, don't hurt yourself. They will come out. I left to inboard pad in, so I could push against it with a c clamp, to push the piston back in.
The bunk pad in question

Last edited by 21RRF150; 03-22-2014 at 04:15 PM.
 03-22-2014, 04:12 PM
#2
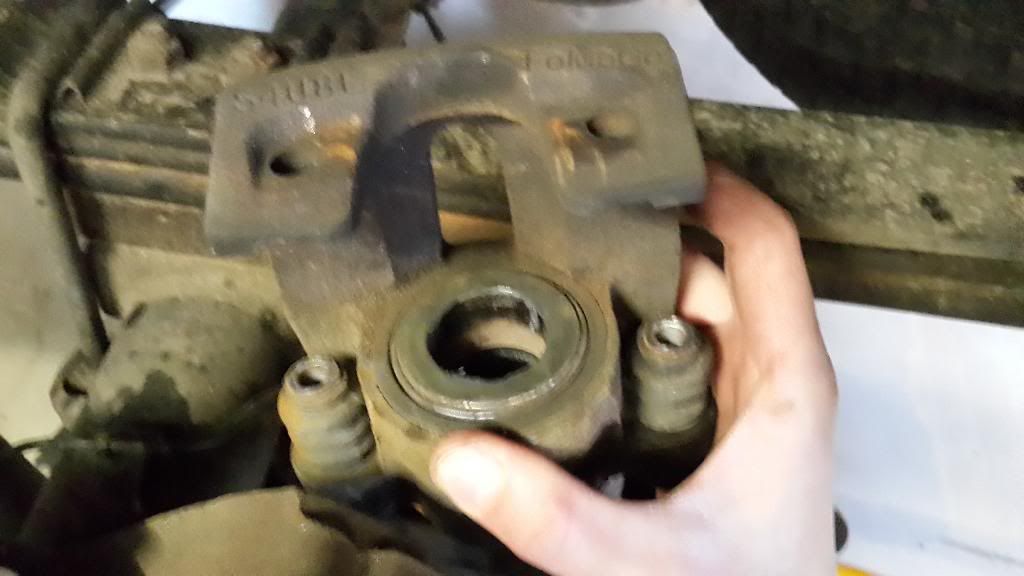
Empty caliper
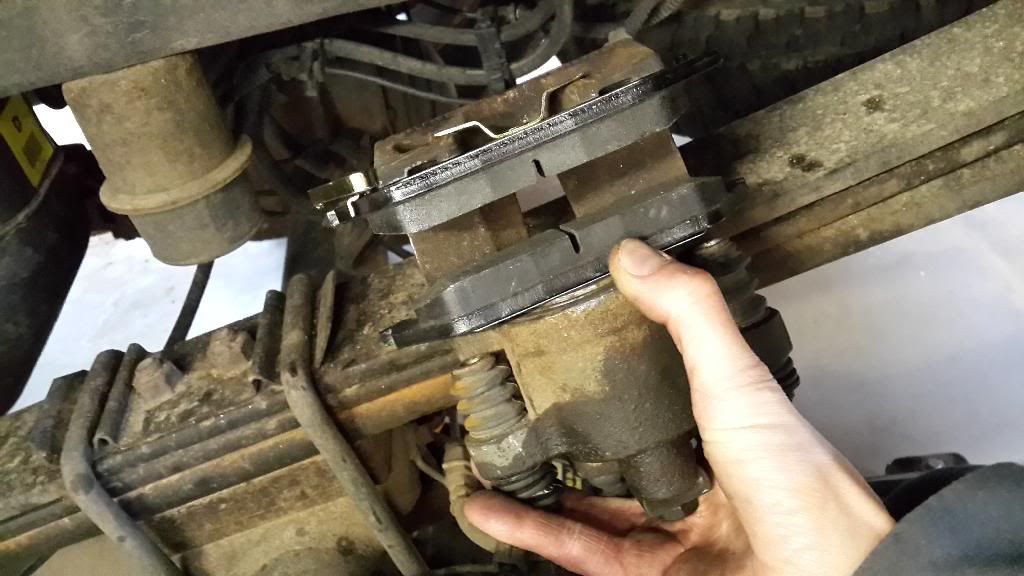
New pads.
Loaded caliper. Tip... Install the inboard pad(piston side) before the outboard. It's just easier, I found.
I lubed the contact points that the pads slide on with the supplied brake grease.
Slide the dampener bolt thing in now. You won't be able to get it in once the caliper is mounted.
Had to tap it in.
Reinstall and tighten the caliper bolts. And you're done.
Obviously reinstall the wheel, and torque to 150lbs per the manual. (not pictured, sorry)
I then burnished these pads in, with the recommended procedure on the hawk brake package. Truck stops on a dime now. Very happy.
Hope this helps

New pads.

Loaded caliper. Tip... Install the inboard pad(piston side) before the outboard. It's just easier, I found.

I lubed the contact points that the pads slide on with the supplied brake grease.
Slide the dampener bolt thing in now. You won't be able to get it in once the caliper is mounted.


Had to tap it in.

Reinstall and tighten the caliper bolts. And you're done.

Obviously reinstall the wheel, and torque to 150lbs per the manual. (not pictured, sorry)
I then burnished these pads in, with the recommended procedure on the hawk brake package. Truck stops on a dime now. Very happy.
Hope this helps
The following 2 users liked this post by 21RRF150:
2ndGearHero (04-29-2015),
MT-Ford (03-23-2014)
 03-22-2014, 06:33 PM
#5
One Clean Machine
iTrader: (5)
Nice write up M, thanks....
03-22-2014, 06:45 PM
#6
How to's with Pictures like this are priceless, Thanks!
When you pushed the piston back with the C clamp to allow room for new pads, did you have to remove any fluid from the reservoir? also does it require any lube between the pad and piston? How much does a job like this cost doing it yourself?
The reason I'm asking is I'm going to have to learn how to do stuff like this myself. I called and asked the local Ford dealer how much they charge to put Spark plugs in my 2011 Limited 6.2 engine. They quoted 3 hrs $274.00 labor plus parts. I will be putting my own plugs in..
03-22-2014, 07:32 PM
#7
How to's with Pictures like this are priceless, Thanks!
When you pushed the piston back with the C clamp to allow room for new pads, did you have to remove any fluid from the reservoir? also does it require any lube between the pad and piston? How much does a job like this cost doing it yourself?
The reason I'm asking is I'm going to have to learn how to do stuff like this myself. I called and asked the local Ford dealer how much they charge to put Spark plugs in my 2011 Limited 6.2 engine. They quoted 3 hrs $274.00 labor plus parts. I will be putting my own plugs in..
When you pushed the piston back with the C clamp to allow room for new pads, did you have to remove any fluid from the reservoir? also does it require any lube between the pad and piston? How much does a job like this cost doing it yourself?
The reason I'm asking is I'm going to have to learn how to do stuff like this myself. I called and asked the local Ford dealer how much they charge to put Spark plugs in my 2011 Limited 6.2 engine. They quoted 3 hrs $274.00 labor plus parts. I will be putting my own plugs in..
I did not put lube between the pad and the piston, like I did in my front brake how to. Because they clip in, and there's almost no where to put any lube. And I just didn't feel the need to.
I paid $207 with free shipping from tire rack.com for both rotors, and the set of pads. I could've gotten a cheaper set, but I figured, why? You only pay for quality once. And I have the hawk pads and same rotors in the front. Now it all matches.

