
New old mans stereo for 2010 screw
 02-21-2011, 01:49 PM
#1
Junior Member
Thread Starter

Join Date: Jan 2011
Posts: 8
Likes: 0
Received 0 Likes
on
0 Posts
I just finished up my install-First I would like to thank all who went before me and posted helpful tips and stuff here!! This would have been more difficult without the help of the forum.
I thought the factory tunes sucked so first I installed some JL Audio C2 570Xs in all four doors-that helped a little. Then I had a JL Audio 10W1v2-4 Sub with a DB DrivePro Audio A3 Pro1200 amp for power.
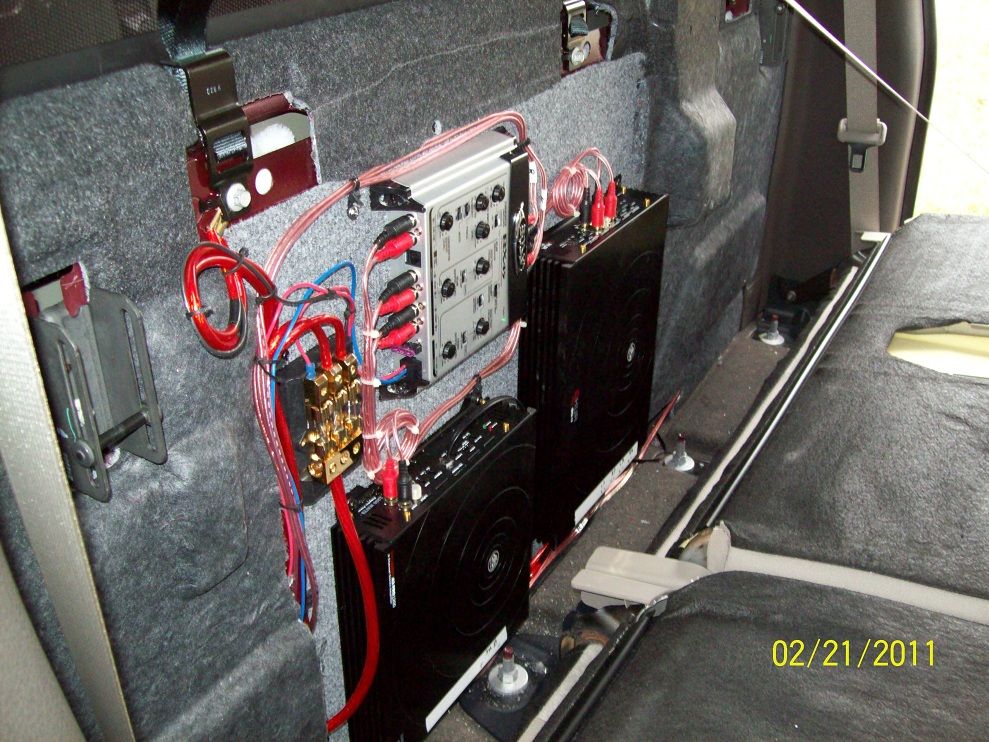
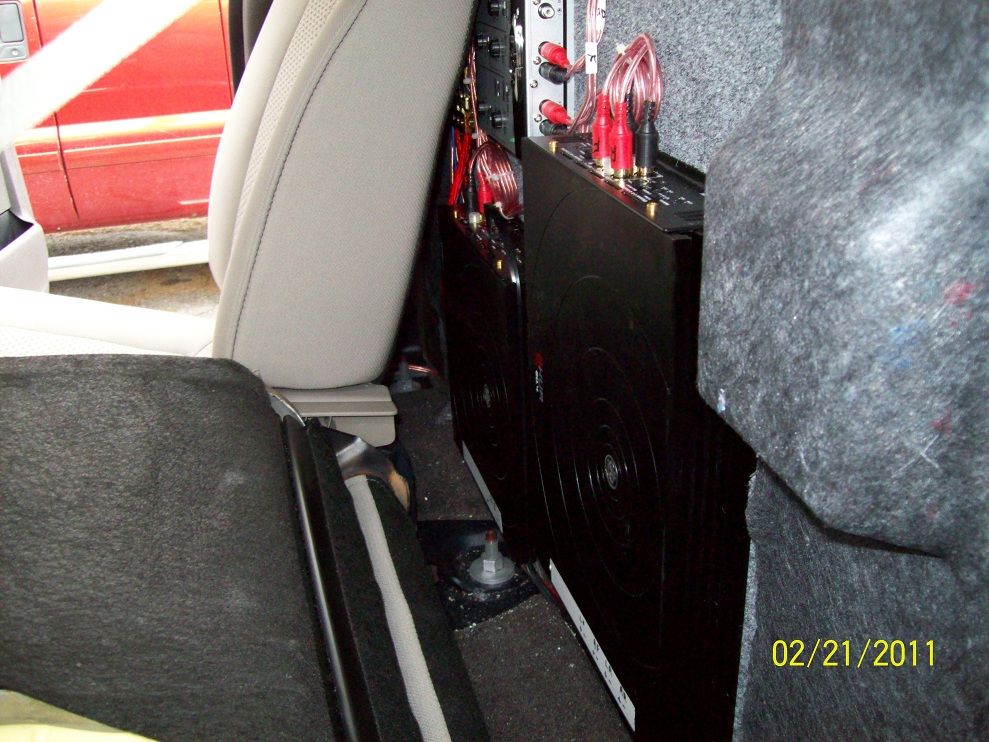
needless to say I was not to thrilled with the installation or the sound overall. The installer just cut a hole in the carpet on the back wall and screwed the amp to the raised rib crossing the back behind the rear seat, he was going to screw it to the sheet metal and let the screws stick out the other side. Needless to say I almost had a cow when he started to do this, I convinced him to screw it to the rib. He also tapped the LR speaker with a LOC at the left front kick panel for the sub input.
So after poking around here for a while I bought some more play pretties to go along with what I had, the wifee just does not understand but went along nicely I should say. I had to take her on a 2 day motorcycle trip to tone her down a little.
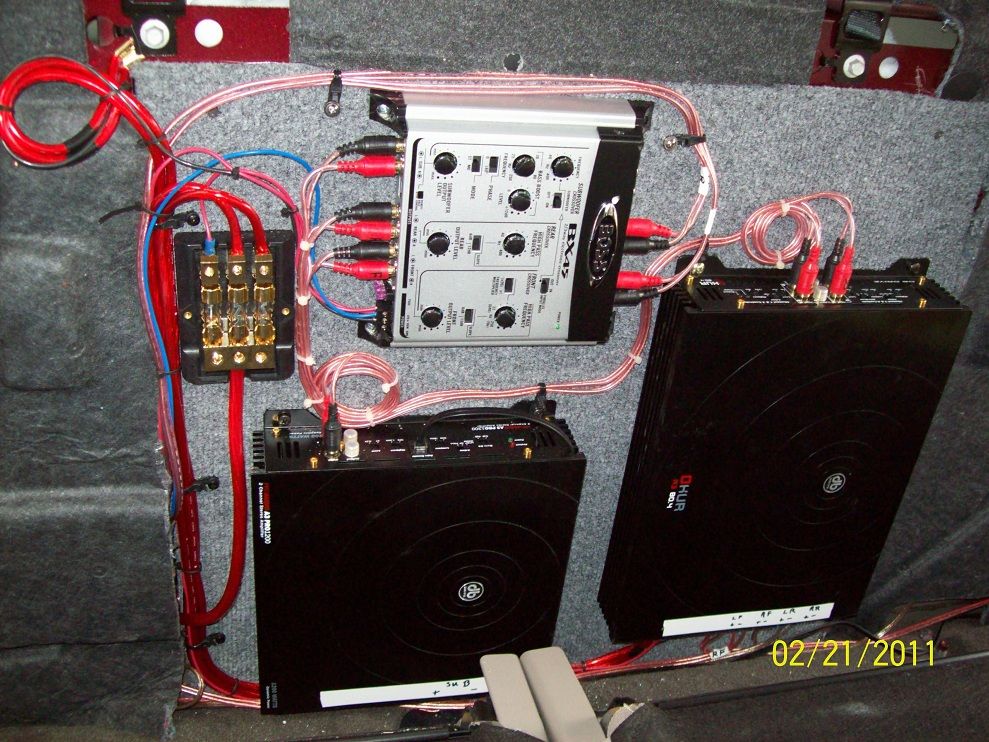
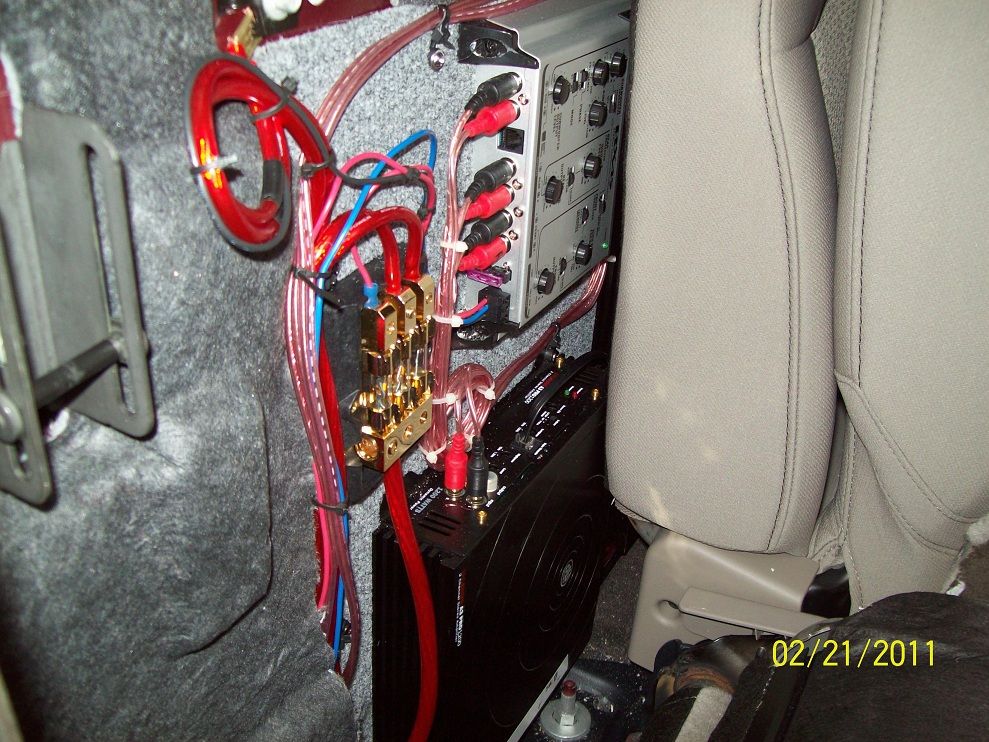
I ended up with this
JL C2 570s all 4 doors
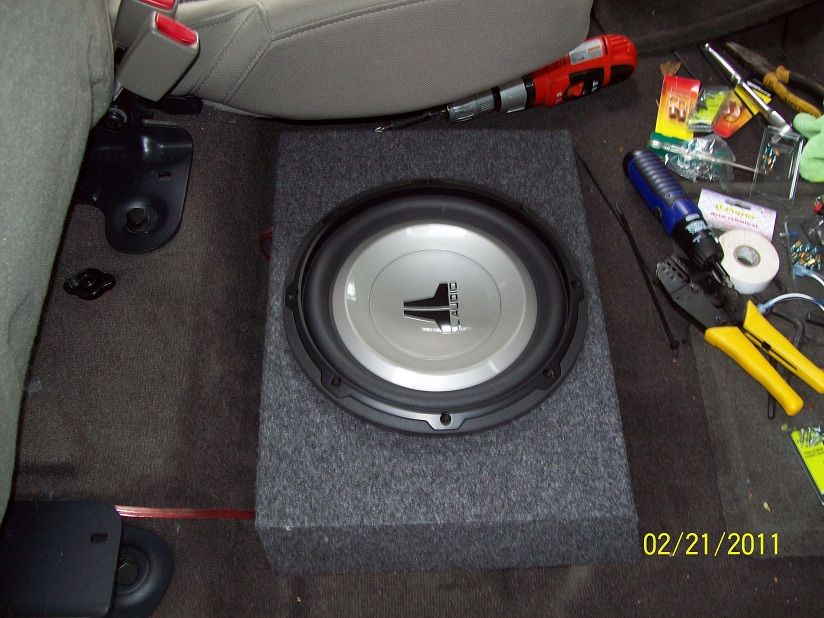
JL 10W1v2-4 sub
DB Drive A3 Pro1200 sub amp
Db Drive A3 80.4 for the doors
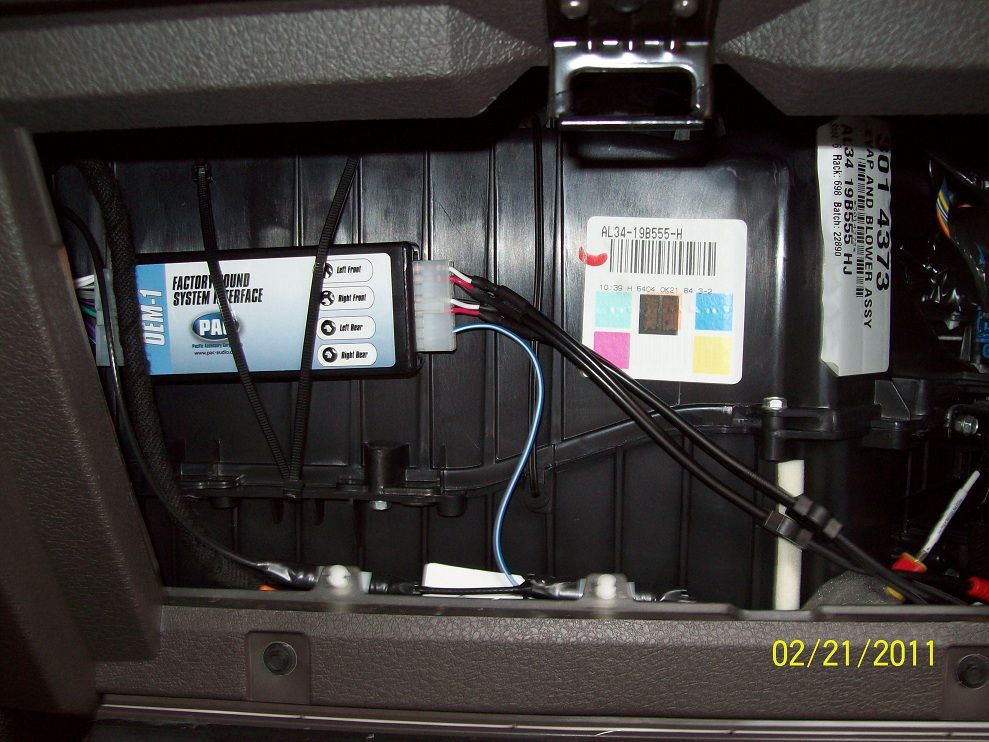
PAC AOEM FRD24 LOC for the line out converter
and a few miscellaneous items.
Now if only an old man knew how to set all of the crossovers correctly, I have it sounding pretty good but done properly it would probably improve. I haven't messed around with any car audio since the early 80's
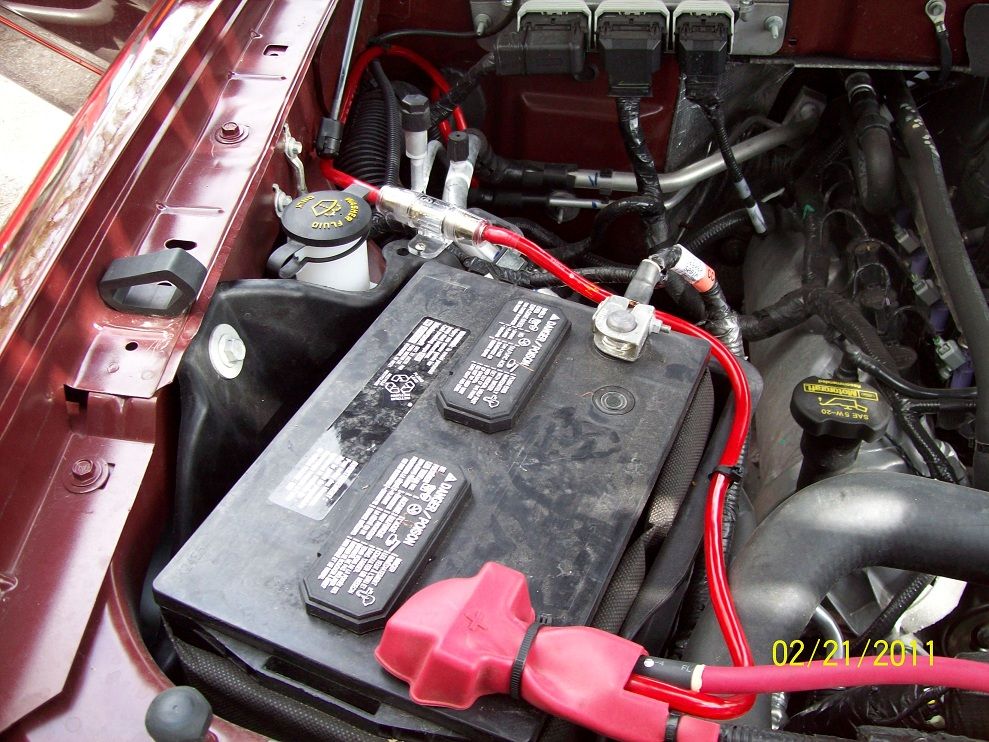
Added this while I was at it.
Seat clearance up- kinda tight but I dont ever run with them up.
Clearance seat down
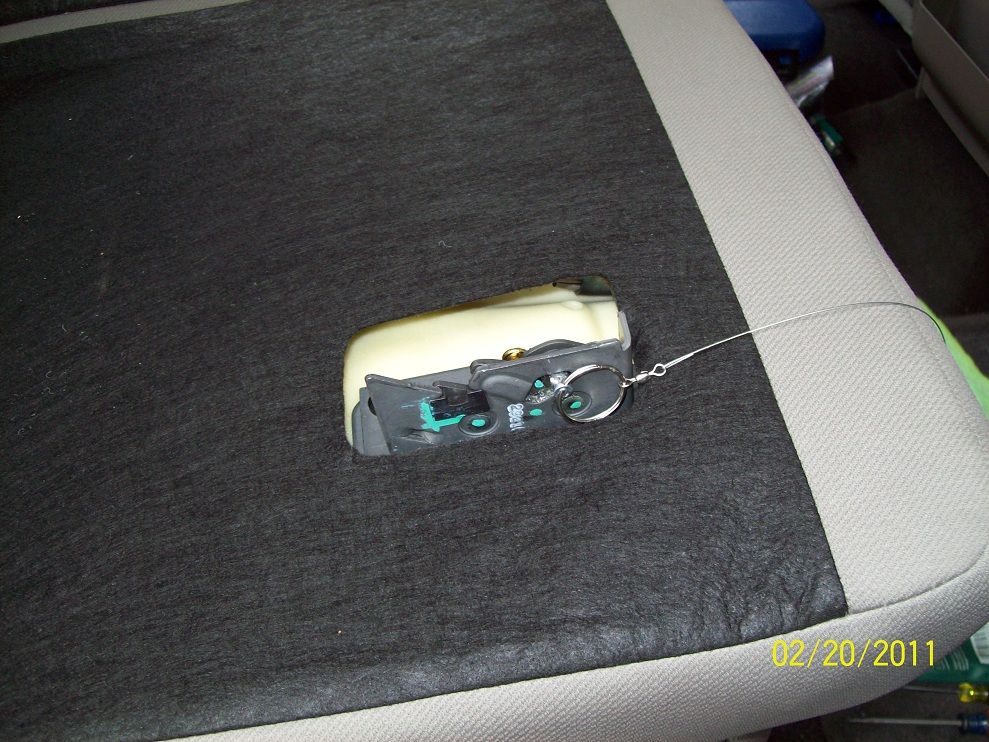
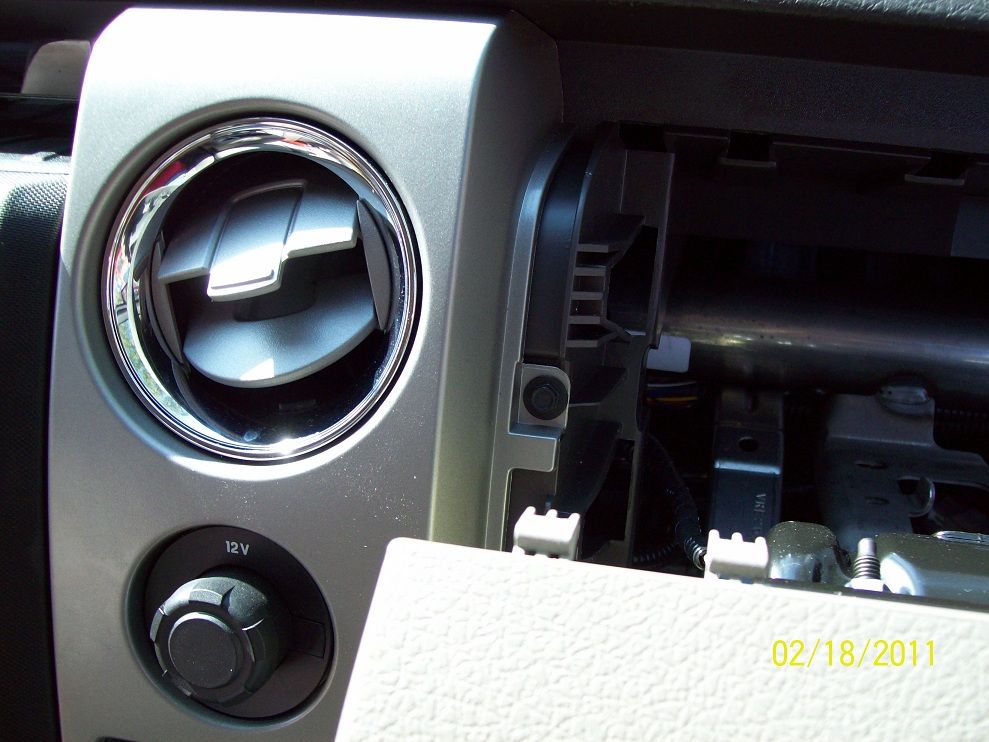
Hidden screw no one mentioned, I had to pull the air bag module to get this one out.
I am a happy camper now!!
I thought the factory tunes sucked so first I installed some JL Audio C2 570Xs in all four doors-that helped a little. Then I had a JL Audio 10W1v2-4 Sub with a DB DrivePro Audio A3 Pro1200 amp for power.
needless to say I was not to thrilled with the installation or the sound overall. The installer just cut a hole in the carpet on the back wall and screwed the amp to the raised rib crossing the back behind the rear seat, he was going to screw it to the sheet metal and let the screws stick out the other side. Needless to say I almost had a cow when he started to do this, I convinced him to screw it to the rib. He also tapped the LR speaker with a LOC at the left front kick panel for the sub input.
So after poking around here for a while I bought some more play pretties to go along with what I had, the wifee just does not understand but went along nicely I should say. I had to take her on a 2 day motorcycle trip to tone her down a little.
I ended up with this
JL C2 570s all 4 doors
JL 10W1v2-4 sub
DB Drive A3 Pro1200 sub amp
Db Drive A3 80.4 for the doors
PAC AOEM FRD24 LOC for the line out converter
and a few miscellaneous items.
Now if only an old man knew how to set all of the crossovers correctly, I have it sounding pretty good but done properly it would probably improve. I haven't messed around with any car audio since the early 80's
Added this while I was at it.
Seat clearance up- kinda tight but I dont ever run with them up.
Clearance seat down
Hidden screw no one mentioned, I had to pull the air bag module to get this one out.
I am a happy camper now!!
 02-21-2011, 02:14 PM
#2
Senior Member
Man, I KNEW there was a hidden screw! I just did my DD install and I couldnt get that side out, I am glad I didnt try to pull harder. It cleared enough to get the stereo out and in.
Looks like a good set up!
For future reference how did you remove the air bag module to access that screw?
Looks like a good set up!
For future reference how did you remove the air bag module to access that screw?
02-21-2011, 02:29 PM
#3

As for setting up the crossovers, for your fronts and rear speakers set your amplifier channels and the crossover itself at "HPF High Pass Filter", then adjust the dials to around 100Hz. This will stop unwanted low frequencies from going through those speakers and wrecking them. Now for the Sub channel, set it on the "LPF Low Pass Filter", then adjust the dials to around 100Hz. This will stop the high frequencies from trying to play though the sub and will bridge the gap. This should adust the frequency settings where you want them.
Now for ajusting the gain on the amps. If you like to listen to your music loud, but with no distorsion of clipping then, turn the gains on all channels of all amps down, then turn on some music and turn the dial on the radio to 75% to 80% full, then adjust the gains on the amps up until you are satisfied with the volume, this doesn't mean put them to full, cause you will get distortion and clipping there. next adjust the gain on the sub to compliment the speakers, this is where you decide if you want a lot of bass or a little.
Hope this helps.
02-22-2011, 06:29 AM
#4
Junior Member
Thread Starter
Join Date: Jan 2011
Posts: 8
Likes: 0
Received 0 Likes
on
0 Posts
RES4CUE
For the Air Bag module there are three screws on the bottom accessed through the glove box, it is easier if you remove the glove box. After removing these three screws there are some locking tabs across the bottom and the ends, release these and roll the module up from the front to release the top. There is a fair amount of slack in the wiring, I did not disconnect mine because I was not sure what would happen, but I did not want it to inflate on me!
11FX4EBOOST
I will try that out- thanks man!!
I feel I have the gains pretty close but was not sure on the rest.
09-20-2011, 04:47 PM
#5
So did you run new speaker wire to your speakers?
I'm trying to figure out how the Pac harness works. where does the blue wire on the pac harness lead to?
Any signal pop when you press the power button on/off on your stereo?
I'm trying to figure out how the Pac harness works. where does the blue wire on the pac harness lead to?
Any signal pop when you press the power button on/off on your stereo?
Trending Topics
09-21-2011, 07:55 AM
#8
Dazed and Confused
 09-21-2011, 10:18 AM
#10
edit, holy crap i must have been sleep walking last night. 12:14am. hahaha, what an idiot post i made lol.