When you click on links to various merchants on this site and make a purchase, this can result in this site earning a commission. Affiliate programs and affiliations include, but are not limited to, the eBay Partner Network.
That dull and rusting rear axle was driving me bonkers so I unclipped what I could and spent about an hour and used a whole roll of masking tape and a ton of plastic bags and shot some gloss black on the rear axle. Now I can sleep easier at night. haha.
Attached are documents on install. I found an alternative to the no longer made HC3Z-15A404-B.
The HC3Z-15A404-A harness is still in stock. It provides the necessary plug for the auxiliary switches and is 5' 4" long when unraveled from the harness. It's the same F250 Harness for upfitters, but adds power sliding rear window. The one that ends in B didn't have power sliding rear window. You pay a dollar or two more, but its available and not on back order indefinitely. You may also be able to order one of the other two that are cheaper, but I wanted the plugs for the other items on my panel.
You can also see my overhead console. I don't think anyone else here has posted this part number yet.
HC3Z-15A404-A - Chassis, Enhanced Security Alarm, Pickup, Spare Accessorry Switches - 6, With Power Sliding Rear Window
HC3Z-15A404-B - Chassis, Enhanced Security Alarm, Pickup, Spare Accessorry Switches - 6, With Fixed Rear Window (Manufacturer's Notes: This part is discontinued. It is no longer available for purchase)
HC3Z-15A404-E - Chassis, Less Anti-Theft Alarm, Pickup, Spare Accessorry Switches - 6, With Perimeter Anti-Theft, With Power Sliding Rear Window
HC3Z-15A404-F - Chassis, Less Anti-Theft Alarm, Pickup, Spare Accessorry Switches - 6, With Fixed Rear Window, With Perimeter Anti-Theft, With Power Sliding Rear Window
Went and confirmed today that Pin 1 on the BCM C2280B connector in the passenger foot well when grounded pops the tail gate. The pins seem to be the same size as pins used in the upfitter harness.
Part number for the illuminated tail gate release switch: HC3Z-54432A38-AA - Tasca $8.72 (the price at the time I typed this)
The F250 Panels below the steering wheel have the following part numbers, but be aware, unlike the F150, they have a notch for the E-Brake release handle. If you switch this panel, you will have an open area where no E-Brake handle is.
NOTE: This is the full lower panel for F250 / F350...
HC3Z-2504459-DC Medium Camel/Light Camel Interior, Remote Controlled Tailgate Release, With Memory Adjustable Foot Pedals
I checked out a new 2017 Super Duty. Dimensionally the panels are the same, but the Super Duty panels have the cut out for the Emergency Brake Release Handle.
The square around the pedals or pedals and tail gate switch does not come out. It's molded into the entire panel under the steering wheel. It just looks seperate, but on the back, there is no removing it without cutting the plastic with a dremmel or rasor.
2016 F150 Limited
2017 F250 Platinum (All F250s seem to have the E Brake Release Handle there.)
Originally Posted by i8iridium
I'm posting a solution to a problem that some might have. This probably won't interest all. This only applies to those with the remote tailgate release. I researched the 2017 Fusion BCM wiring for the trunk release and since they use similar components, found that there's an un-populated spot on the F150 BCM C2280B that crosses with the trunk release wiring of the Fusion.
This isn't an all-inclusive how-to, because there's about 90 different ways to run wire and make a button, so I'll just show you the harness to look for and the location on the BCM. The rest is up to you all. lol
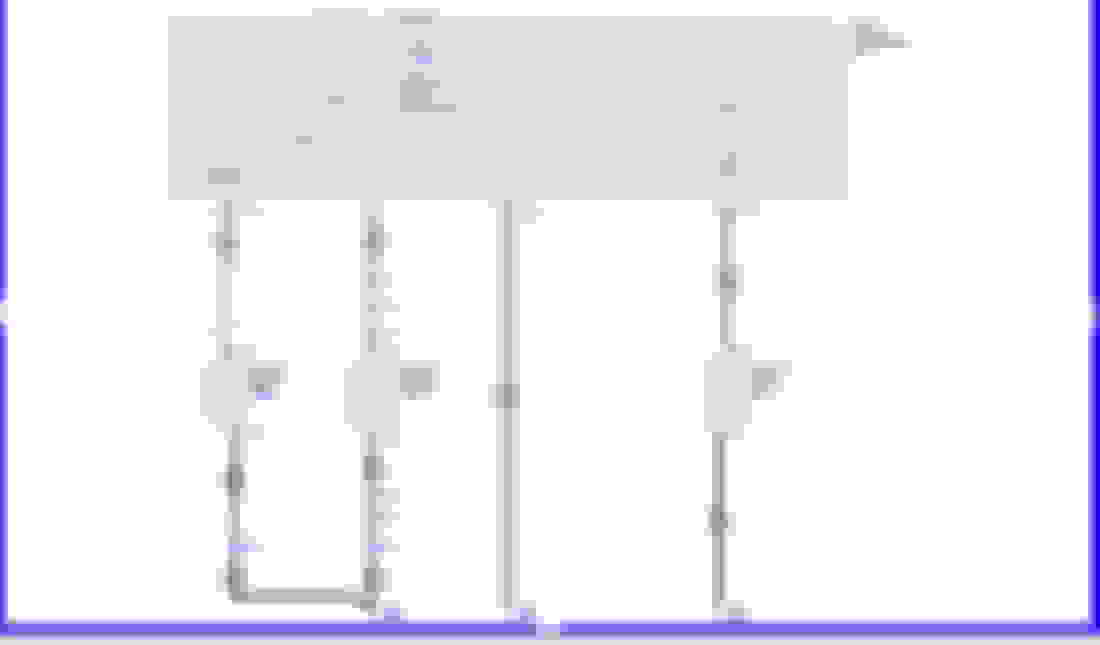
Like I said above, it's C2280B Pin 1. The diagram is upside down from how the BCM is located in the truck. The blue wire is the wire I added. You'll pull that harness and take it apart, insert the wire and run it where you want to. If the wire is grounded, it'll pop the tailgate. Put the button you find in a convenient location and you're done.
Last edited by 2016Limited; 08-03-2018 at 01:20 PM.
If you didn't know already, the Raptor trucks and the F250 and up trucks have an option that is not available on the F150 trucks. They have 6 accessory switches to power extra lights, winch, air compressor, or whatever accessories you would like to "upfit" your Ford truck with.
A few guys figured it out, but it required buying an F250 harness for the headliner and taking it apart. You then had to extend this harness about 8 more feet with about 10 more wires spliced at both ends to a new connector that is around 32 dollars. Lots of soldering and electrical tape.
GOOD NEWS!! 2016BoostedGreyGoose has done it again and created a custom harness that removes all that electrical wiring work. It still requires making one solder point to get power to the lights in the 6 auxiliary switches, but the rest he makes nearly plug and play. It's awesome! I wanted to post some pictures of his cables, and I'm also going to attach a word document that highlights what you need to buy, gives a list of all the overhead panels in various colors and options, and links to some key posts over on that other thread that talk about how to do this.
Hopefully this makes this whole process much easier and gives your truck a very OEM stock style upgrade.
4) 200 amp Mega fuse to go between battery and relay box in engine compartment
Parts: “Littelfuse SN Mega Fuse Holder with 200A Fuse Included 880014 & 0298200” https://www.ebay.com/itm/28307706496...m=283077064960
7) Overhead console that matches the features of your truck, but with “accessory switches – 6” added. (see attached word document for lots of part numbers of the various overhead consoles.)
ADDITIONAL INFO:
Get the PDF of install instructions posted by “Theocoog” but you can delete all the parts about making a harness thanks to Boosted Gray Goose. Lots of contributed info from feifel, flsdiver, jerehawn and others. This tells you how to remove the A piller, feed the harness through the firewall and where to connect the “add a fuse” https://www.f150forum.com/f118/retro...7/#post5332468
Here are pictures of 2016BoostedGreyGoose's 2 custom harnesses.
This purple wire needs to be soldered to the 10th pin from the left. He marks the wires to make it easy to know where you need to connect for +12 power for the lights in the switches. By soldering here, the lights in the switches will dim with the rest of the lights in the console just like factory.
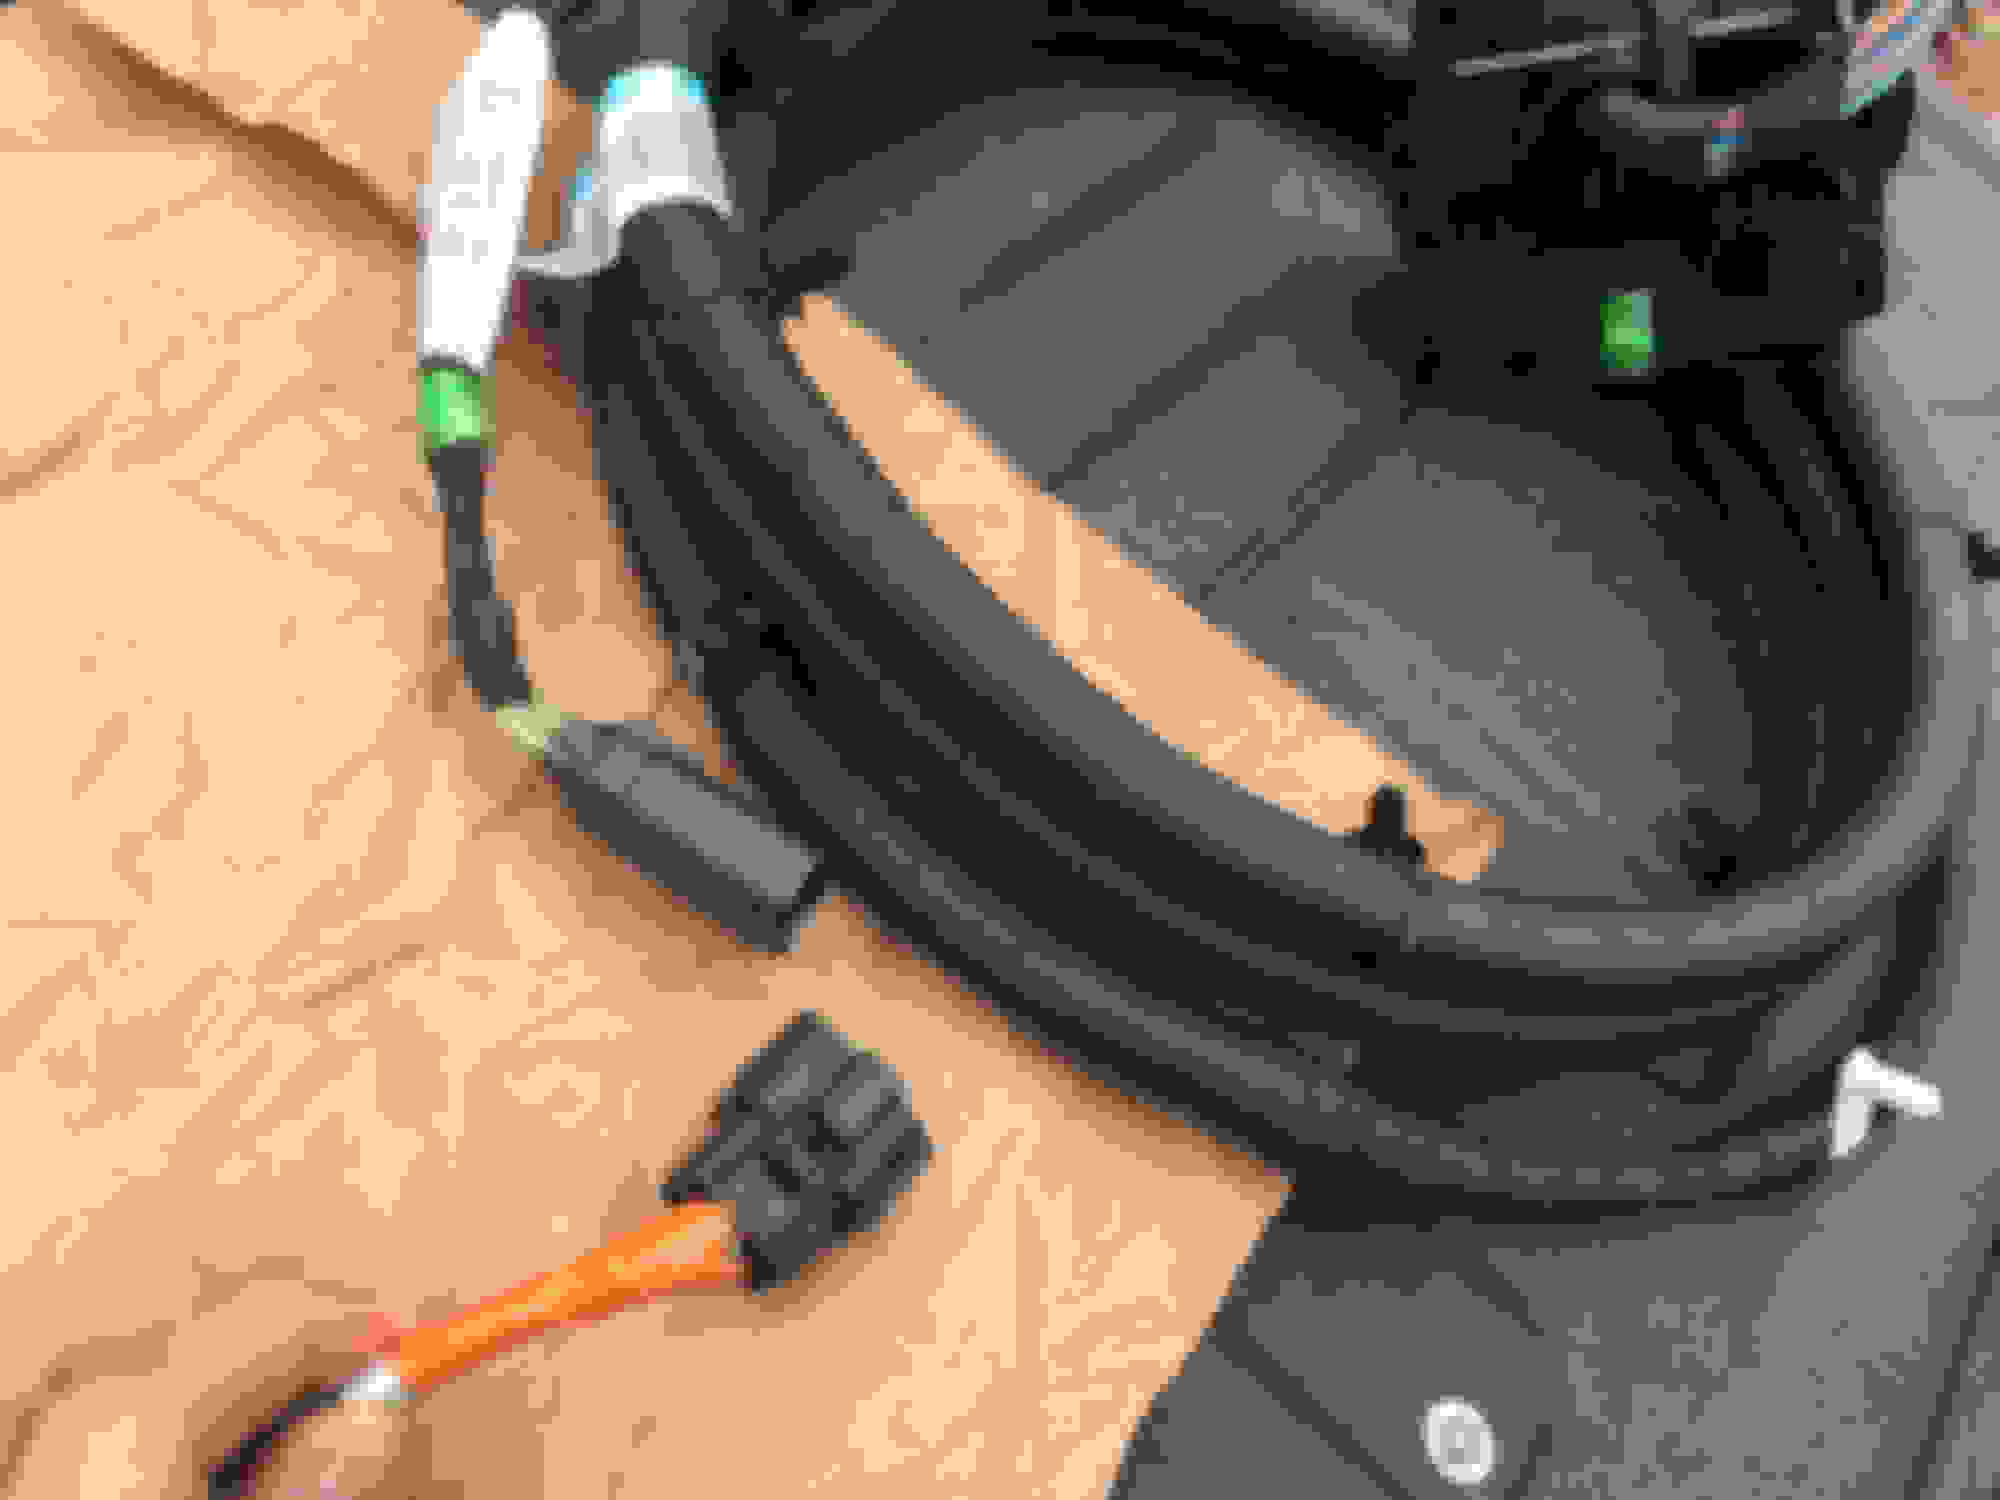
The fabric lined harness runs over the headliner and down the drivers side A piller. It easily plugs in to the glossy tape wrapped harness near the dashboard. This is exactly how it's done in the F250 trucks. Just like factory. Our F150 trucks don't have this wire.
You then push the orange tape wrapped end through the round grommet in the firewall and attach the provided plug on the engine side. He already has the pins attached to each wire, and each wire is numbered so you just press the connectors into the backside of the corresponding number on the provided plug and you're done. EASY!
This will then plug into the Ford F250 Relay Box.
The relay box requires you to make a bracket (links provided above), add an inline 200 amp mega fuse, and run a wire over to the fuse box using an Add a fuse.
This is the overhead console I needed for my 2016 Limited. It has the security system, panoramic sunroof, and rear sliding window. Check the attached document for a long list of other overhead consoles in different colors.
Big thanks again to 2016BoostedGrayGoose for making the cabling part of this project way easier, and a huge thanks to all the guys that put in tons of sweat and tears to figure this out.
I hope this post makes this upgrade much less intimidating for people to try it and add these 6 auxiliary "upfitter" switches.
I had about an hour before dark, so I decided to install the "A" part or the headliner part of 2016BoostedGrayGoose's harness and the new overhead console.
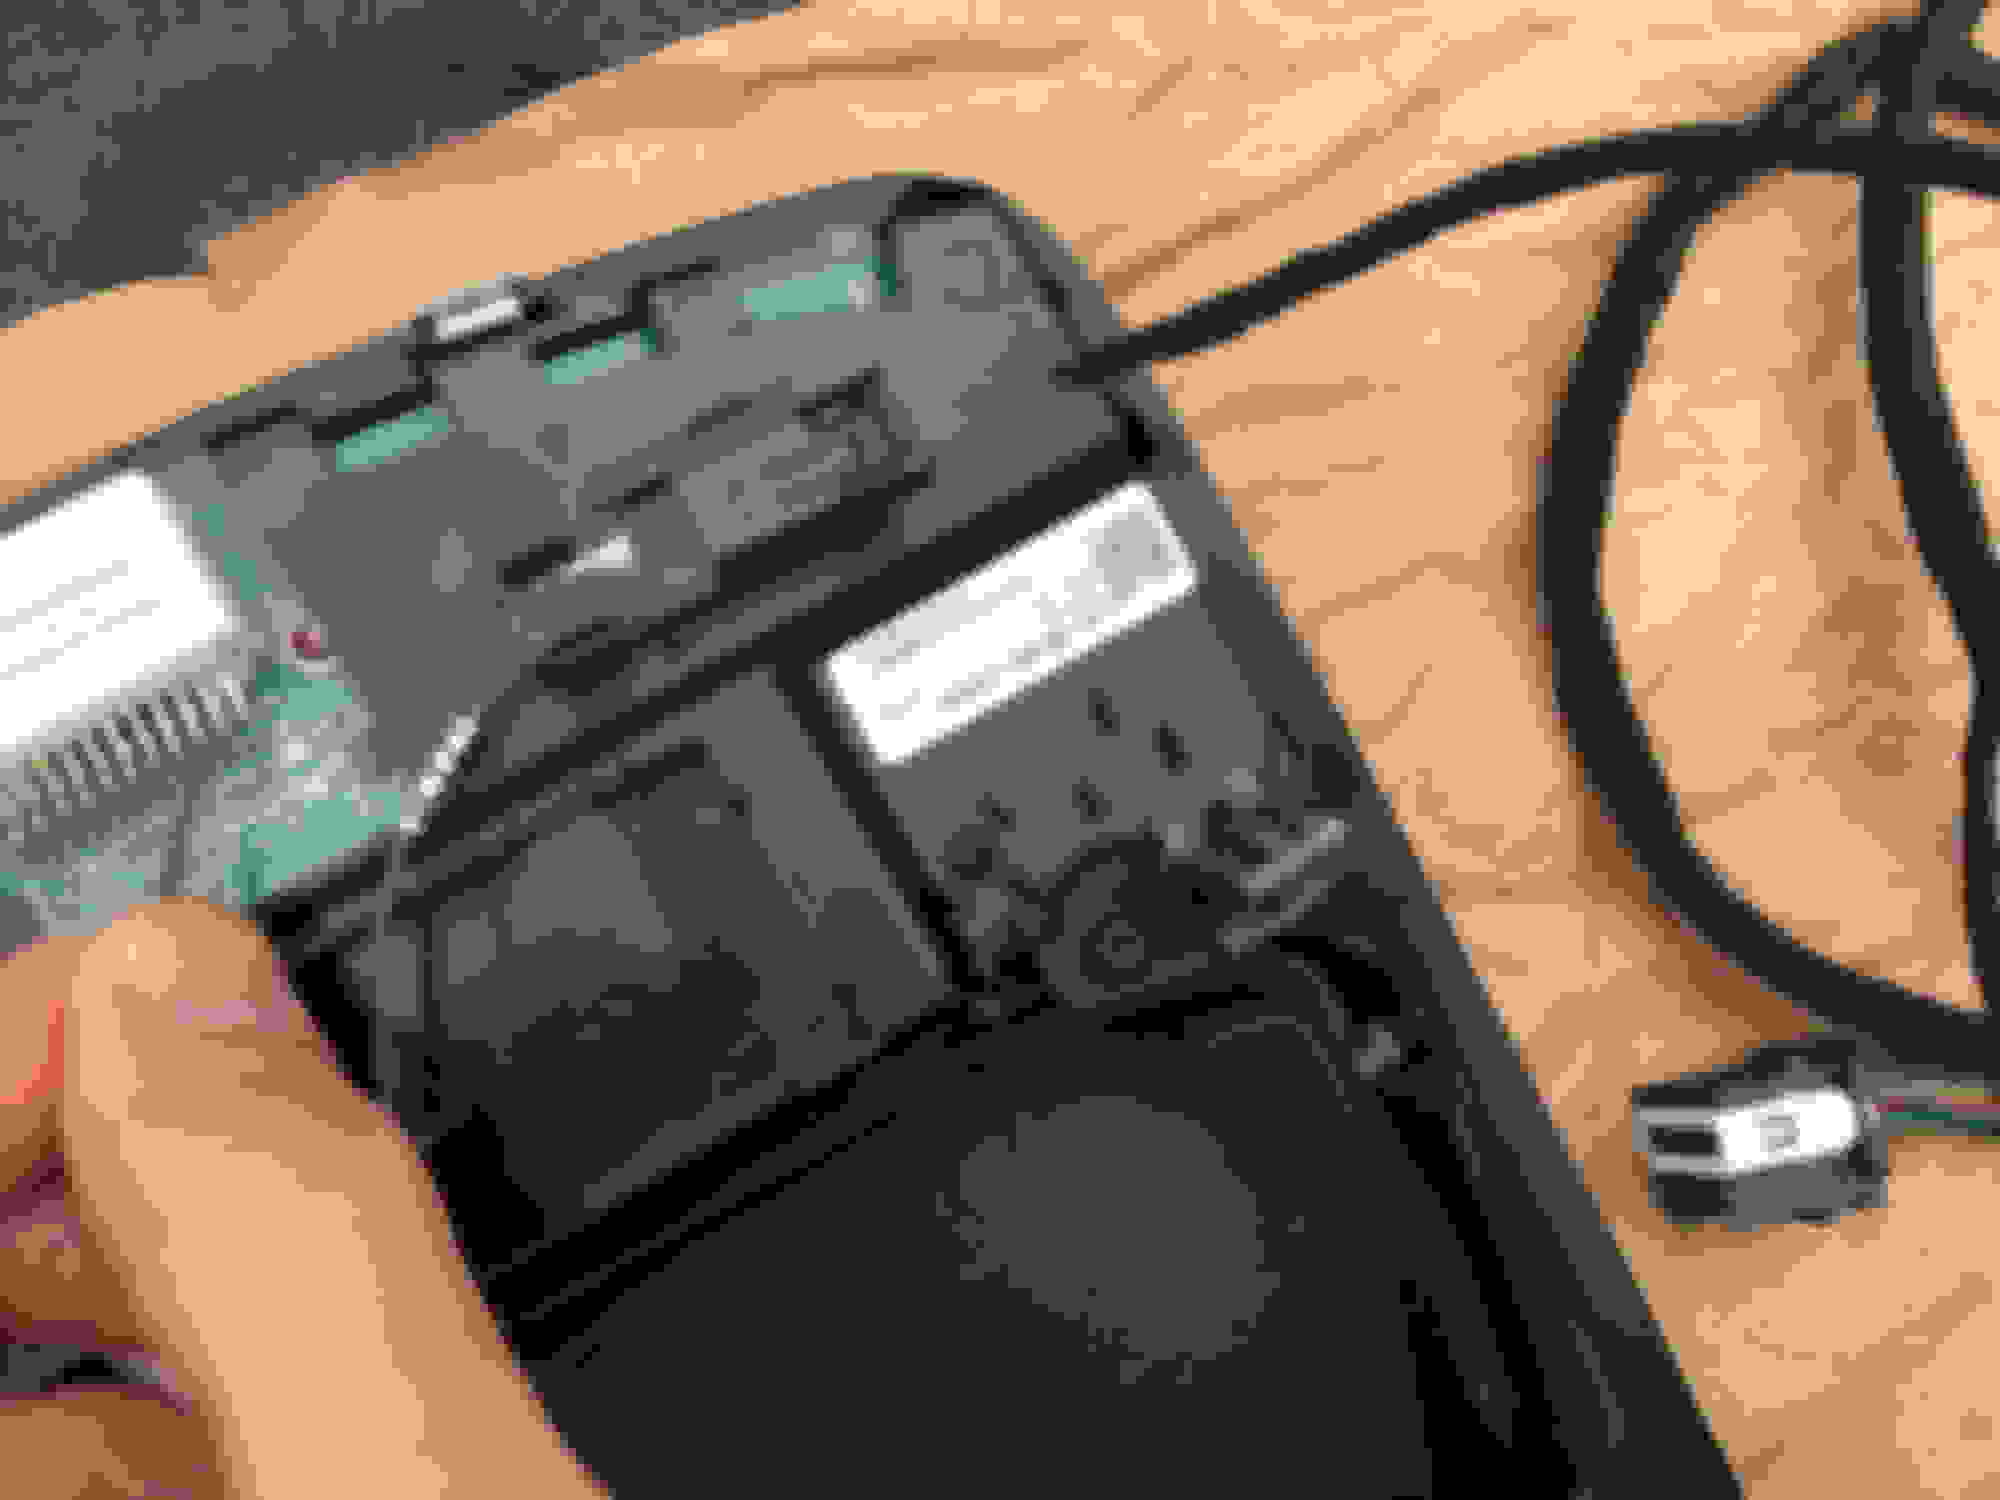
I removed my console (left) and saw that the security module in blue was a little different than the new console. I've ready that if you switch this module, it can throw a code, but someone else said Ford fixed that and it shouldn't cause any problems anymore. I didn't want to chance it and my old module works fine, so I swapped them.
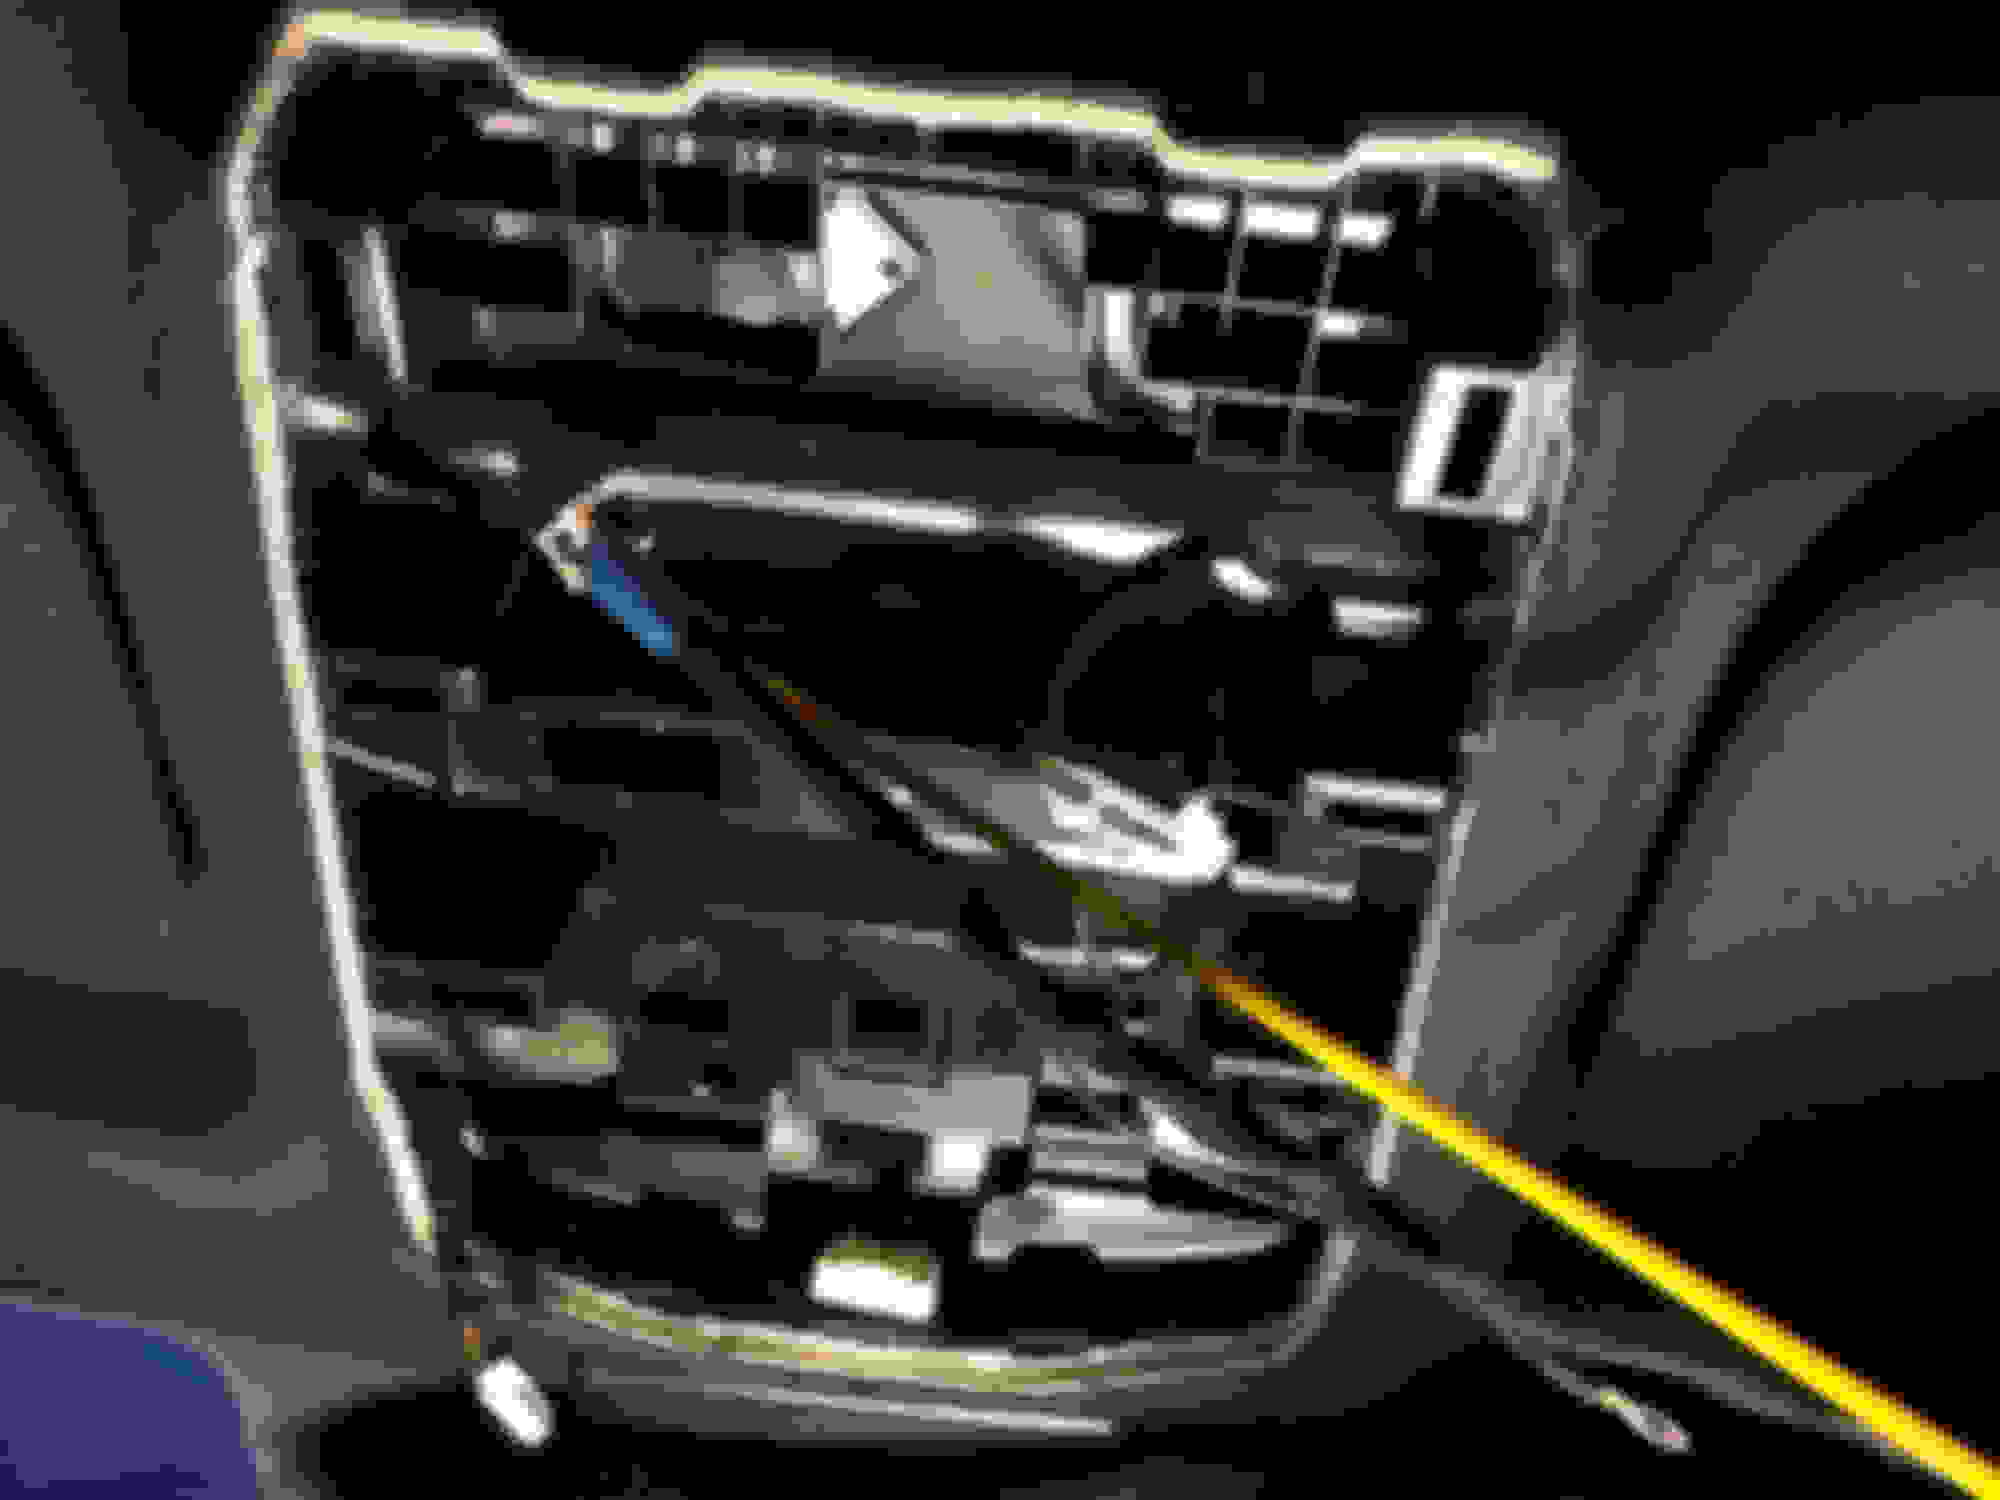
I soldered the purple wire to pin 10. I didn't have a helper to hold the wire, so I used a piece of tape and gave it a shot. A little off to the right, but it's on super firm and not touching anything else, so it stays.
I carefully removed the plastic covers on the handle on the A pillar and used a 10mm socket to remove the two bolts. That side cover came right off.
I got a fish tape and tried cramming the wire up through the hole in the plastic bracket that is in the roof. It kept jamming. I removed the screw in the drivers sun visor, and the sunvisor catch (remove both pieces) and then the headliner pops down really easily. It's held up by strong magnets. Now I was able to see in there and guide the wire over to the A pillar and then put the headliner back. The fabric on this A harness should prevent any vibration noise.
Run 2016BoostedGrayGoose's harness down the a pillar and you will notice the ground stud lines up perfectly with his harness.
This bolt holds the A pillar air bag in place, but it's also the ground. Loosen the nut, put his connector there and re-tighten.
Now you can connect all your harness connections again, including the new harness and pop the console back into the roof. Put your Windshield visor hardware back in place and tighten.
It was pretty dark, but I happily now have lit switches that dim with the rest of the dash. This all took me 1 hour! EASY stuff! I'll work on routing the B harness behind the dash and through the firewall in the next day or so.
Added a little sound deadening bubble wrap bag that my wife had that some lipstick or something came it. This should prevent a rattle from the plastic plug hitting the metal.
Another update. Kept noticing that the passenger side light didn�t line up with the grill. Figured out the mounting tab on the shutters had broken off in the previous owners care. Spent an afternoon swapping that out. swapping out the grill shutters
Last edited by 2016Limited; 11-12-2018 at 11:21 AM.

 02-20-2018, 09:48 AM