
TRS HID PROJECTOR RETROFIT: Installation thread
 09-07-2011, 07:30 PM
#121

 How did you cut the second shroud? It looks like a very good mate to the front shroud.
TRS gave me a great price for buying the 3 shrouds so wasn't out alot of money.
@stormsearch - those look really good... i actually like those shrouds a lot more then what i have on mine.
My biggest mistake on this project was thinking that it was going to take about 6 hours to do. I ended up putting about 15hours into the full retrofit. But totally worth it.
And all you guys talking about the fogs being overkill make me want to do it more now!
My biggest mistake on this project was thinking that it was going to take about 6 hours to do. I ended up putting about 15hours into the full retrofit. But totally worth it.
And all you guys talking about the fogs being overkill make me want to do it more now!
Looks good! Do you have a pic of the headlight(s) themselves when on at night? (Close up) I'm wondering what it'll look like, those are the same shrouds that I have. Also, did you use the rings when mounting your shrouds? I feel like the projector is too deep into the shroud when using them so I'm debating on trimming the inner fins so the projector sticks out a bit more from the shroud and still use the rings.
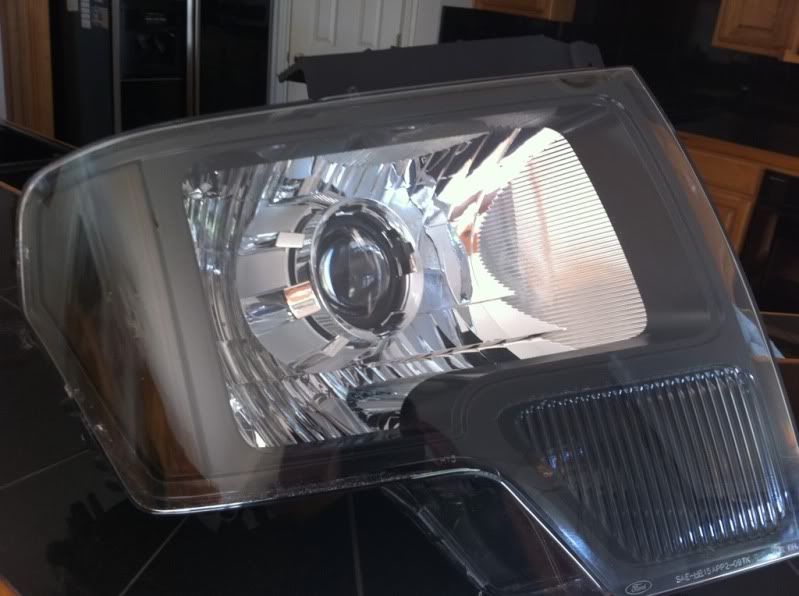
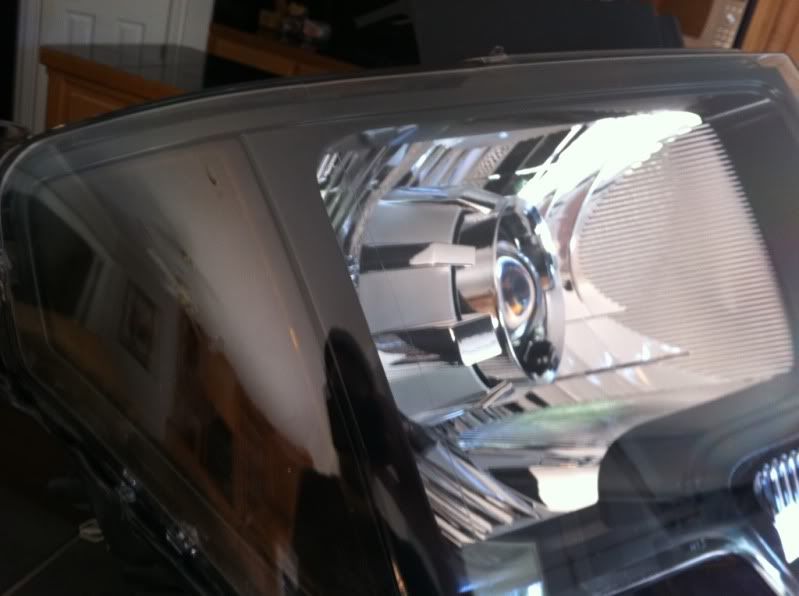
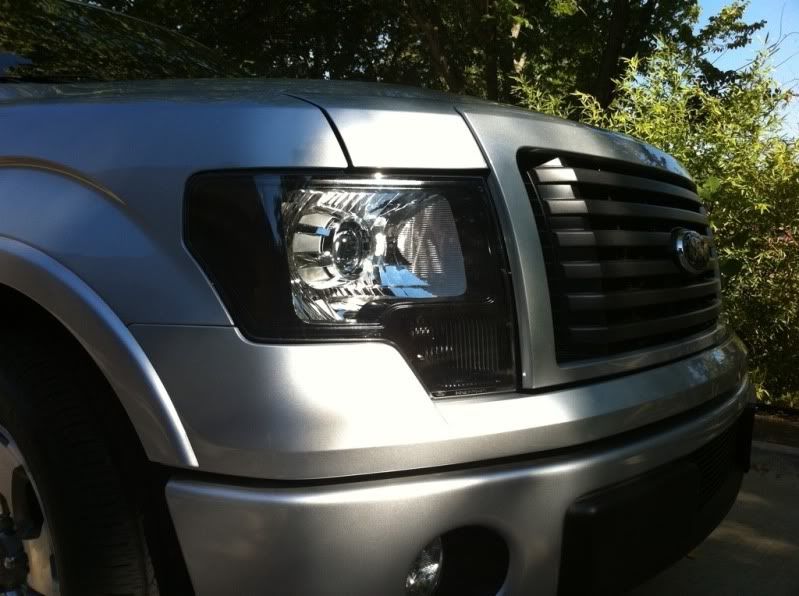
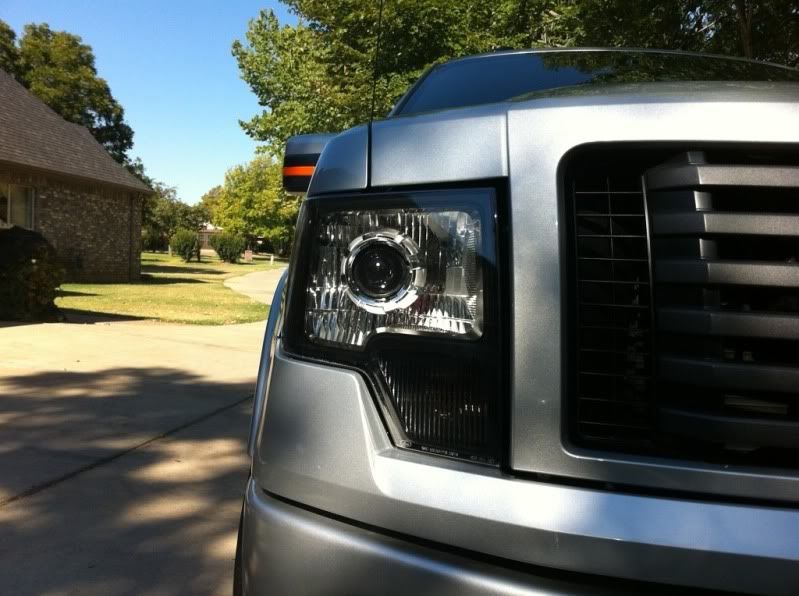
I'm still getting used to the bug-eye look. If it wasn't so functional, I would be less thrilled. I looked at different paint options to help but didn't want to get too fancy either. I did trim quit a bit off the inner shrouds where the concentric rings fit on so the shroud sunk as deep into the reflector housing as possible. My lens sticks out past about 1/2" past the shrouds.
Edit: Just ran out to re-install my driver's side fog light, it leaked bad and took a side pic of the headlamp. Hope it works as I just start to beat anothe rainstorm.

Last edited by stormsearch; 09-07-2011 at 07:48 PM. Reason: Adding picture
 09-07-2011, 09:29 PM
#122
Senior Member

I'd advise against using silicone as a sealant. Butyl Tape or Nissan sealant is ideal.
The bug-eye look can be hidden a bit by using large shrouds since the F150 has large reflectors.
BTW, it is common to get a little condensation if you drive in weather right after the retrofit since pressure/temperature is rapidly changing. If you are getting condensation after a couple weeks, then try re-sealing with the above mentioned products.
I too agree fog lights are pointless. With the retrofit headlights, the foreground is more than lit up and foglights are deemed completely useless. It is purely cosmetic at that point.
09-08-2011, 06:32 AM
#123
I used the butyl tape for the heads, but fogs used clear RTV. The black tape would show thru the fog light lens. Both fogs had heavy condensation in them this morning after an all night rain and drive to work. That is after I basically used 1/2 tube of RTV to seal the driver's side back up.
The temp/pressure change for such a small lamp must be pulling it in thru. I never used my fogs that much so didn't notice when stock. The condensation was causing the light to scatter which was kind of nice to see the signs. My headlmaps are still perfectly clear.
The temp/pressure change for such a small lamp must be pulling it in thru. I never used my fogs that much so didn't notice when stock. The condensation was causing the light to scatter which was kind of nice to see the signs. My headlmaps are still perfectly clear.
09-08-2011, 02:46 PM
#124

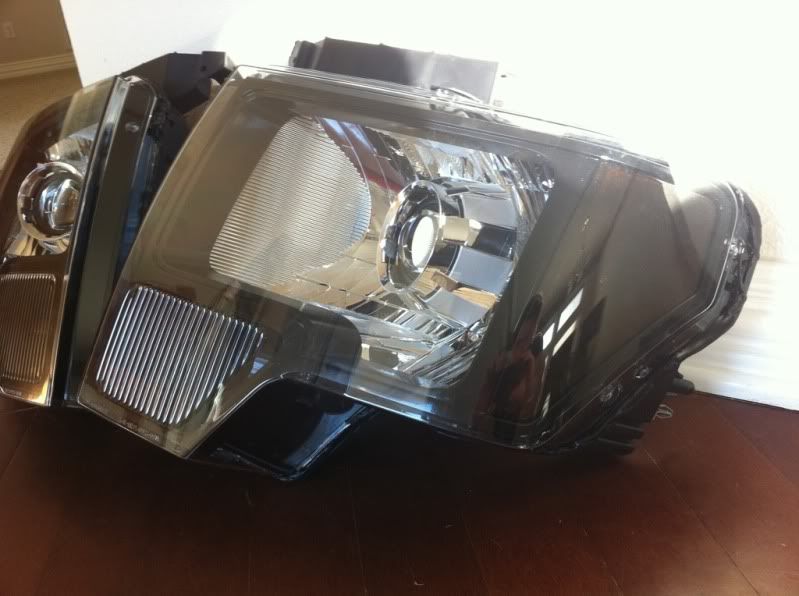
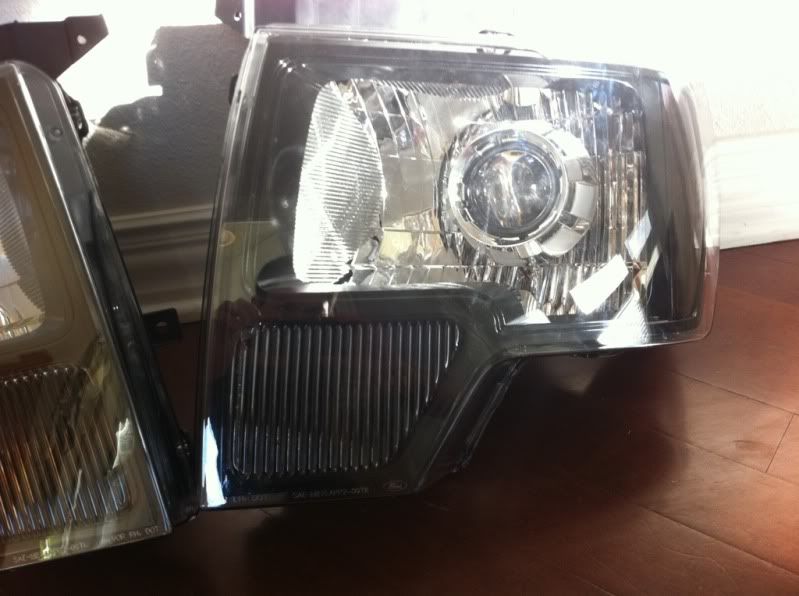
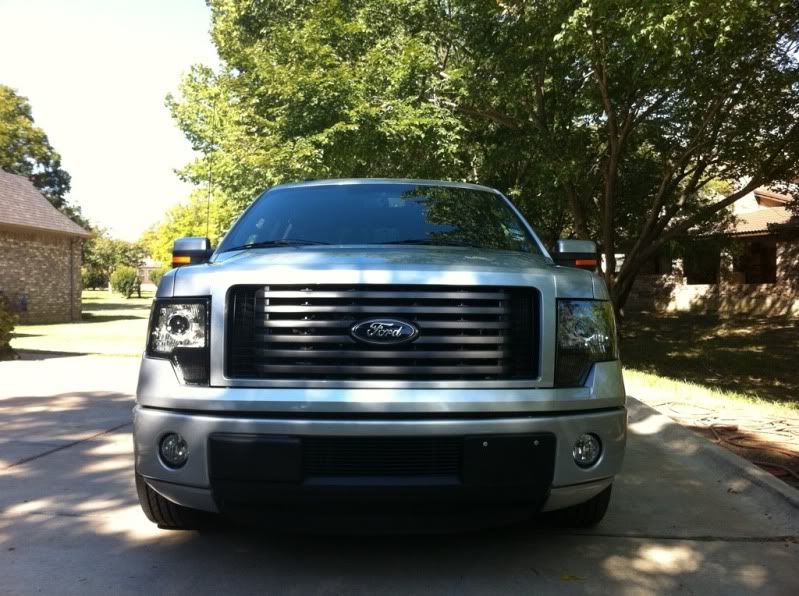
So i thought about the main chrome reflector part and didn't like the look.. so i decided to paint it flat black to match the housing... the shroud got the same treatment..


09-08-2011, 04:25 PM
#125
BAMF Club
^that's sweet. Exactly what I'm planning to do
09-10-2011, 10:06 AM
#126
Well...I basically have my lights finished up. Not sure how Im going to seal around the actual HID bulb...but here is my setup.
This is the butyl sealant that TRS sells. I did cut off the outer lip...glad I did. This stuff seals well. Just stretched it slightly all the way around... put the cover on and used a heat gun to barely warm up the sealant and smashed on the cover. Then I just pushed around the sealant on the outsides to make sure it was sealed well

This is the butyl sealant that TRS sells. I did cut off the outer lip...glad I did. This stuff seals well. Just stretched it slightly all the way around... put the cover on and used a heat gun to barely warm up the sealant and smashed on the cover. Then I just pushed around the sealant on the outsides to make sure it was sealed well
09-10-2011, 12:43 PM
#127
Junior Member

Join Date: Sep 2011
Posts: 16
Likes: 0
Received 0 Likes
on
0 Posts
I used windshield installation urethane to re-install the covers - im sure theres no taking them apart again! i wouldn't suggest using this stuff, anything it touches it pretty much ruins, including your hands!
What kit did you use for the fogs? Did you re-buy a wiring harness or make your own?
What kit did you use for the fogs? Did you re-buy a wiring harness or make your own?
 09-10-2011, 10:24 PM
#130
Junior Member

Join Date: Jul 2011
Posts: 4
Likes: 0
Received 0 Likes
on
0 Posts

got my extra set of new headlights for the retrofit on tues and last night I pulled them apart. They was very easy took about 2 hours to get both lights apart and cleaned up. Used a heat gun, Hyde 5-in-1 painter's tool and screw driver. Plan on tinting the yellow sidemarker with a light coat of VHT-Night Shades. I have a 07 HD and my kit came with a black ring. Can someone tell my what this ring is for and do I have to manual aim my lights or can I use the washer in the kit.
Thanks in advance.
Thanks in advance.