When you click on links to various merchants on this site and make a purchase, this can result in this site earning a commission. Affiliate programs and affiliations include, but are not limited to, the eBay Partner Network.
Performance, Tuning, and (LEGAL) RacingPost discussions about increasing performance, capabilities, and racing.
****WARNING**** Street racing or illegal activities will be removed and potential bans will
be handed out.
Use some zipties to keep all of the connectors and hoses out of the way while installing the manifold.
Originally Posted by LTNBOLT
I had to unscrew the fuel rail bolts after I put the intake manifold on to get to some of the manifold bolts to torque them with a torque wrench.
I found this to be true also On the passenger side the wire harness also interfered, I had to completely remove the injectors from the manifold to get to some of the bolts. I will mention this in posts above.
Install the intake manifold back on the truck per the manual. Other then the issue above, this part of the manual is very well written and easy to understand.
Reconnect the passenger side DI pump factory hose. Make sure it clicks.
Connect the fuel pressure sensor connector wires on the drivers side.
Connect the factory fuel supply hose to the fuel rail. Make sure it locks in place.
All eight fuel injector connectors. I'm only going to show one.
Rotate the water neck vent line hose clamp so it faces forward. Then install the front fuel crossover hose with the 90� elbow on the drivers side as shown.
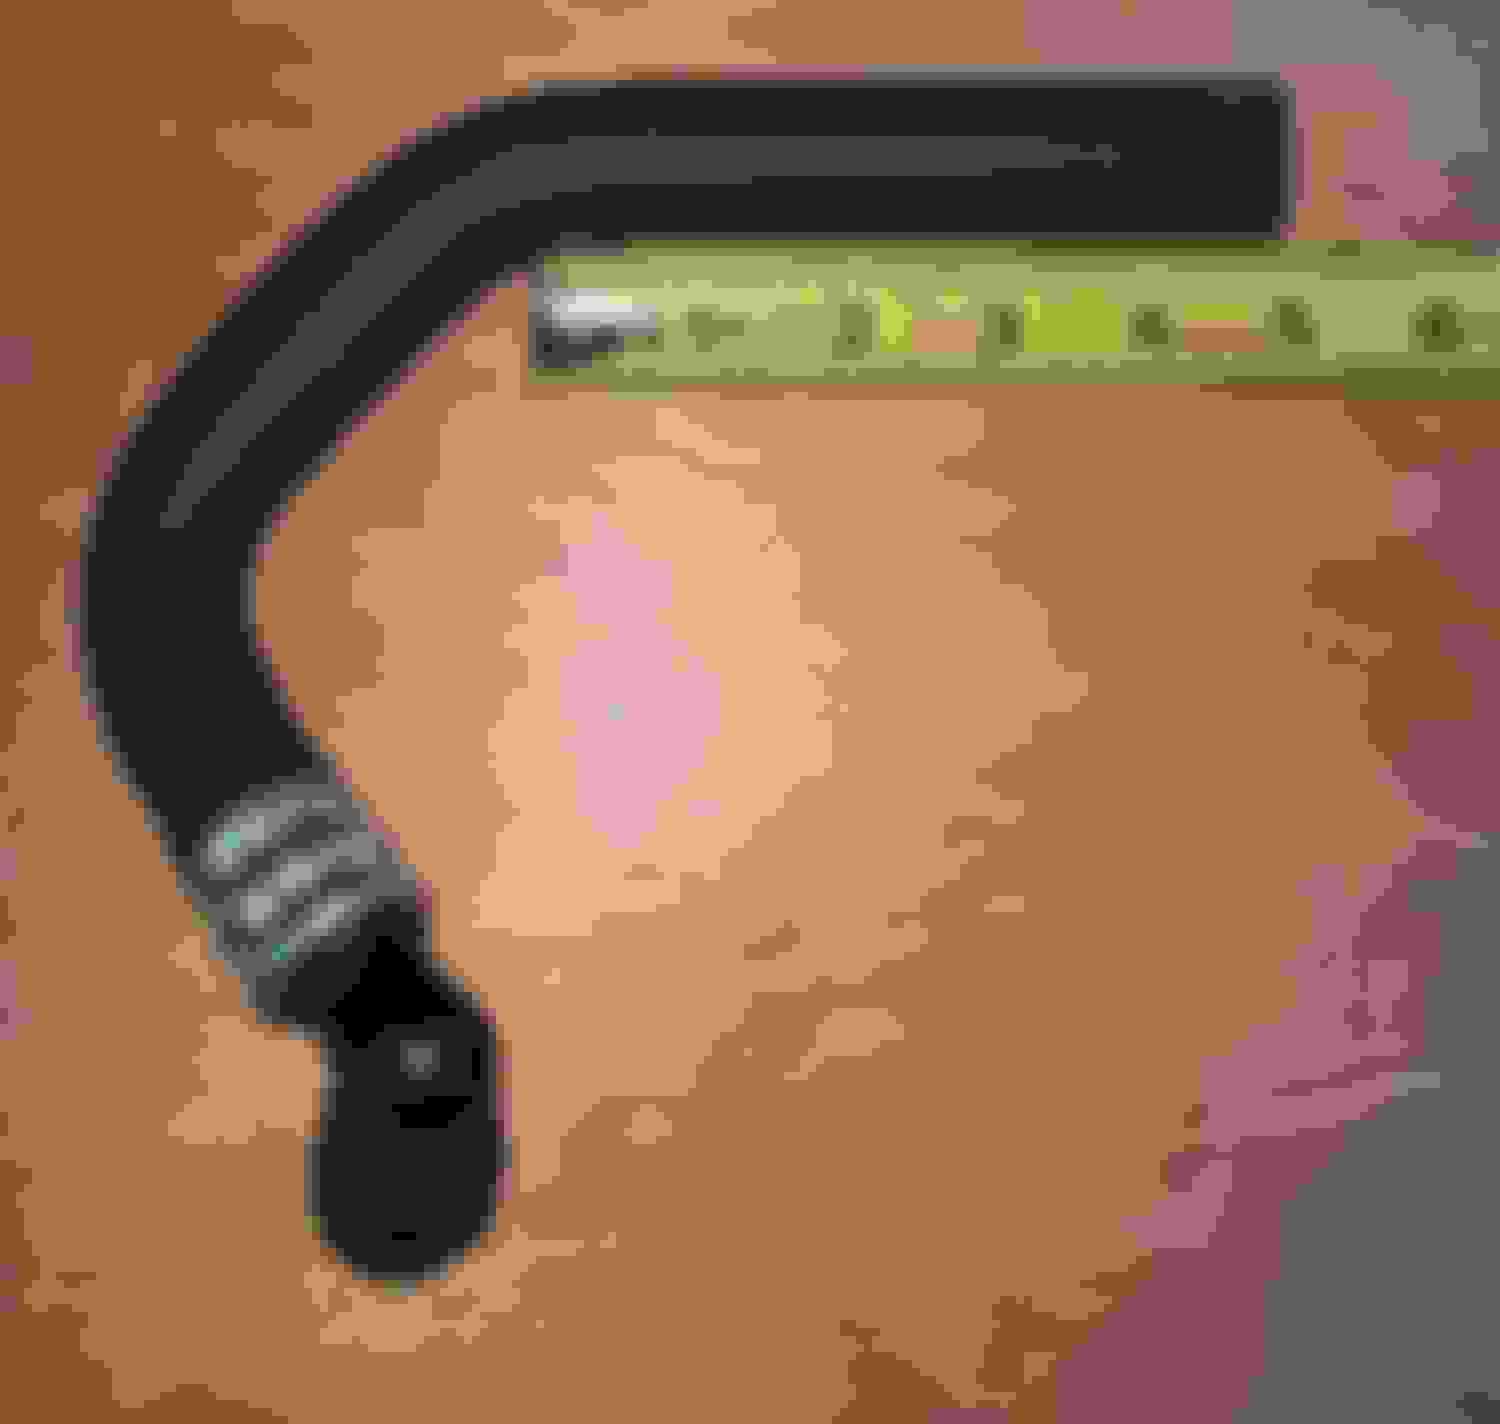
I had some trouble figuring out what the Whipple manual was saying here. It shows a picture like below for the passenger side heater hose. They show this section of hose to show where to cut it. This is the part you DON'T USE.
Next make up this section of hose from the supplied parts. Cover the supplied hose with shrink wrap then the protective sleeving. Use a heat gun to and shrink wrap over the ends of the sleeving to keep it from fraying.
Here is a video about the Gates PowerGrip Hose Clamps
Use supplied hose coupler and two Gates PowerGrip SB Heat Shrinkable Hose Clamps to join the hose you cut off and the hose shown above. Cover it with heat shrink. The manual has a good picture of this.
Install the passenger side heater hose to the nipple with a worm drive clamp as shown below.
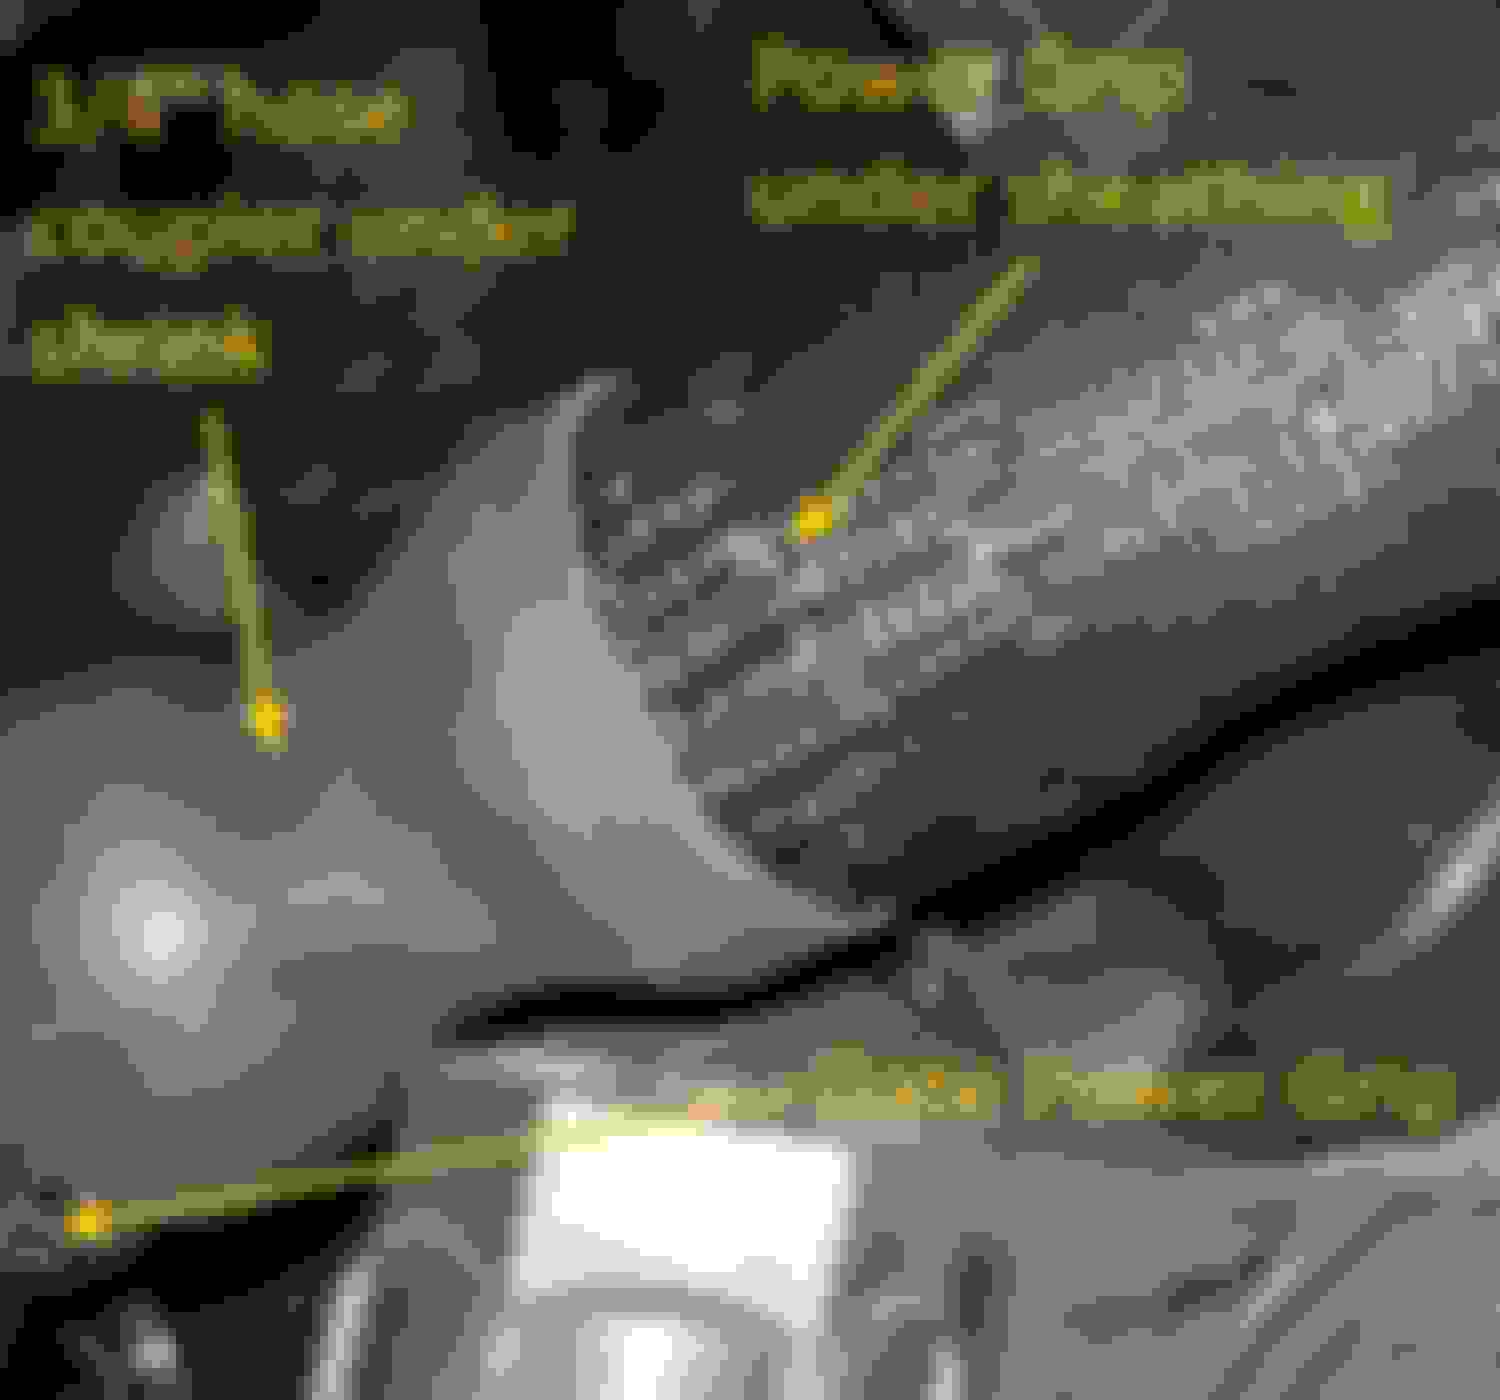
Using electrical tape, cover the three connectors (1 IMRC solenoid & 2 IMRC position sensors) shown below. THEY WILL NOT BE USED.
Wrap the covered connectors into the wire harness...It's not pretty I know, the blower will cover most if not all of it, so don't do too much stress.
I don't see anywhere in the manual where it tells you to do the next step. Connect the MAP sensor connector to the pigtail wire harness we installed earlier on the manifold. You can dress it up nicely to the wire harness.
Install the o-rings on supplied fitting for the top intercooler connection.
The pictures in the Whipple manual uses a black supercharger so its a little hard see the images. Use a little bit of grease on all the orings and install the brown oring in the top groove then insert the tube into top of the intercooler connection.
Same thing from a different angle.
Use nlue Loctite on the screws and install the fitting.
Tx-Ripper pointed out the rear fuel crossover line should be routed down to prevent rubbing. For the to work correctly you must have the 90� hose connector on the passengers side and the 45� fuel hose connector on the driver side.
Torque the Blower down to the manifold, don't forget the EVAP bracket on the drivers side. I'm going to admit something here, I don't have a torque wrench and alan socket small enough that fit on the last front, last rear bolts on the passenger side and under the manifold. I had to more or less estimate the torque applied.

 07-03-2018, 12:23 AM