When you click on links to various merchants on this site and make a purchase, this can result in this site earning a commission. Affiliate programs and affiliations include, but are not limited to, the eBay Partner Network.
2002 F150 5.4 no start after changing timing chains
Replaced timing chains, guides, tensioners, cam sensor, crank sensor, oil and water pump on the truck. Reassembled and now have no start. I am getting spark and fuel while turning over, but the truck will not start. I know there are a million threads on this and I have reveiwed a ton. This is my first Ford to replace timing chains on. I am 100% sure I lined up the marks on the new timing chain with the marks on the cam sprockets and the crank gear, however I did not check to make sure the motor was @ tdc, bc in reading the articles I gathered that as long as the marks are correct the motor will be timed, however now I am starting to second guess. i did bring the keyway on the crank to around 11 oclock putting the cam spockets in or around their respective positions described by the manuals. Does anyone have any ideas or recommendations ? I hate to take it all the way back apart for no reason. TIA
Replaced timing chains, guides, tensioners, cam sensor, crank sensor, oil and water pump on the truck. Reassembled and now have no start. I am getting spark and fuel while turning over, but the truck will not start. I know there are a million threads on this and I have reveiwed a ton. This is my first Ford to replace timing chains on. I am 100% sure I lined up the marks on the new timing chain with the marks on the cam sprockets and the crank gear, however I did not check to make sure the motor was @ tdc, bc in reading the articles I gathered that as long as the marks are correct the motor will be timed, however now I am starting to second guess. i did bring the keyway on the crank to around 11 oclock putting the cam spockets in or around their respective positions described by the manuals. Does anyone have any ideas or recommendations ? I hate to take it all the way back apart for no reason. TIA
***update, i sprayed starting fluid in the throttle body and it attempted to fire right up, but when it started hitting it blew gas and maybe oil somewhere out the back of the motor....possibly off 180?? Someone please help. Im destrought.
You can't be off by 180� otherwise your cams would not be anywhere near where they are supposed to be. I was trying to upload some pictures for you but I'm having troubles with the load from device button. Pictures may help you feel better about the setup. So many other possibilities to your problem. Will get back to you. I'm going to look something up.
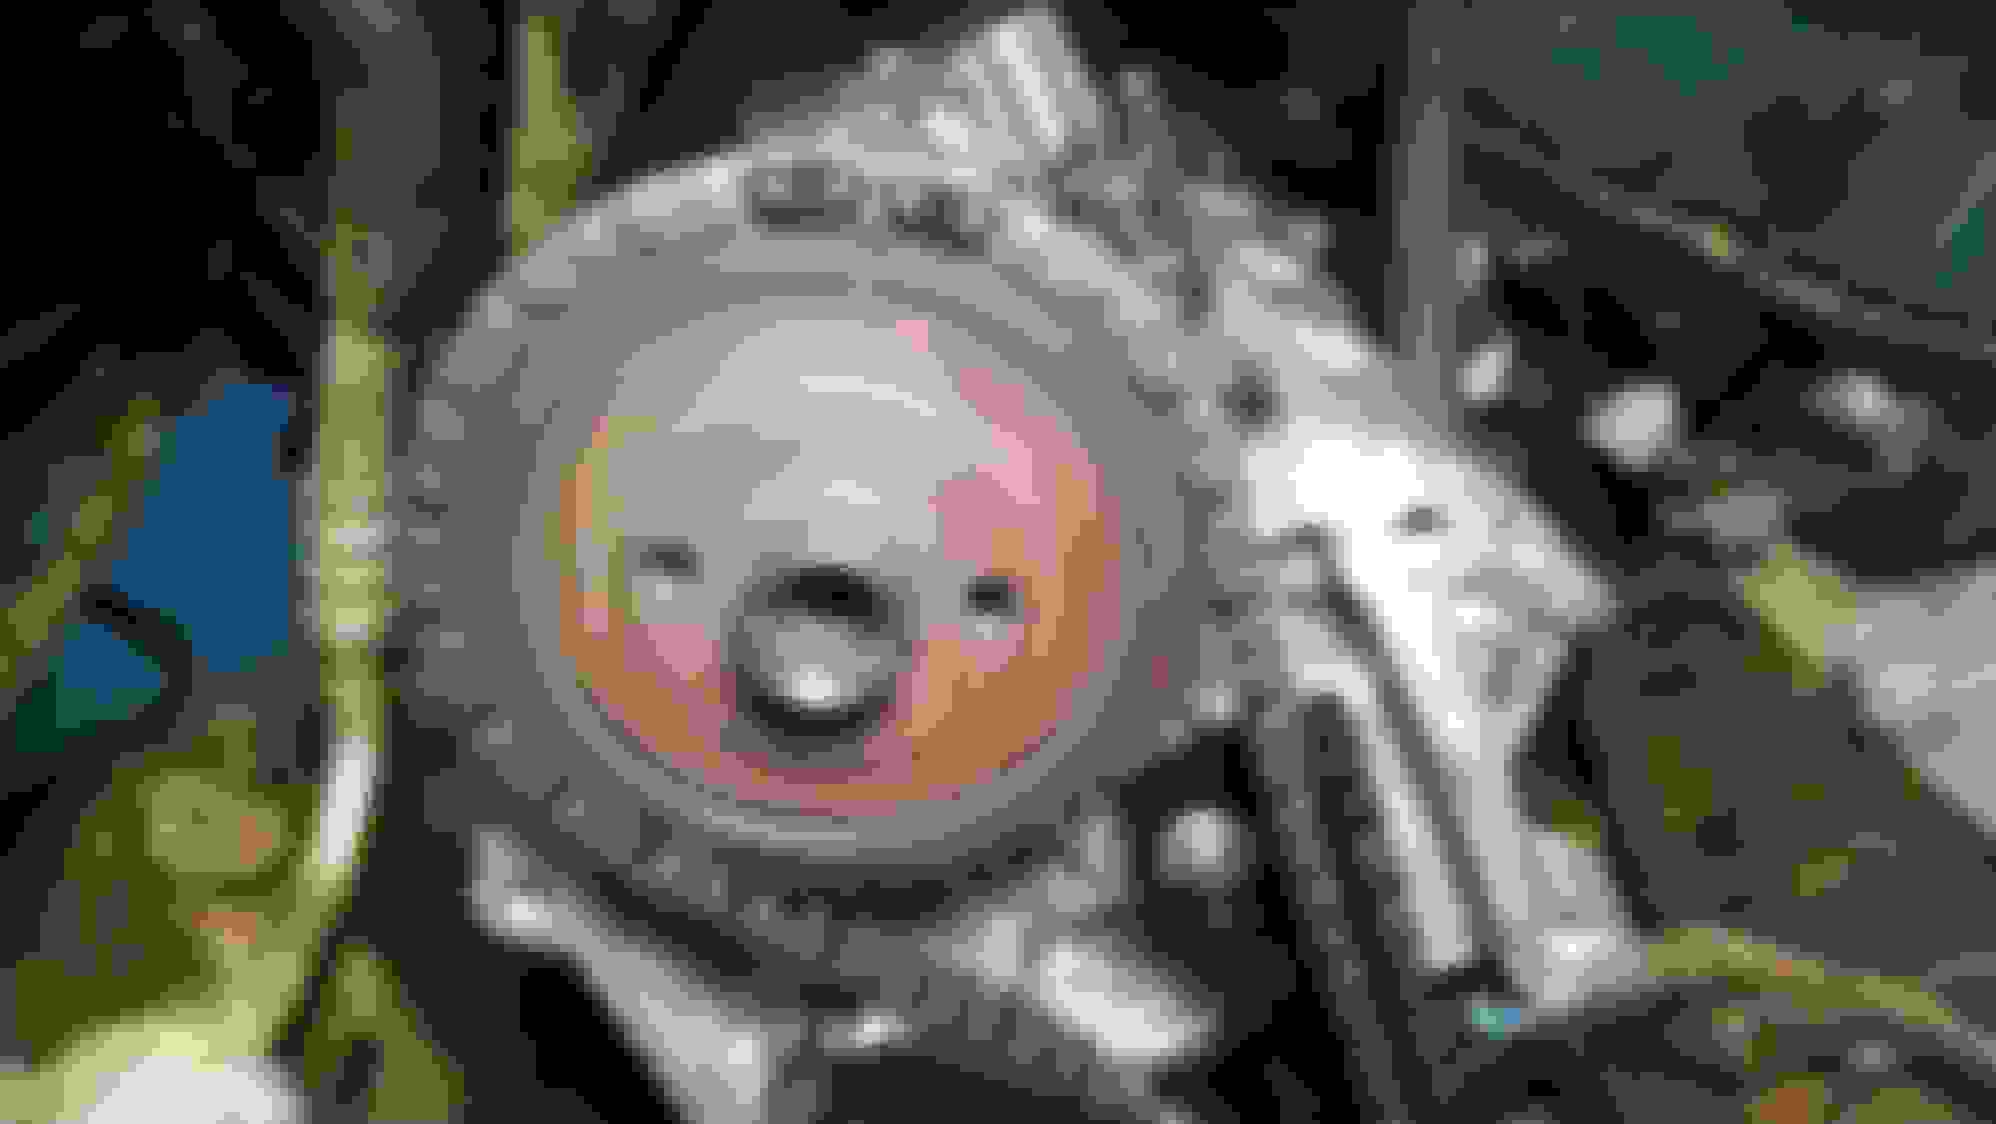
I posted these for you to compare and if they match you can feel better about your setup. I'm sure you know that all we are interested in are the colored links.
A dumb question but you did put the crankshaft sensor tooth wheel on the crank right? LOL I ask cause I forgot to and had to pull the timing cover back off just seconds after installing it. This sensor wheel also must be oriented properly, which I'm sure you know and have made sure to replace with the proper orientation. Unfortunately, I did not take any pictures of this in place. You will see it in the Chilton's manual if you have one. If you did all this. It's time to start checking compression, etc...
disregard the paint pen marks on the right side of the sprocket
Chris,
My marks line up perfectly. I read a ton about the importance of it. I did put the crankshaft sensor wheel back on, lol. I actually got it started today after pulling fuel rails off, plugs and coils. Truck sounds fine and idles normal, but still have some oil coming out of the back of the motor somewhere what looks like on both sides...I am going to check to ensure valve covers are both on correctly now as I did have some delay to get them back on after applying the gaskets/rtv to valve covers. I ran compression test and all cylinders looked good and were within the recommended variance so I dont see how I could have bent valve...although if i did could this cause blow back into the crank case and the oil to be pushed out of the motor or exhaust?? I also replaced pcv valve while I was there. Could crank case pressure be an issue due to faulty valve or hose problem? Im so stumped.....
Edited....just looked and found my valve cover gaskets were off just a tad on the back of each one. Going to pull them back off and re-set them. Wow...who would have thought all of that technical stuff and my error was one of the simplest things....going outside to knock this out and test drive and will update. Thank you so much for the help!
Alright!!!!! Congrats, I think it's better to be something simple than a major mechanical issue. Great job! Now you can relax and enjoy.
Done deal Chris. I had to buy another set of gaskets (2nd) new ones but wanted to be sure. I had to clean top of heads with acetone and strip valve covers back down clean as can be, added some RTV and bam! Done deal! Again, thanks for the pics and help man. That gave me enough confidence to move on and trust my install to figure out the rest. Have a great night!
 04-17-2015, 04:01 PM