When you click on links to various merchants on this site and make a purchase, this can result in this site earning a commission. Affiliate programs and affiliations include, but are not limited to, the eBay Partner Network.
How-To: Install Skid Plates on Non-FX4's (OEM & RCI Mix)
So I did a fair amount of research and forum browsing before I ordered and installed my skid plate package, and I felt like it would be helpful to have it all pulled together in one place for future owners if they wanted to install the OEM skid plates on their non-FX4's. So, I took pictures during the installation and kept track of all the part numbers (originally, that took a bit of searching to get the correct # for nuts/bolts, etc...). I have a 2018 STX 4x4 5.0 SCrew with the extended fuel tank. I'm limited to 10 pics per post, so I'm going to split this into 2 posts.
Parts needed - I put on the OEM Engine Skid Plate, OEM Transfer Case Skid Plate and OEM Fuel Tank Skid Plate (this is plastic); I also put on the RCI Metalworks Transmission skid plate after I saw how exposed that system is after the OEM plates are put on. So, here are the parts you need for the entire setup; I bought all my OEM stuff at AutoNation:
Part I
Step 1: Remove the existing skid plate. This is 2 bolts.
Step 2: I installed the insert plate into the main engine skid plate. This is done by simply inserting the 4 clips.
Step 3: Install the nuts into the frame slots. This is really simple, you just hold the skid plate up to the frame to see exactly which holes it aligns with and insert the clips where they need to go, then tighten down the bolts.
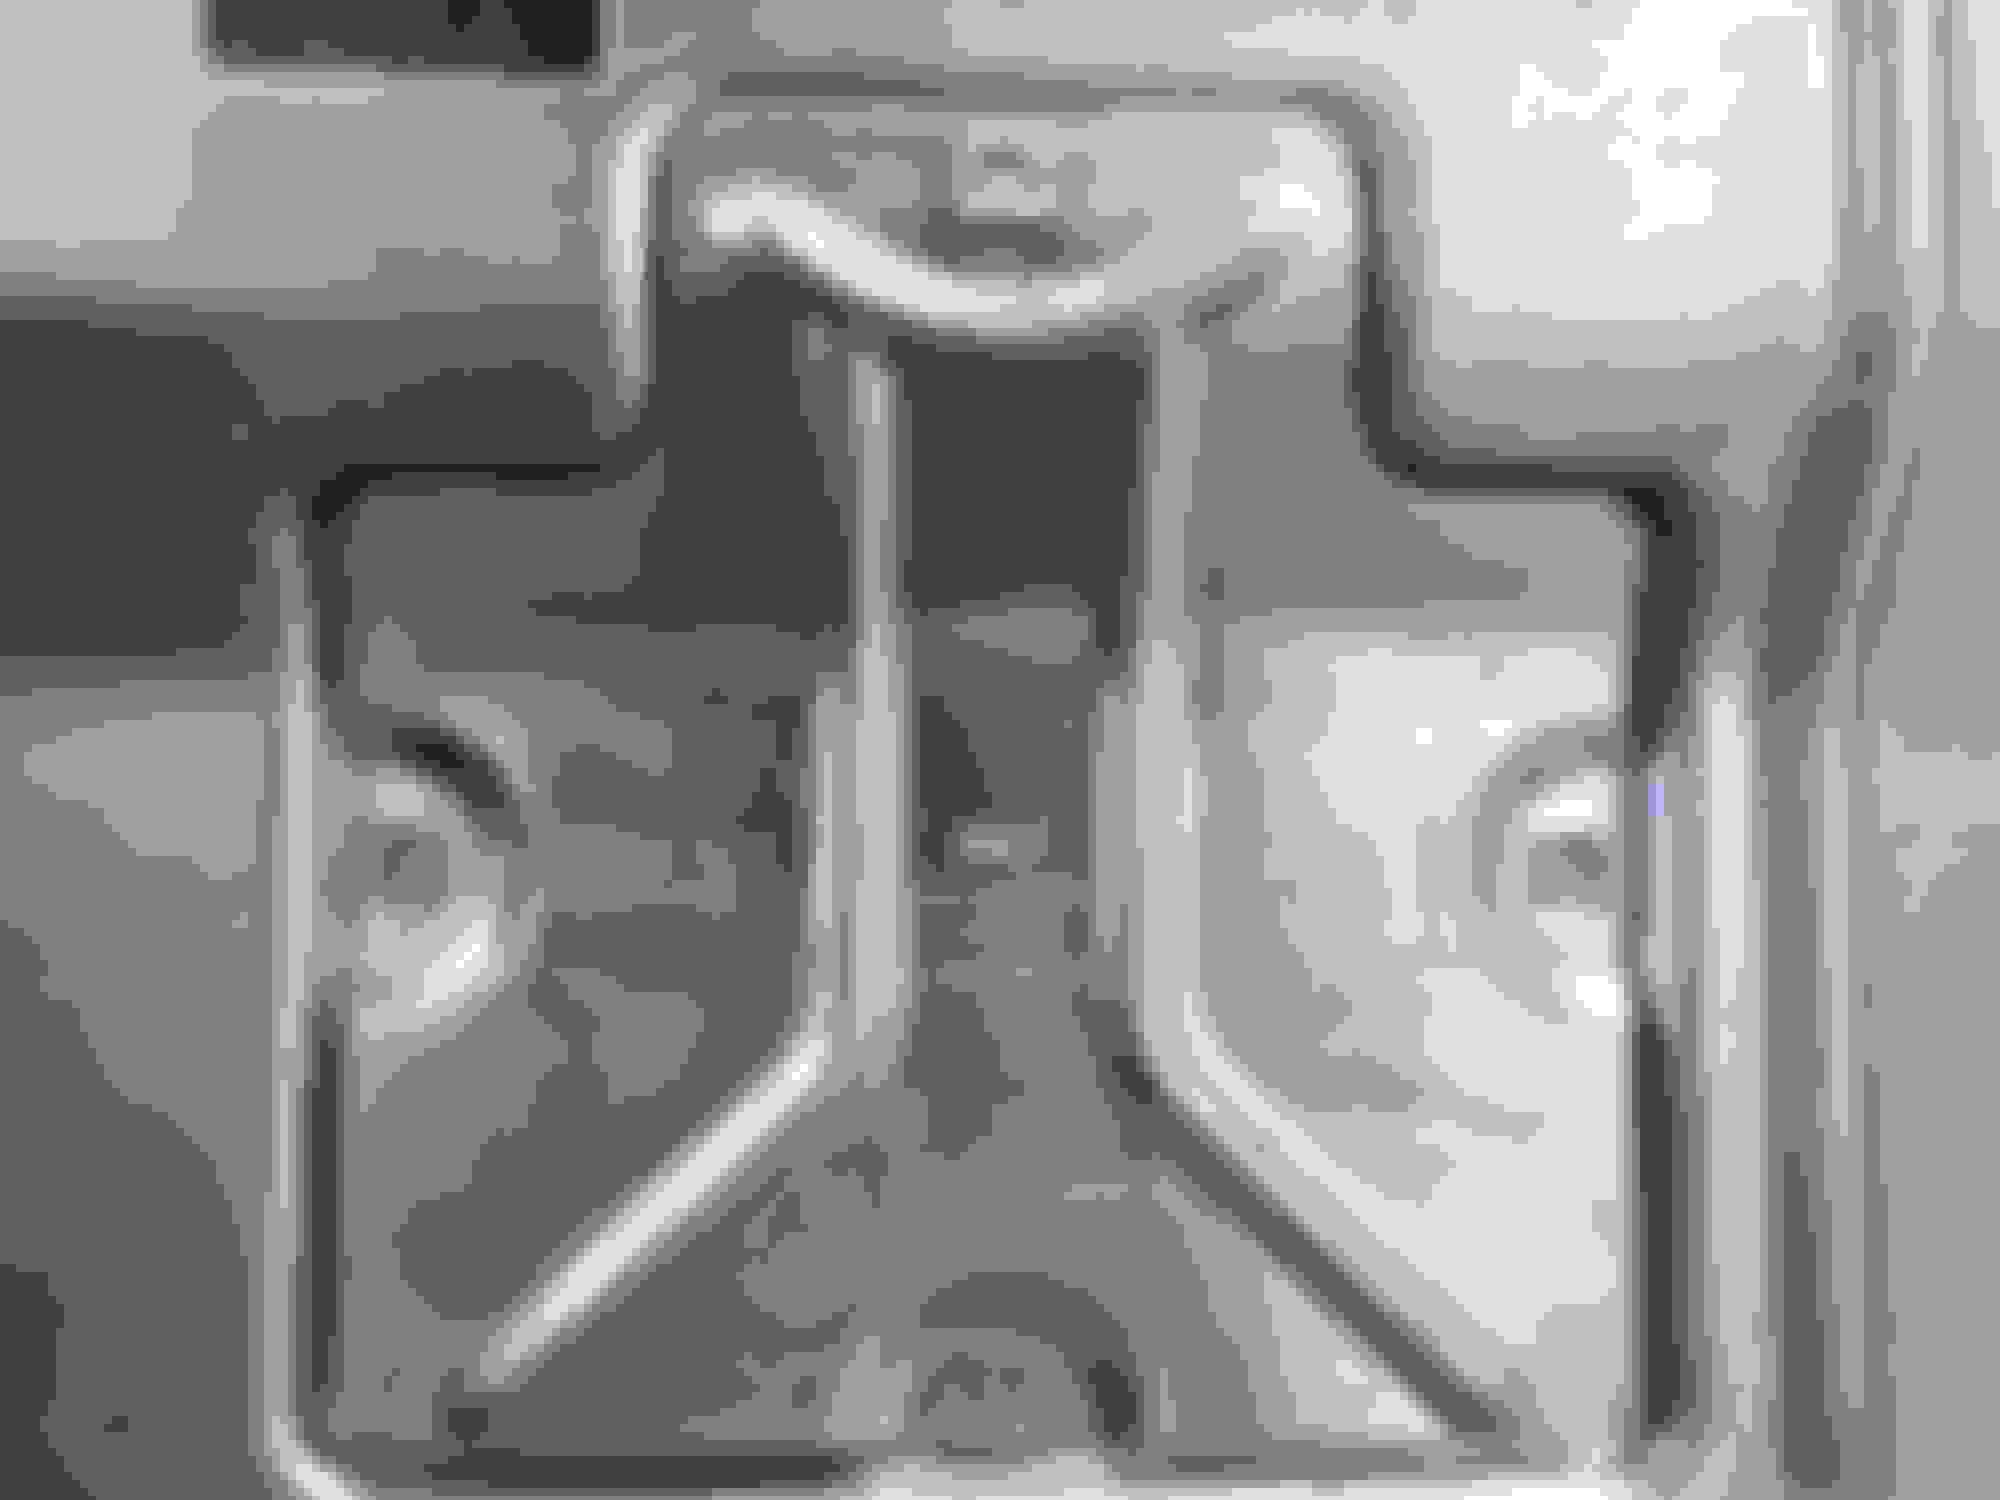
Step 4 (Transfer Case): Install the 4 nuts in the frame locations (circled in blue in picture 2).
Step 5: Install the Transfer Case Skid Plate, tighten down the 4 bolts
Step 6 (Fuel Tank Skid Plate): This is where it started getting a little more tricky. To install the fuel tank skid plate, you need to switch out the fuel tank straps for the version that has the bolts. There is one bolt on each of the 2 straps, located on the driver's side of the tank. The passenger side of the tank strap works sort of like a hinge, after you remove the driver's side bolt, you can move the strap around and just pull it out of the passenger side frame slot. The key point to this is supporting the fuel tank during the strap removal. I waited until my tank was nearly empty, and then used my jack with some blocking to make sure I wasn't point-loading the tank in any way. It worked just fine, no issues at all. The rear strap was a little tight to get the new one in, but I managed. I did one strap at a time.
Part II
Step 7 (Transmission Skid Plate): This came about a week after I installed the other plates, so your installation sequence may vary if you do all of these at once (do this first in that case). Since I already had the Transfer Case & Engine Skid plate in place, I had to do some removal. The first step is to install the backing plate in the passenger side frame rail shown below (2nd & 3rd pic):
Step 8: I had to unbolt 3 of the 4 transfer case plate covers and swing that plate out of the way, along with the back 2 main skid plate covers (the transmission plate uses the same holes as the engine skid plate and transfer case skid plate). The engine skid plate has an "L" shaped lip that fits into the horizontal slot of the transmission plate, and then it all just bolts into the frame with the same nuts/clips from the previous notes.
Hope this helps anyone out there thinking about doing this.
I believe any XLT package can add them fro approx 110 dollars at time of purchase as I did it on my 18 sport. Much cheaper than after purchase. The exemption is the transmission skid plate.
I believe any XLT package can add them fro approx 110 dollars at time of purchase as I did it on my 18 sport. Much cheaper than after purchase. The exemption is the transmission skid plate.
$110 is a steal if it can be done for that, I wasn't presented that option with mine. The OEM package cost me about $250 all together, including shipping. It would have been signficantly more to purchase directly from the local dealer.
Ha! No, I don't think so - I even thought about removing the STX sticker. But, I'm almost there with the FX4 since I also added Hill Descent Control with FORScan, only thing left is the OEM Non-FX4 shocks.

 09-26-2018, 07:17 PM