When you click on links to various merchants on this site and make a purchase, this can result in this site earning a commission. Affiliate programs and affiliations include, but are not limited to, the eBay Partner Network.
PART 2: WIRING MORIMOTO XSB 1.0 LED SWITCHBACKS FOR FOG LIGHTS
Couldn't figure out how to put this on the first page with my other post, didn't give me the option to edit. I apologize for missing some photos, site only allows 10 at a time. Let me know if you need any additional photos.
This follow up how to guide is to install and wire Morimoto's XSB LEDs in your fog lights to match your ANZO headlights. I will not be wiring the switchback function.
Basic Hand tools
-----------------------------------------------------------------------------------This is what the new diagram will look like, Microsoft Paint is really hard to use so spare the criticism of my illustrations:
As you can see, the only wiring we need to do is splicing into our current ANZO DRL setup using x2 2-Pin connector plugs.
Open your Morimoto XSB box and verify that you have all the components you need. This is how the individual parts are pieced together:
Next, and before you do anything else, verify that the halos actually work. You wouldn't want to split your fog lights only to find that one of the LEDs are defective.
Connect all of the Morimoto wiring, then place white wire needle to positive/black wire needle to negative on your battery to ensure both are working properly. This takes two hands so I didn't take a picture, don't electrocute yourself please.
Next, you need to fire up your fog lights against a wall and mark the cutoff with tape. You'll need to re-aim them after reinstall.
Once that's done, its time to remove your fog lights from the bumper. This YouTube video explains the process well, you only need to watch the first 3-4 minutes:
Now that you have them out, its time to put them in the oven. Ensure that you have removed all plastic clips and the bulb from the housing. Preheat your oven to 250 degrees, and put the fog lights in there for 15 minutes.
While you wait, take a flathead screwdriver and tightly wrap a strip of electrical tape around it, this is to prevent the metal from scratching the housings. Get some oven mitts ready too. When 15 minutes is up, turn the oven off and remove one fog light. Leave the other in there to keep the permaseal soft until you're about to open it.
Carefully take the screwdriver and pry/twist around the edges of the foglight. Depending on how long this takes you might have to put it back in the oven for another round.
If you tore up the edges of the fog light housing like I did, take your rotary tool with a sanding wheel and smooth out any gouges you put in the plastic.
Next up is feeding the LED wires through the fog light housing. Ford conveniently provided a pre-drilled hole in the side which gives just enough space to fit your wires through:
As you'll notice, the wires coming directly off the LED will not fit without removing them from the black clip they are plugged into. Take a paperclip, and gently push down on the metal clips that hold them into the plastic. For more detailed instructions on how to complete this step, click on the link below (works for all Morimoto LEDs regardless of model or shape) http://www.morimotohid.com/media/cus...d/XSBHalos.pdf
You'll probably notice that your LEDs are not completely square and therefore don't sit directly in the housing. Even though this is the case, I chose not to mount my LEDs to the lens of the fog lights because I didn't want the glue easily visible. Instead, I mounted them right on the edges of the reflective area.
At this point, take your JB Clearweld and mix according to the instructions. Determine how best to orient your LED so that it contacts the edges of the housing. Once you're ready to go, apply JB Clearweld on the edges of the reflective area with the provided wooden stick and place the LED on top. It can be tricky to keep the LED from sliding around, so hold light and steady pressure until the Clearweld hardens up. Complete for both housings and allow 30 minutes for curing time.
After 30 minutes has passed, ensure that you have a significant amount of epoxy around the LED so that it will not fall off over time. If everything looks good, now is the time to prepare for reinstalling the lens.
Look on the side of the fog light housing and make sure that you have it correctly oriented (writing on housing isn't upside down). Also make sure that the lens is re-installed with the writing at the top.
Take your Gorilla Glue multipurpose adhesive and fill in the area where the lens will slide back in. Be careful not to use too much or else the adhesive will spill out into the fog light when the lens is reinstalled.
After that, reinstall the lens back onto the face of the foglight and secure with your ratchet clamps. Allow to cure for 30 minutes. Don't forget to fill the wire hole in the side of the housing with silicone.
All that's left to do is wiring. This part is very similar to wiring your ANZOs. At the end of your provided Morimoto wiring will be white and black wires with a needle at the end. Snip these off and solder on half of your 2-pin connector. Repeat for the other LED. If you will not be using the switchback function, wrap it up with electrical tape.
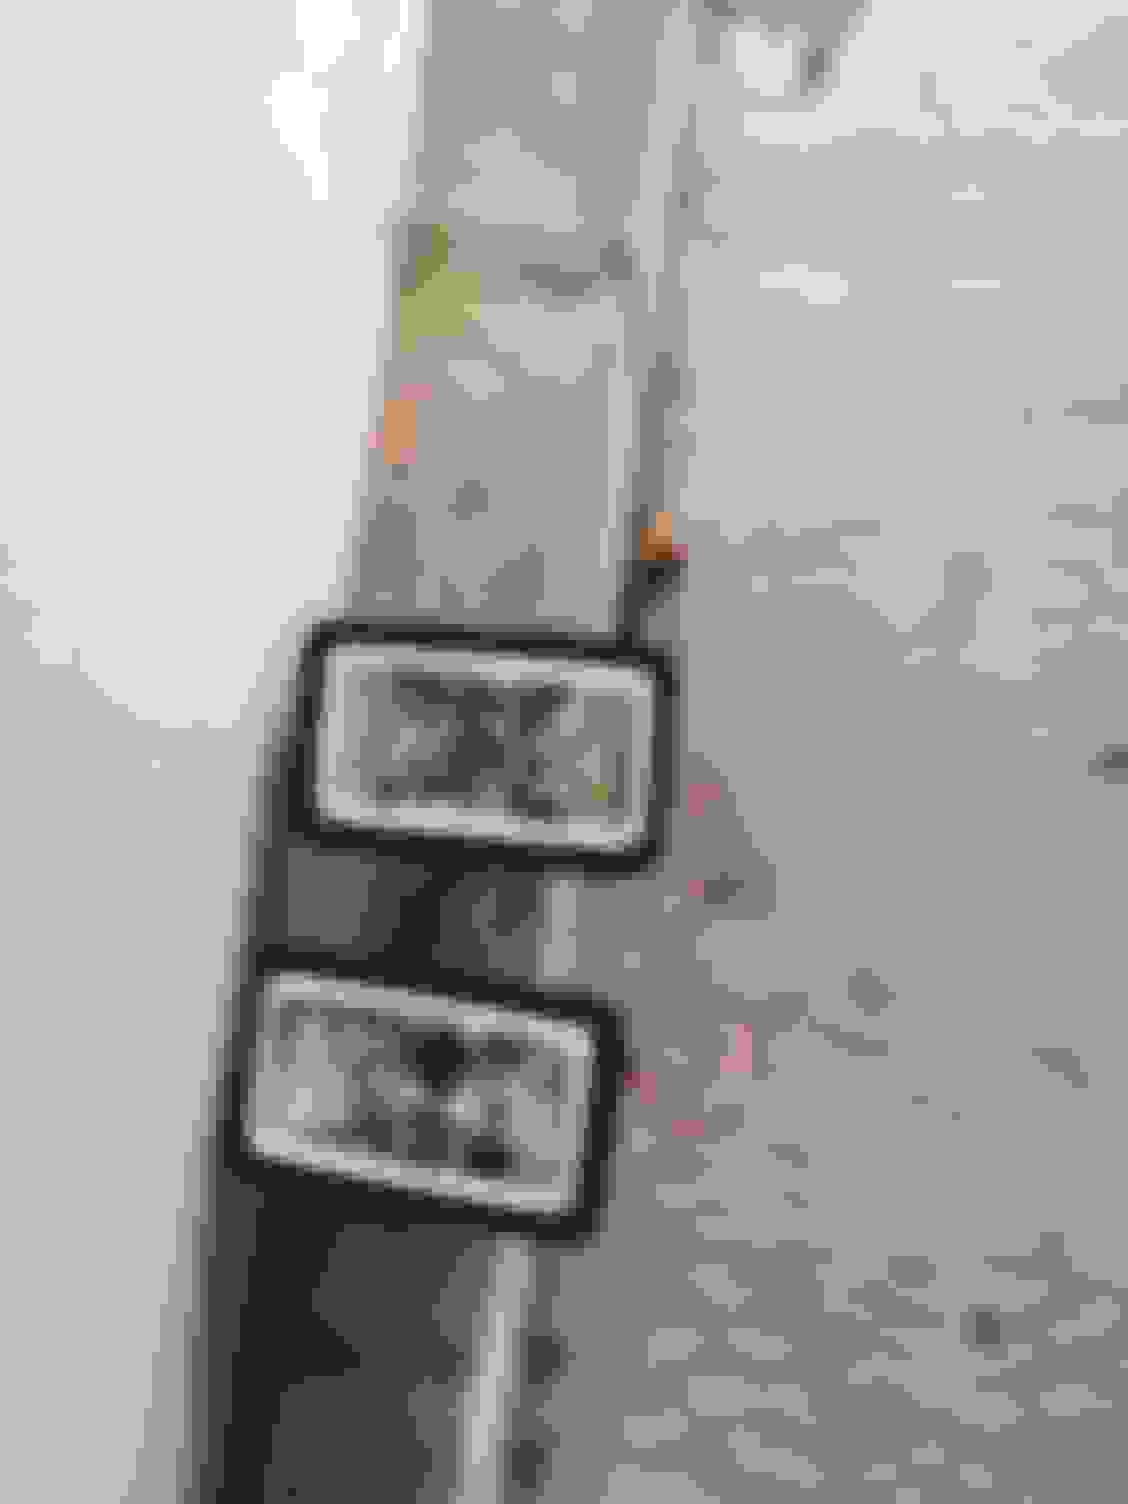
Reinstall fog lights through the front and allow LED wiring to hang out from the back
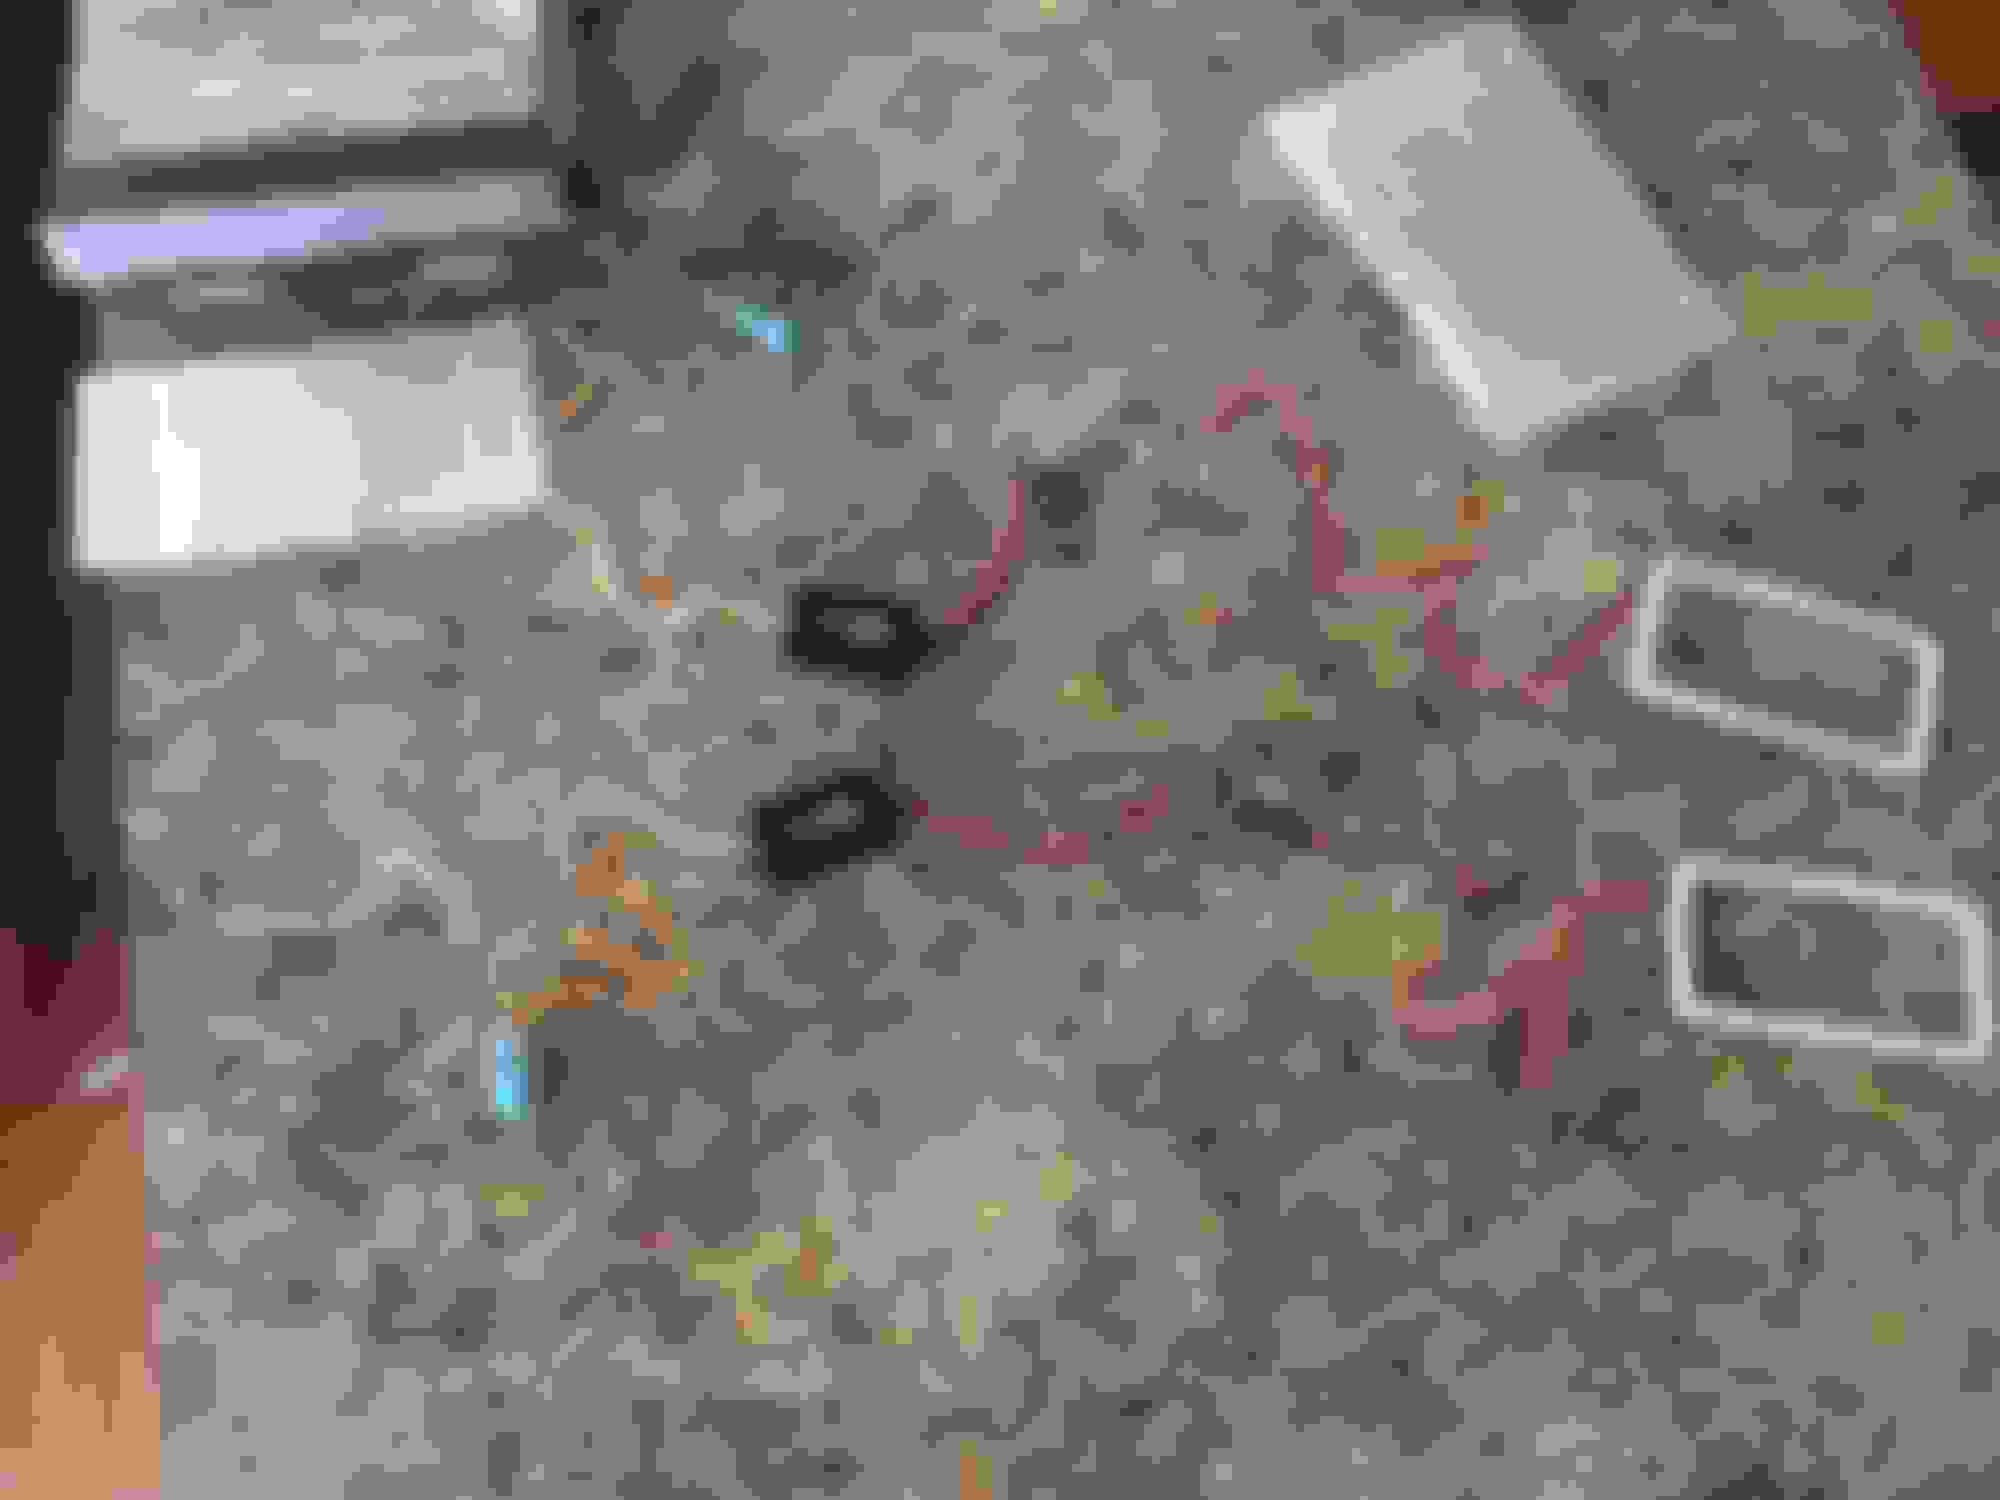
To get these up to where your existing ANZO DRL wiring is located, fish down a string (I used a pair of headphones I found) from the top and tie it to the 2-pin connector plug. Pull the string back up and secure the plug so that it doesn't fall. Repeat for other side.
NOW IS THE TIME TO COMPLETELY DISCONNECT THE BATTERY
Simply splice/solder the other halves of your 2-pin connector plugs into the ground/power wiring of your ANZO DRLs. Tidy up and check all of your connections.
Reconnect your battery and reassemble fog lights in reverse order of YouTube video. Fire up your truck for a test run:
These came out much bluer than I anticipated, but still extremely happy with the end result. Enjoy your fog light DRLs and drink a HydroFlask full of beer, you deserve it!
Epag, can you get a better shot of the fuse box with the wiretap installed? Hard to make it out from the pics exactly what you did. But then again I'm a dummy so...
Epag, can you get a better shot of the fuse box with the wiretap installed? Hard to make it out from the pics exactly what you did. But then again I'm a dummy so...
Sure thing! Are you working on it right now? I can grab some pictures within 30 mins


 03-24-2017, 10:01 PM