When you click on links to various merchants on this site and make a purchase, this can result in this site earning a commission. Affiliate programs and affiliations include, but are not limited to, the eBay Partner Network.
I've been a long time lurker on here and have learned a bunch as I decided to pull the trigger on my first truck, so I thought that I would give back and post about my recent retrofit.
I've done retros on previous cars, but never a truck- though it's pretty much all the same. To be honest, this was much easier than adding in TSX or S2K projectors since the Morimoto's I bought have threaded bases. More on that later. On to the DIY...
Standard Disclaimer- I AM NOT RESPONSIBLE for you attempting this and screwing it up. It's easy, but proceed AT YOUR OWN RISK.
With that out of the way..
Parts you'll need:
Projectors (duh)
Bulbs
Ballasts
Igniters
Shrouds
H11 Wiring Harness
Butyl Glue (optional, but recommended)
OEM headlights (this is straight forward, so you probably don't need to buy spares)
Assorted Sockets and Socket Wrench (10mm specifically)
Work Gloves (for the oven and to protect your soft hands)
Flat-head & Philips screwdrivers
Dremel (with a cutting and sanding bit)
Zip-ties
Oven (if that counts as a "tool")
Eyepro
Mini philips head screw driver (like those used for glasses)
Pliers (both regular and needle-nose)
Adjustable Wrench
Drill
Compressed Air
Microfiber Towels
Testing the Projectors and Wire Harness
Before you start taking the truck apart and tearing your headlights open, it's probably a good idea to test to see if the projector setup actually works. I went ahead and wired up the wire harness according to the diagram (below) and made all the necessary connections
I don't have any images of this (it was at night), but I can share some tips.
Only ONE OEM Low Beam Input is actually connected to the wiring harness.
ALL bulb connections must be made (with the exception of the one OEM low beam input that is not used) for it to work. This took me some time to figure out, but makes sense.
Test BOTH sets of bulbs/ballasts/igniters. You don't need to wire it all up at once, just switch out the sets.
Removing / BakingHeadlights
No need to re-invent the wheel here, so I'll just link to the Kedrin's post on removing and baking the headlights.
A couple of things to note here:
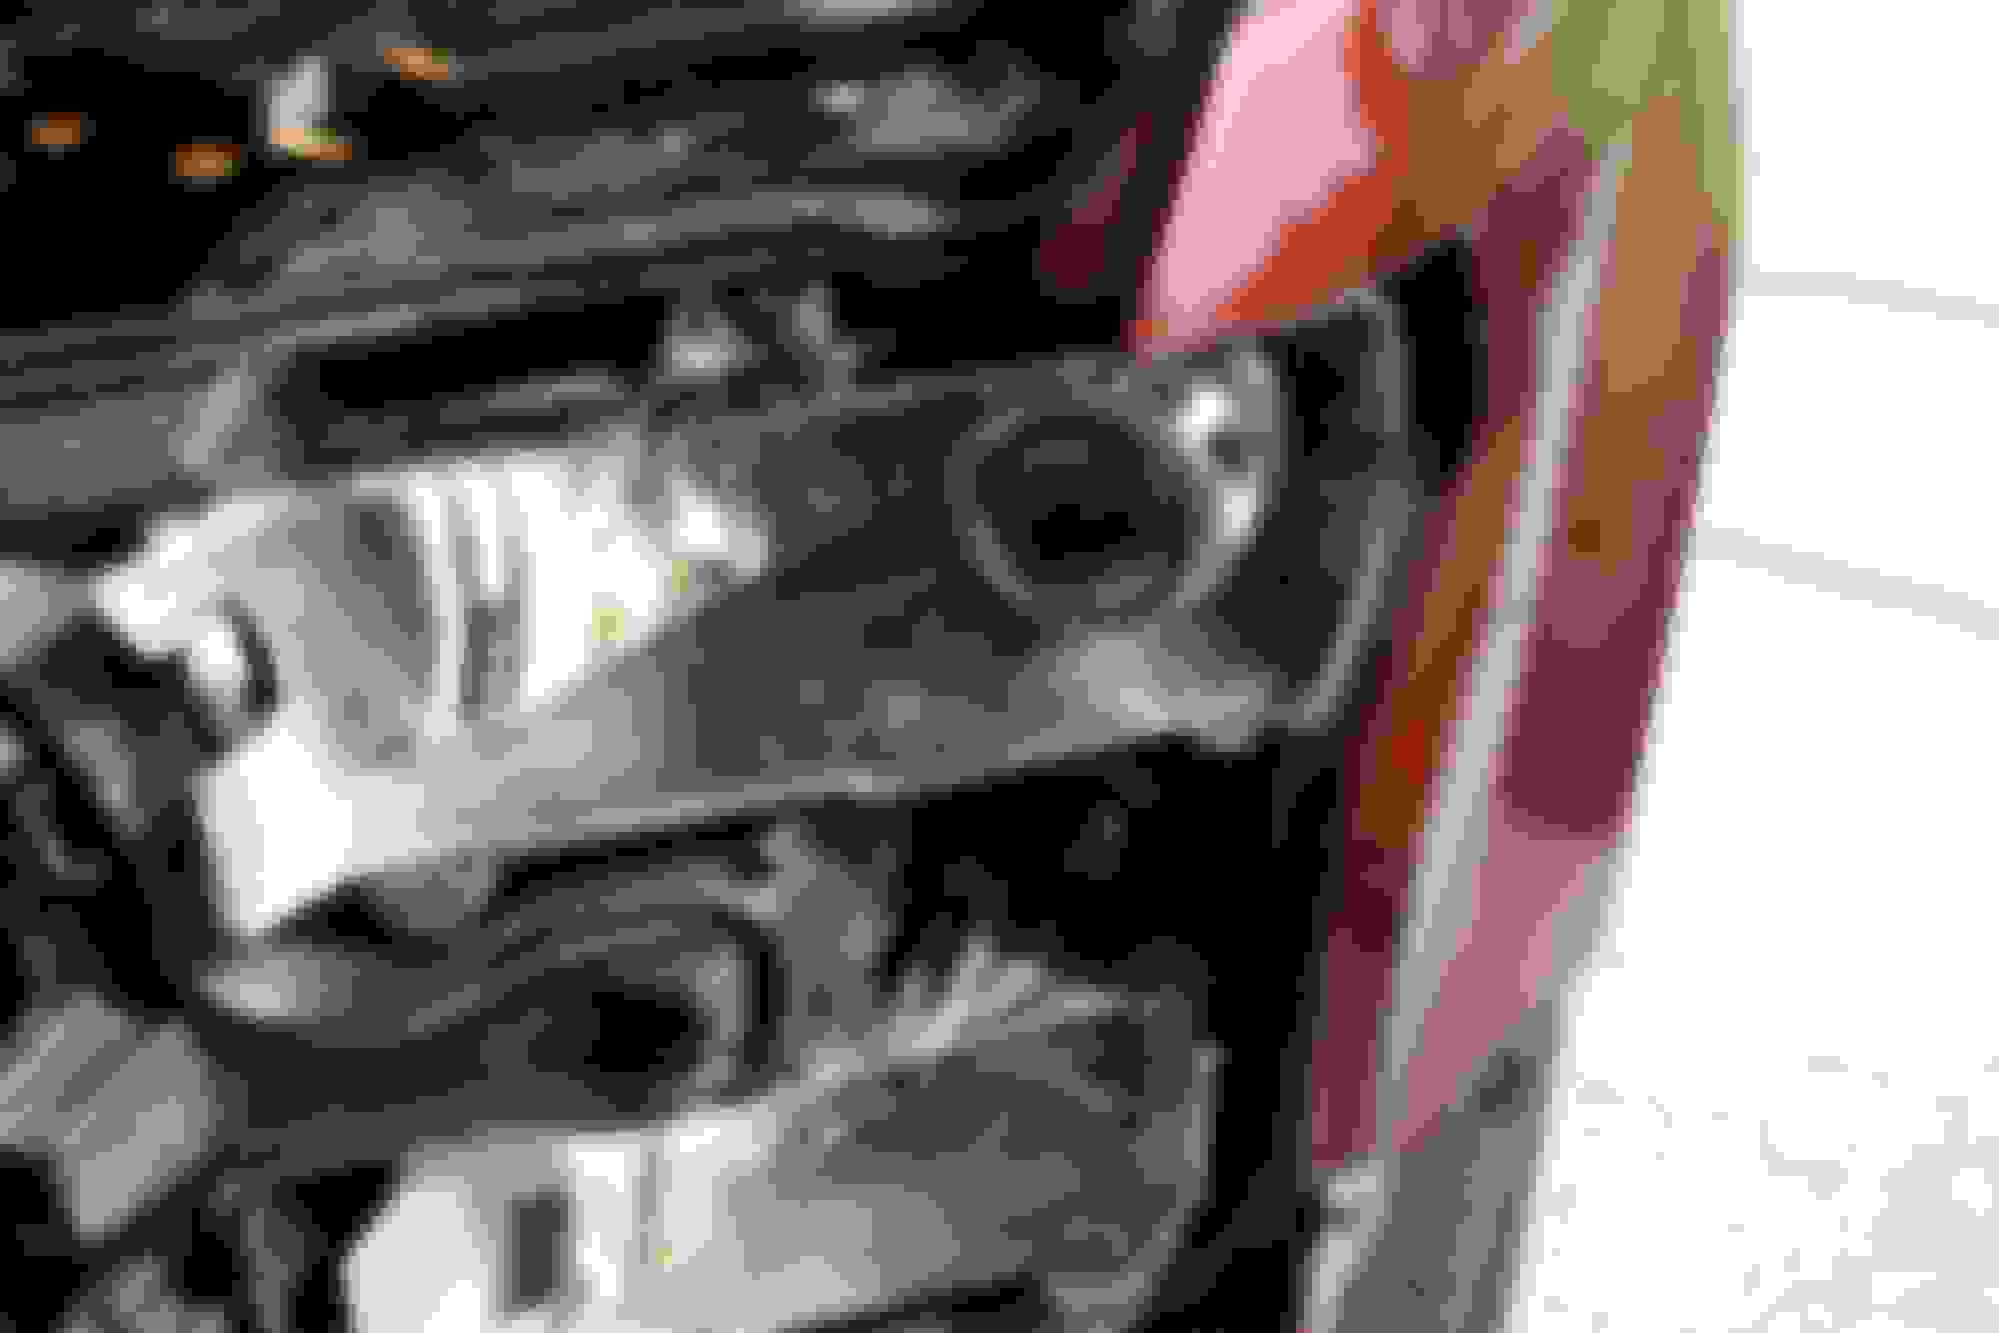
1.) It's easier to completely remove the black piece behind the trim panel highlighted below:
This makes pulling the lights out easier since you won't have to be a contortionist to get your hands in the empty space between the body panel and light.
2.) I baked my lights for 30 minutes at 275 to properly soften the glue. Your time/ temperature may vary based off of your oven.
3.) DO NOT FOR THE LOVE OF ALL THINGS GOOD use a microfiber towel on the interior of the clear lenses. THEY WILL SCRATCH TO ALL HELL. I learned this years ago the hard way.
Modifying the Reflector and Test Fitting the Projectors
This is where things get interesting. Once your lights are open and ready for surgery, I recommend test fitting things to make sure that you won't need to make too many modifications to the housing, shroud, or both.
To start, you'll need to remove the "Ford" reflector shroud that's used with the old halogen bulbs. I felt uncomfortable removing the reflectors completely since it can screw up your height alignment if you don't reconnect them properly, and more importantly- the mounts felt like they were going to snap as I tried to pry the reflector loose from the housing.
To get around this, I decided to drill a hole in the back of the housing to get at the retaining screw for the reflector shroud. Now bare with me for a moment. It seems crazy to put a hole in the housing, but this did two things for me:
1.) It alleviate the need to break my reflectors loose and risk breaking them
2.) Where you need to drill is actually a pretty good spot to put one of those Gortex patches I mentioned in the parts list.
Having done a few retros before on previous cars, I'm paranoid about moisture so anything I can do to reduce the risk of fogging seems like a good idea in my mind. Ford shares some of the same concerns apparently, since there is already a gortex-like patch on the housing from the factory. Oh, well- I opted for twice the venting.
Here's the hole- I think I used a bit that was close to 1/4"
For reference, you're looking at the underside of the low beam area so the light is upside-down and facing away form you in this image.
Reflector removed from the uh... reflector:
With that gone, you can now test fit the projector.
I'll wait....
THE BASE DOESN'T FIT!!! You have to widen the hole (heehee).
In this photo, I've started opening up the hole using a sanding wheel on my dremel. You'll want to do this carefully, continually test fitting the projector and stopping when it's wide enough.
You'll also need to cut down the base on the interior of the reflector that attached the halogen shroud. This is easy and hidden by the projector once it's mounted, but you should still be careful not to remove too much material.
Here it is removed:
Now would be a good time to use that compressed air to clean out all dust you've created. Don't be afraid to use a microfiber towel here either. You won't risk scratching things.
You'll also need to grind down the H11 adapter plate on the rear of the housing (circled in RED). I left the outer ring intact, so you don't want to cut too much- just enough so that the inner adapter is flush. This is going to help with your mounting in the next step.
Prepping the Projectors
In this step, you'll be determining how your projectors will mount using the supplied hardware and how you want to attach the shrouds so they fit in the housing.
Since I used Mini H1 7.0s, the Mini Gatling shroud that I purchased mounts without the need of JB Weld. It's done so with screws that are supplied with the projectors. JB Wled, while a miracle product that I love, SUCKS for retrofits. It's messy, unweildy, and difficult to clean if you mess up. In my opinion, it has no place when doing something that will live inside your headlights forever.
I also didn't like the way that the shroud sat on the projector (there was a 2mm gap all the way around the face) so I decided to modify the shroud a bit.
Using a cutting wheel on my Dremel, I cut down the mounting shafts on the shroud by 1/4" to eliminate the gap. This meant that the supplied screws didn't reach the shafts anymore, so I went out and purchased #4 1/2" machine screws from Home Depot.
Here they are cut. They were at the same height as the outer edge of the shroud:
Test mounting the shroud to the projector:
The Mini Gatling shroud is small enough in diameter so that it does not need to be modified further to fit. IF you use another shroud, just be mindful of the size when choosing. You may have to sand down one or two sides so they are flat to get them to fit. Just a heads up.
Next, I laid out all the hardware I was going to use to mount the projector. There are a couple of options, but I chose the larger silicon washer and larger metal baseplate. Here they are all lined up in order:
From left to right:
Bulb retainer clip --> Bulb Retainer Plate --> Locking Nut --> Larger Base Plate --> **Reflector Housing** (not pictured) --> Large Silicon Washer --> Projector
I would recommend this setup since it provides the most surface area for the projector to grab on your housing. If you opened your hole up too much (heehee) with the Dremel for the projector shaft, more surface area is critical to alleviate the risk of wobbling/ x-axis movement.
Continued
I should also note:
I DID NOT utilize the bixenon function with these projectors. I've heard too many horror stories about stuck cutoff shields and always-on high beams to risk it. The fact that The Retrofit Source recommends that you test the solenoid "30-40 times" didn't instill much confidence in me either. If you choose to use the bixenon function, now would be a good time to test everything and wire it all up. Sorry- I don't have wiring instructions since I didn't do it.
Mounting the Projector in the Housing
Here it is all mounted up. Notice the large silicon washer at the base of the projector.
PRO TIP: Attach the Shroud BEFORE you mount the projector
Another angle:
Here is what it looks like from the rear:
DO NOT torque down on the locking nut. Make sure that it is secure, but only hand tight. The nut is soft and designed to deform under torque so that it doesn't come loose later on. Leaving the projector mounted hand tight allows you to manually rotate the assembly in the next step should the beam pattern not be level (it NEVER is).
Alignment
Before you clap your hands together and declare the project a success, you're going to need to align beam pattern. To do this, mount the the housing to the truck leaving the lens cover and chrome housing off of the headlight.
I would attach ALL bolts that you removed when pulling the headlights under the same amount of tension as when they came off to make sure that everything is aligned when attached to the vehicle. You don't want to rotate the projectors only to find that the housing wasn't attached right later on after reassembling the housings and sealing everything up.
Like so:
Attach the bulb retainer and retaining clip with the bulb in the rear of the housing:
Sorry- I don't have pics of my beam pattern. I was pretty busy getting everything lined up and neglected to take many photos of this step in the process.
Once everything is lined up and leveled off, tighten down the locking ring. Make sure that as you tighten things down, it doesn't rotate the projector that you just worked so hard to align. Don't hesitate to reattach it to the truck one more time to make sure that everything is good to go before resealing the headlights. It's a pain to do, but will save you a lot of headache later on.
Putting Things Back Together
With everything all lined up and ready to go, make sure that the housing and projector are dust free. From there reverse the steps you took to take apart the housings.
I used butyl glue from The Retrofit Source over marine silicon or anything similar. It can be found here. This is pretty straight forward and doesnt need pics. Just follow the instructions on the box.
Replace the chrome housing and lens cover on the housing with the glue. You'll need to have your oven set at ~275 degrees and bake them for ~10 minutes. Once it's all warm, you can use pliers to squeeze them together. Just remember to wear gloves.
Back on the Truck
Everything is put back together in the reverse of how you took it apart. Follow the instructions on the wiring harness to secure the wiring to the vehicle. The tricky part here is figuring out where to mount the ballasts.
I used zip ties to mount them and found some space on the frame above the hole for the headlight.
I hid the wires that transverse the width of the tuck under the cowling that's attached between the grill and radiator reservoir (at least that's what I think it is)
All put back together and mounted on the truck:
Thanks for reading! Let me know if you have questions! I'd be happy to help.
Last edited by JEM2749; 02-03-2016 at 09:47 PM.
Reason: Continuation
I have a 2.7EB, so I was concerned about using a canbus with the Auto Start/Stop. With the harness above, the ballasts have a direct connection to the battery (though I doubt it pulls power) so there is no dimming when the truck stops and starts up again.

 02-03-2016, 09:16 PM