When you click on links to various merchants on this site and make a purchase, this can result in this site earning a commission. Affiliate programs and affiliations include, but are not limited to, the eBay Partner Network.
And two hours later, all done. Man that was easy. Taking the bumper off is the easy way to go, just 6 nuts. I found a 7th inside the frame, didn't realize it was not one I had taken off until I was all done and the wife said theres a nut under your butt(I was on a stool), which is the kind used to attach the bumper, except that I know all 6 are already on and tight. Then remembered finding one inside the frame than it dawned on me that the nut could not have gone in there when I took the bumper apart since the all landed under the truck.
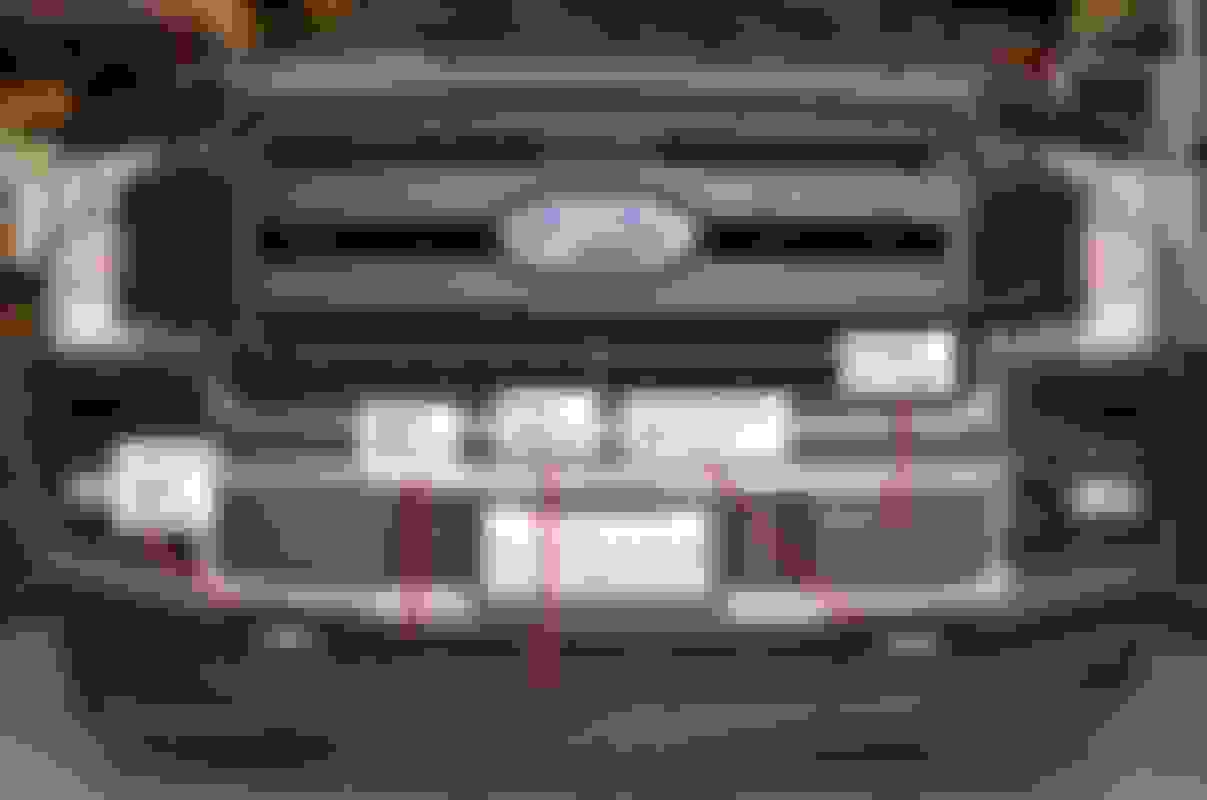
In fact there is one in the above picture. I found the nut inside this channel
With the air tools it is a breeze to take it all apart and put back together. Next time I put the plastic film on the bumper, going to remove it first. It will be SO much easier to work on. As you can see above there are some parts where the film would just not stay put and came loose. I did a standoffish job, stand offish a bit and you wont notice. LOL
Just installed tow hooks on my 2018 F150. Went smoothly because of reading other folks' experiences and watching a couple of videos from youtube. Installed chrome hooks because truck has a chrome bumper. Also installed hook covers. They make the end result look much nicer. Covers may have a useful function too in keeping dirt, debris, bugs, and water from flying into the engine compartment around the hooks. Pair of chrome hooks with nuts and bolts was $73 on eBay; pair of covers was $30 on eBay. Hooks and covers are genuine Ford.
Here are a few tips. Do yourself a favor and remove the bumper. There are only 6 nuts holding it on. Removing the bumper makes it much easier to do the cutouts in the upper valence, and installing the hooks on the beams becomes an easy sit-down job. You can do the job, except for installation of hook covers, with the bumper on. But you'll spend a lot more time on your back and find positioning the nuts for the hooks difficult.
I started by removing the lower valence. Maybe not absolutely necessary, but having the valence gone makes it much easier to slide under the bumper for other tasks. There are ten 10 mm bolts holding it on plus a couple of plastic clips on the backside.
Slide under the bumper. On its backside, there is a big silver nut (21 mm) on each side that should be removed. If you have fog lights, disconnect the cable on each side. There is also a cable retainer near each light that that is attached to a bracket that is attached to the bumper. Pull the retainers from the bracket.
On the front of the bumper, there is a plastic cover on each side just toward the middle from the depressions for fog lights. If the truck has a front license plate holder, the covers will be just to the outside of that. Use plastic trim pry bars to remove the covers.
Now, you'll need a helper; the bumper isn't heavy, but it's awkward. And, you'll need a place to put the bumper once it's off (couple of saw horses work well). Under each of the plastic covers is a pair of 21 mm nuts that need to be removed. Before the last nut is removed, you and the helper should keep the bumper pushed against the truck. After the last nut is off, carefully move the bumper away from the truck a little and look behind it just in case you forgot to disconnect a cable. Set the bumper on the saw horses face up.
To cut the holes in the upper valence, first I drilled four 3/8" holes; then used a saber saw to do preliminary cuts. Then did final cuts to the grooves. Used a file to smooth the cut edges. Finally, there were the sharp points of a couple of sheet metal screws sticking down from the top edge of the hole. Shortened these with a hacksaw.
Installation of the hooks themselves is easy. Just sit down in front of a beam, put the metal strip with the two nuts inside the beam, position it over the two holes nearest the front of the beam, start the rear bolt, slide the slot in the hook over the rear bolt, insert the front bolt, tighten both bolts (they're 15 mm). Slide on the covers. Note that the left and right covers are different; they're marked with L and R.
Reinstall the bumper and lower valence by reversing the procedure used to remove them. Check that fog lights are working. Head for the mud!
First video to watch is www.youtube.com/watch?v=OvpCzV0ndYM. First part shows how to remove bumper. It also shows how to remove tow hooks; reverse the procedure to install them. Only comments are to disconnect fog light cables before removing front bumper nuts and have a helper to assist handling the bumper.
Second video to watch is www.youtube.com/watch?v=8kaLTcy5v-c. Most of it shows him driving around and then painting the hooks. But last part shows attachment of hooks to beams. He did not remove the bumper; I recommend you do so.
Pic below shows results for my truck with important parts labeled.
Just keep in mind if you have adaptive cruise. The module on the drivers side needs to be removed to get to the nut. Undo the tow bottom nuts, then with a wrench, count the number of turns to remove the top bolt, you need to put it bak in that amount of turns. You can also take some touchup paint and paint the bolt where it meets the bracket, but still do the count just in case. The module will need to be pried off the two lower studs.


 06-06-2019, 12:07 AM