Topic Sponsor
1987 - 1996 F150 Still running strong! Talk about your 8th and 9th generation Ford F150 trucks.

Work in Progress - Rust Removal, Painting and Light Upgrades

Thread Tools
 
Search this Thread
 
Old 02-08-2016, 06:59 PM
  #1  
Member
Thread Starter
 
hashamhk's Avatar
 
Join Date: Jan 2016
Location: Virginia
Posts: 37
Received 5 Likes on 5 Posts
Default Work in Progress - Rust Removal, Painting and Light Upgrades

The weather has made it a little bit tough to work on the truck but been doing the easy stuff just to get things going. So far removed the side mirrors and upgraded a few bulbs to LED. But I will continue posting to this thread as I go along.

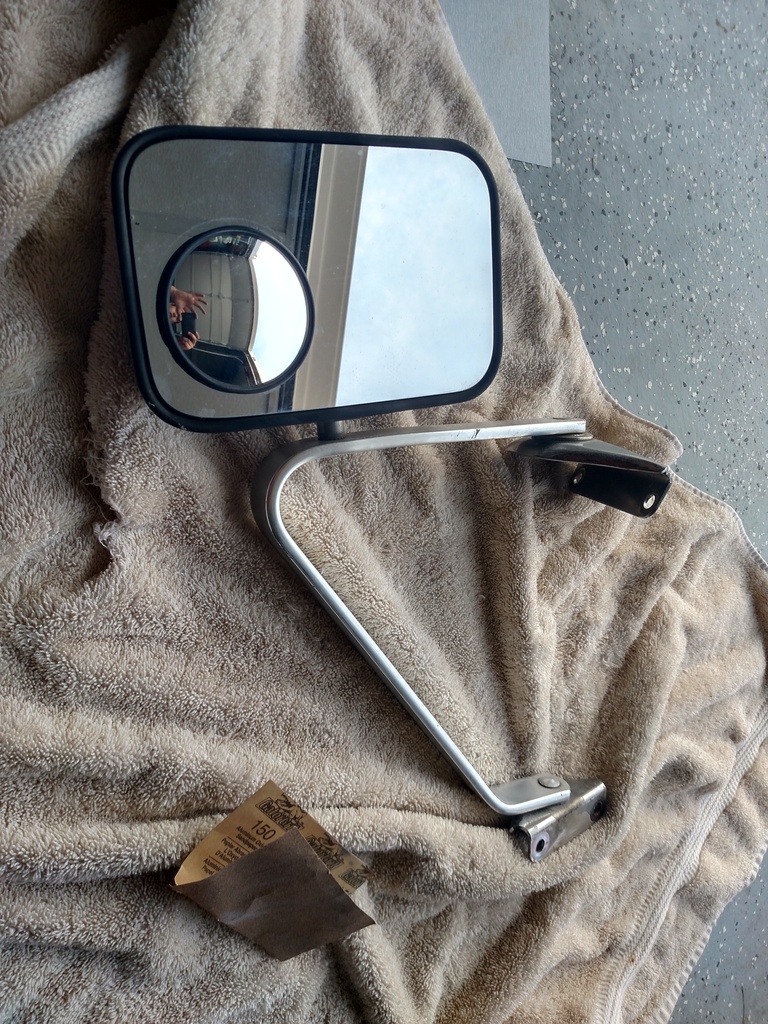
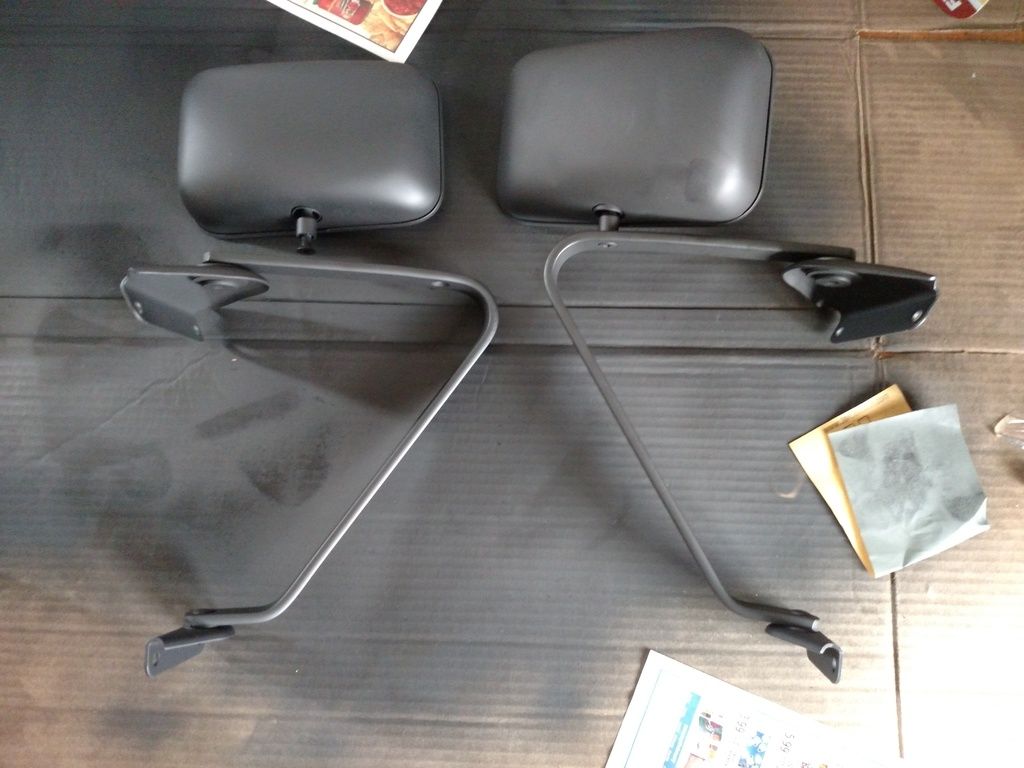
Started off with removing the side mirrors. Ended up using some 150 grit sandpaper to remove the rust and dirt.
Name:  IMG_20160131_141503742_HDR_zps1rbkl4k2.jpg
Views: 13457
Size:  398.4 KB
Name:  IMG_20160131_141515264_HDR_zpsqbedqrvu.jpg
Views: 13603
Size:  459.1 KB

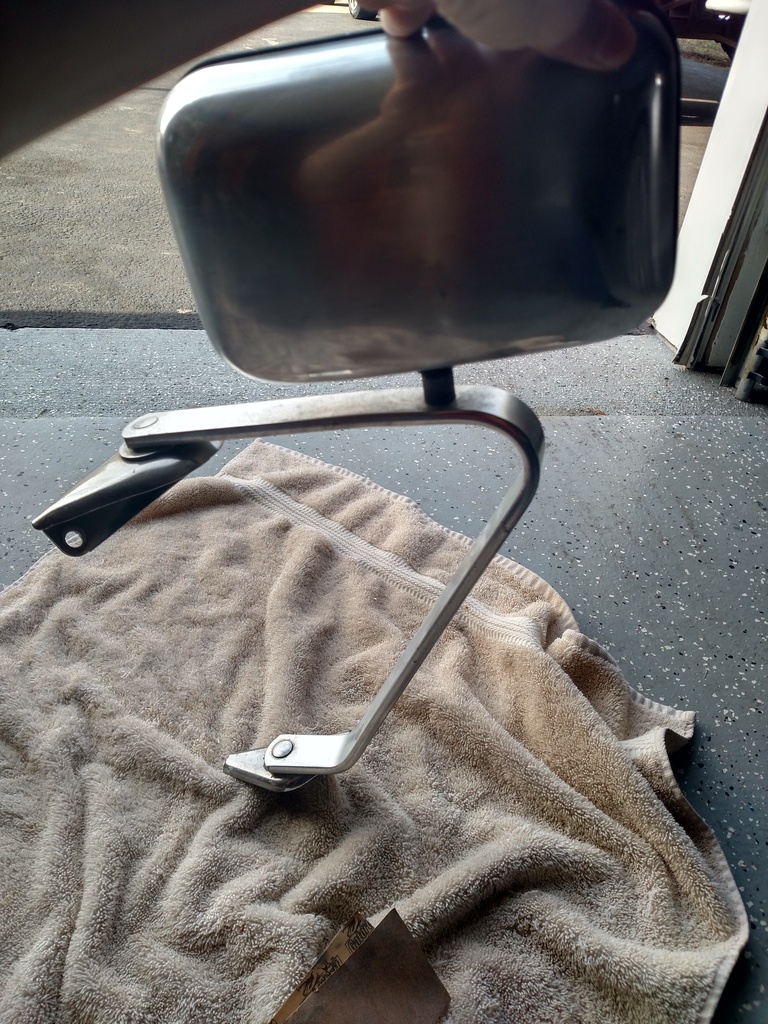
Ended removing the door panels too since a few push pins were damaged.
Name:  IMG_20160131_142222041_zps3uwrshao.jpg
Views: 13548
Size:  306.7 KB
Name:  IMG_20160131_142300704_zpssp3iyuya.jpg
Views: 13500
Size:  201.6 KB

Name:  IMG_20160207_130212168_zpsyj55uusb.jpg
Views: 13763
Size:  285.0 KB

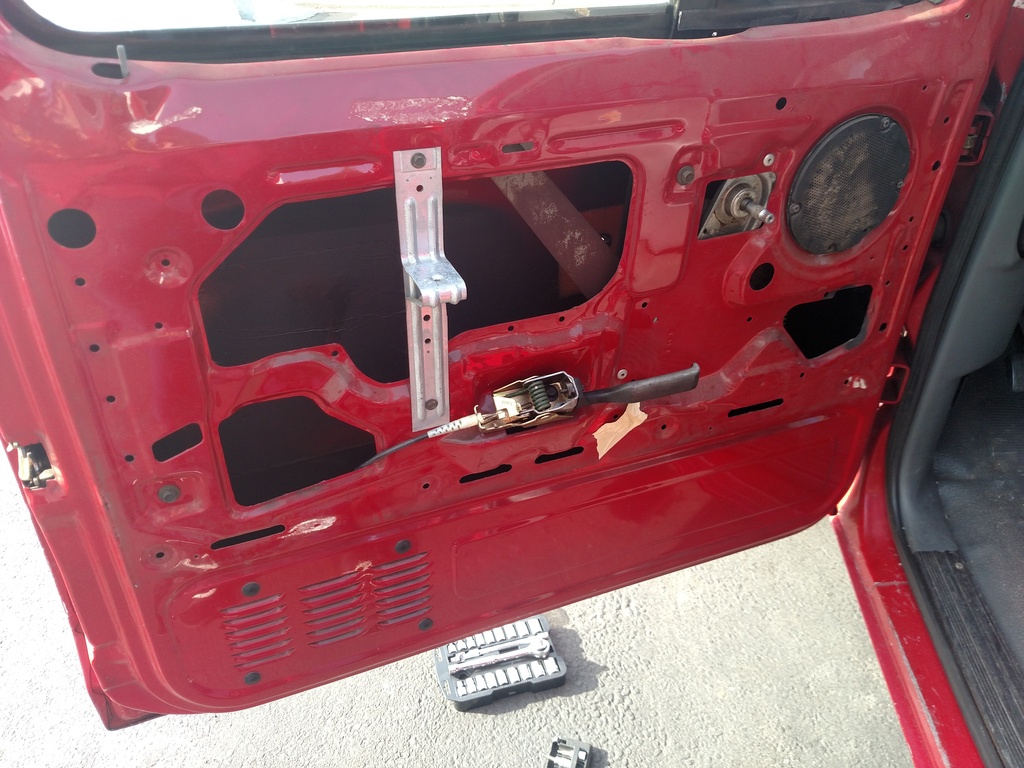
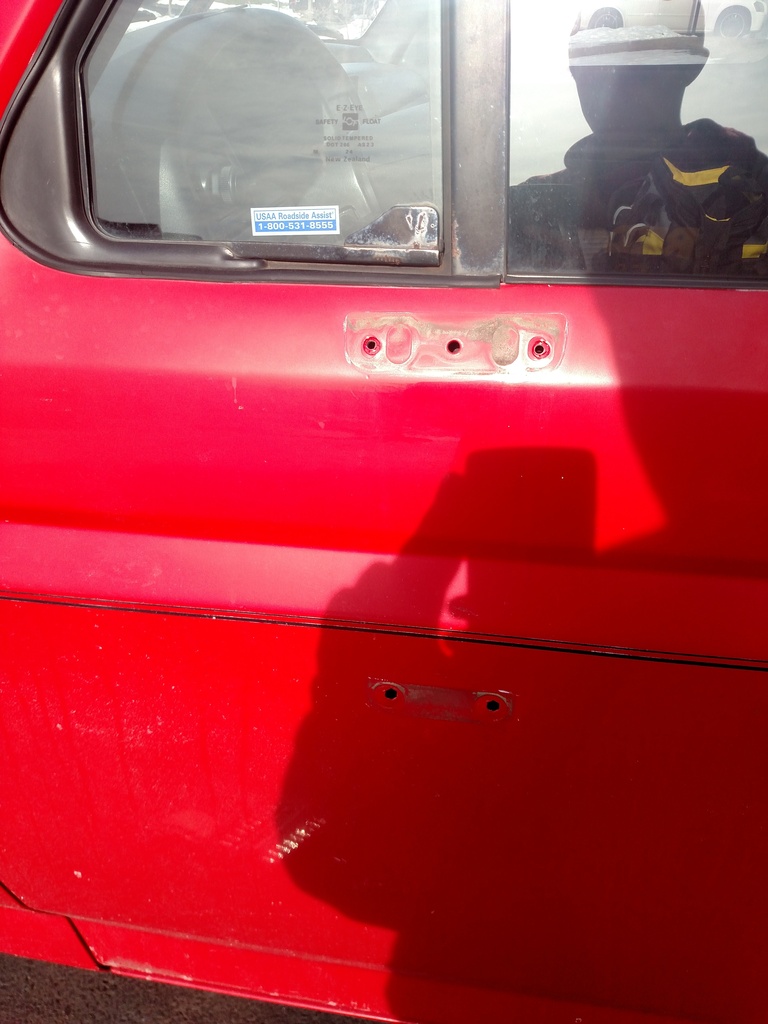
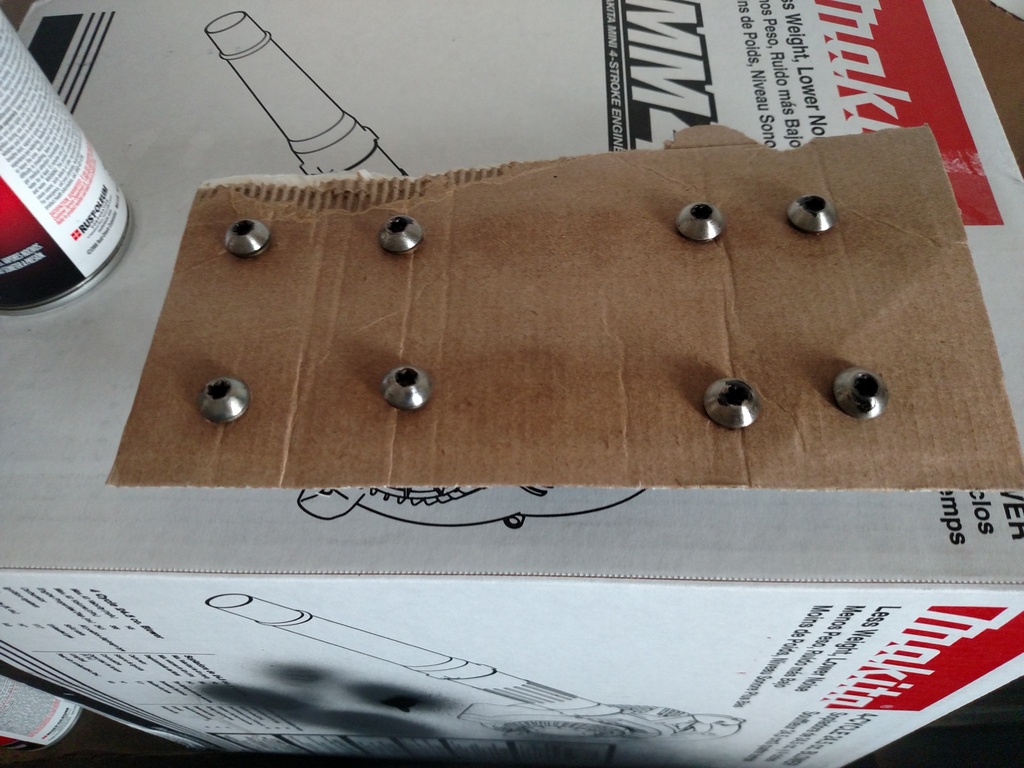
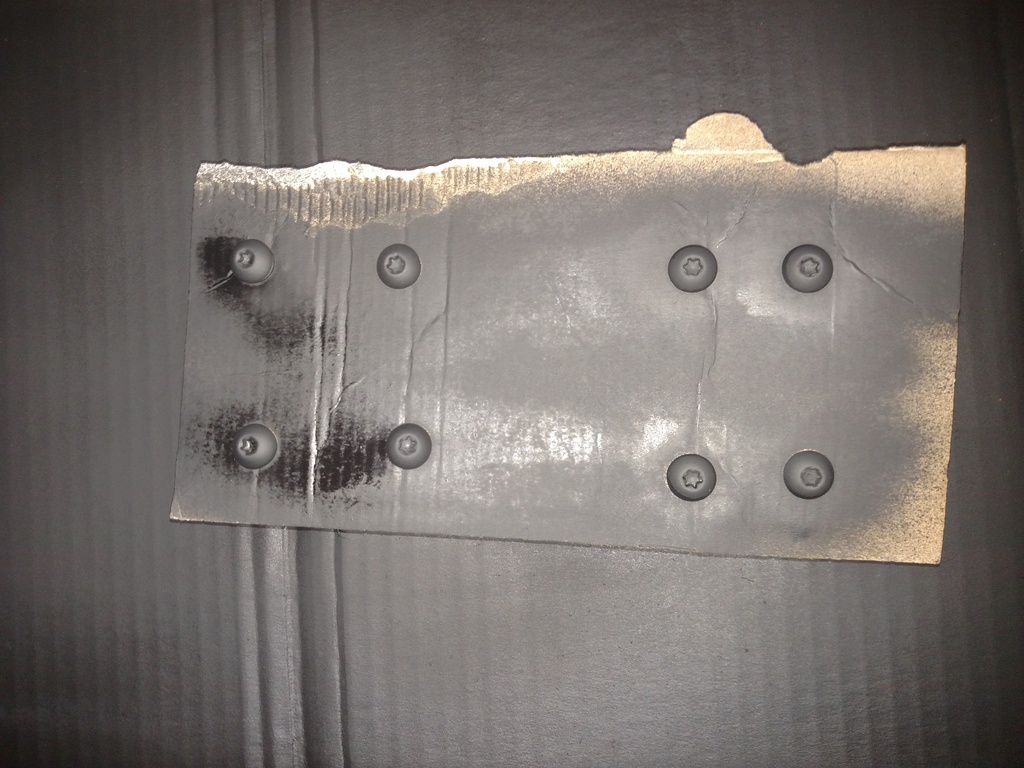
The screws for the side mirrors
Name:  IMG_20160207_130123114_zpsdzlt7mfd.jpg
Views: 13557
Size:  284.4 KB

Removed the windshield wiper blades too.
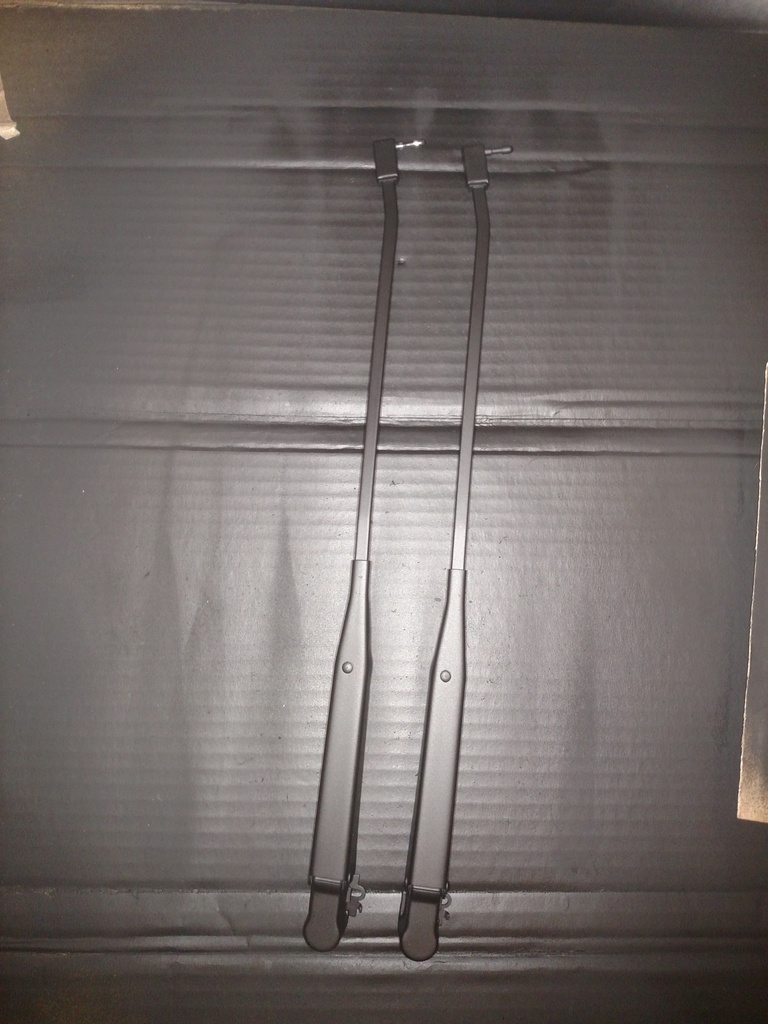
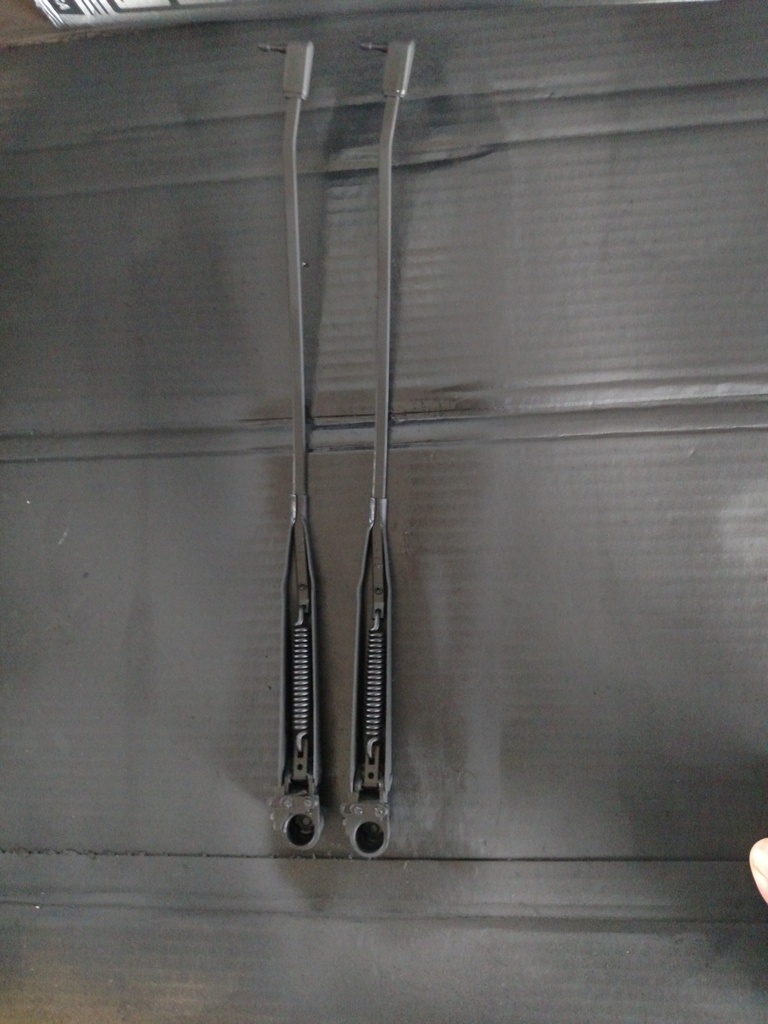
Name:  IMG_20160208_181110856_zpsdjsknvtj.jpg
Views: 13351
Size:  253.8 KB
Name:  IMG_20160207_130129219_zpsqrzi2sqc.jpg
Views: 13591
Size:  240.6 KB

Finished product

Name:  IMG_20160208_181104207_zpsvoc8w0yg.jpg
Views: 13186
Size:  291.3 KB
Old 02-09-2016, 09:01 PM
  #2  
Senior Member
 
Rod Wise's Avatar
 
Join Date: Nov 2015
Location: Haughton, LA
Posts: 225
Received 21 Likes on 20 Posts

Default

Looks great! I did very similar work to my mirrors and blades. I went with black paint though on the blades, and also painted the plastic "gasket" between the mirrors and door. dde1c Recently painted the stock wheels a flat black and polished the wheel center cap. The toolbox had rusting, too, that I sanded down and repainted with white appliance spray paint.

Did you replace the flasher unit to the electric one to fix hyper flashing?
Attached Thumbnails Work in Progress - Rust Removal, Painting and Light Upgrades-image-117891775.jpg  
Old 02-10-2016, 10:15 AM
  #3  
Member
Thread Starter
 
hashamhk's Avatar
 
Join Date: Jan 2016
Location: Virginia
Posts: 37
Received 5 Likes on 5 Posts
Default

Originally Posted by Rod Wise
Looks great! I did very similar work to my mirrors and blades. I went with black paint though on the blades, and also painted the plastic "gasket" between the mirrors and door. dde1c Recently painted the stock wheels a flat black and polished the wheel center cap. The toolbox had rusting, too, that I sanded down and repainted with white appliance spray paint.

Did you replace the flasher unit to the electric one to fix hyper flashing?
The flasher unit for the turn signals? If so no, have not noticed hyper flashing but was planning on upgrading all the lights to LED, including the turn signals which will require load resistors.

The black wheels match up really well with the color of your truck, I have been thinking about painting mine black too.
Old 02-10-2016, 06:46 PM
  #4  
Senior Member
 
Rod Wise's Avatar
 
Join Date: Nov 2015
Location: Haughton, LA
Posts: 225
Received 21 Likes on 20 Posts

Default

The electronic flasher is a direct replacement of the OEM flasher. Supposedly, with this flasher you don't need to solder in resister loads. $14.95 price.
Attached Thumbnails Work in Progress - Rust Removal, Painting and Light Upgrades-image-3016432024.jpg  
Old 02-10-2016, 07:05 PM
  #5  
Member
Thread Starter
 
hashamhk's Avatar
 
Join Date: Jan 2016
Location: Virginia
Posts: 37
Received 5 Likes on 5 Posts
Default

Originally Posted by Rod Wise
The electronic flasher is a direct replacement of the OEM flasher. Supposedly, with this flasher you don't need to solder in resister loads. $14.95 price.
Can you send me that link I can't read, Good find will look into this.
Old 02-10-2016, 09:51 PM
  #6  
Senior Member
 
Rod Wise's Avatar
 
Join Date: Nov 2015
Location: Haughton, LA
Posts: 225
Received 21 Likes on 20 Posts

Default

http://www.lmctruck.com/icatalog/fd/t.aspx
Page 77
Old 02-10-2016, 09:56 PM
  #7  
Senior Member
 
Rod Wise's Avatar
 
Join Date: Nov 2015
Location: Haughton, LA
Posts: 225
Received 21 Likes on 20 Posts

Default

http://media.lmctruck.com/pdf/FD/fdComplete.pdf

This is the link to the full catalog in pdf format.
Old 02-16-2016, 09:00 PM
  #8  
Member
Thread Starter
 
hashamhk's Avatar
 
Join Date: Jan 2016
Location: Virginia
Posts: 37
Received 5 Likes on 5 Posts
Default

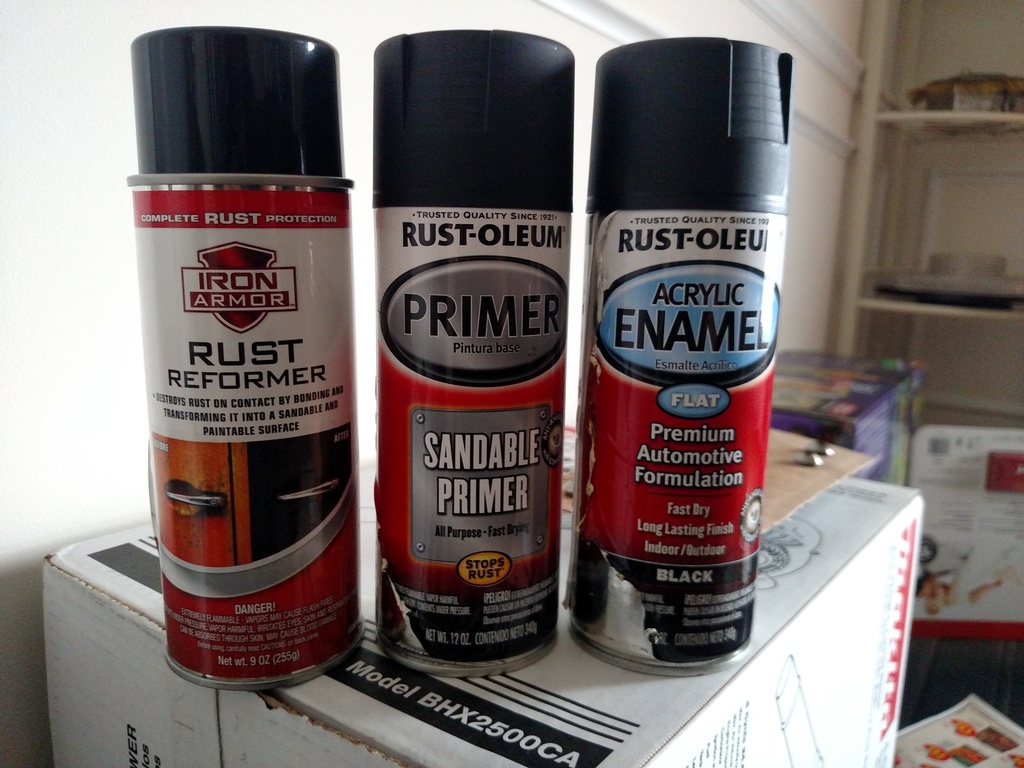
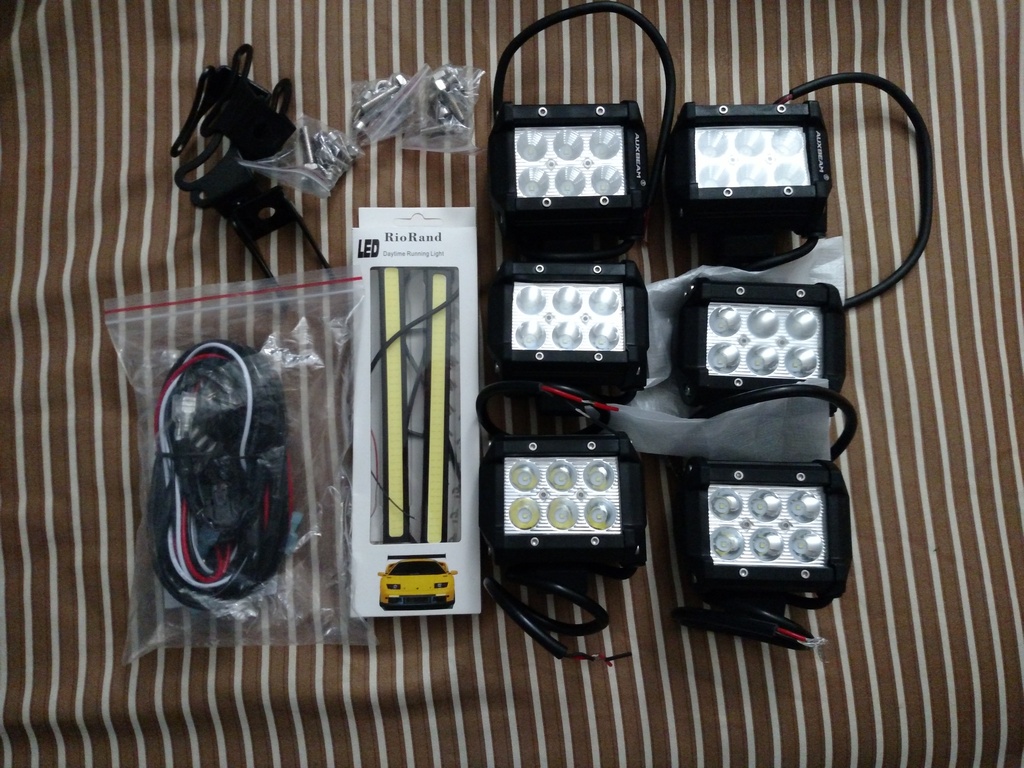
Just got a few things in the mail
-
2 flood beam lights for the reverse lights 2 flood beam lights for the reverse lights
-
4 flood beam lights for the front of the truck, still trying to figure out where to mount them 4 flood beam lights for the front of the truck, still trying to figure out where to mount them
-
Switch for the LED's on the front of the truck Switch for the LED's on the front of the truck
-
LED strips, one for the dome light and will figure what to do with the other one LED strips, one for the dome light and will figure what to do with the other one


Name:  12_zpsqgkfpl5l.jpg
Views: 13626
Size:  360.5 KB
Old 04-19-2016, 10:31 AM
  #9  
Member
Thread Starter
 
hashamhk's Avatar
 
Join Date: Jan 2016
Location: Virginia
Posts: 37
Received 5 Likes on 5 Posts
Default

Finally got around to installing the lights and painting the bumpers.

Name:  IMG_20160419_095022125_HDR_censored_zps12zcixgy.jpg
Views: 13639
Size:  156.2 KB

Name:  IMG_20160416_135816919_HDR_censored_zpsqvljnt0u.jpg
Views: 13505
Size:  99.9 KB

Name:  IMG_20160416_141507703_zpsemh1azrb.jpg
Views: 13219
Size:  212.7 KB

Name:  IMG_20160416_155126787_zpsylig0po9.jpg
Views: 13640
Size:  186.9 KB

Name:  IMG_20160416_155121938_zps4gsdwrzy.jpg
Views: 13722
Size:  222.2 KB

Name:  IMG_20160416_163211243_zpsyatnegin.jpg
Views: 13475
Size:  273.9 KB

Name:  IMG_20160419_095307357_zpsvp5yjyd2.jpg
Views: 13315
Size:  273.3 KB

Name:  IMG_20160419_095321993_zpsgnbyrva7.jpg
Views: 13432
Size:  324.7 KB

Name:  IMG_20160416_150905412_zpsye0qwtwn.jpg
Views: 13407
Size:  283.4 KB

Name:  IMG_20160416_153325335_HDR_zpskimpt7tm.jpg
Views: 13479
Size:  256.7 KB
Old 04-19-2016, 10:41 AM
  #10  
Member
Thread Starter
 
hashamhk's Avatar
 
Join Date: Jan 2016
Location: Virginia
Posts: 37
Received 5 Likes on 5 Posts
Default

Name:  IMG_20160416_150541815_zpswet09jgw.jpg
Views: 13569
Size:  231.4 KB

Name:  IMG_20160419_095143449_HDR_zpsotd2nvrf.jpg
Views: 13457
Size:  281.8 KB

Name:  IMG_20160419_094859977_HDR_censored_zpsid1x6sg2.jpg
Views: 13381
Size:  123.4 KB

Name:  IMG_20160419_094928708_censored_zpsxoyz6bds.jpg
Views: 13440
Size:  81.9 KB

Name:  IMG_20160419_095351747_zpsvh1qd7uh.jpg
Views: 13459
Size:  405.3 KB

Name:  IMG_20160417_011924537_zpsgxovezgd.jpg
Views: 13426
Size:  125.5 KB

Installed interior LED strip.


Name:  IMG_20160419_095059496_zpssd2rttok.jpg
Views: 13587
Size:  253.0 KB

Name:  IMG_20160220_192519074_zpsicgpjjgc.jpg
Views: 13522
Size:  257.6 KB

Name:  IMG_20160220_192514753_zpsccl2uohn.jpg
Views: 13210
Size:  287.5 KB
The following users liked this post:
94f1504.9l (04-19-2016)


Quick Reply: Work in Progress - Rust Removal, Painting and Light Upgrades


All times are GMT -4. The time now is 06:29 PM.