My Build Thread (Big Red)
 06-11-2012, 07:32 PM
#1
Member
Thread Starter
I haven't posted much on this forum, but I've used the site for help on many occasions and have almost always found what i was looking for. I figured it was time for me to start contributing, so here it goes.
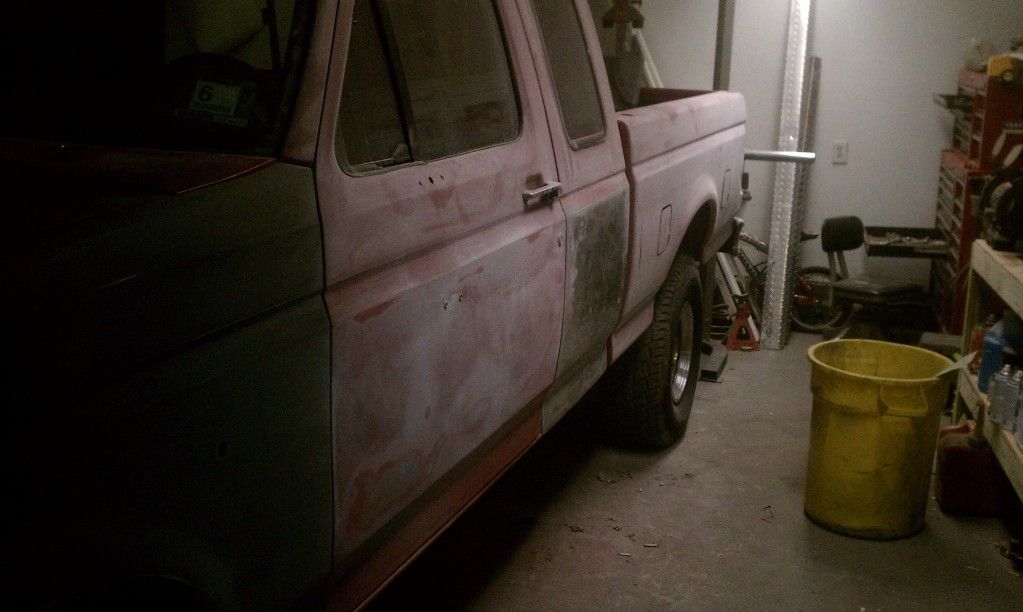
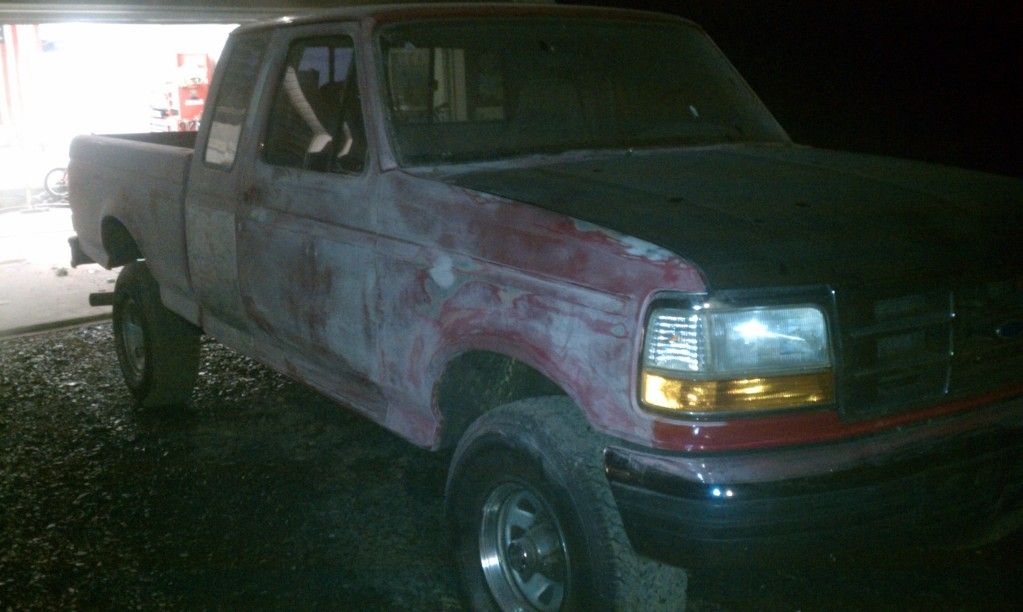
I have a 1995 F-150 XLT Supercab Short Box. It wasn't much to look at when i first got it, especially the faded pink color. I got an awesome deal on it, got it to the farm, and got to work. I don't have time to write up all of my progress so far right now, so i'll separate it into a few posts. Here's the stock pictures for now.
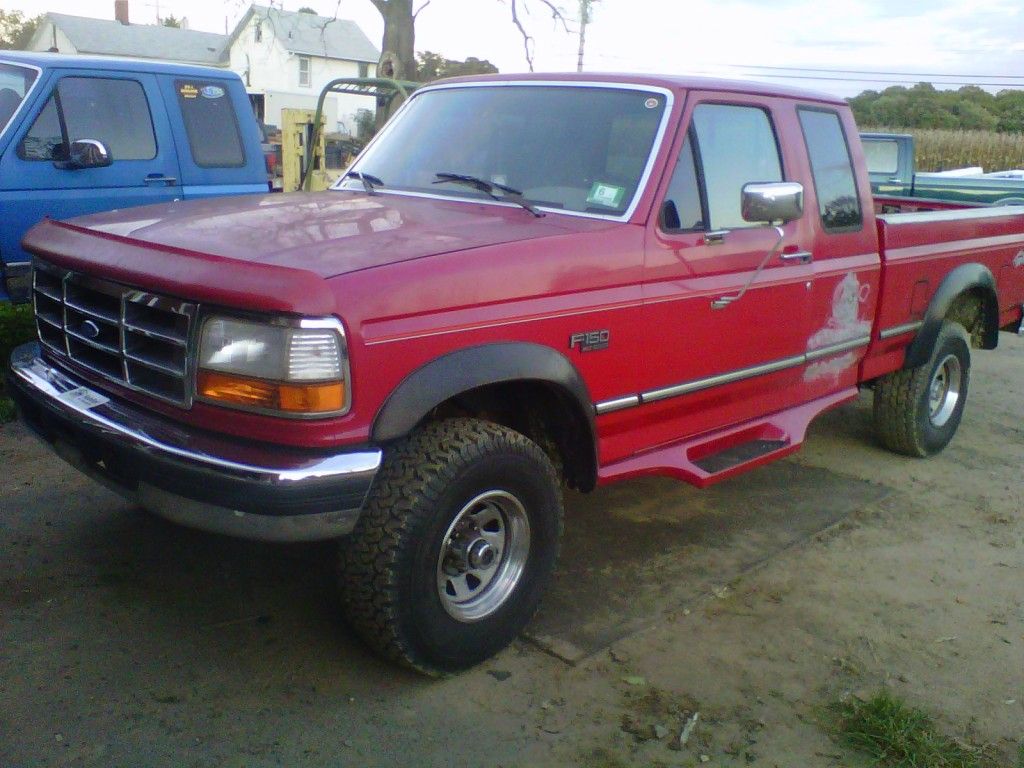
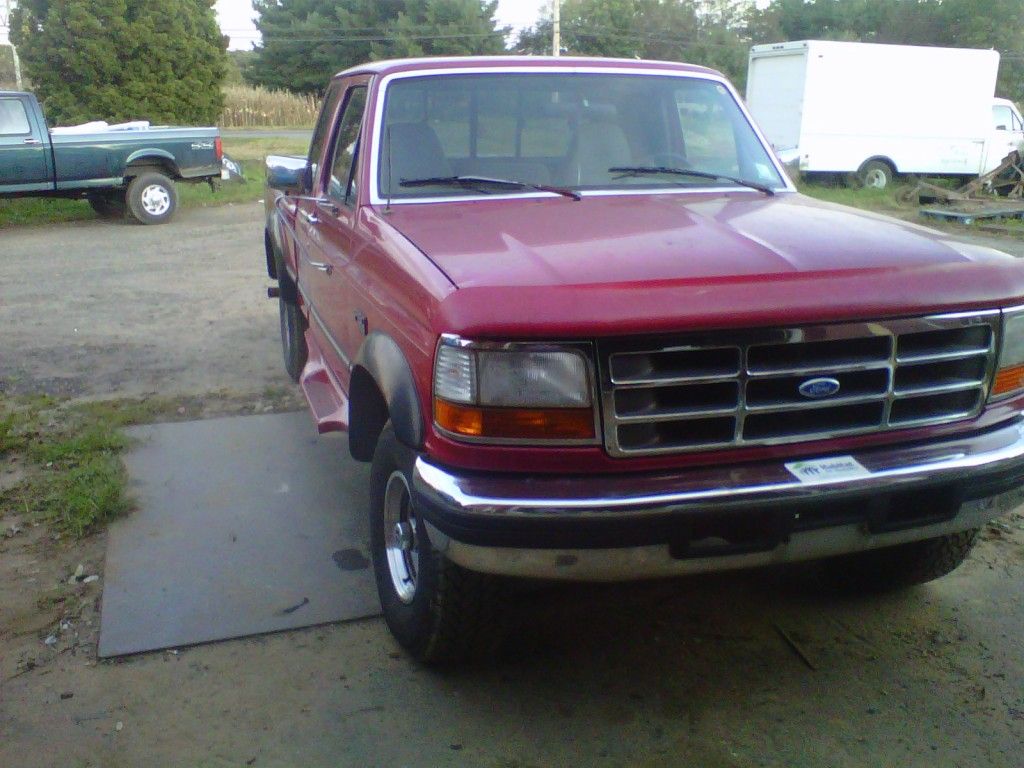

I have a 1995 F-150 XLT Supercab Short Box. It wasn't much to look at when i first got it, especially the faded pink color. I got an awesome deal on it, got it to the farm, and got to work. I don't have time to write up all of my progress so far right now, so i'll separate it into a few posts. Here's the stock pictures for now.
 06-11-2012, 09:04 PM
#2
Member
Thread Starter
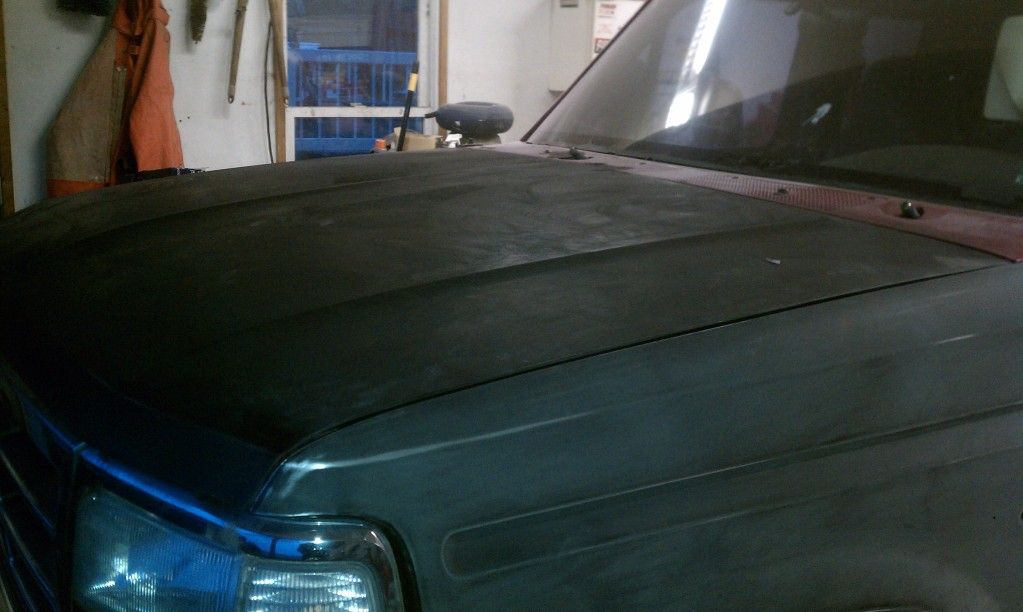
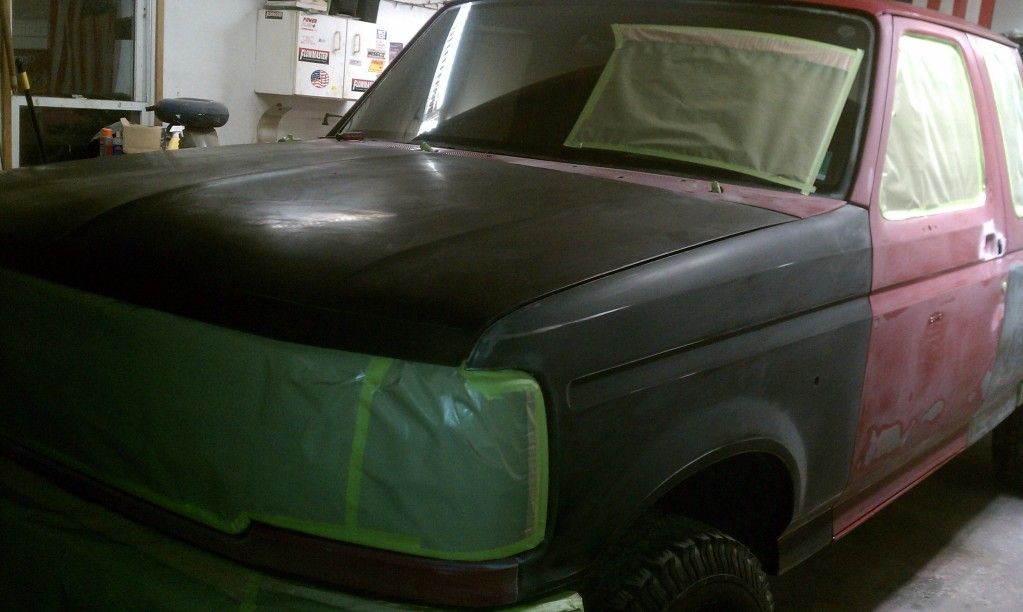
Alright everybody, I'm back. Here's a little more background info. I'm a highschool student, so money isn't exactly flowing in right now. Although my truck might not be the nicest one around, I'm proud of it because every cent that was spent on this truck was out of my own pocket. Now that that's out of the way, i'll start off the build process. My hood was a bit bent and dented, and my driver's side fender had some rust and a few dings. Dents can be fixed, but me and rust don't get along. I ordered a new fender and hood and got to work.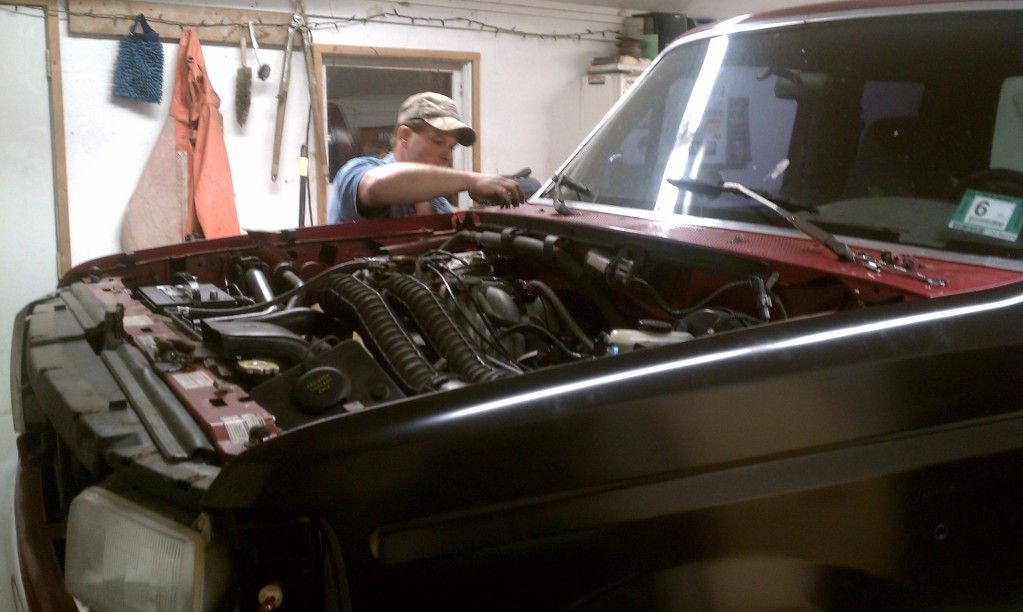
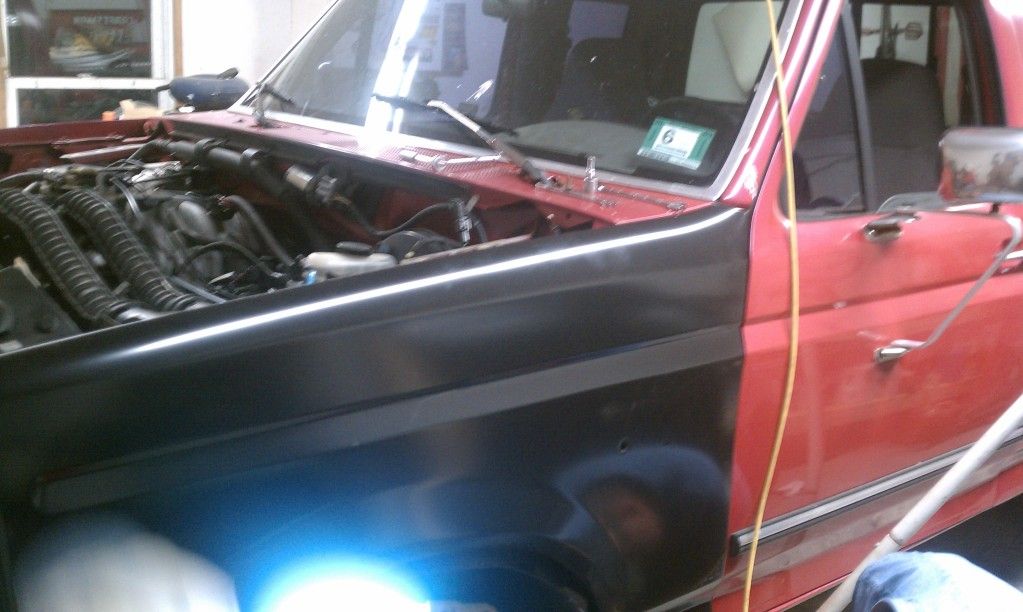
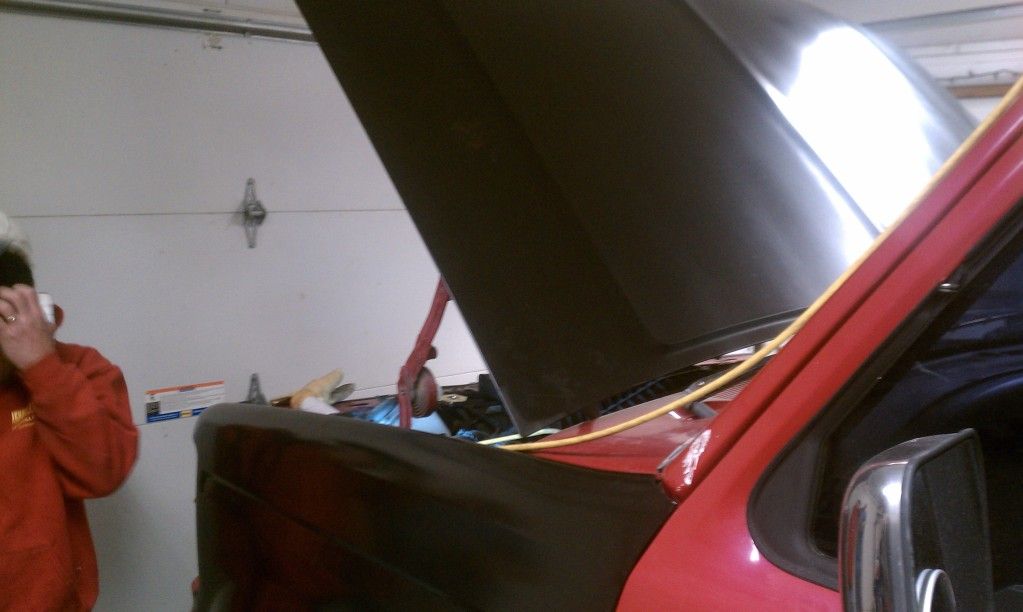
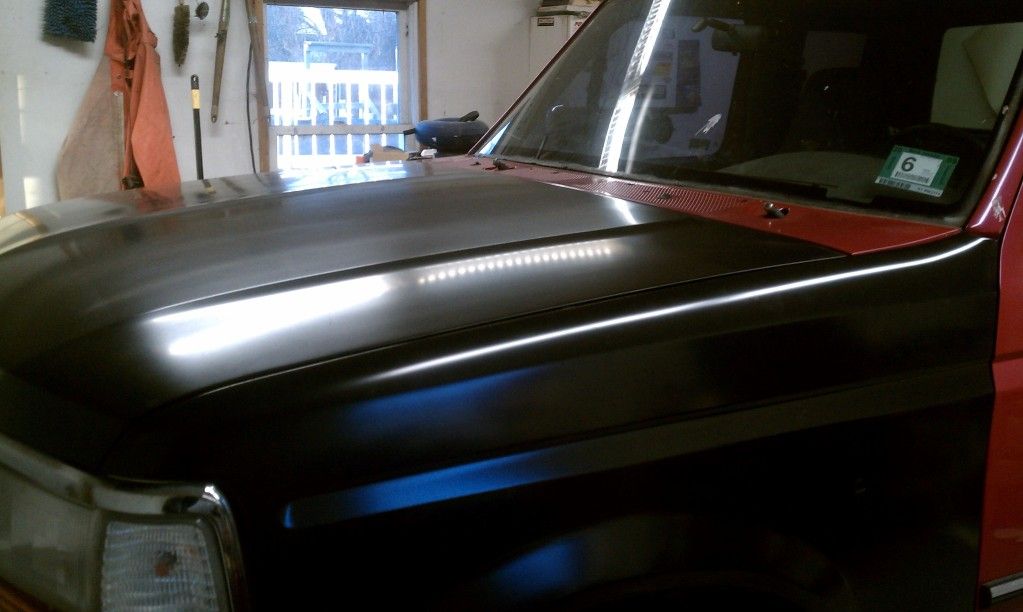
Since they're aftermarket parts, they took a little bit of work to make them look right and line up. After a few hours of arguing with some buddies about the alignment, I was happy with the end product and called it a night. It was almost time to start sanding away at the old paint.
Since they're aftermarket parts, they took a little bit of work to make them look right and line up. After a few hours of arguing with some buddies about the alignment, I was happy with the end product and called it a night. It was almost time to start sanding away at the old paint.
06-11-2012, 09:25 PM
#3
Member
Thread Starter
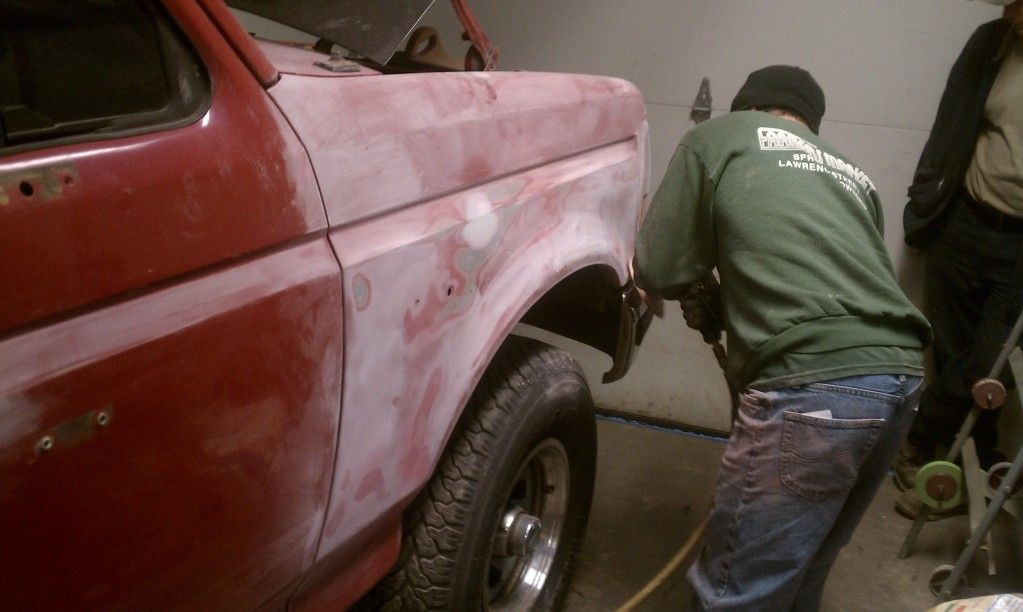
My dad (who has worked in autobody for his whole life) and I started to get some sanding and filling done. At this point, I'm regretting that I didn't snap some more "before pictures". The body was not pretty. One of the taillight holes was smashed in like the PO had backed into a tree, and there were gouges from a grinder all over both sides of the cab. Instead of peeling the old company name sticker off of the truck, they must have thought it was a good idea to grind it off. Whatever though, we got the job done. Here's the pictures from throughout the sanding process. Sorry if I'm boring anyone reading through this, but it gets better. Just be patient lol. 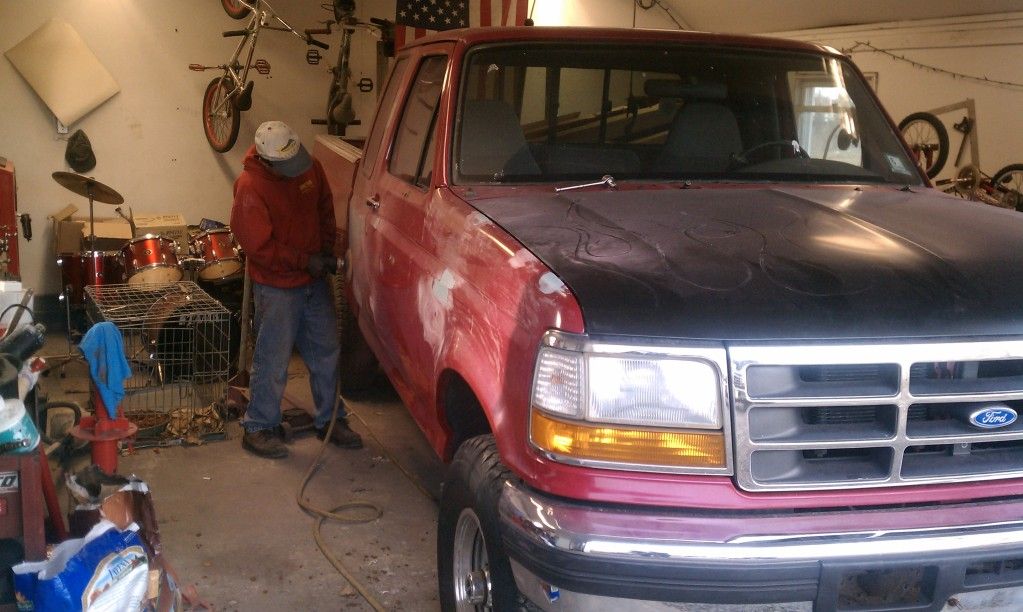
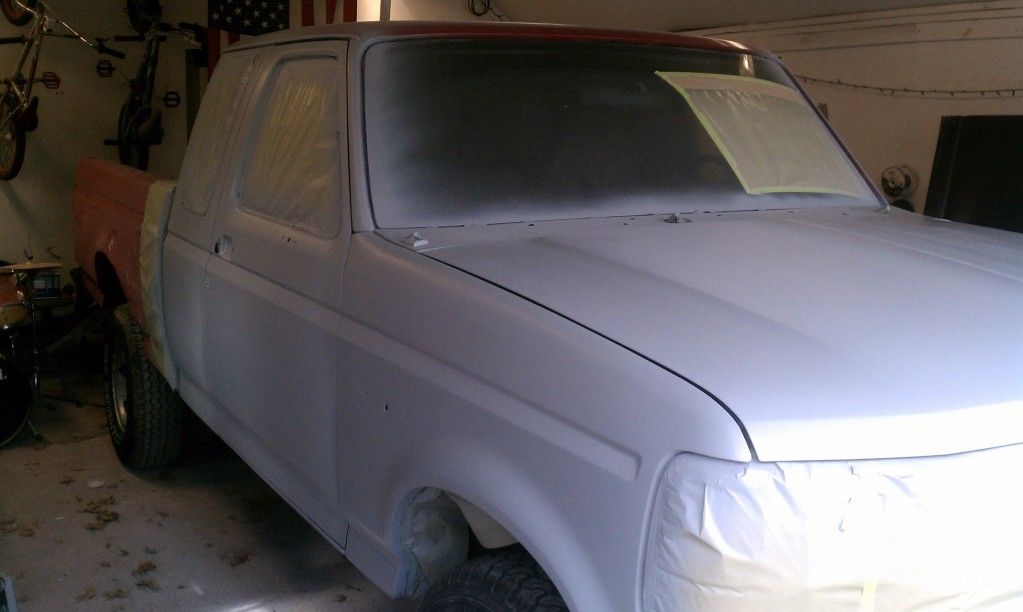
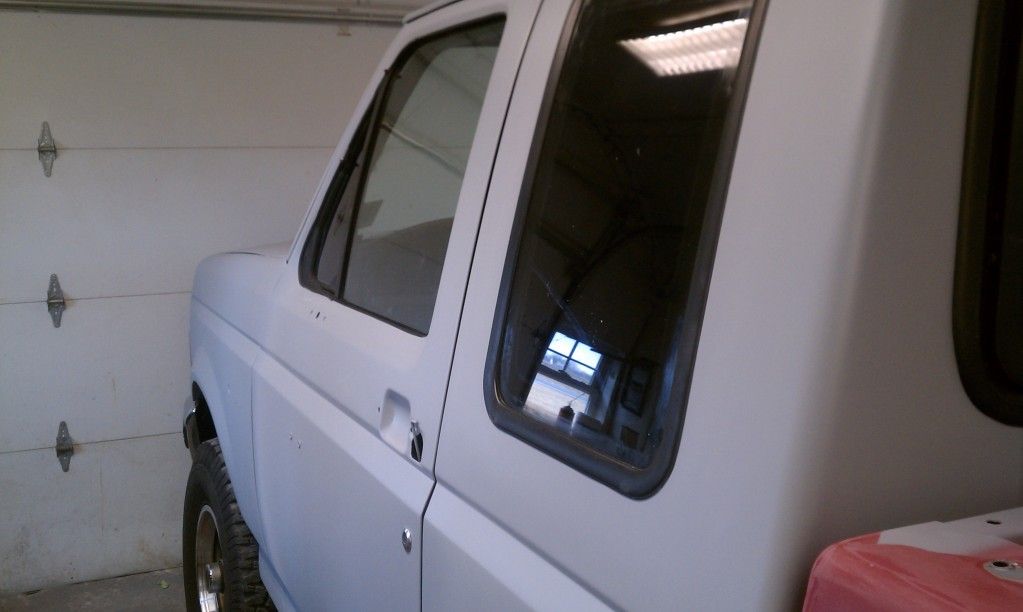
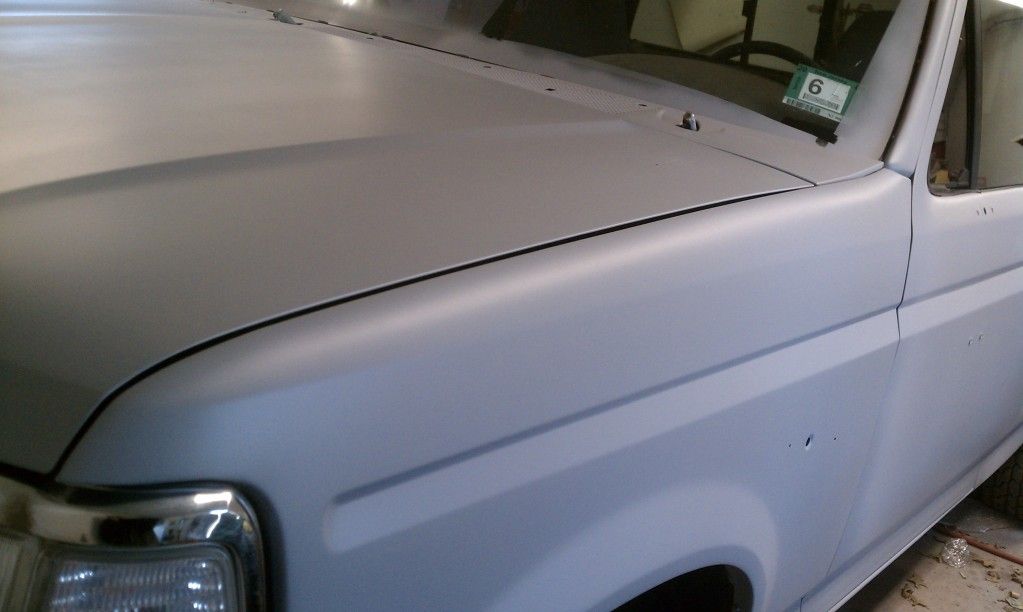
All done sanding for now. Now it's time to tape off the windows (getting a new windshield) for primer.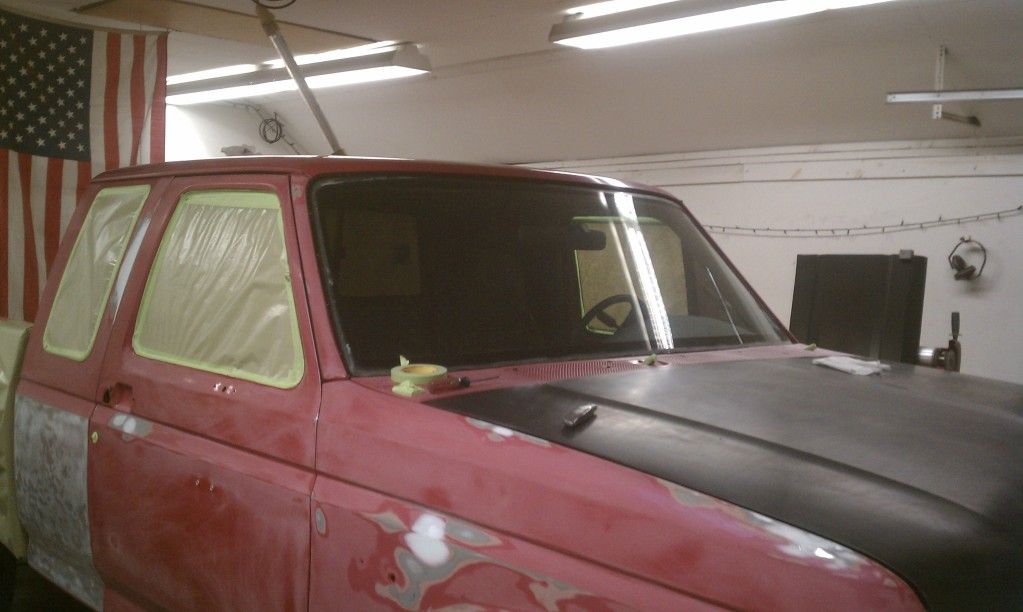
And here's the first layer of primer!
All done sanding for now. Now it's time to tape off the windows (getting a new windshield) for primer.
And here's the first layer of primer!

 06-11-2012, 09:56 PM
#6
Member
Thread Starter
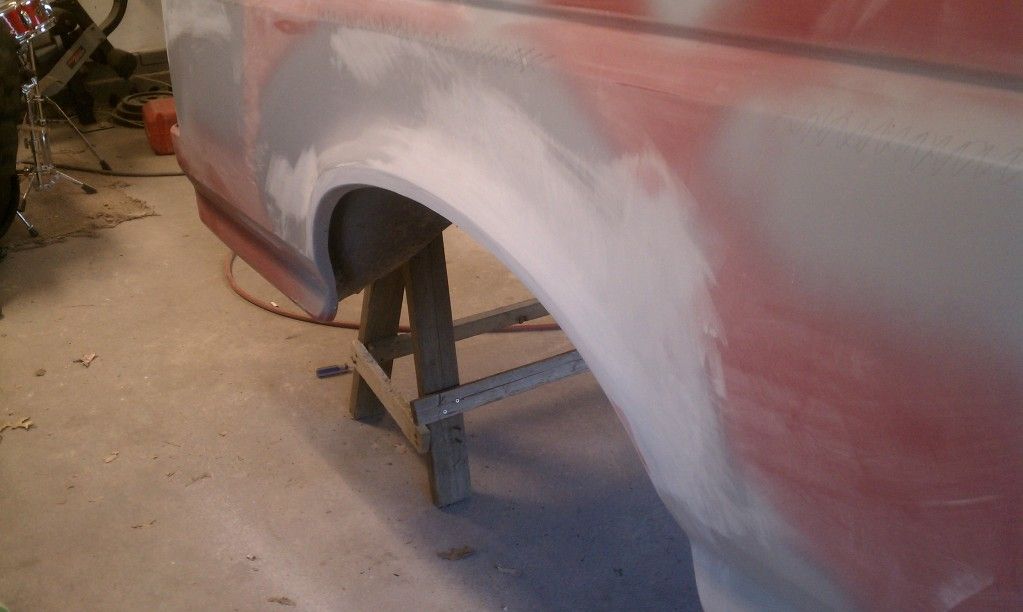
The next step was to get started on the bed.
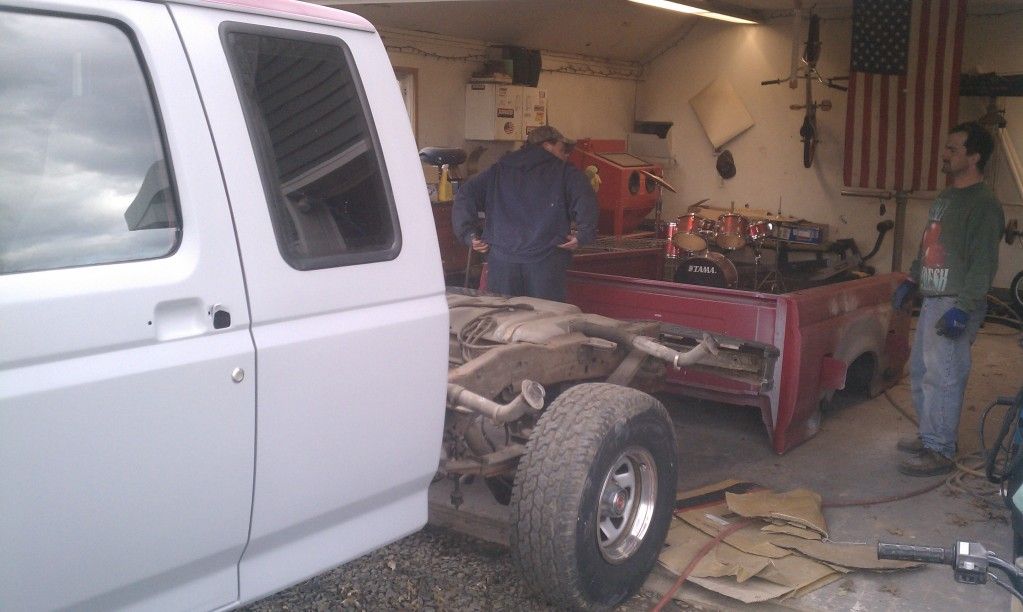
Once we got it off, we finished up sanding and filling it.
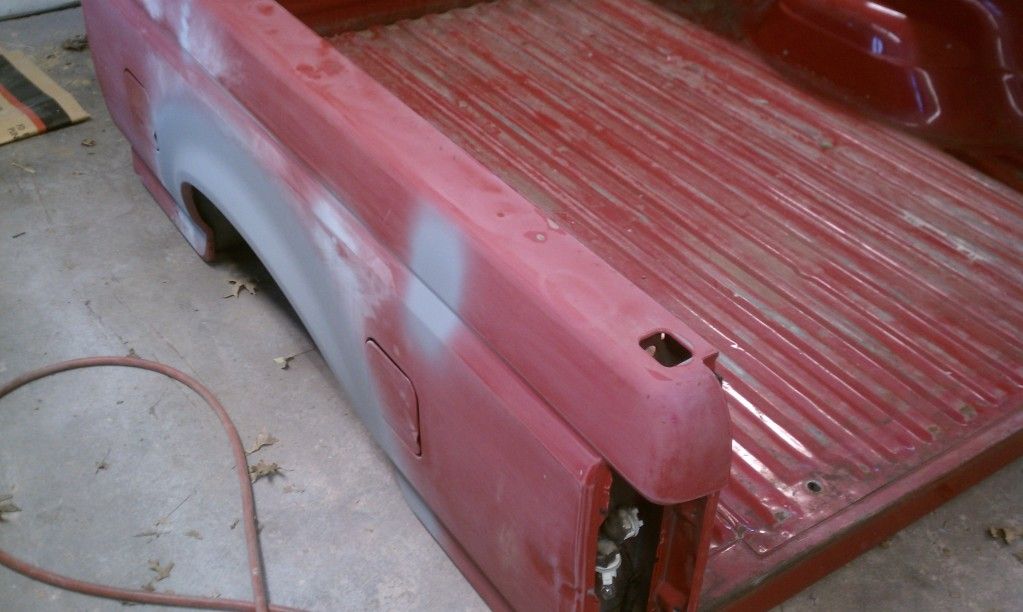
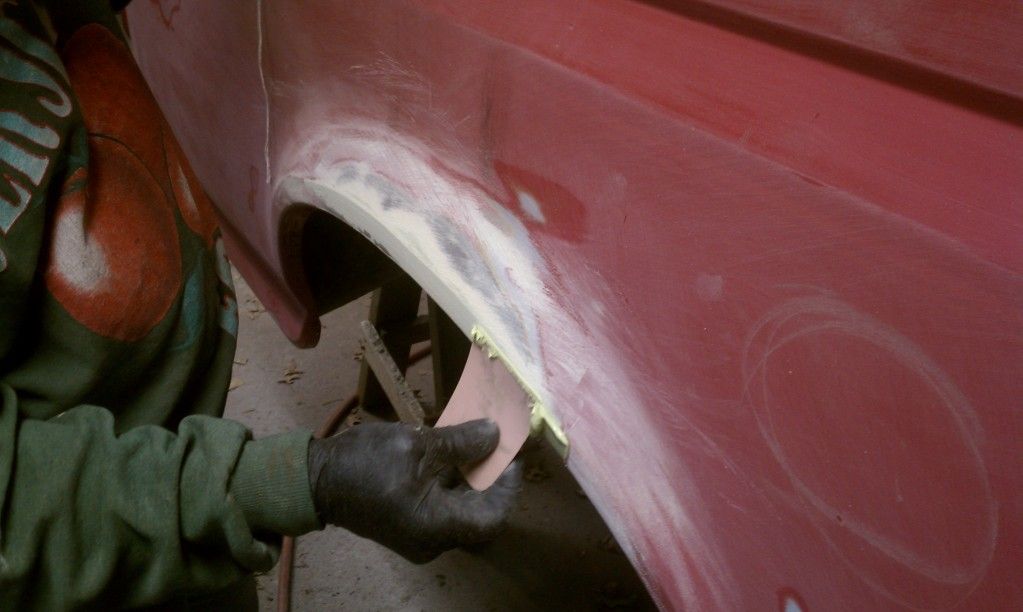
Like I had mentioned before, me and rust DO NOT get along . This was the only spot of rust left on the truck, and it had to go. We grinded it out, making sure there wasn't any more so that it couldn't spread. We filled the hole that we grinded open by welding it. Then we grinded the excess weld, filled it and sanded it, and it was shaped like it had just come off the assembly line.
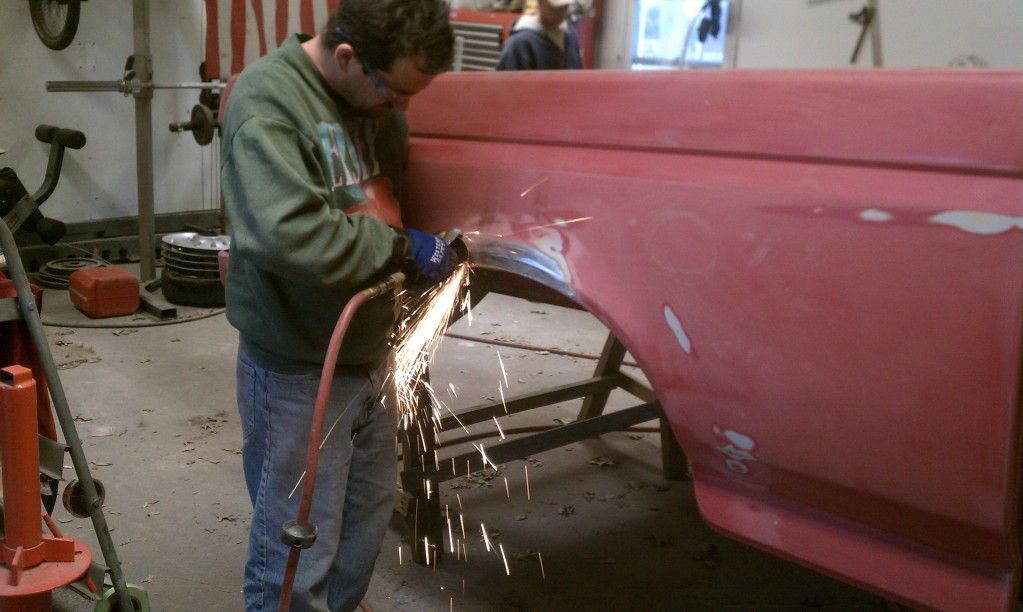
This is the crushed taillight hole I mentioned earlier, except it's not so crushed anymore.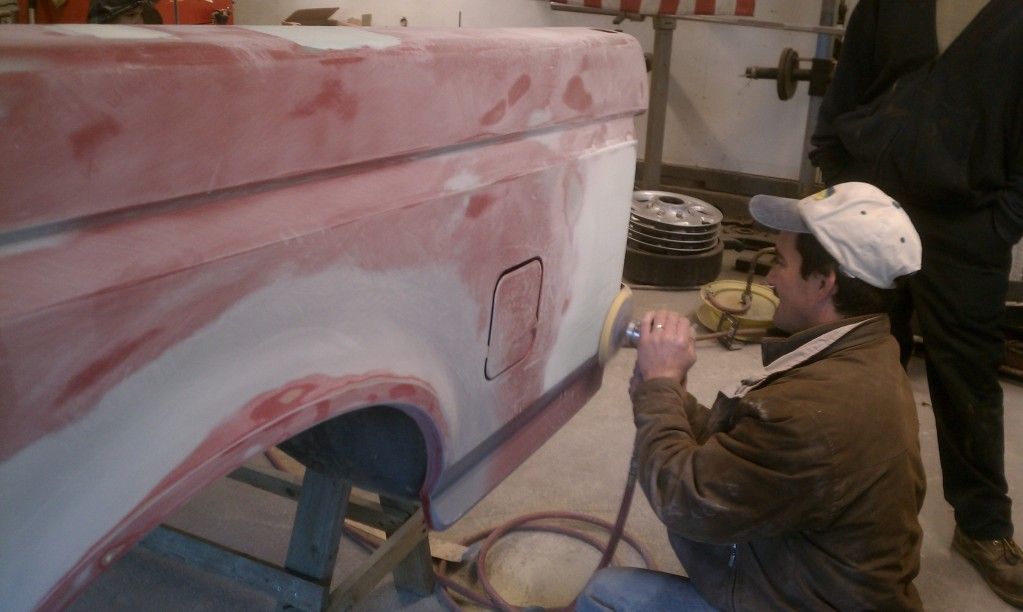
Once we got it off, we finished up sanding and filling it.
Like I had mentioned before, me and rust DO NOT get along
. This was the only spot of rust left on the truck, and it had to go. We grinded it out, making sure there wasn't any more so that it couldn't spread. We filled the hole that we grinded open by welding it. Then we grinded the excess weld, filled it and sanded it, and it was shaped like it had just come off the assembly line.This is the crushed taillight hole I mentioned earlier, except it's not so crushed anymore.


Trending Topics
 06-11-2012, 10:42 PM
#10
Member
Thread Starter
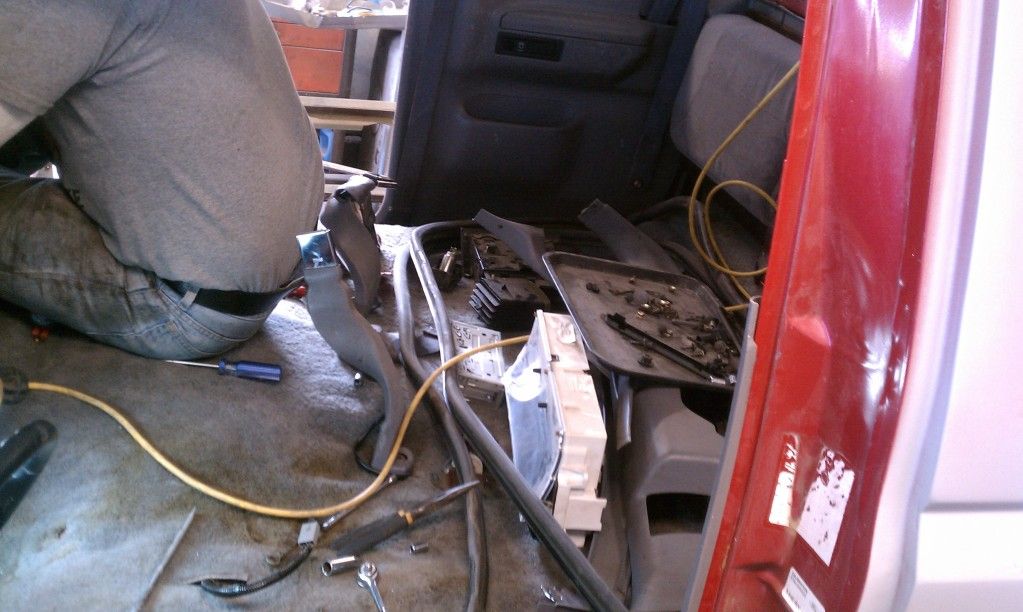
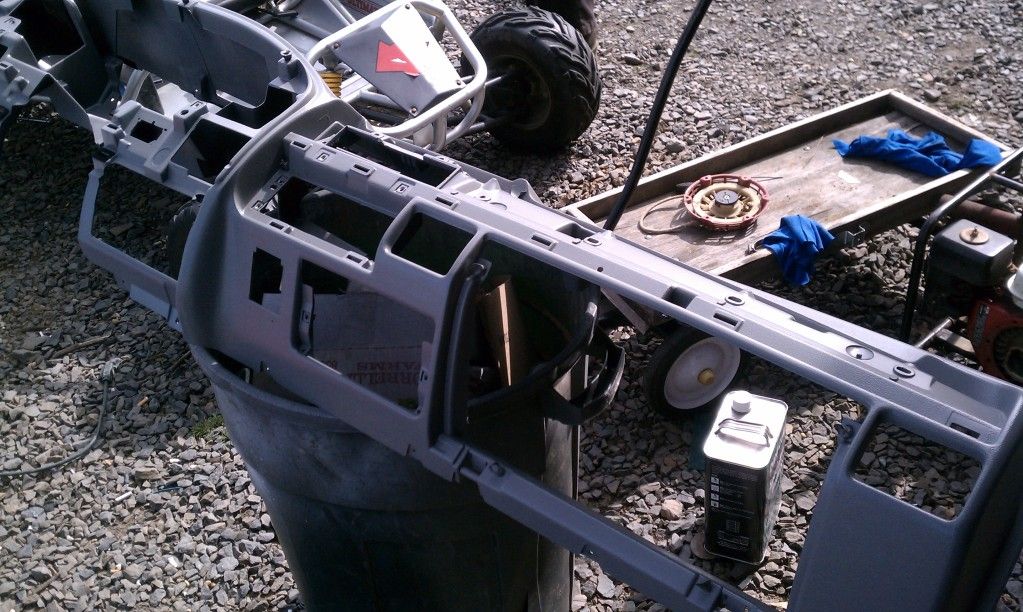
I got a new dash out of a parts truck, and let me tell you..taking out/putting in a dash in these trucks is not an easy job. Here's the old dash all stripped down and ready to be taken out.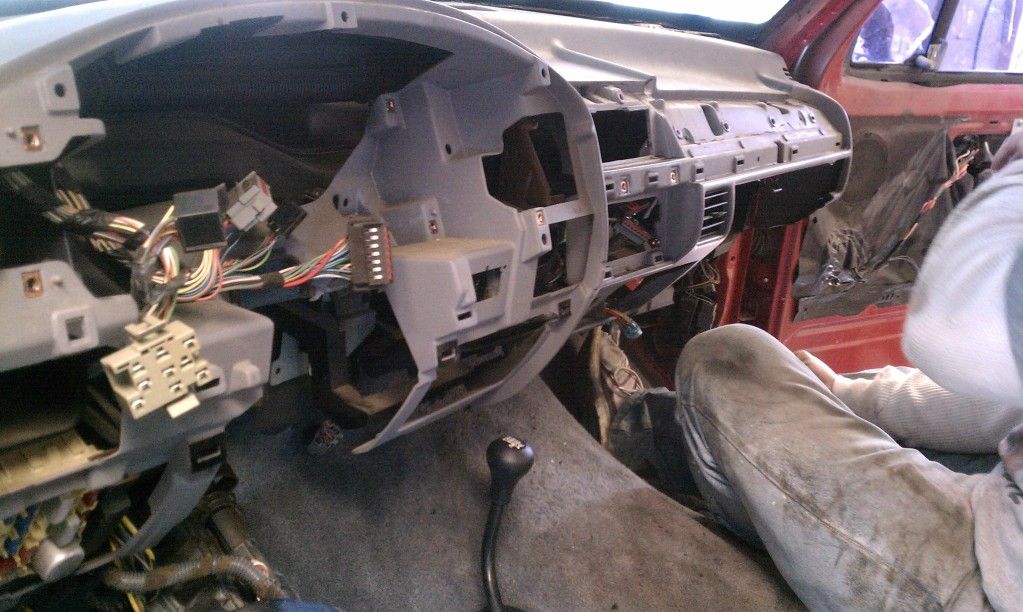
About 100 bolts later, the dash is finally coming out.
This is the new dash.
About 100 bolts later, the dash is finally coming out.
This is the new dash.