Nevin's Retrofit project
 01-07-2014, 12:02 PM
#21
Senior Member
So I talked to TRS yesterday about the broken shrouds, and they are sending replacements under warranty. They are also sending the missing ballast test lead.
I mentioned to them that there seems to be a lot of issues popping up with the SS series of ballasts, especially in the cold climates. They agreed and are also sending new DSP series ballasts. I hope that will eliminate the cold weather ballast failures that many have been experiencing. All they require is that I send photos of the SS ballasts "disabled" (wires cut).
So far I am very happy with TRS and their service.
Yes the SS ballasts are indeed flaky in extreme cold conditions. Mine wouldn't fire below -20 or took several cycles of the light switch to make them work. You made the right choice asking for the new ones. My new DSP ballasts arrived yesterday but it's currently -37 with wind chill but it's going well above freezing this weekend for me to change them over. Be sure to get a picture of the serial numbers off the cut ballasts as well to ensure you get the warranty claim.
 01-07-2014, 01:07 PM
#22
Senior Member
Thread Starter
Nate didn't mention that I would have to do that, but I suppose that makes sense so they can tell you just didn't cut up an old ballast (or steal someone else's picture of their cut up ballast!).
01-10-2014, 01:00 AM
#23
Senior Member

Subscribed. This is a project that I intended to tackle as well. Went as far as getting a set of take offs, opening them up and masking the bezels for painting before a premade set became available at a price I couldn't resist.
Can't decide to either sell the assemblies as is or go ahead and finish the retrofit and sell them. I'll see how you make out and go from there.
Looking great so far Nevint!
Can't decide to either sell the assemblies as is or go ahead and finish the retrofit and sell them. I'll see how you make out and go from there.
Looking great so far Nevint!
 01-10-2014, 04:43 PM
#26
Senior Member
Thread Starter
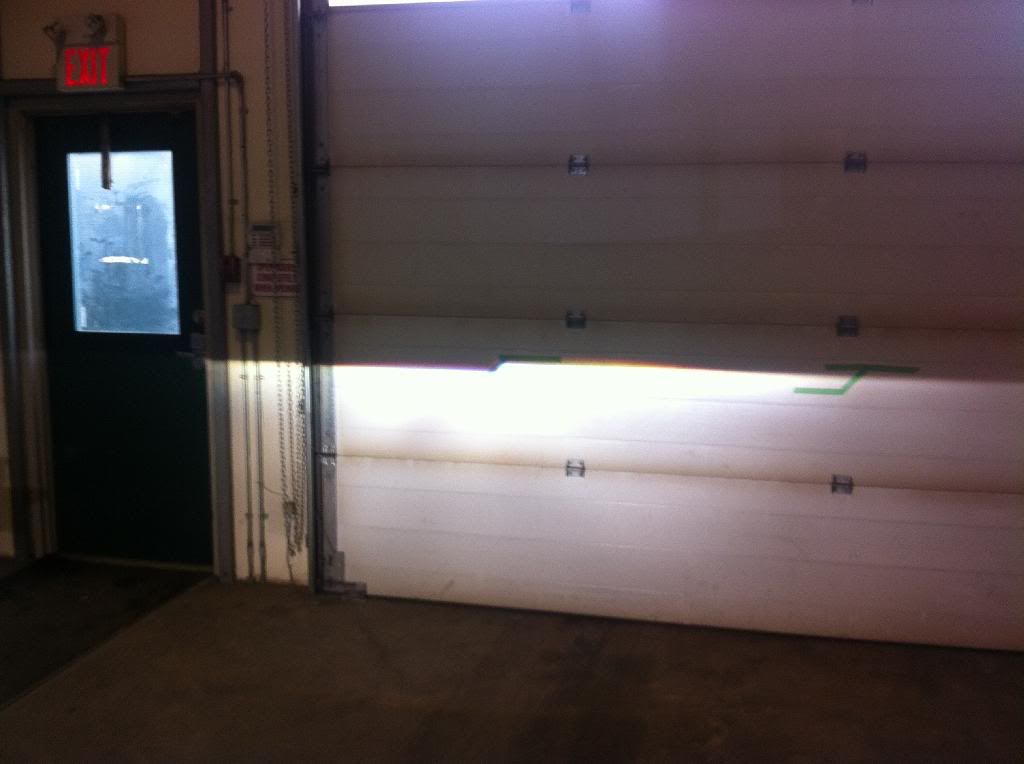
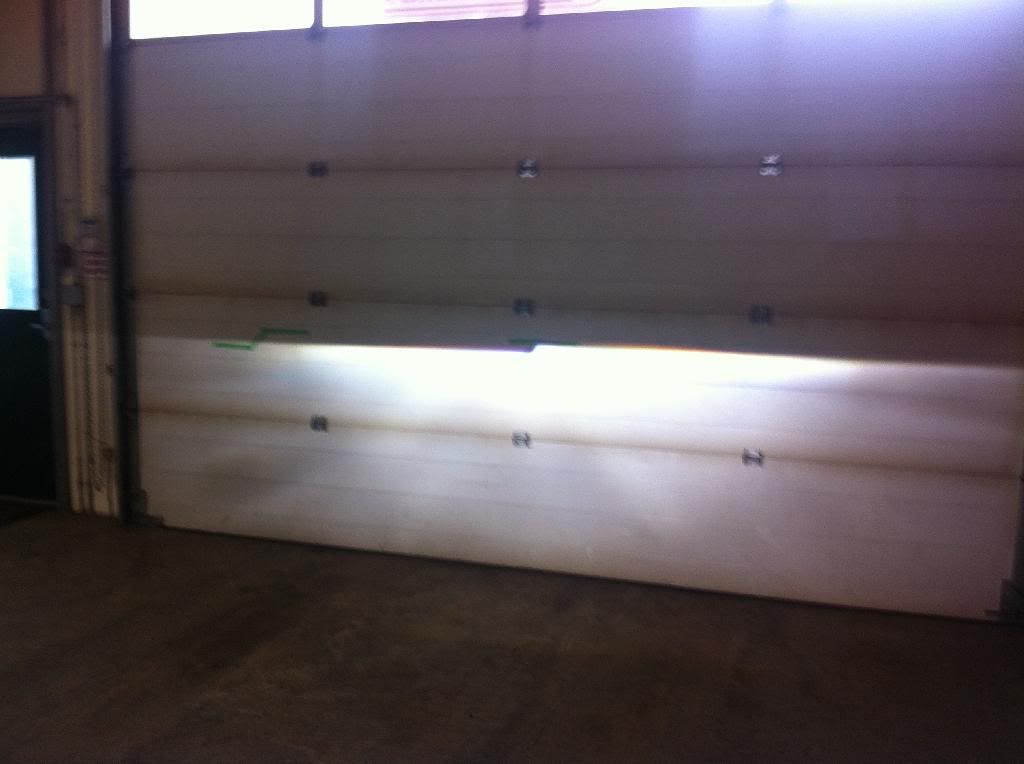
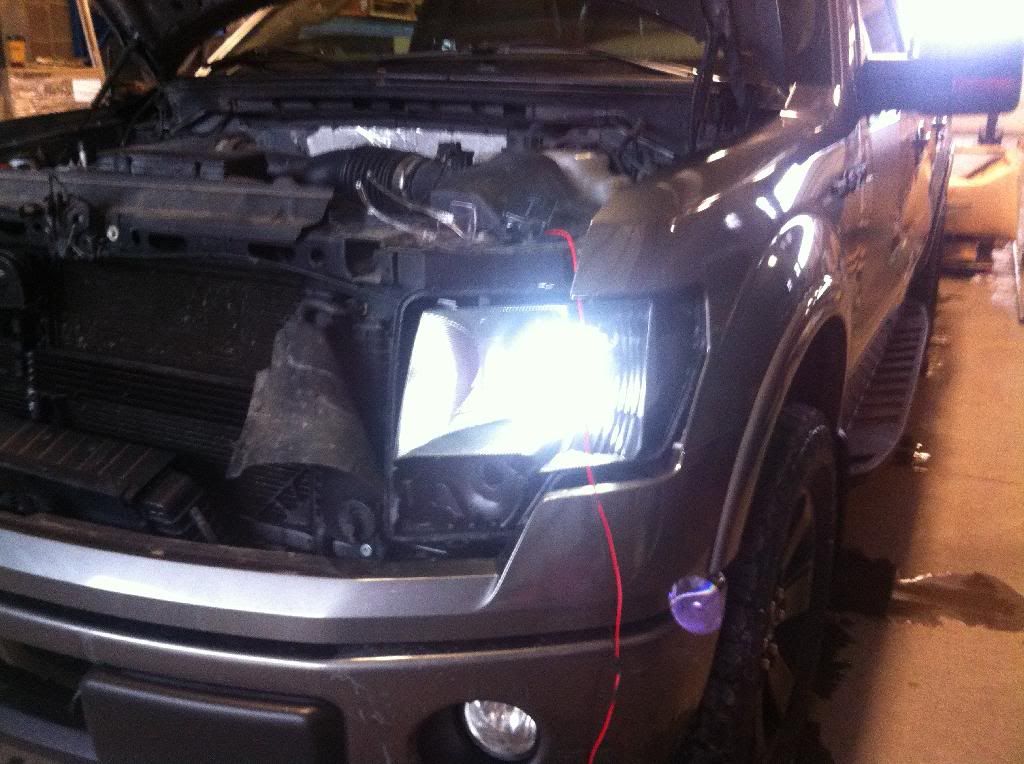
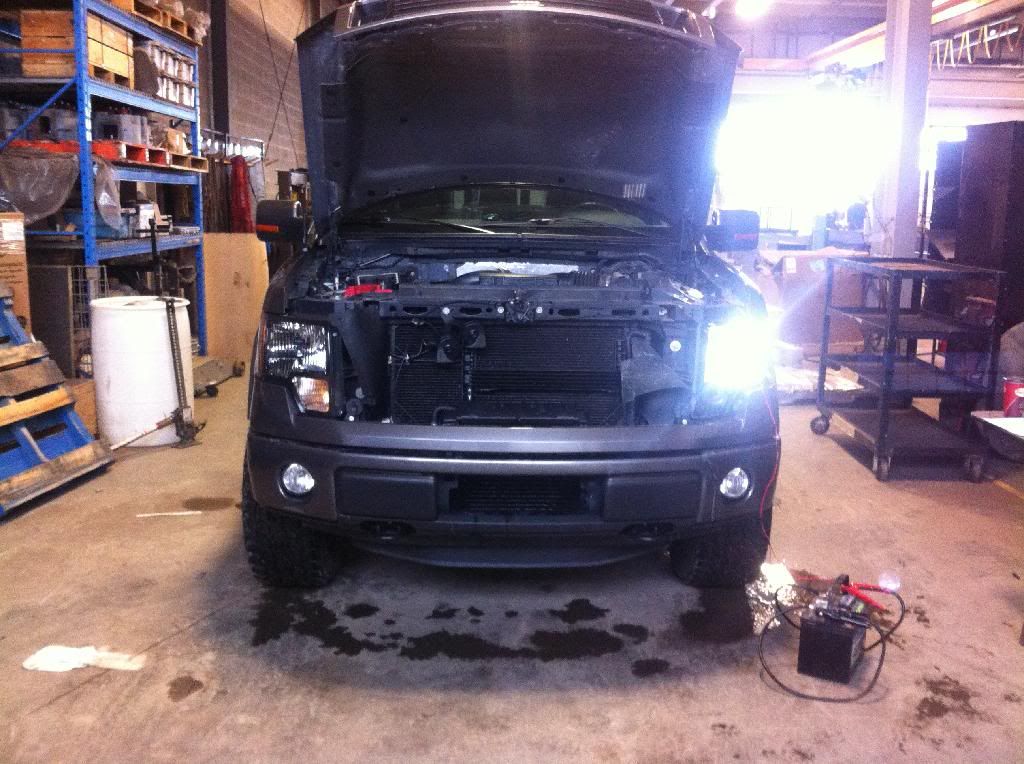
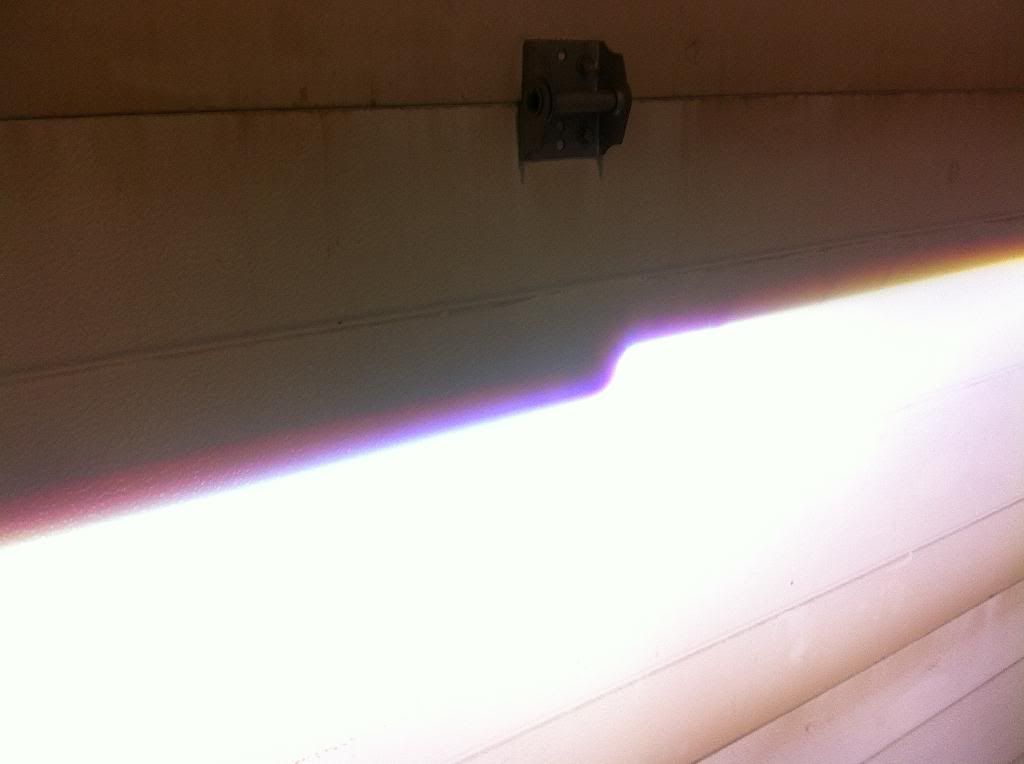
Got the projectors mounted in the buckets today. I think it went pretty well. I first confirmed my lights were aligned properly (according to the manual), then I marked the wall with tape based on the pattern made by the factory halogens. Then I removed the OEM housing, and installed my modified housing. Then I used JB Weld Steel Stick to attach the projector to the bucket. It seemed pretty simple, so I hope I didn't miss some important step! I managed to get the projectors aligned pretty well, and I am happy with the results so far. Next step is to remove the bucket/projector from the housing, and JB Weld the back of the bucket to permanently attach the projector to the bucket. That may be a job for tomorrow.
Here are a few crappy iphone photos (forgot to take the good camera) showing the progress made today.
LOVE the color band along the cutoff!!!
Here are a few crappy iphone photos (forgot to take the good camera) showing the progress made today.


LOVE the color band along the cutoff!!!
 01-10-2014, 05:06 PM
#27
Senior Member
Nice job on the alignment. Someone in another thread did his retrofit and his passenger side light strayed way off and posted that no one should let this guy do your HID alignment:

I'm really happy with FX-R projectors too.

I'm really happy with FX-R projectors too.
01-10-2014, 09:49 PM
#28
Senior Member
Thread Starter
Reflection time.......what have I learned so far? While I haven't had any major issues so far, I have been close. I now know a lot more than I did before I started.
1. My respect for bilinvic and tux has grown immensely. Those guys are craftsmen, I am a hack! If my lights turn out even a fraction as well built as theirs, I will be happy!
2. Pay to have the buckets painted. Mine have a few flaws. Nothing terrible, but if I could do it again, I would pay a paint shop to do it (was quoted $60-70 to blast, prime and paint).
3. Pay close attention to the depth that you mount the projector in the bucket. I went a little bit too deep I think, and it makes removing the bucket from the housing tricky. I had to trim some of the housing (around the headlight bulb hole) to allow removal of the bucket. The back of the projector contacted the edge of the hole in the housing, preventing me from removing the bucket. Hard to explain, but if you need clarification just ask.
4. If you are going the steel stick route for mounting the projector in the bucket, get two tubes of it. One is NOT enough!
5. Don't panic.
6. Enjoy the experience. This is the most fun I've had on a project in a long time!
Tomorrow I will JB weld the back of the buckets, then reinstall in the housing after it cures. Then I just need to receive my new shrouds and ballasts, and I'm in the home stretch!
01-10-2014, 11:41 PM
#29
Senior Member
Looking good! Very detailed in what you do. Can't wait to see the final outcome.
01-11-2014, 12:42 AM
#30
Senior Member
Thread Starter
Believe me, I am looking forward to having this wrapped up as well!! I can't wait to roll down the road with everything lit up in glorious HID light!