2014 F150 FX-R retrofit
 04-29-2016, 11:49 AM
#21
BAMF Club

I thought the Steelstik was stronger than JB Weld?
 04-29-2016, 02:36 PM
#22
Member
Thread Starter


Not sure. I ended up using the steelstik first because it just made more sense. After it set up, I took the reflector bowls out and used the regular jb weld on the back. I should have gotten the jb kwik...
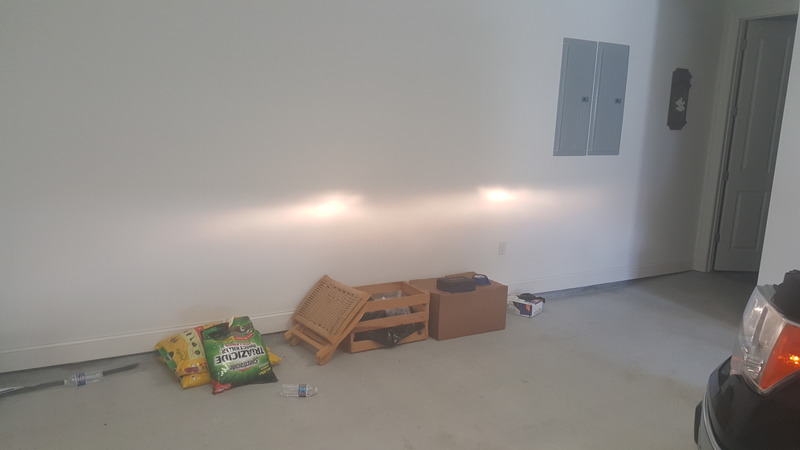
Here is a before and after output shot. I got the driver's side rotation a little off, but it's angled down to the left, so it shouldn't be a huge problem. After the jb hardens a bit, I'll attach the shrouds and get the lenses set.
Before:
After:
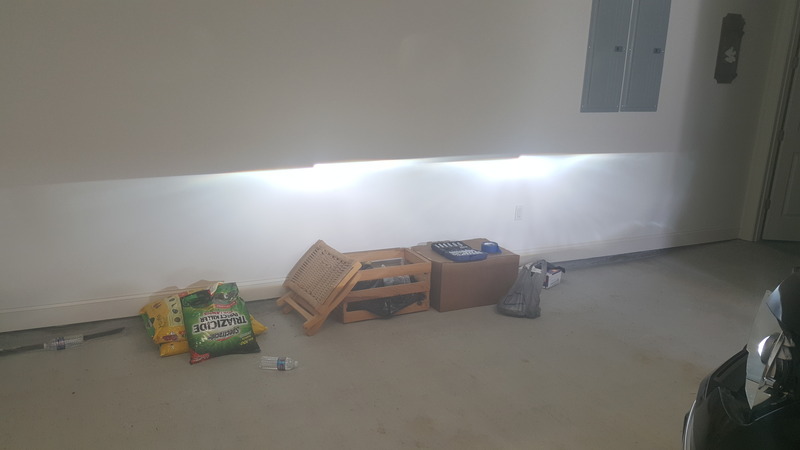
Here is a before and after output shot. I got the driver's side rotation a little off, but it's angled down to the left, so it shouldn't be a huge problem. After the jb hardens a bit, I'll attach the shrouds and get the lenses set.
Before:

After:
 04-29-2016, 04:17 PM
#23
BAMF Club
Looking good!
04-29-2016, 05:12 PM
#24

FYI:
Strength from lowest to highest:
J-B Steelstik: 900 PSI; Setup = 5 min; Cure = 1 hour
J-B KwikWeld: 2424 PSI; Setup = 6 min; Cure = 4-6 hours
J-B Weld: 3960 PSI; Setup = 4-6 Hours; Cure = 15-24 Hours
J-B ClearWeld: 4400 PSI; Setup = 5 min; Cure = 1 hour
Use a bit of SteelStik fer initial positioning since it's fast and easy to work with.
Use one of the higher strength products for permanence once all aiming is complete. Clearweld is da bomb - fast AND strong. And dries clear - looks great.
MGD
The following users liked this post:
ak_cowboy (04-30-2016)
04-29-2016, 10:51 PM
#25
Member
Thread Starter
Good info MGD, thanks.
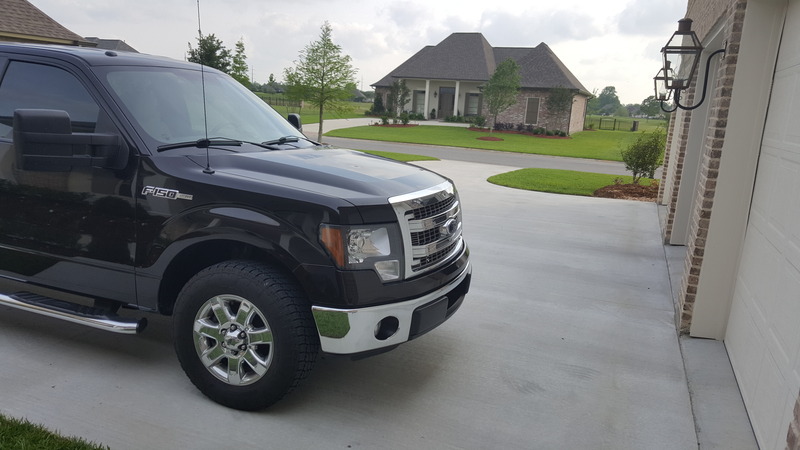
Well, now I understand why the pros charge so much, haha. It's all done and I'm happy with how it looks. I think I need to do a little more aiming, but I ran out of time. The look is definitely what I was going for.
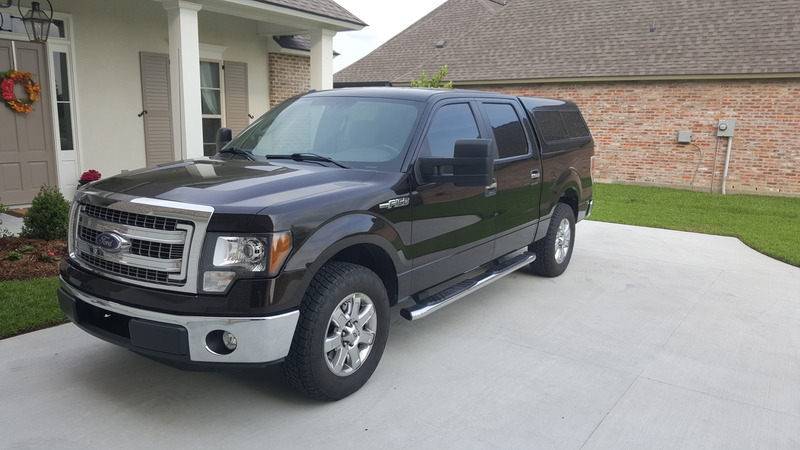
I didn't make any shroud extensions, so it looks a little funky from some angles, but I was mostly concerned with the output, which is fantastic. Nice, even white light. And that cutoff...
Well, now I understand why the pros charge so much, haha. It's all done and I'm happy with how it looks. I think I need to do a little more aiming, but I ran out of time. The look is definitely what I was going for.


I didn't make any shroud extensions, so it looks a little funky from some angles, but I was mostly concerned with the output, which is fantastic. Nice, even white light. And that cutoff...
The following users liked this post:
MGD (04-30-2016)
04-30-2016, 06:12 AM
#26
Senior Member
Looks good!
 04-30-2016, 09:58 AM
#28
Member
Thread Starter
 04-30-2016, 11:29 AM
#30
Member
Thread Starter
I think part of it was the fact that the Apollo 1.0 shrouds aren't very deep (less than 2"). The mounting tabs on the projector were touching the bowl. I cut a ~3.5" hole, so to get it any deeper, I think I'd have had to cut the bucket way bigger and make brackets. Maybe not a bad idea though...

