2008 FXR retrofit
 09-06-2012, 05:55 PM
#11
F150 Forum


Originally Posted by Lifted5.4Lariat
Mine came out perfectly fine using the boots that are already on the lights. Id say save your money..
 09-07-2012, 09:53 PM
#12

Look what just came in!!!
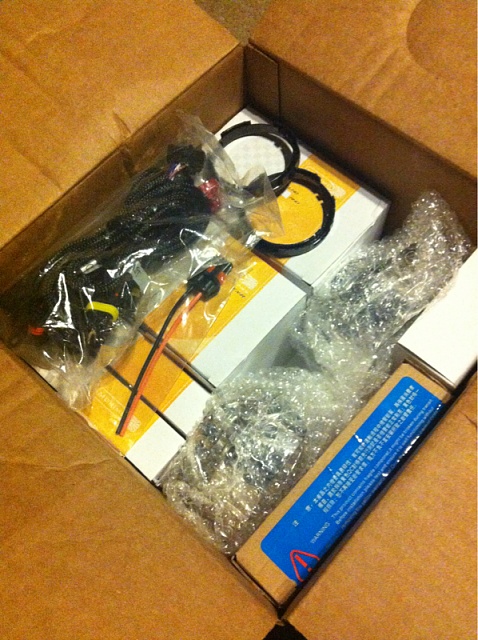
I'm like a kid on Christmas, I'm so excited and ready to get started. Too bad my headlights are still installed on my truck, and now it's raining... Oh well patience is a virtue, right?
1 question for y'all though. I ordered the OCI Butyl rubber glue from TRS as well. Should I use this in conjunction with another product? It sounds like the TRS glue by itself will be fine I just wanna double check...
09-08-2012, 01:00 AM
#13
F150 Forum
Originally Posted by jn_h
Look what just came in!!!
I'm like a kid on Christmas, I'm so excited and ready to get started. Too bad my headlights are still installed on my truck, and now it's raining... Oh well patience is a virtue, right?
1 question for y'all though. I ordered the OCI Butyl rubber glue from TRS as well. Should I use this in conjunction with another product? It sounds like the TRS glue by itself will be fine I just wanna double check...
09-09-2012, 12:13 PM
#14
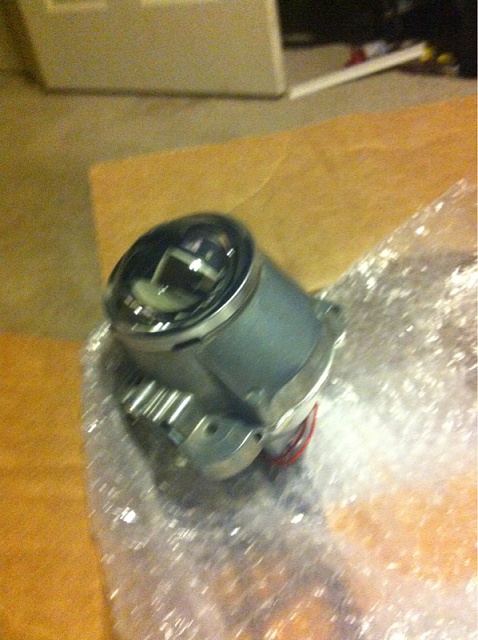
Ok so I got my reflector bowls cut to fit the projectors. Now what is the easiest way to make sure they are straight and level before I screw them down into place? I really dont want to have to deal with cockeyed projectors. I'm at a stand still until I can get some help with this...
09-09-2012, 01:35 PM
#17
Girthy Member

Look what just came in!!!
Attachment 143472
Attachment 143479
I'm like a kid on Christmas, I'm so excited and ready to get started. Too bad my headlights are still installed on my truck, and now it's raining... Oh well patience is a virtue, right?
1 question for y'all though. I ordered the OCI Butyl rubber glue from TRS as well. Should I use this in conjunction with another product? It sounds like the TRS glue by itself will be fine I just wanna double check...
I know the feeling!
 Its great isn't it?
I butyl'd mine last night. That is AWESOME stuff. It goes in the cracks easy. 7 minutes in the oven, a little squeezing. Then a bit of heat gun work to bend the retaining clips back into place...done! I couldn't believe how easy it is to work with that stuff. It is a bear getting the ford goop out of the cracks though..
09-11-2012, 10:54 PM
#19
Ok so here is my passenger side test mounted on the truck on my garage door from 25ft away.
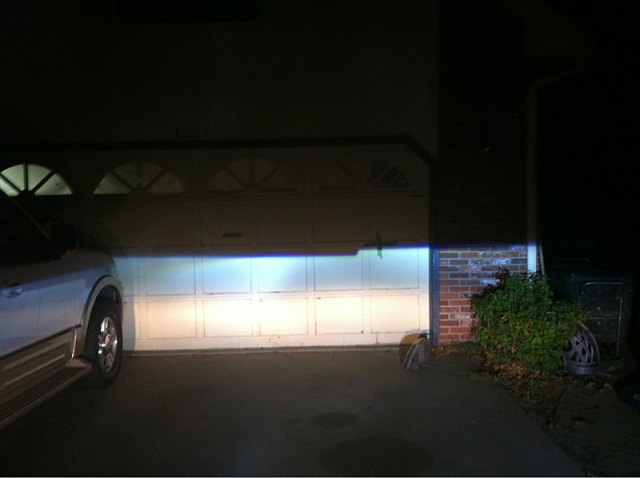
It looks pretty good, I feel as if it slants slightly down from left to right... It should be perfectly level correct? Also there is a X taped on the door, that is the height of the mounted projector on the truck. As far as I can tell I've got the height of my beam in the right spot. Anyone care to confirm or deny?
My drivers side was WAY off I still need to do quite a bit of fine tuning to get it close.