RedAggie03's 2014 FX4 EcoBoost SCrew
#41
2014 FX4 EcoScrew
Thread Starter
I went back and forth on that. The ported setup would have been quite a bit larger box (the size of the driver side 60% portion). I wanted to keep the box in the stock location under the 40% portion of the seat, so I went with a sealed box. My days of big booming bass are over - I'm just looking for a bit more full sound a good punch. I think sealed will be great for me and I keep the storage space under the seats that I use.
#42
Senior Member
True.. I don't want to be deaf by the time I'm 30 and I don't want to rattle my truck apart.
Let me know how that sounds when you get it installed. I've always been a fan of one quality sub vs multiple cheaper subs.
Let me know how that sounds when you get it installed. I've always been a fan of one quality sub vs multiple cheaper subs.
#43
2014 FX4 EcoScrew
Thread Starter
I tow our pop-up camper a lot with our truck - that's its primary purpose...Family trips. I used to have my bike rack on the top of the PUP, but it was a pain and added step to remove the bikes before I could setup camp. With two small kids running around nutzo, I can't waste time - SO, I put together a bed bike rack. This way I can just leave the bikes locked up to the truck for as long as I need and proceed with setting up camp. They also are out of the way of anything I pack in the bed. I'm loving the setup so far!
Sorry, the truck is filthy - It's been raining a LOT here in Houston...

Close up of the rack.

------------------------------------------------------------------
Here's how I did it:
Anchor points:
Router bit to cut out holes to access stake pockets:
1-1/2" Square AL tubing sourced from local metal supplier
5/16" x 4" bolts and washers to bolt the square tubing to the anchor points.
Caps for square tube:
 Amazon.com - Plastic Square Blanking End Caps Tubing Tube Inserts 38 x 38mm 5pcs - Decorative Hanging Ornaments
Yakima control towers:
Yakima control tower bases (#1):
Yakima bars (78" - the 66" is close, but just a touch too short. Cut 78's):
Yakima Caps for bars:
------------------------------------------------------------------
After lining everything up and drilling my holes in the square tube, I used a LONG screw driver and some electrical tape to hold the square Yakima "nuts" that hold the control tower bases inside the tube.
I opted for the 1-1/2" bar, but it's a little bit bigger than I would like. I'd use 1-1/4" bar for anyone who is copying this setup. Otherwise I love how it turned out.
Sorry, the truck is filthy - It's been raining a LOT here in Houston...

Close up of the rack.

------------------------------------------------------------------
Here's how I did it:
Anchor points:
Router bit to cut out holes to access stake pockets:
1-1/2" Square AL tubing sourced from local metal supplier
5/16" x 4" bolts and washers to bolt the square tubing to the anchor points.
Caps for square tube:
Yakima control towers:
Yakima control tower bases (#1):
Yakima bars (78" - the 66" is close, but just a touch too short. Cut 78's):
Yakima Caps for bars:
------------------------------------------------------------------
After lining everything up and drilling my holes in the square tube, I used a LONG screw driver and some electrical tape to hold the square Yakima "nuts" that hold the control tower bases inside the tube.
I opted for the 1-1/2" bar, but it's a little bit bigger than I would like. I'd use 1-1/4" bar for anyone who is copying this setup. Otherwise I love how it turned out.
#45
2014 FX4 EcoScrew
Thread Starter
Added a TruXedo Lo Pro QT cover and I CAN roll it under my bars, WOOT!

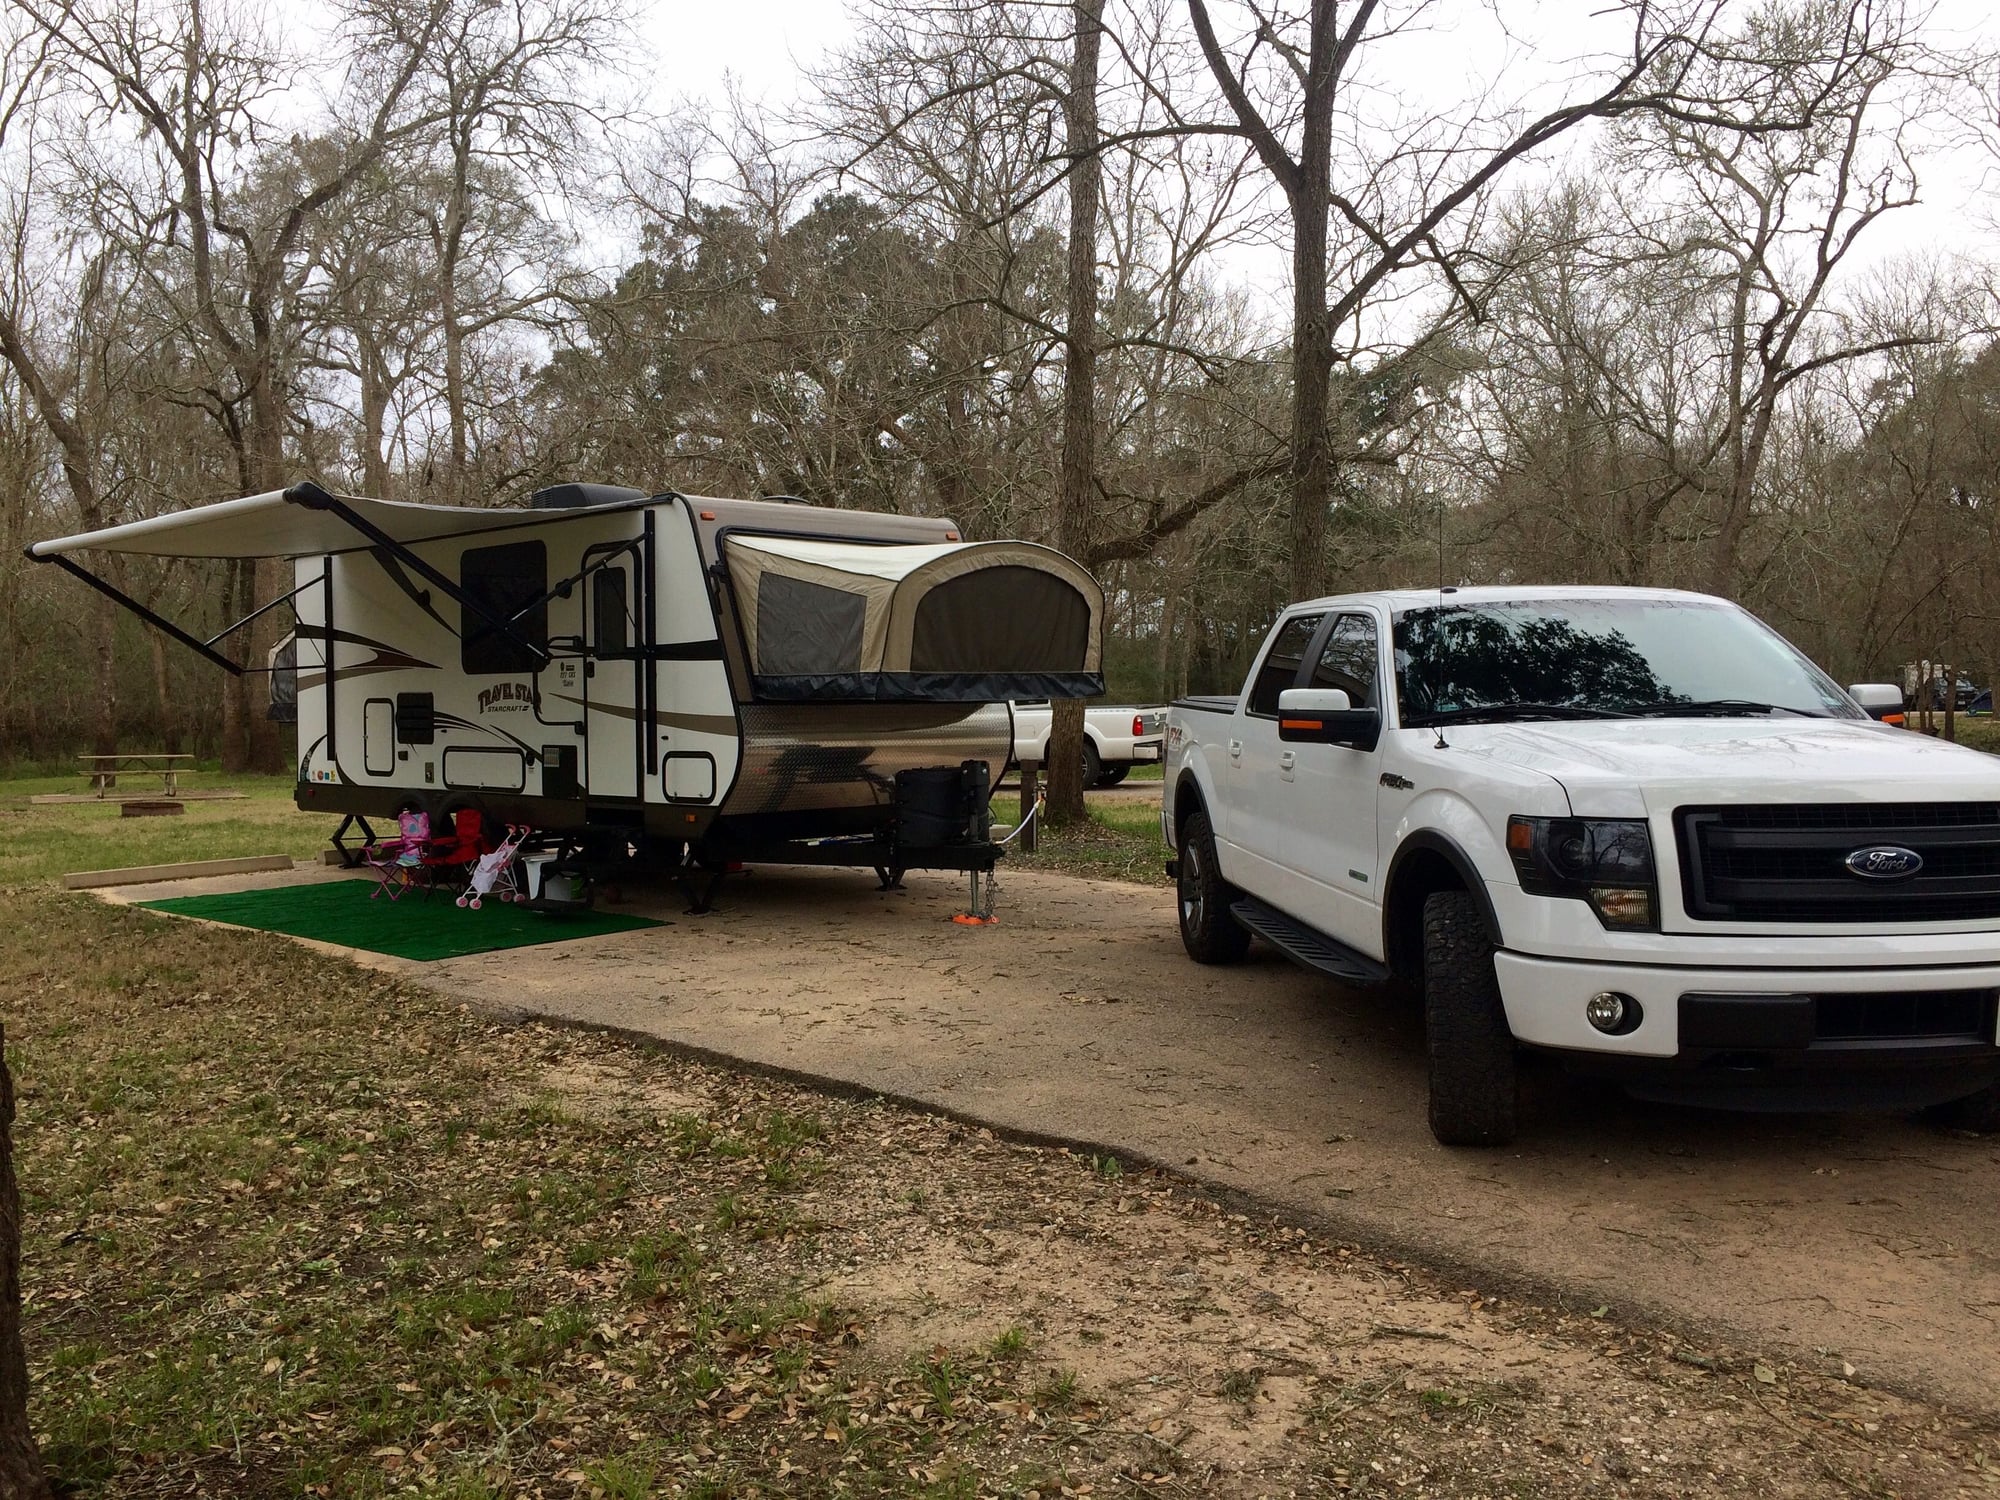
I also added a set of SuperSprings to aid with towing my camper...I get quite a bit of sag in the rear, for a pop-up - mine is not light.
The springs added about a inch of height to the rear, I went from 24.25" to 25.25" center axle to wheel arch. I quickly decided it was too much, so I pulled the rear blocks - easy enough. After all said and done, I'm right back at 24.25". So I have the extra support when I'm towing now and no additional height. I'm happy with that.
Anyone see any issues with using my 4WD u-bolts without blocks? I didn't run out of thread, so I was able to torque them fine, but there's a lot of bolt hanging. I'll probably just order 2WD u-bolts...

Last edited by RedAggie03; 04-04-2016 at 10:26 AM.
#46
2014 FX4 EcoScrew
Thread Starter
Updates!
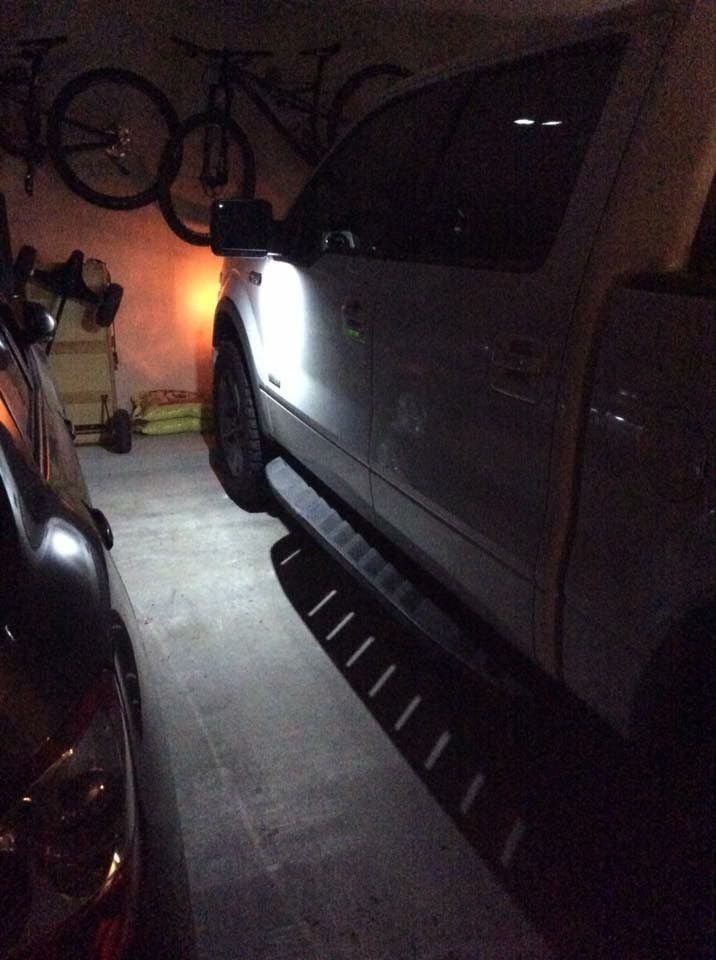
I picked up some Raptor running boards yesterday and put them on last night:


We also picked up a new travel trailer and towed it to Canada and back...as well as other trips. About 5,000 miles in about 4 months.

I picked up some Raptor running boards yesterday and put them on last night:


We also picked up a new travel trailer and towed it to Canada and back...as well as other trips. About 5,000 miles in about 4 months.

#47
Senior Member
I have the Raptor running boards on mine and it's probably one of my favorite mods! I like how i can get my whole foot on them and that they tuck up pretty high to the body, while still being useful as a running board.
The camper looks good too! The setup is looking nice!
The camper looks good too! The setup is looking nice!
#48
2014 FX4 EcoScrew
Thread Starter
Well, my Sundown Audio SD-3 10" subwoofer developed a cone rattle, so I've sent it back to Sundown for them to take a look at it and hopefully replace it under warranty (3-years!)
Otherwise, everything is great - I've towed our HTT over 8,000 miles in the last 7 months.
BFG KO2's are still great. I dropped the non-towing pressure down to about 42 PSI and it rides quite a bit better.
I've ordered a second camera for my Lock-Pick which I'm going to run all the way back to the end of my HTT and use it when hooked up. I'm pretty excited about this because I just don't trust my wife very much when I'm backing up the trailer, haha.


