PowerCreeps F150 XL - Let's improve it!
 05-19-2013, 03:16 AM
#21
Member
Thread Starter

Emblems on. Um....don't mind the bird poop!
Didn't turn out as well as I thought. They look okay from a distance but not great up close. I think some sort of vinyl inlay would've given a better result.
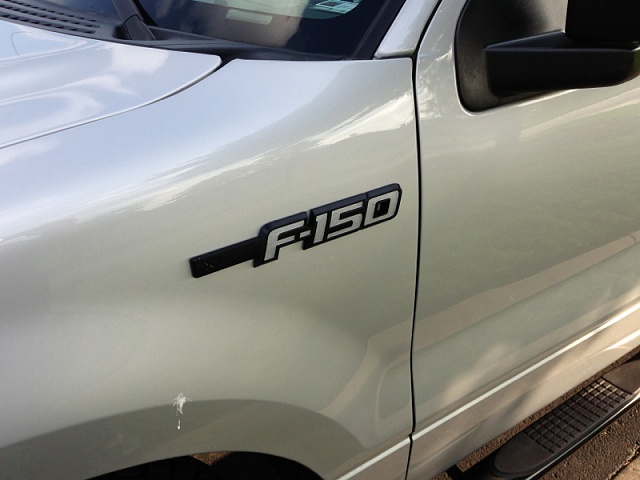
Didn't turn out as well as I thought. They look okay from a distance but not great up close. I think some sort of vinyl inlay would've given a better result.

 05-24-2013, 01:54 AM
#22
Member
Thread Starter
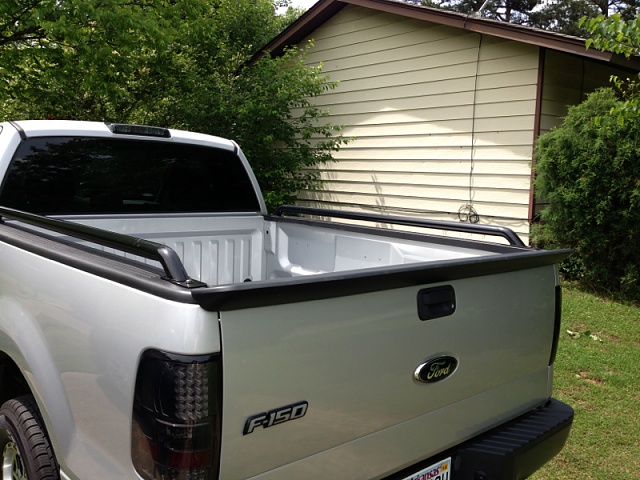
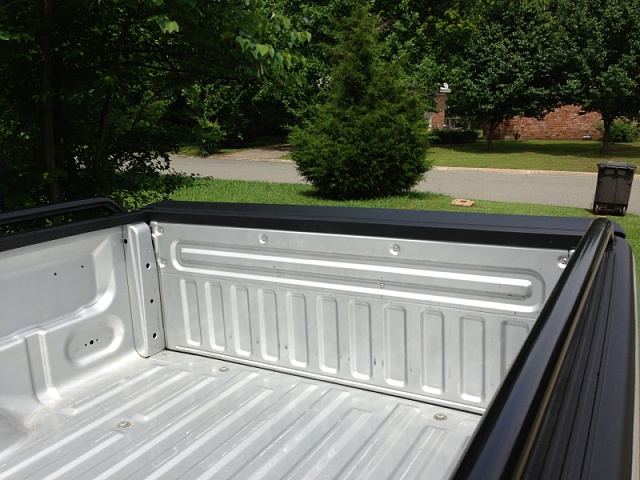
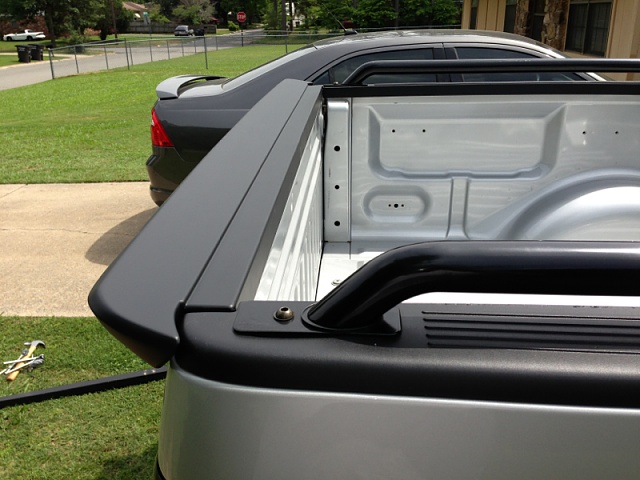
Spoiler is on and painted flat black. I know it's not everyone's cup of tea, but it's not large and overbearing. I like it. 


Last edited by PowerCreep; 05-24-2013 at 02:09 AM.

 06-14-2013, 12:39 AM
#26
Junior Member

Join Date: Jun 2013
Posts: 13
Likes: 0
Received 0 Likes
on
0 Posts
I enjoy this, mostly because i'm doing the exact same thing with my 2010 xl, I just painted the upper bumper two days ago and it completely changed my truck. keep goin and keep posting!
06-14-2013, 01:05 AM
#27
Member
Thread Starter
 How did you paint your bumper? Did you sand it? Let me know the steps you took and what you used. Better yet, post pics! Everyone loves them!
I'm still saving up for a new (used) upper bumper. I've got a couple weeks off coming up and I plan on making some junk yard trips to see if I can locate a good one. I realize finding a good front bumper on a junk yard truck is likely not going to happen, but I have the time. Also I've debated getting a new one and just having it pro painted but that's a lotta dough. The only remaining option is to do what you did and paint the one I have.
06-14-2013, 01:13 PM
#28
Junior Member
Join Date: Jun 2013
Posts: 13
Likes: 0
Received 0 Likes
on
0 Posts
Thanks. How did you paint your bumper? Did you sand it? Let me know the steps you took and what you used. Better yet, post pics! Everyone loves them!
I'm still saving up for a new (used) upper bumper. I've got a couple weeks off coming up and I plan on making some junk yard trips to see if I can locate a good one. I realize finding a good front bumper on a junk yard truck is likely not going to happen, but I have the time. Also I've debated getting a new one and just having it pro painted but that's a lotta dough. The only remaining option is to do what you did and paint the one I have.
How did you paint your bumper? Did you sand it? Let me know the steps you took and what you used. Better yet, post pics! Everyone loves them!I'm still saving up for a new (used) upper bumper. I've got a couple weeks off coming up and I plan on making some junk yard trips to see if I can locate a good one. I realize finding a good front bumper on a junk yard truck is likely not going to happen, but I have the time. Also I've debated getting a new one and just having it pro painted but that's a lotta dough. The only remaining option is to do what you did and paint the one I have.
 06-25-2013, 12:36 PM
#30
Member
clean again, spray on adhesion promoter (bullydog),
primer (2k not rattle can), sand 180, primer, sand 180,
primer, sand 320, light primer, sand 600, paint, clear."
USE STANDOX PAINT OR PPG. He said you can use the rattlecan but with the sprayer attachments you can get for like 15 bucks and they are for small jobs such as mirrors or grill surround.
Hope this helps!