PowerCreeps F150 XL - Let's improve it!
 03-08-2013, 04:48 PM
#1
Member
Thread Starter

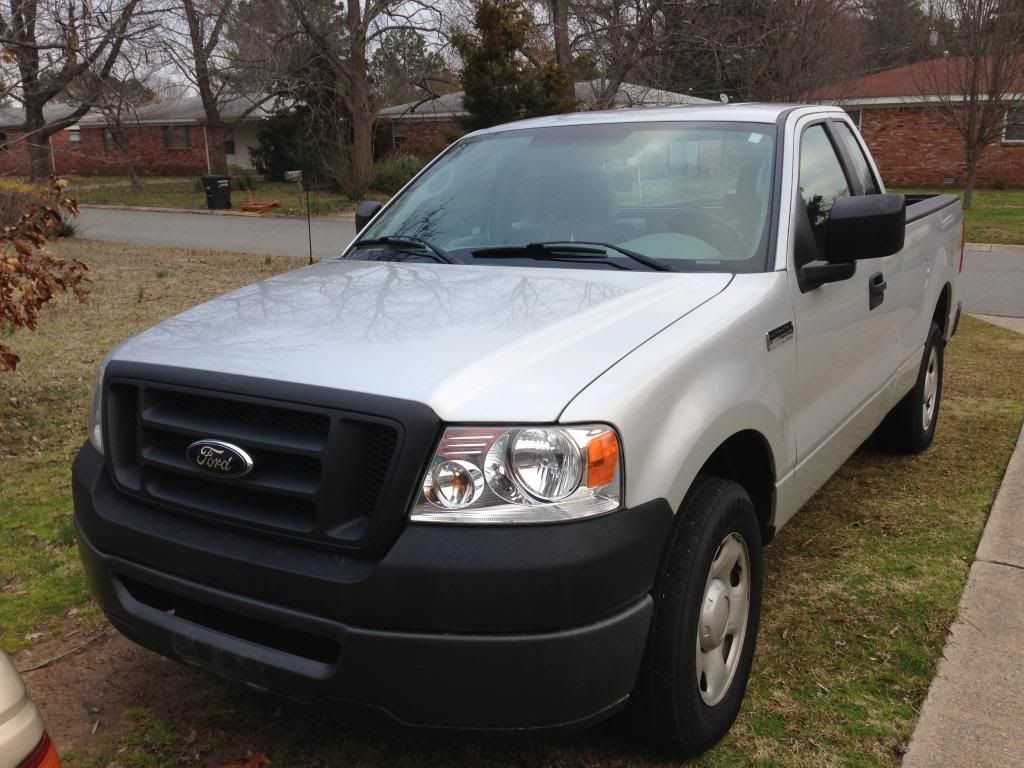
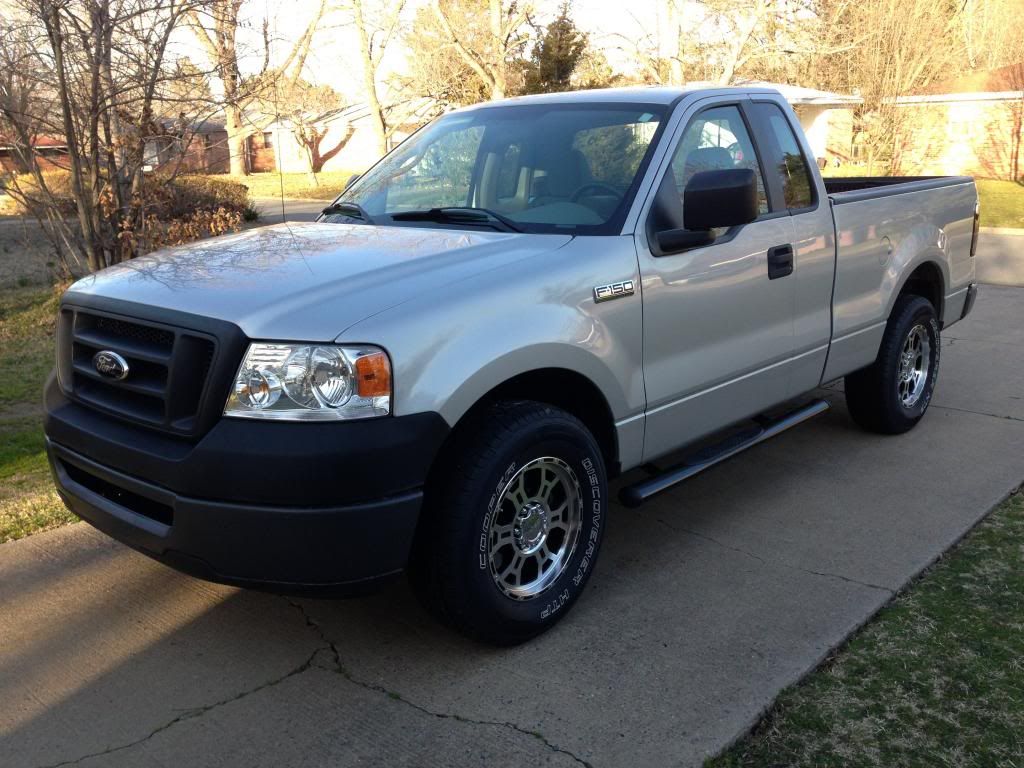
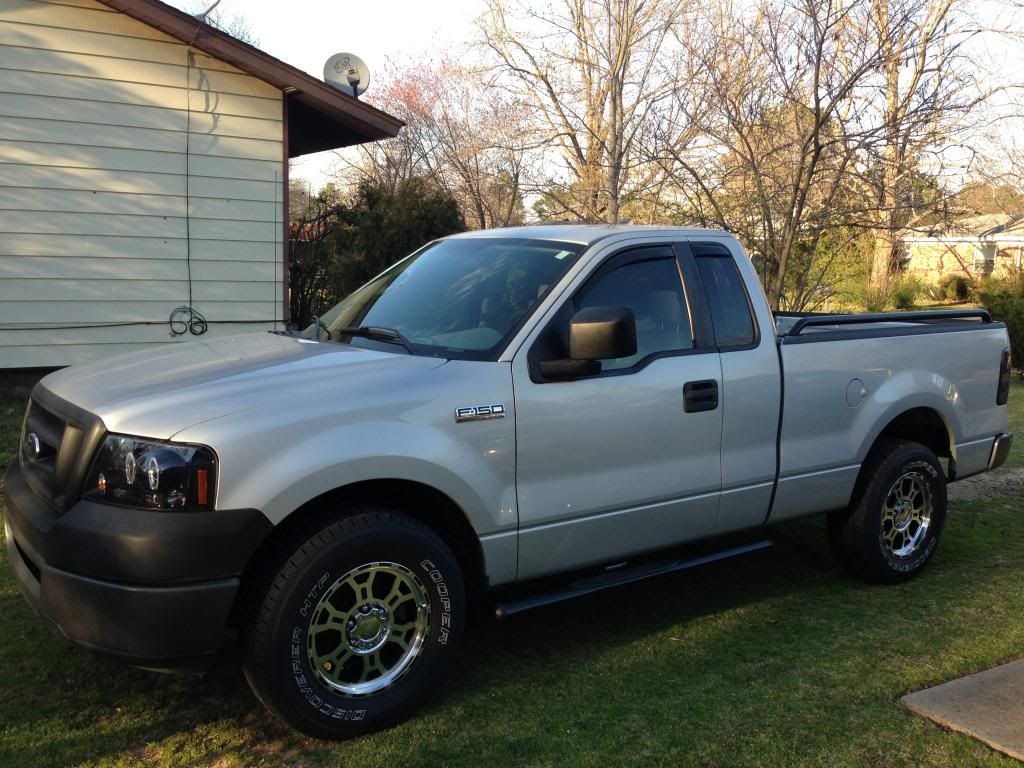
Picked up this 2008 F150 XL at the end of last month. Ugly wheels and not the color I wanted (that would have been dark gray), but I'm bound and determined to make her better.
From the beginning...
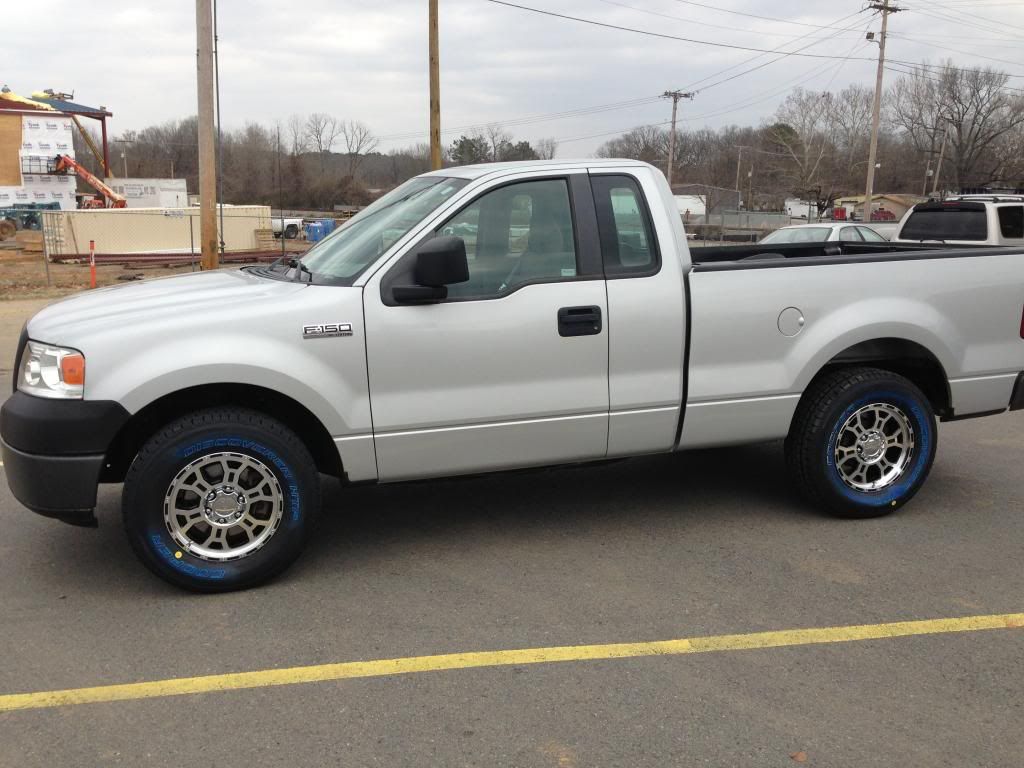
New wheels and tires. This helped a great deal! Vtec Raptors and Cooper Discoverer HTPs.
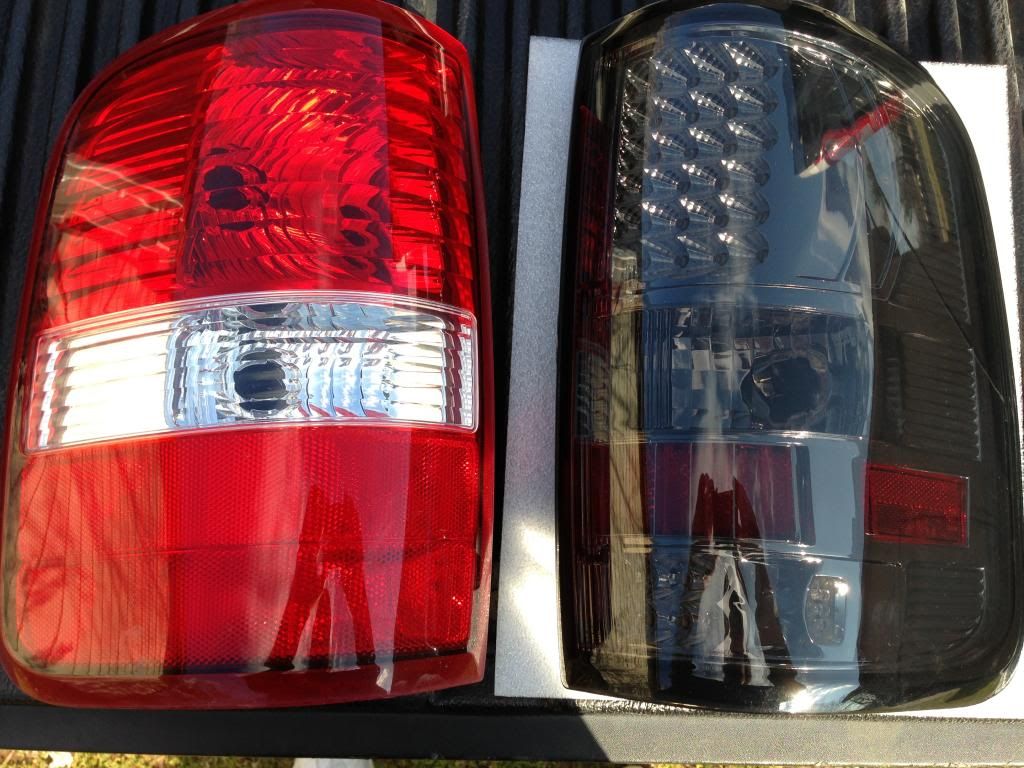
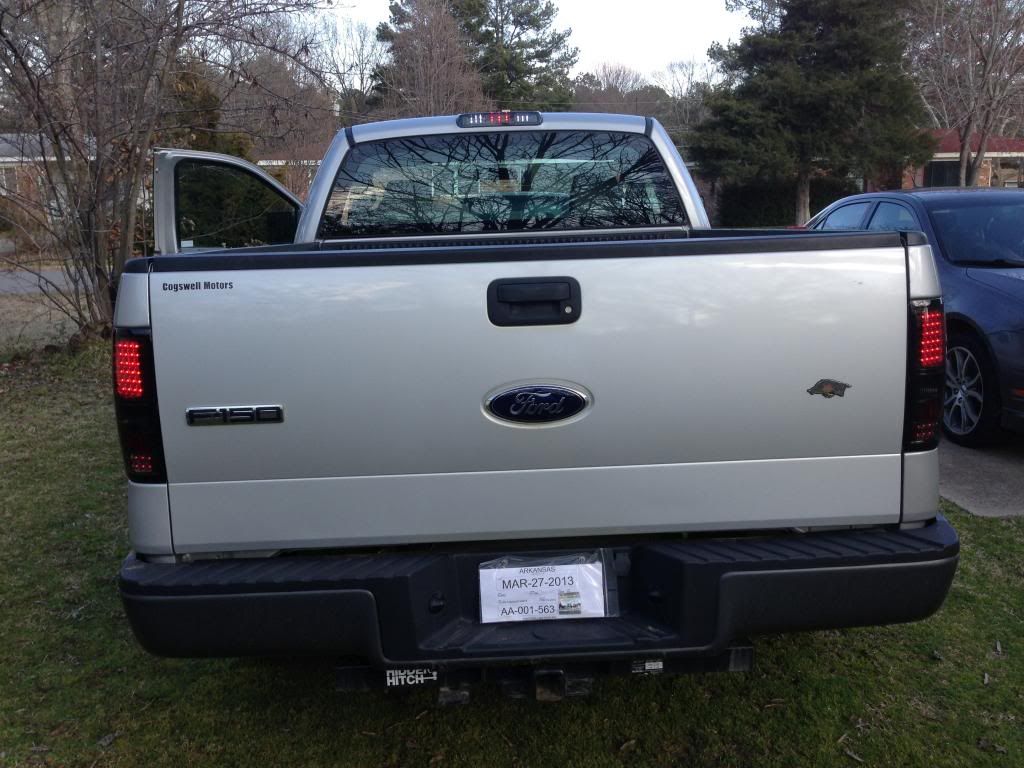
New tail lights and 3rd brake light.
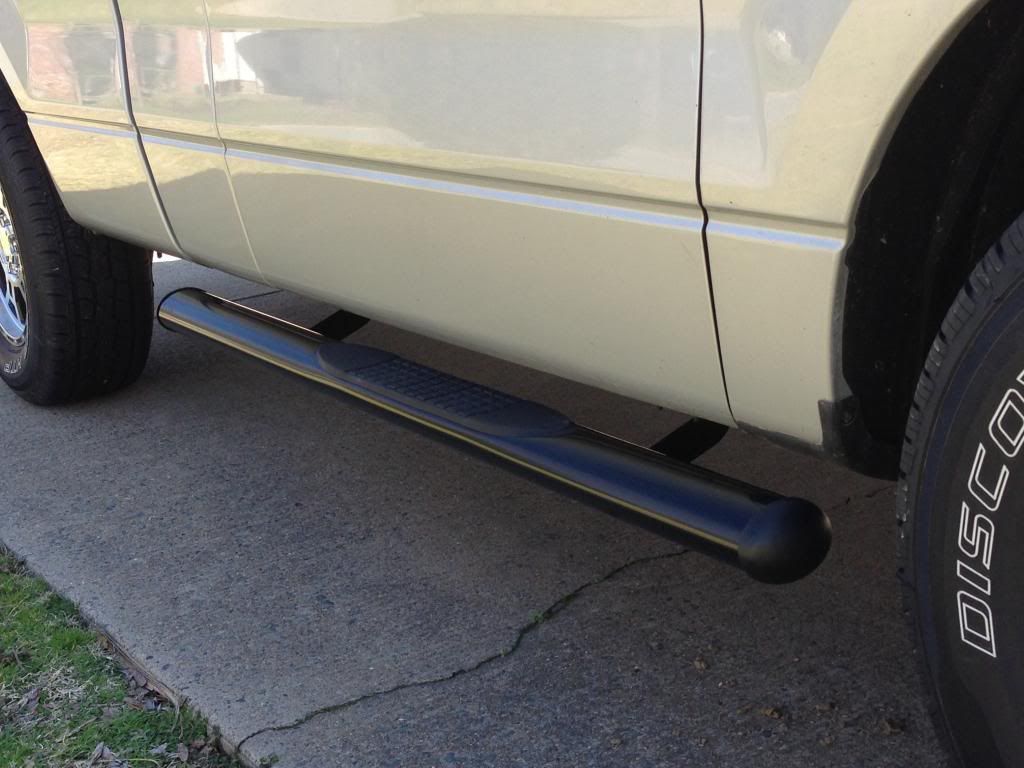
Added new step/nerf bars.
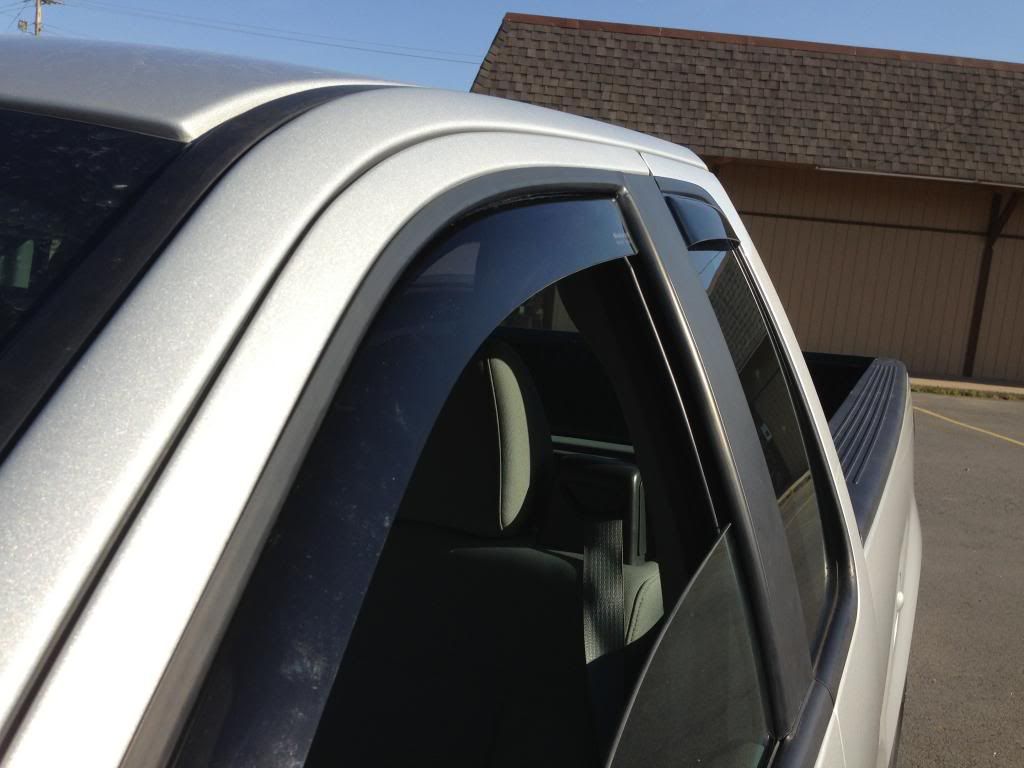
WeatherTech window deflectors. Scary install....these things bend a TON to fit!
I have bed rails and head lights on the way. After that I plan on new grille, body color the upper area of the bumper and get a new lower bumper with fog light holes.
From the beginning...
New wheels and tires. This helped a great deal! Vtec Raptors and Cooper Discoverer HTPs.
New tail lights and 3rd brake light.
Added new step/nerf bars.
WeatherTech window deflectors. Scary install....these things bend a TON to fit!
I have bed rails and head lights on the way. After that I plan on new grille, body color the upper area of the bumper and get a new lower bumper with fog light holes.
 03-20-2013, 07:40 PM
#2
Member
Thread Starter
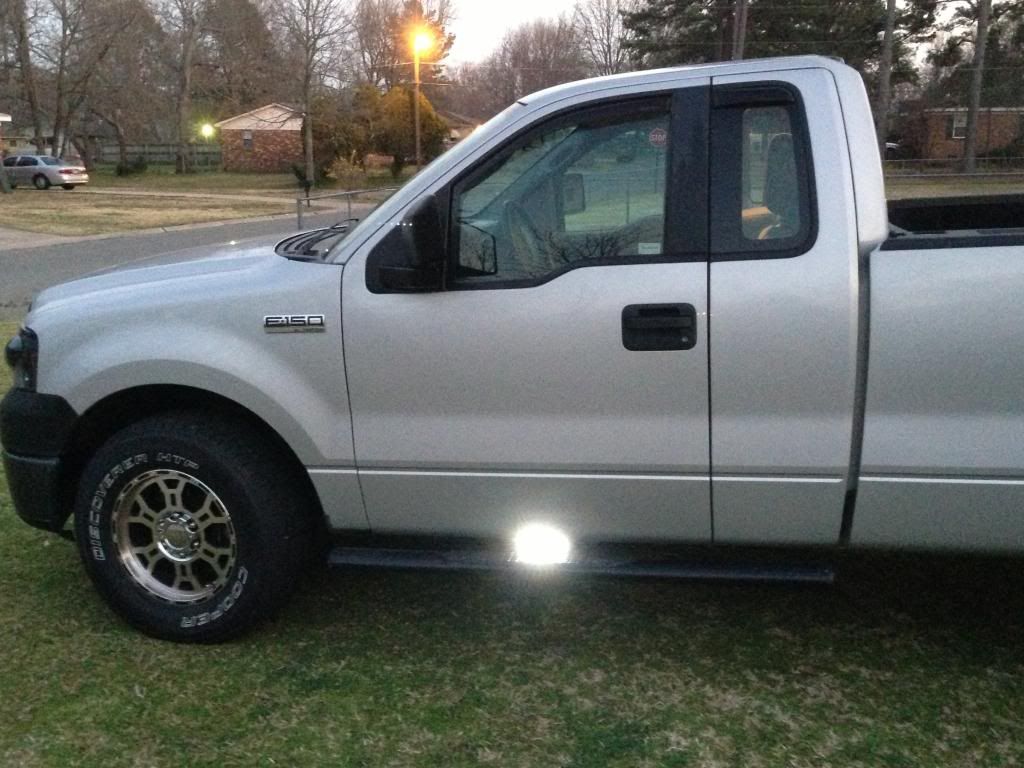
Added LED lights for my step bars
Added new headlights. I still need to aim them. Didn't think to mark where the old ones were. Oooops!!
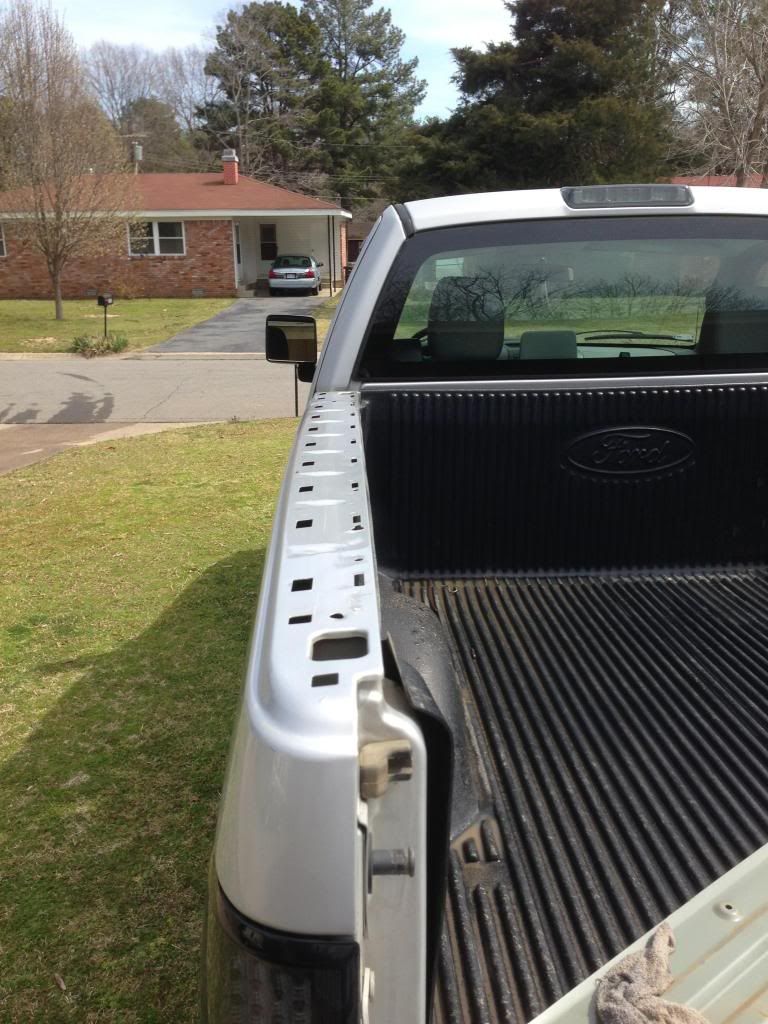
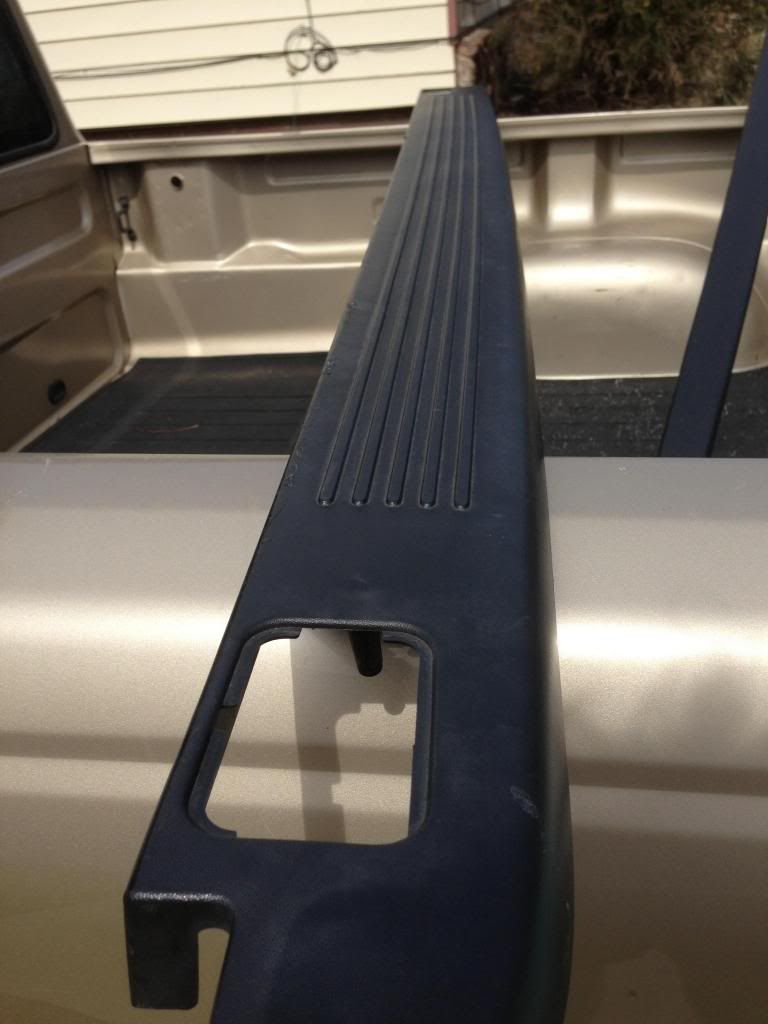
Plasti-dipped the bed caps. The plasti-dip is already coming off. Caps were cleaned, put on 4 coats. Think I'll just strip them back down and put Krylon Fusion on there.
Got busy on the inside and mounted a few rocker switches. The middle switch is where the cig lighter was. I left the housing and just broke off the back end and ran the wires through. Don't smoke, got the other 12v outlet so didn't need it. Switch fit right in.
Installed underdash LEDs. That's what the middle switch controls.
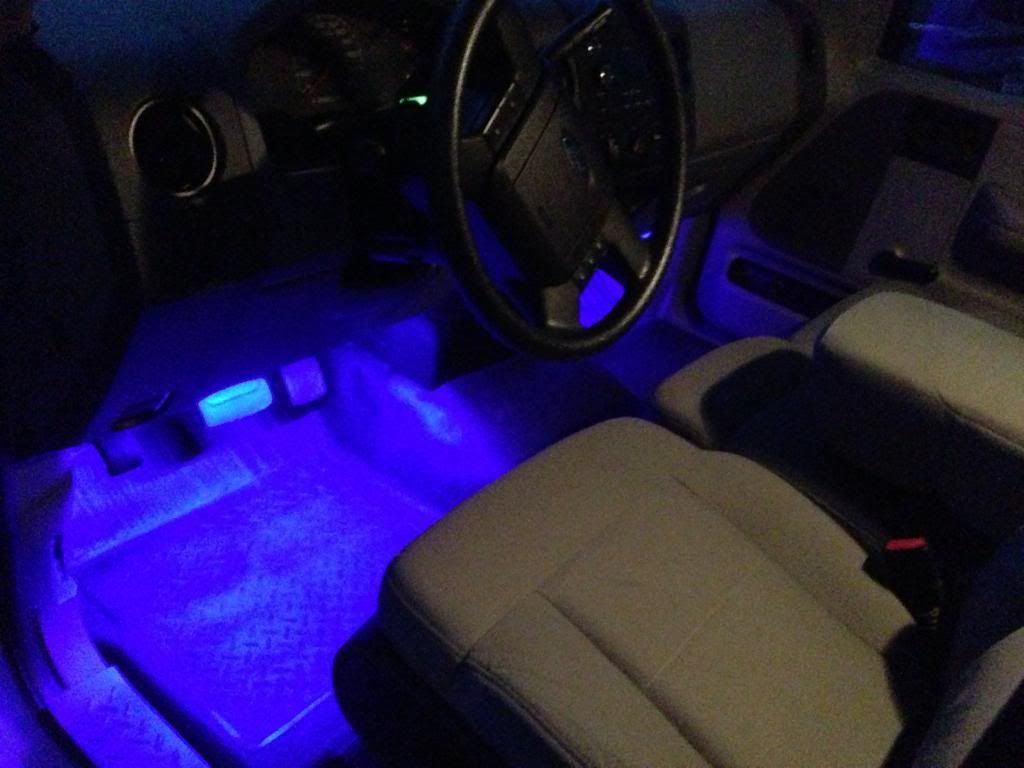
There's not a good area to mount the passenger side LEDs. It doesn't flood the floor like the driver's side. I've got to find another way. Ideas? I mounted the driver's side LED to the panel that comes off under the steering wheel...just ran it across the 2 or 3 tabs under there.
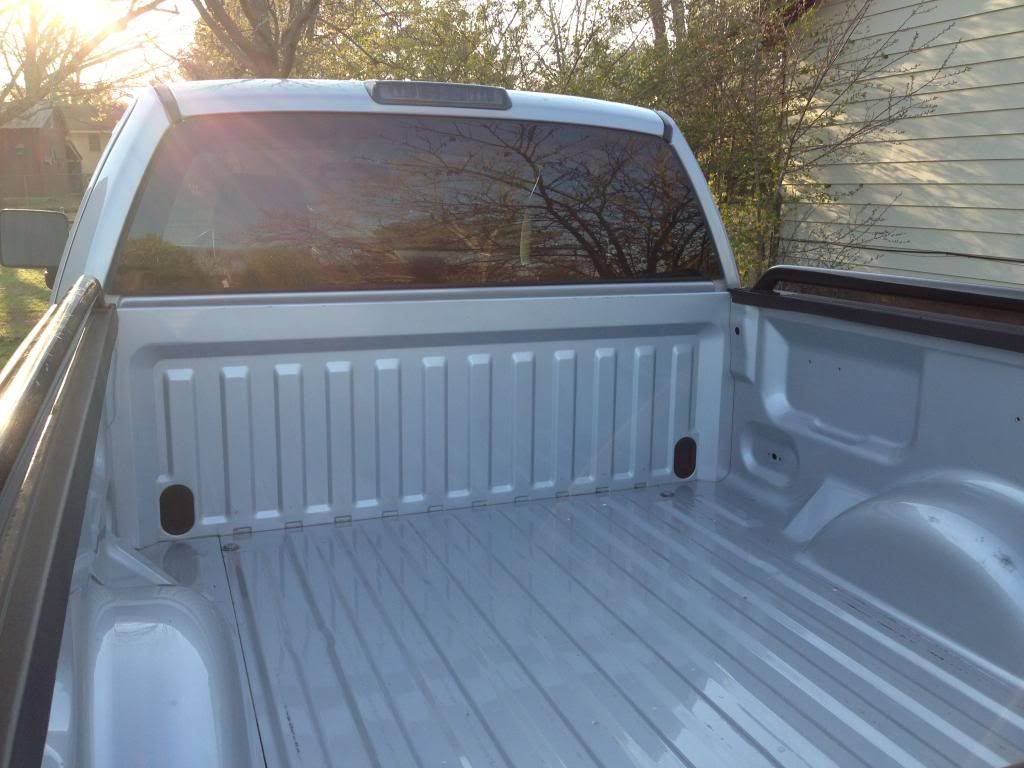
Windows tinted today. 28% driver/passenger, 18% small back windows and rear window. Note the bed rails also added last week.
Took out the bedliner. Going with Herculiner at some point. Can't see paying $500 for Line X on a 5 year old truck. I don't haul much of anything anyway.
Added new headlights. I still need to aim them. Didn't think to mark where the old ones were. Oooops!!
Plasti-dipped the bed caps. The plasti-dip is already coming off. Caps were cleaned, put on 4 coats. Think I'll just strip them back down and put Krylon Fusion on there.
Got busy on the inside and mounted a few rocker switches. The middle switch is where the cig lighter was. I left the housing and just broke off the back end and ran the wires through. Don't smoke, got the other 12v outlet so didn't need it. Switch fit right in.
Installed underdash LEDs. That's what the middle switch controls.
There's not a good area to mount the passenger side LEDs. It doesn't flood the floor like the driver's side. I've got to find another way. Ideas? I mounted the driver's side LED to the panel that comes off under the steering wheel...just ran it across the 2 or 3 tabs under there.
Windows tinted today. 28% driver/passenger, 18% small back windows and rear window. Note the bed rails also added last week.
Took out the bedliner. Going with Herculiner at some point. Can't see paying $500 for Line X on a 5 year old truck. I don't haul much of anything anyway.
03-20-2013, 08:33 PM
#3
You've done an awesome job so far! Definitely mastered making a basic work truck look a hell of a lot better. I think it'll look even better once you PTM the top part of your bumper. Do you like those mirrors? Could never stand them on an old work truck we had. I guess they serve the purpose, and hey, you can't expect a ton out of an XL!
Great work and I look forward to seeing the progress continue!
Chris
Great work and I look forward to seeing the progress continue!
Chris
03-21-2013, 02:20 AM
#4
Member
Thread Starter
Yeah I'm definitely going to body color the upper bumper and install a new grille. Going to keep my silver and black theme going however! I like the mirrors alright. I'm fond of their size; I think they match the truck well. Of course I haven't looked into any others so there may be some I like better but I'm in no hurry for that. My new clarion stereo will arrive tomorrow but it'll be Sunday before I can install it.
Thanks for the compliments!
Thanks for the compliments!
03-25-2013, 08:46 PM
#5
Member
Thread Starter
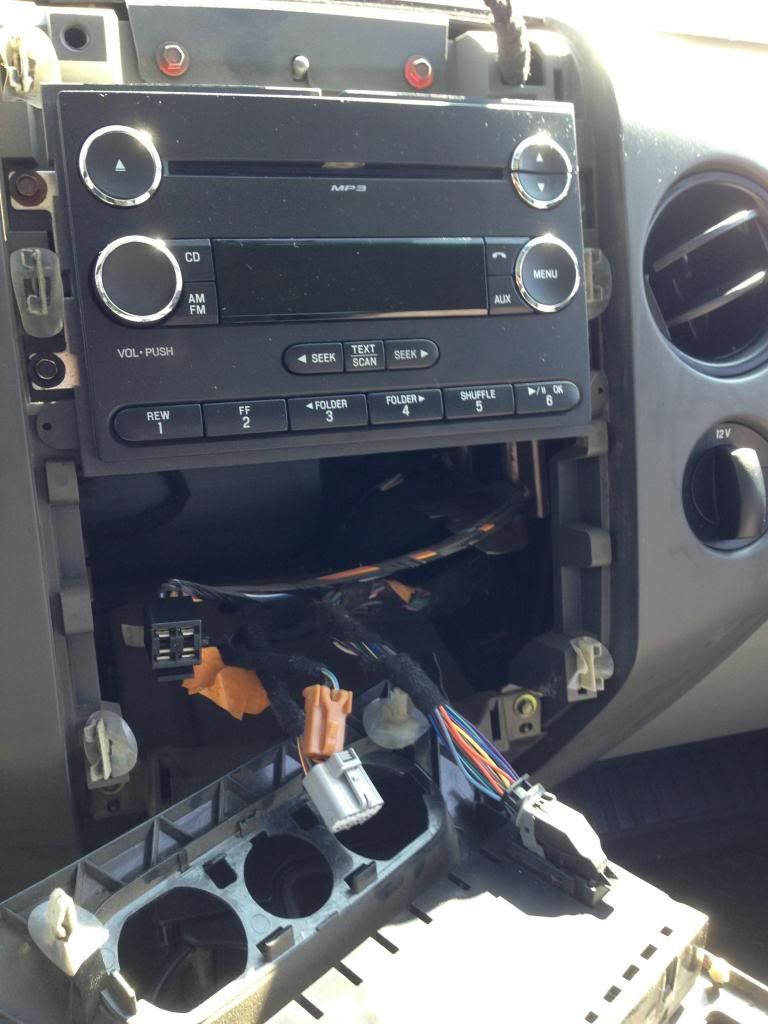
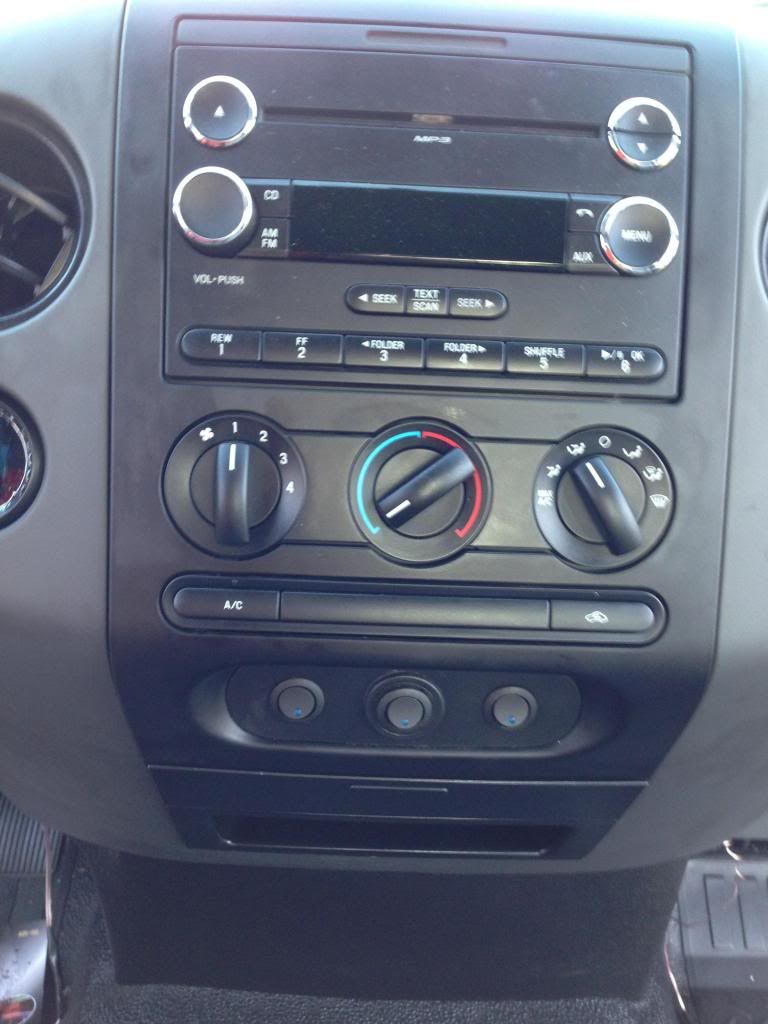
Added a Clarion CX 501. Has bluetooth but haven't linked it with my phone yet. Also installed a Boss EQ where the ashtray/cupholder was and voltmeter where the coinholder was.
I took the ashtray/cupholder out and popped off the bottom piece. Removed the innards and used 3m auto tape to tape the EQ to the bottom plate. Ran wires out of the opening in the back and snapped it back together. There's about a 1 inch gap above the EQ that I'm going to make a cover for, but in the normal sitting position you can't really tell it doesn't belong there.
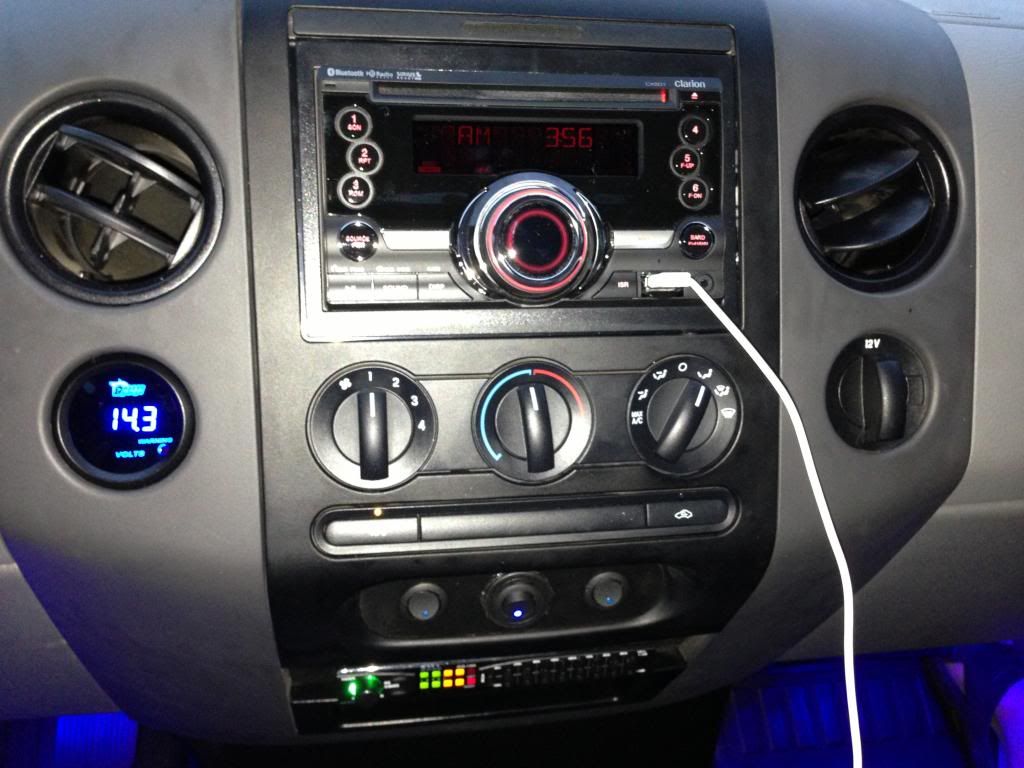
I took the ashtray/cupholder out and popped off the bottom piece. Removed the innards and used 3m auto tape to tape the EQ to the bottom plate. Ran wires out of the opening in the back and snapped it back together. There's about a 1 inch gap above the EQ that I'm going to make a cover for, but in the normal sitting position you can't really tell it doesn't belong there.
Last edited by PowerCreep; 03-25-2013 at 08:51 PM.
03-25-2013, 09:08 PM
#6
Member
Thread Starter
Forgot to include how to install amp by running power cable thru firewall. Doing this because I could only find bits and pieces of info. So this is
HOW TO INSTALL AMP WIRE THROUGH FIREWALL 2008 F150
....I'm sure other years too.
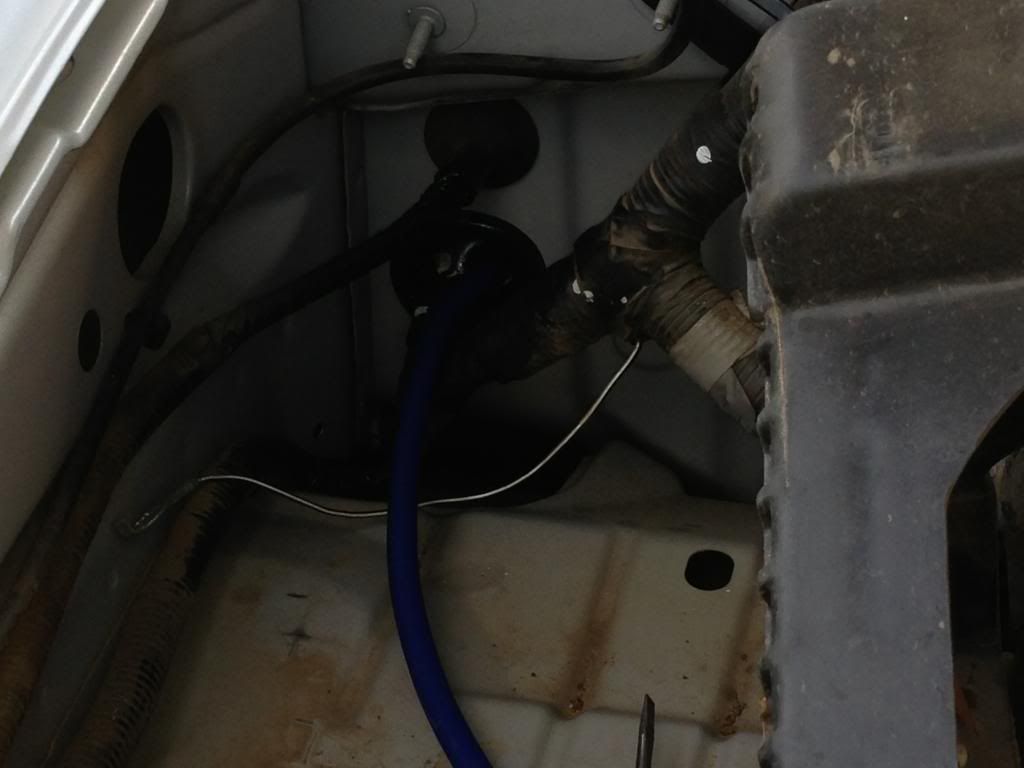
Anyway, this took up most of my time today. I couldn't find a good gromit in the firewall to run the amp power cable through. Finally, I removed the battery and removed the battery tray which is held in by four bolts. There are two gromits on the firewall there. The lower one is larger - this is the one to use.
Take a flat head screwdriver and at a downward angle (45 degrees or so), jab it through the drivers side of the gromit. There are two layers there it feels like.
Once your screwdriver is through go reach under the dash. Position your arm so that your hand goes up behind the fuse box and up into the dash. It's a tight squeeze there. No...a little more....keep reaching....Ah! There it is.
Jab your screwdriver through there some more to loosen the gromit where you make the hole. Take it out, reinsert it creating (cutting) more of a hole.
Get your amp cable (I used 4 gauge) and rub a little WD40 on the end you're inserting. This will help it slide through the gromit.
Insert your amp cable. If it doesn't go through, your hole isn't big enough. Also, if you think the hole is big enough, take that same screwdriver and push on your cable to force it through the hole. You should have enough cable that if you damage the end with the screwdriver you can just cut it off.
Eventually you should be able to start forcing it through. After a couple of shoves, go inside, grab your cable from where you reached before and voila!
I didn't take a lot of pictures but here is one of the gromit I'm talking about. For reference, the blue cable (amp cable) is laying across where the batter tray attaches. That's the tray, layed over on the right. It has some wiring attached to it so rather than taking it out I just tipped it over out of the way.
HOW TO INSTALL AMP WIRE THROUGH FIREWALL 2008 F150
....I'm sure other years too.
Anyway, this took up most of my time today. I couldn't find a good gromit in the firewall to run the amp power cable through. Finally, I removed the battery and removed the battery tray which is held in by four bolts. There are two gromits on the firewall there. The lower one is larger - this is the one to use.
Take a flat head screwdriver and at a downward angle (45 degrees or so), jab it through the drivers side of the gromit. There are two layers there it feels like.
Once your screwdriver is through go reach under the dash. Position your arm so that your hand goes up behind the fuse box and up into the dash. It's a tight squeeze there. No...a little more....keep reaching....Ah! There it is.
Jab your screwdriver through there some more to loosen the gromit where you make the hole. Take it out, reinsert it creating (cutting) more of a hole.
Get your amp cable (I used 4 gauge) and rub a little WD40 on the end you're inserting. This will help it slide through the gromit.
Insert your amp cable. If it doesn't go through, your hole isn't big enough. Also, if you think the hole is big enough, take that same screwdriver and push on your cable to force it through the hole. You should have enough cable that if you damage the end with the screwdriver you can just cut it off.
Eventually you should be able to start forcing it through. After a couple of shoves, go inside, grab your cable from where you reached before and voila!
I didn't take a lot of pictures but here is one of the gromit I'm talking about. For reference, the blue cable (amp cable) is laying across where the batter tray attaches. That's the tray, layed over on the right. It has some wiring attached to it so rather than taking it out I just tipped it over out of the way.
Last edited by PowerCreep; 03-27-2013 at 11:36 PM.
05-01-2013, 11:57 PM
#7
Member
Thread Starter
Added a LED festoon for the dome from superbrightleds.

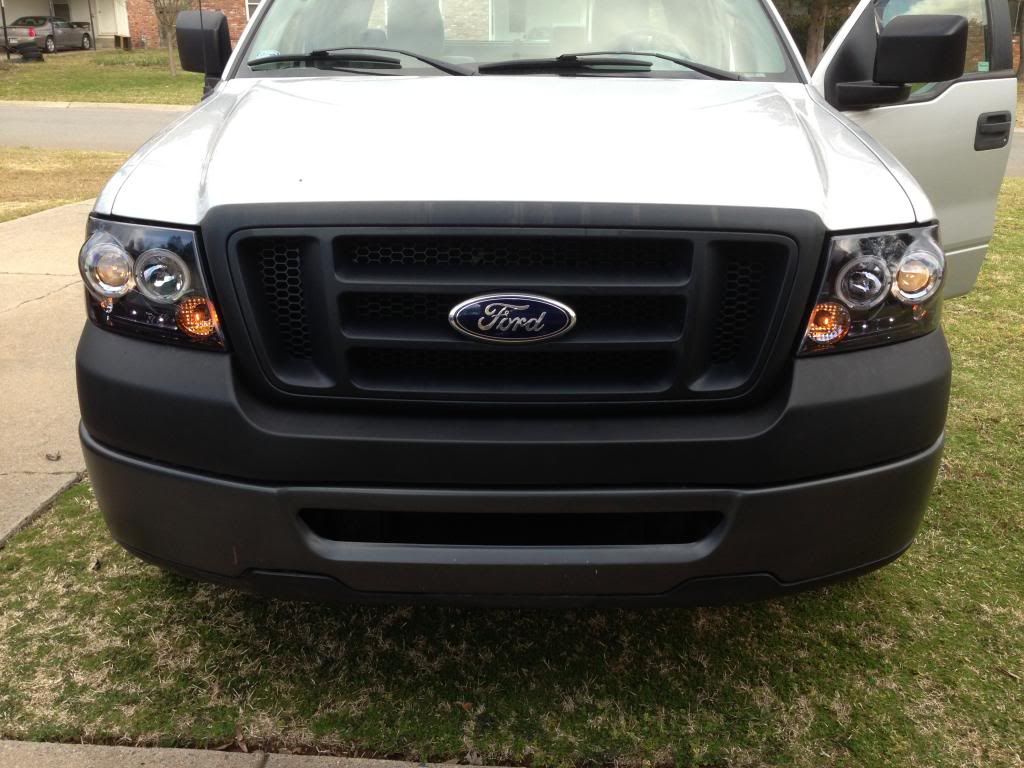
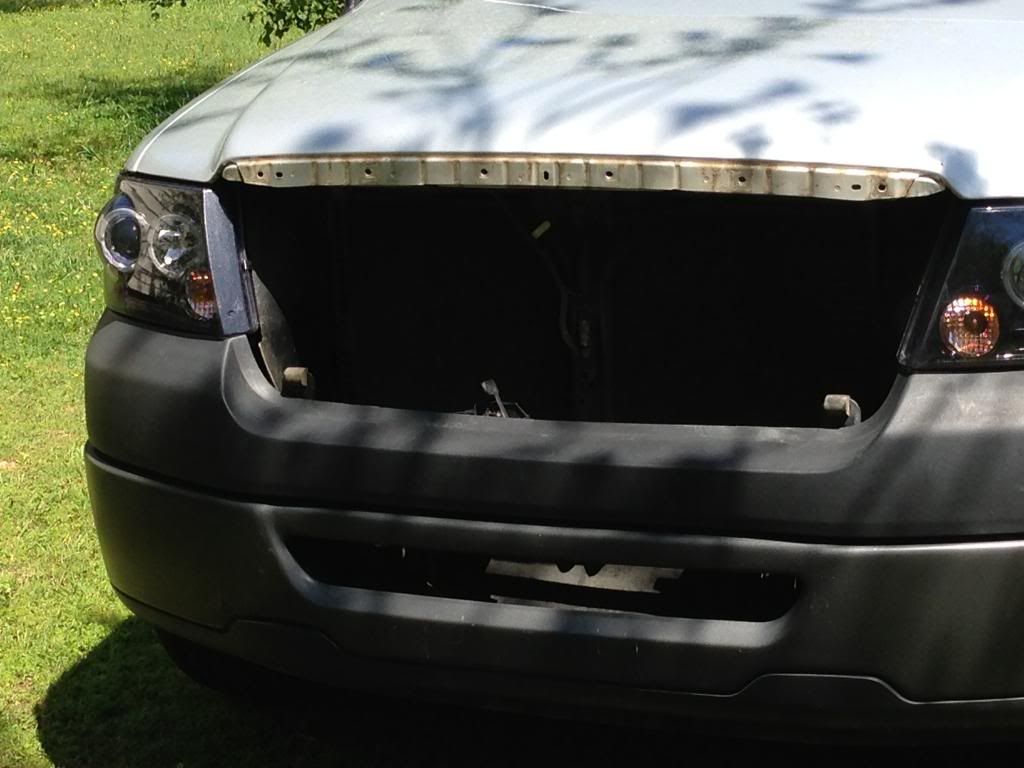
Picked up a factory honeycomb grille from ebay and got to work...
Disassembled it and sanded down the surround....
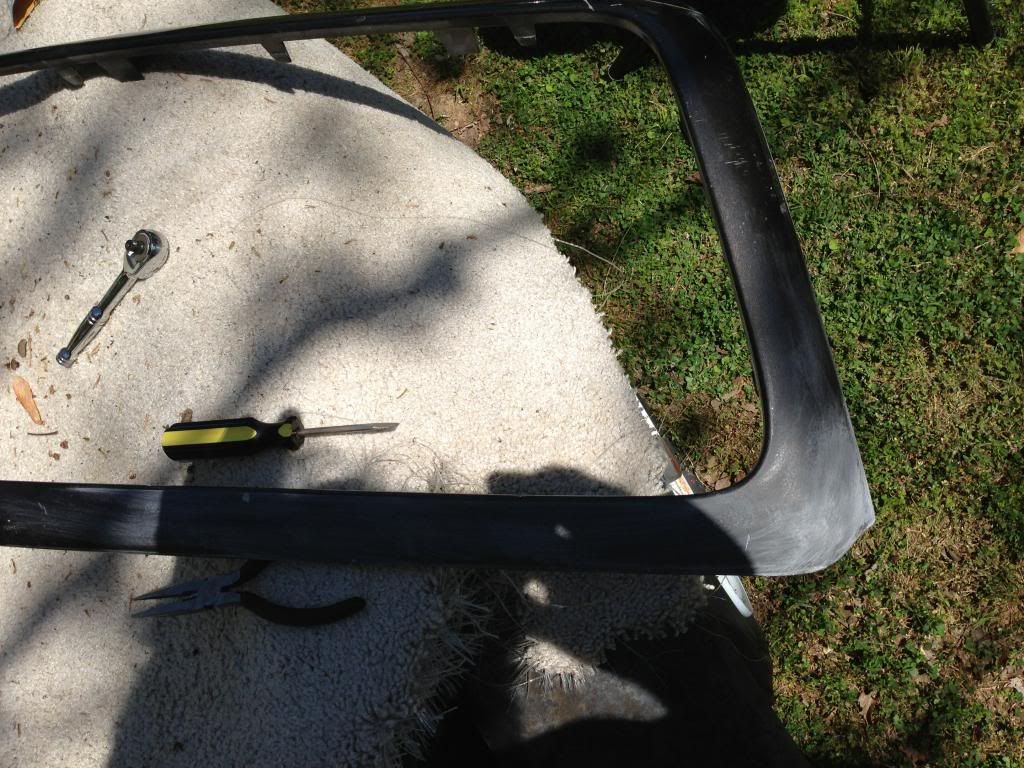
Picked up some duplicolor color match primer, paint, and clear so I could color the surround silver metallic to match the truck. Painted the actual grille satin black, made some cutouts, reassembled, added a LED bar from superbrightleds and....
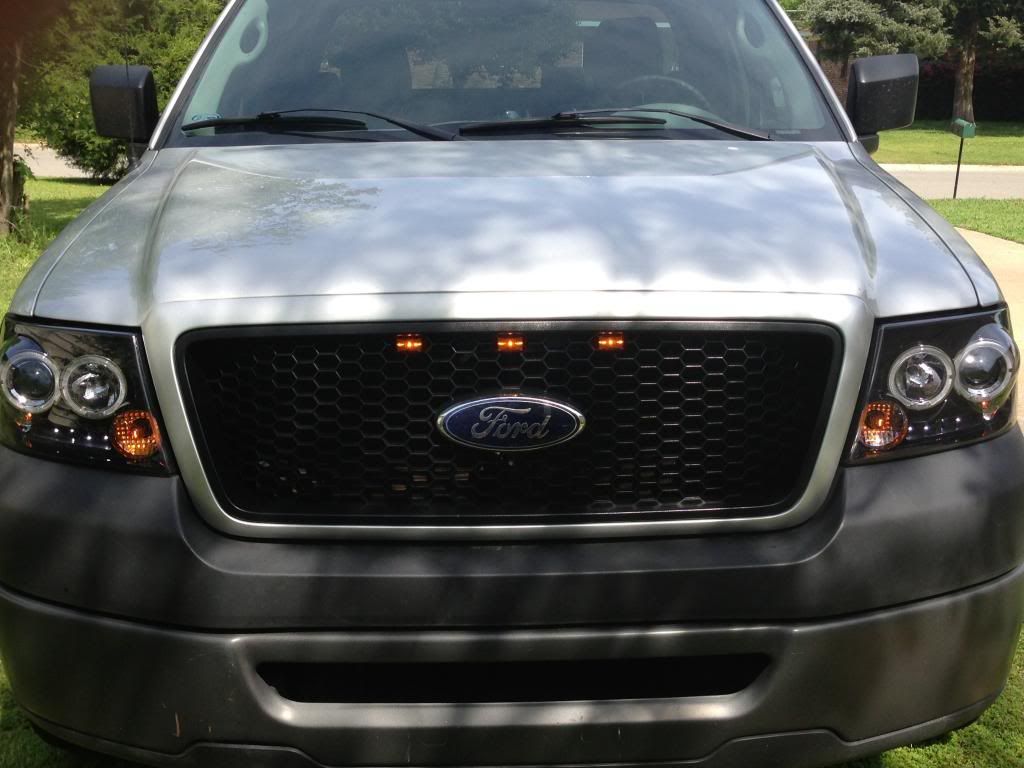


Need more moneys so I can get rid of the black upper bumper!!

Picked up a factory honeycomb grille from ebay and got to work...

Disassembled it and sanded down the surround....

Picked up some duplicolor color match primer, paint, and clear so I could color the surround silver metallic to match the truck. Painted the actual grille satin black, made some cutouts, reassembled, added a LED bar from superbrightleds and....


Need more moneys so I can get rid of the black upper bumper!!
Trending Topics
05-06-2013, 09:47 PM
#9
Member
Thread Starter
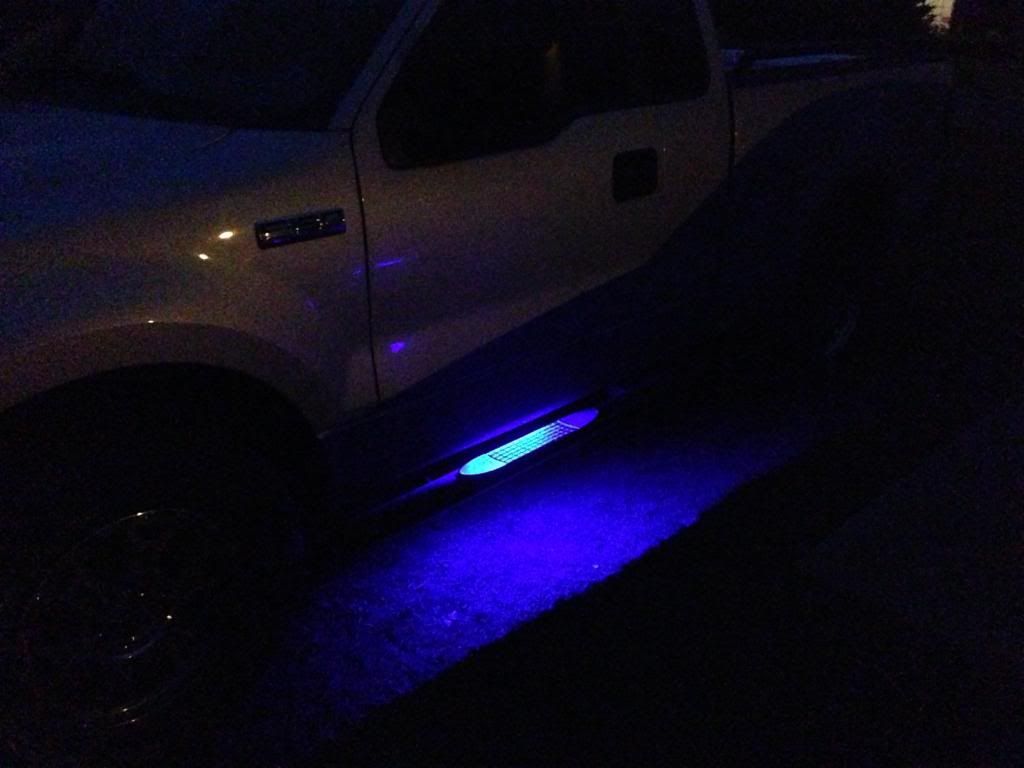
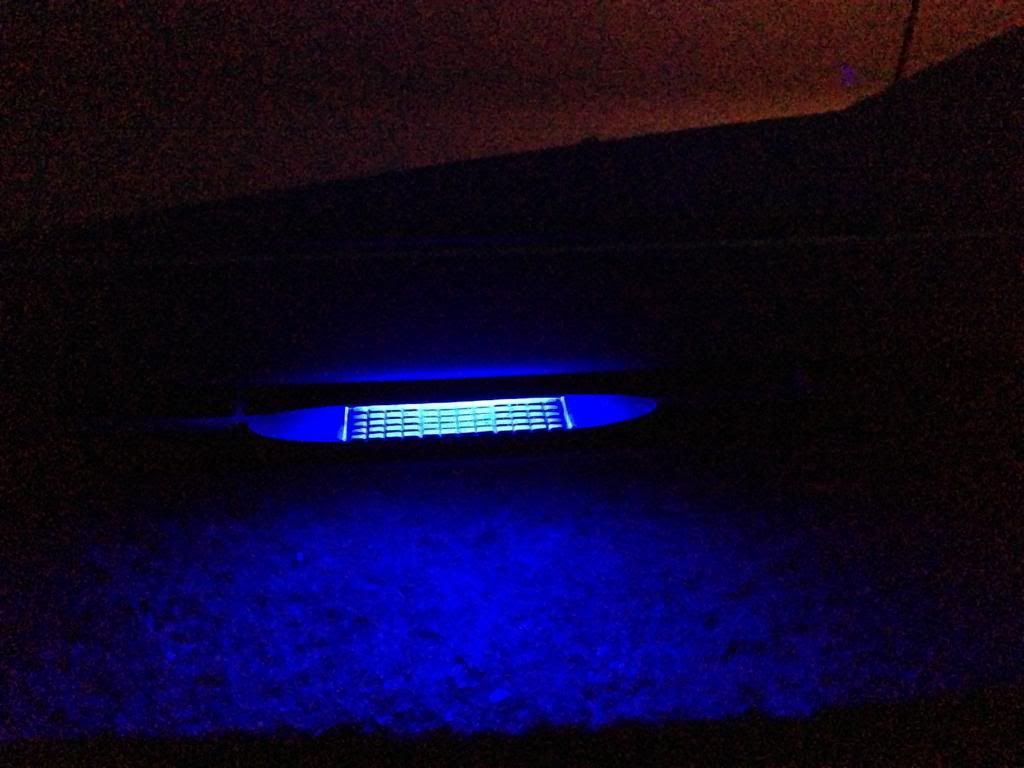
Changed the LEDs that were for lighting my step bar. Went from a housed/fog light style unit that projected white to some leftover blue led strips I had. Cleaner look during the day and looks better than the others in the dark; I think.
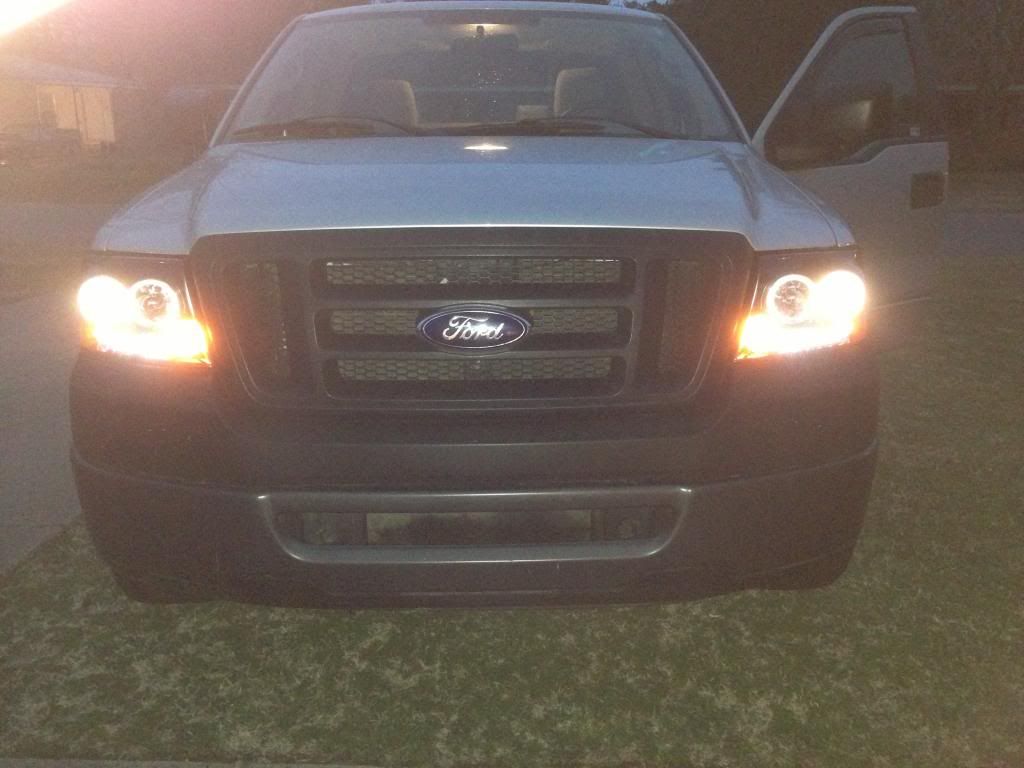
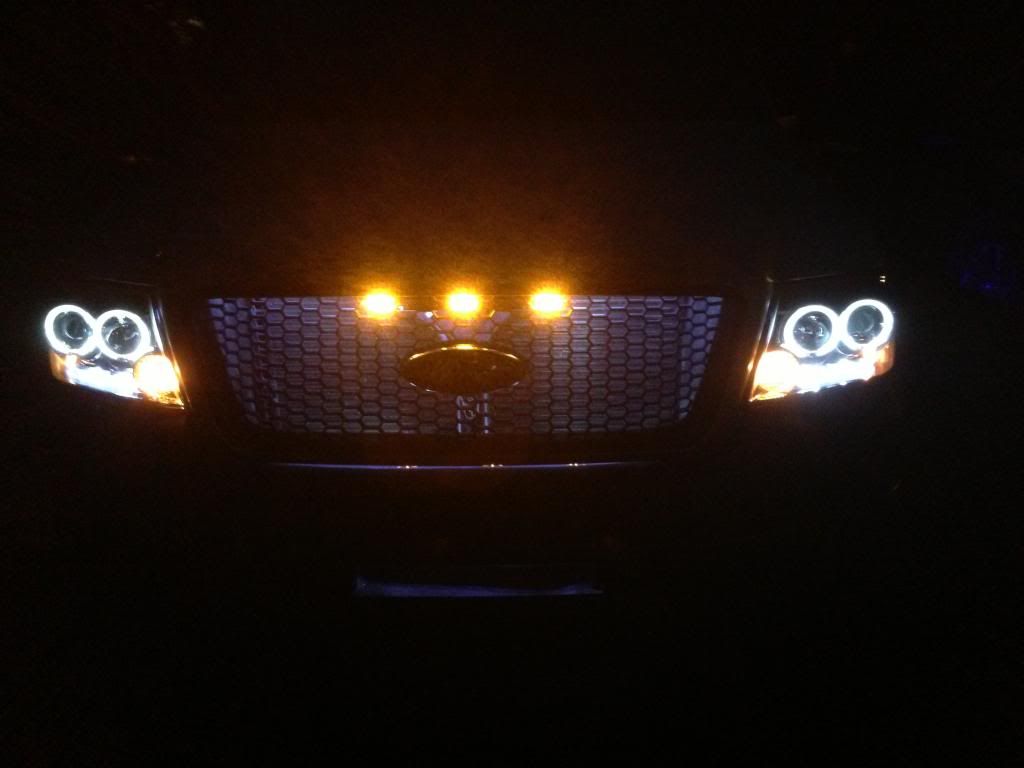
Took those housed lights and mounted them facing up behind the grille. Added some white LED strips to the hood and came up with this. It's set to turn on with the dome light, just like the step lights. Will probably fall off in the summer when the sticky no longer holds. I'll put them back up with 3m if they do.
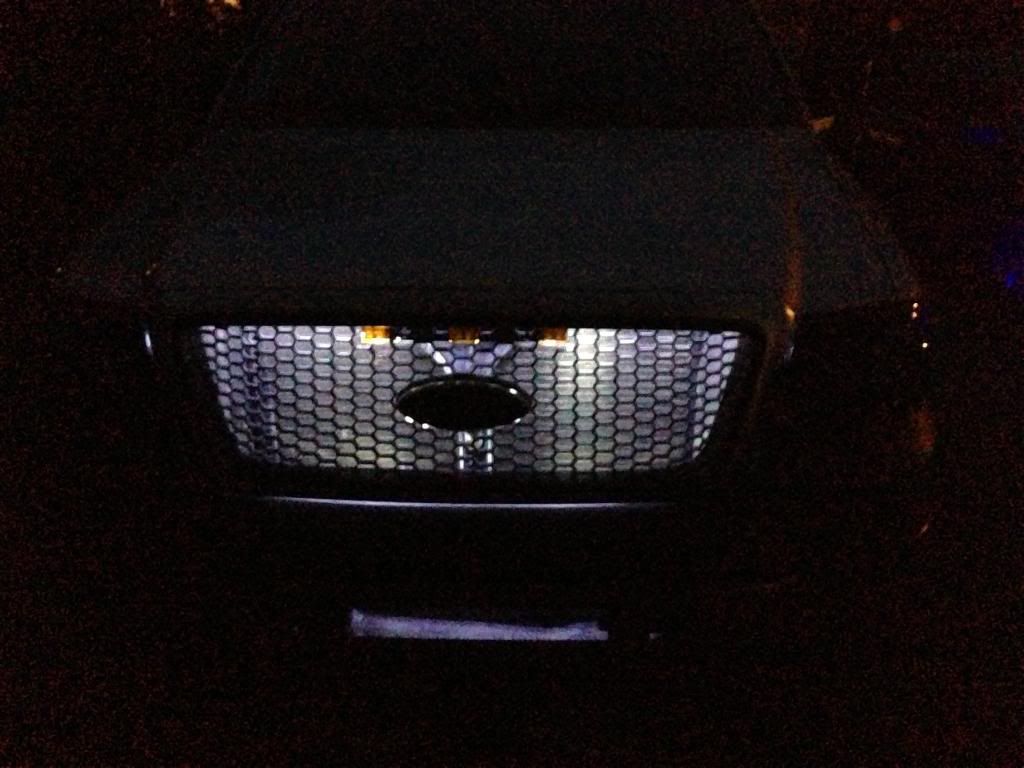
Raptor style lights and halos make it too dim to even be used at night. So they'll just stay wired to the door.

Last edited by PowerCreep; 05-06-2013 at 09:51 PM.
The following users liked this post:
PowerCreep (05-07-2013)