My 2002 F150 Screw(Resto/Build Thread)


 12-05-2016, 11:22 PM
#44
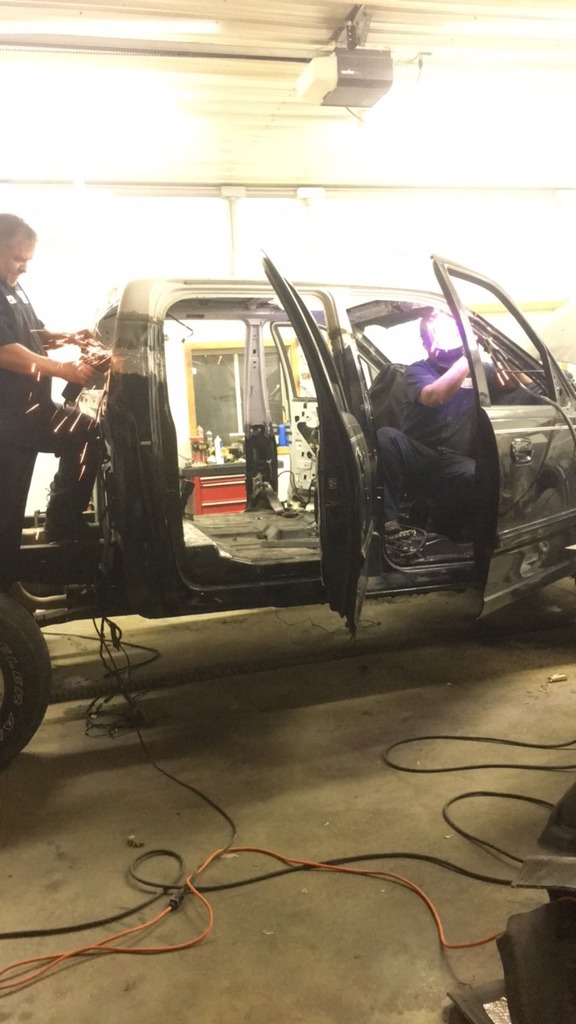
Picked up body work materials today. Welding is 99% finished and we've moved onto grinding down welds. Both driverside B/C pillars are done and have self etching primer. Those are read for filler. Dummy me didn't get a pic.
Started running the stereo wiring. The RCA's are ran. The backup camera wire is ran up the frame and is ready to go through a grommet. Trying to find a spot for the power wire. Not much luck yet but I'll see what I can find on google for what everyone does.
Only pic I snapped today
Started running the stereo wiring. The RCA's are ran. The backup camera wire is ran up the frame and is ready to go through a grommet. Trying to find a spot for the power wire. Not much luck yet but I'll see what I can find on google for what everyone does.
Only pic I snapped today

The following users liked this post:
4THGENCAMAROFAN (12-21-2016)
12-06-2016, 11:31 PM
#46
I'm just a bystander for most of it. They're both body guys and I'm a diesel guy. All I really do is disassembly/reassembly and the extra stuff like the sound deadening, radio, POR-15 etc. I haven't touched the a grinder or the welder during this whole project
12-09-2016, 10:48 AM
#47
No progress pics. Ordered the power pack for all of the door speakers and the new headlights for the retro. Still have the sub/box, sub amp, and new fogs to order. Also gonna order new inner/outer tie rods and do the ball joints along with the idler arm
12-12-2016, 10:57 PM
#48
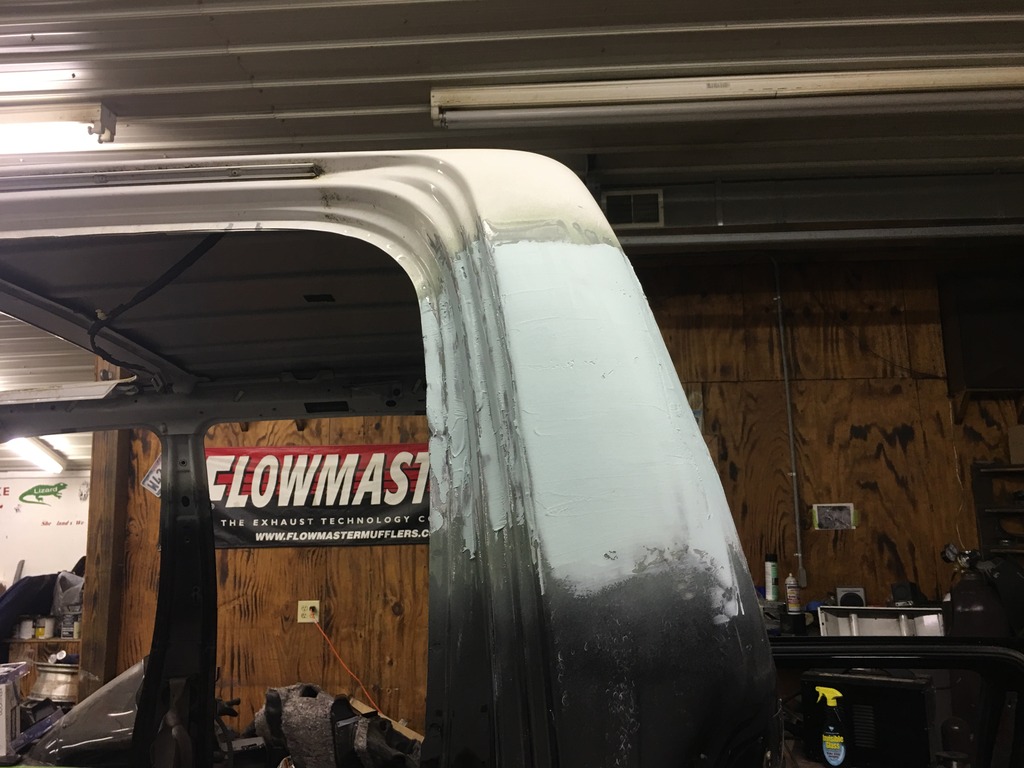
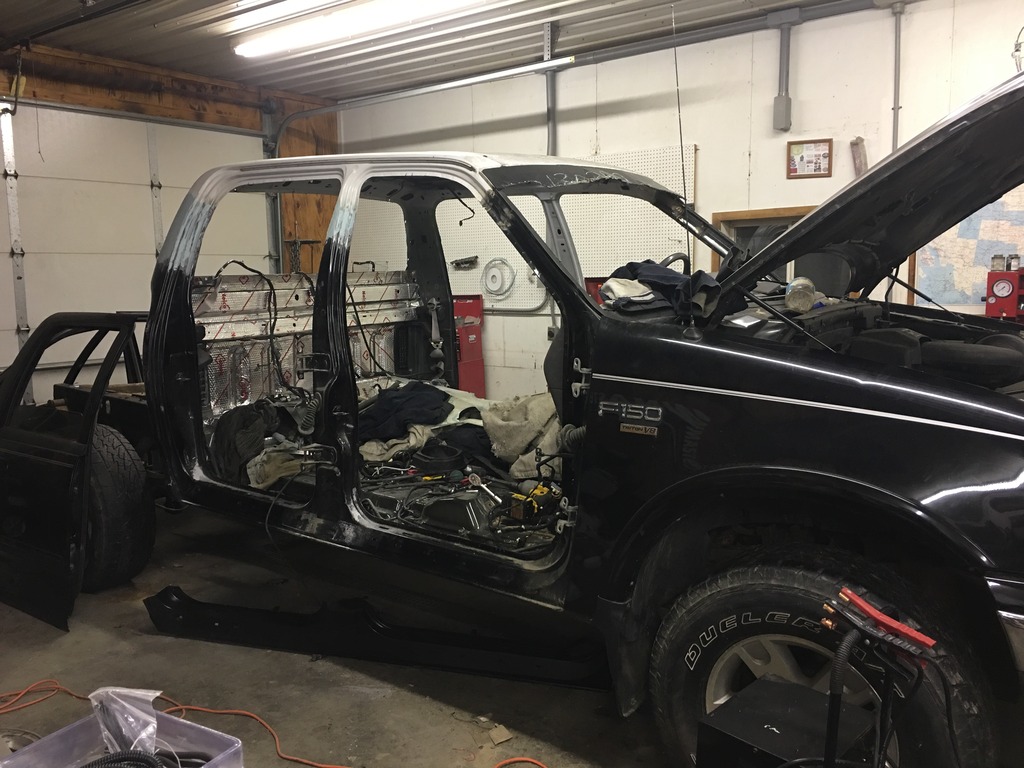
Both B/C pillars are getting close to being done. Layed fibertec to start and sanded down. Now has filler on ready to be sanded. Pulled all of the doors off to do rockers.

Pulled all of the doors off to do the rockers.
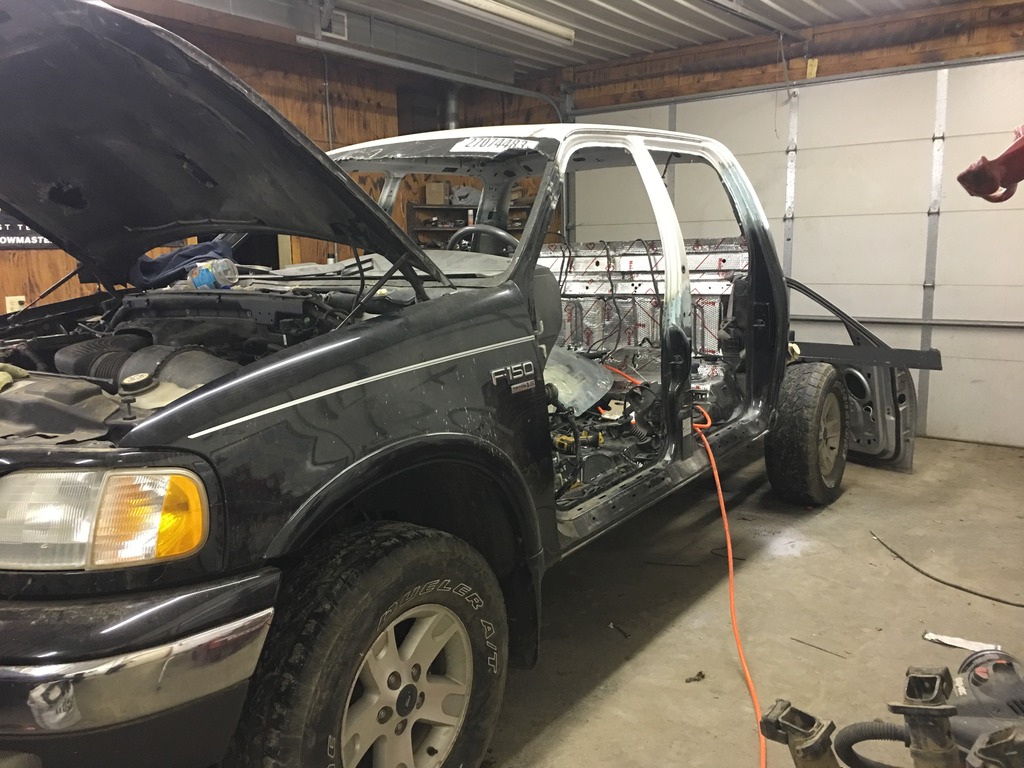
Sprayed rubber undercoating on the rearend. Pretty happy with how it looks.
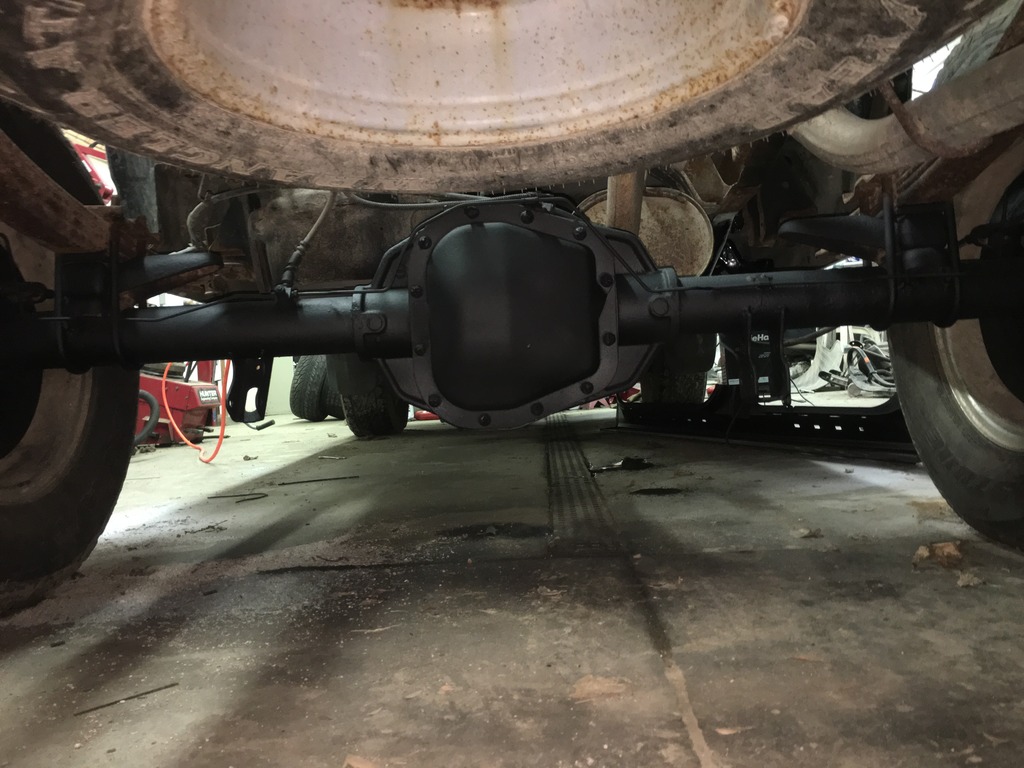

Changed the oil quick and checked over the front end while I was under there. Everything seems tight. Jacked up the front end and the hubs and tie rods all seem to be good so I'm gonna wait on replacing anything in the front end with the exception of the shocks.
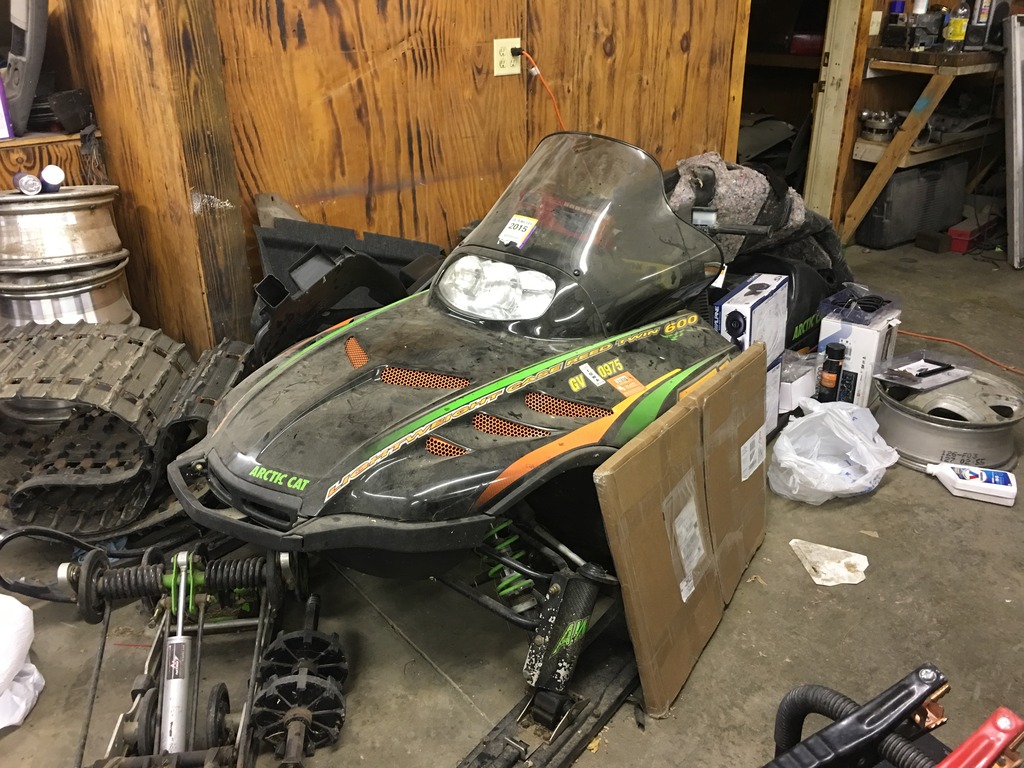
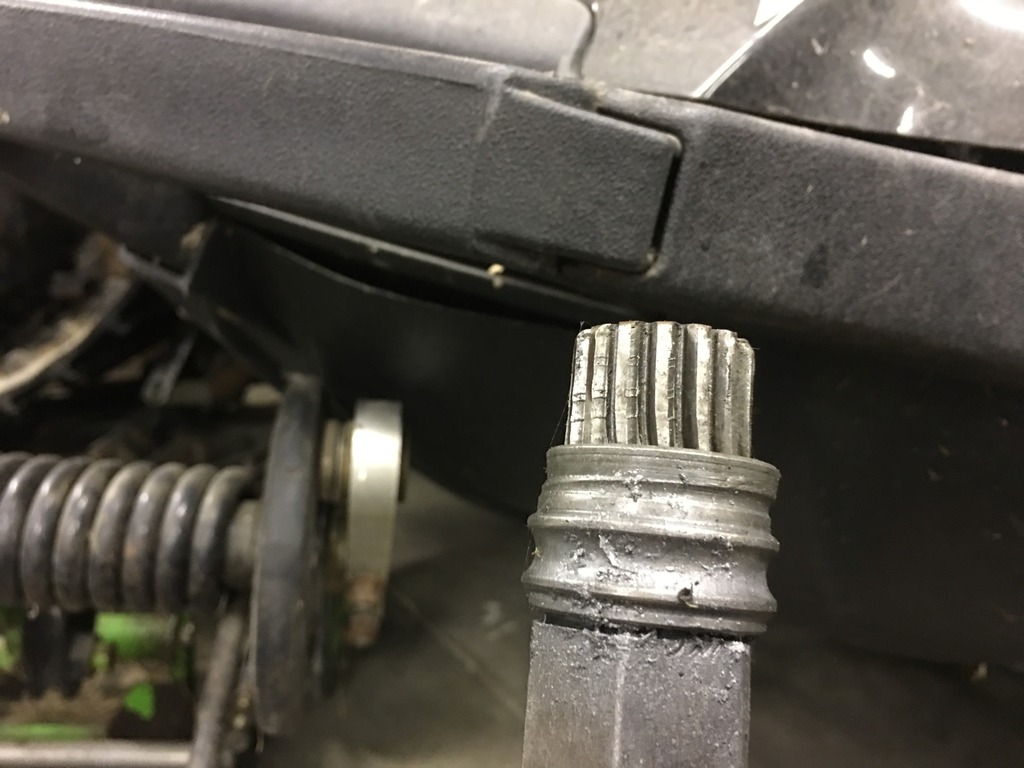
Soooo. Since I'm not buying any front ends parts I figure I better buy the parts I need for my sled. You guys may have seen it in the previous pics. It's a 99 Arctic Cat ZL600 EFI. Destroyed a driveshaft bearing and twisted the splines on the driveshaft.


Pulled all of the doors off to do the rockers.


Sprayed rubber undercoating on the rearend. Pretty happy with how it looks.


Changed the oil quick and checked over the front end while I was under there. Everything seems tight. Jacked up the front end and the hubs and tie rods all seem to be good so I'm gonna wait on replacing anything in the front end with the exception of the shocks.
Soooo. Since I'm not buying any front ends parts I figure I better buy the parts I need for my sled. You guys may have seen it in the previous pics. It's a 99 Arctic Cat ZL600 EFI. Destroyed a driveshaft bearing and twisted the splines on the driveshaft.

 12-16-2016, 01:22 AM
#49
Got the new headlights and started the retro.
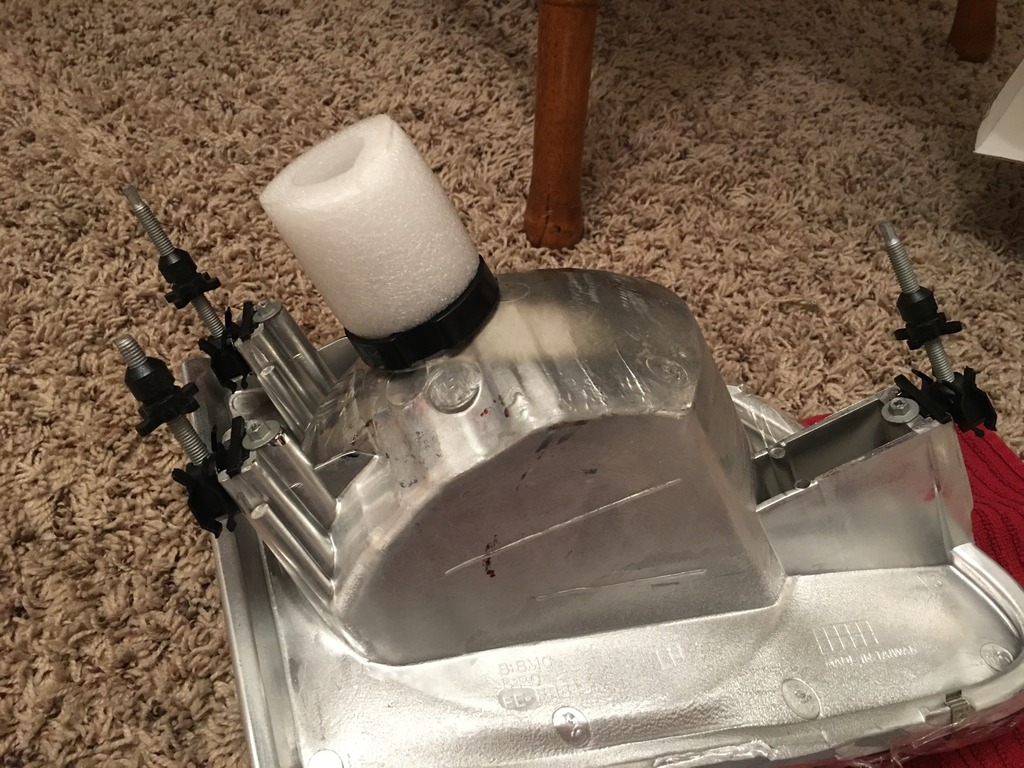
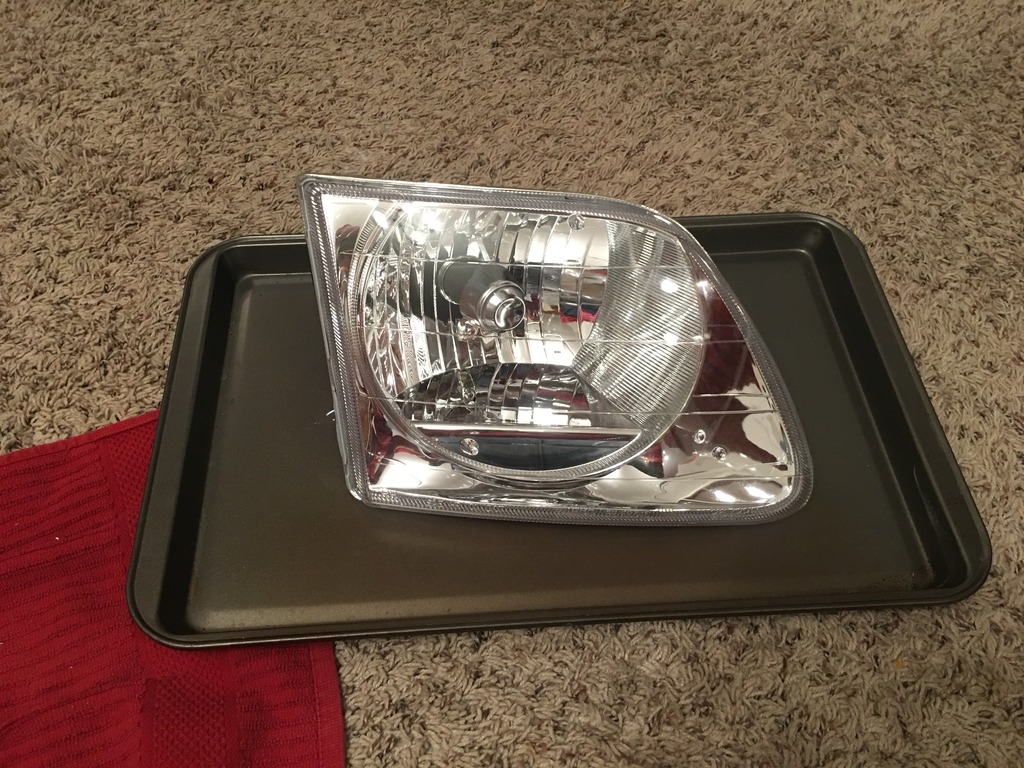

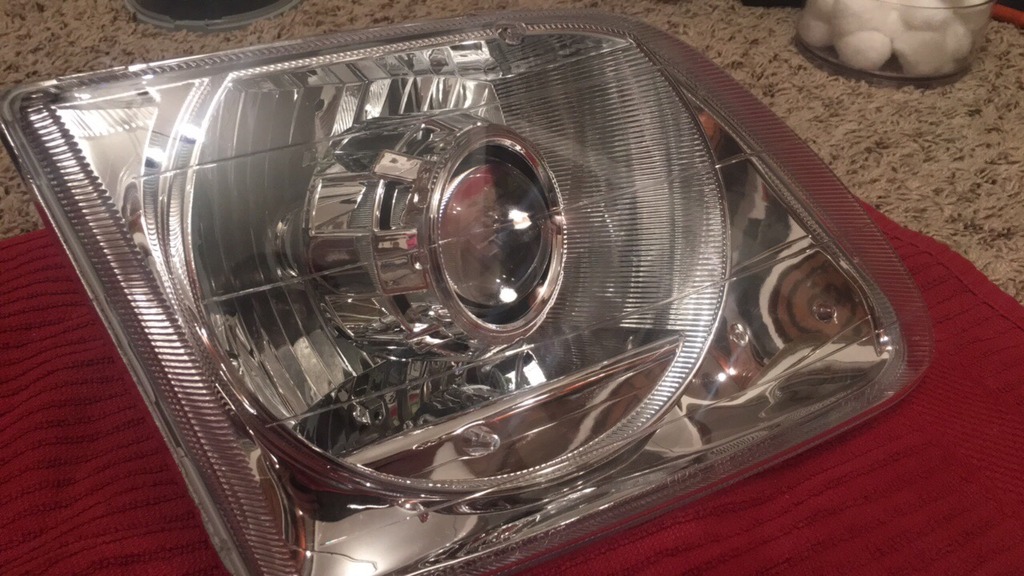
This one isn't done yet. I just set the lense on to see how it looks. Haven't started the other one yet
For anyone curious. I did 250* for 8 min and was able to pry the headlights apart very easily. Just my experience. Other headlights may need different temp/time


This one isn't done yet. I just set the lense on to see how it looks. Haven't started the other one yet
For anyone curious. I did 250* for 8 min and was able to pry the headlights apart very easily. Just my experience. Other headlights may need different temp/time
