97 F150 Flareside 4x4
 12-05-2013, 01:07 PM
#1
So I was given this truck from my parents after a year of searching for a good deal. Its a 1997 f150 Flare-side XLT 4x4 and had 223xxx miles on it, but had a motor swap with another 4.6L with only 45xxx miles. We got it for 3000 and it did not seem like a bad deal.
Got new tires a little bigger than stock, 265/75/r16 Dakota ATs, fluids changed, new wipers, and she was on her way back home. A few months in we started having some engine coolant problems. Hoses were going bad, lots of leaks, needed a new radiator. Got all that fixed and it seems to be doing well now. The odometer just stopped working one day and still don't know what to do about that.
Now to my list of mods
Done:
-Black tool box
-CB radio installed with 6' Whip
-2 10" subs and upgraded speakers
-Sony Xplod head unit
-Torsion bars adjusted and 2" rear blocks (gonna go down to 1" blocks to level it better)
-Throttle body spacer
-Black Horse bull bar
-Flag pole
-New paint Job
-Under dash LEDs
-Fog lights in Grille
-TRAIN HORN (need a bigger one for these bad drivers in FL)
On the Waiting List:
-Upgraded Speakers and Subs
-New Model Badges
-1" blocks
-4x4 Decals
-Electric fan kit
-HID kit
-Firestik antenna
-Exhaust Kit
-Cobra Police Scanner
-Full LED conversion and Cluster swap
-KC lights and Headache rack
-Aqua blue Ground effects
-Newer Ford rims on 33s
 12-05-2013, 02:49 PM
#3
Senior Member

I fancy her I do. subscribed 
12-14-2013, 08:25 PM
#4
So a weekend or two ago I rewired my grille lights and added some LEDS underneath the Dash board. Heres some pictures of my switch board i put on the pannel to the right of the shifter (Accidently drilled one hole too far to the right! but im just going to pick up a new panel at the junkyard and redo it!) . I plan on adding some more LEDS under the back seat this weekend and wiring them in. They really come in handy if you drop something under the seat or need lights for whatever your doing!
Also picked up some little blind spot mirrors for $2 at pepboys! they really help more than you would think!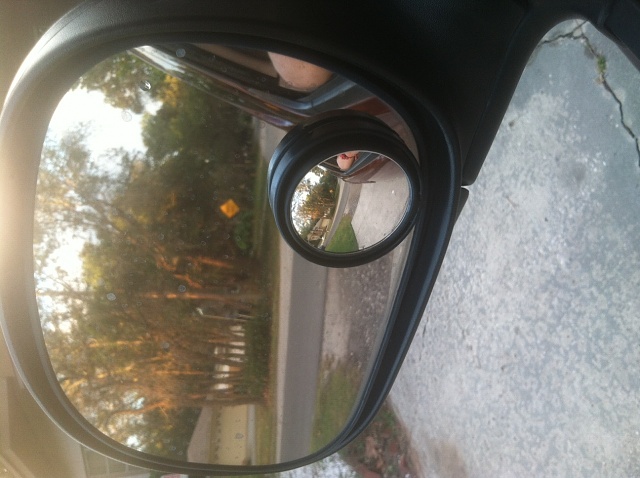

Also picked up some little blind spot mirrors for $2 at pepboys! they really help more than you would think!
 12-15-2013, 11:46 AM
#5
Today I went to find out what the squeeking noise coming from my rear end was.
First I went and got the front tires blocked, E Brake on, and lifted up the rear end.[ATTACH]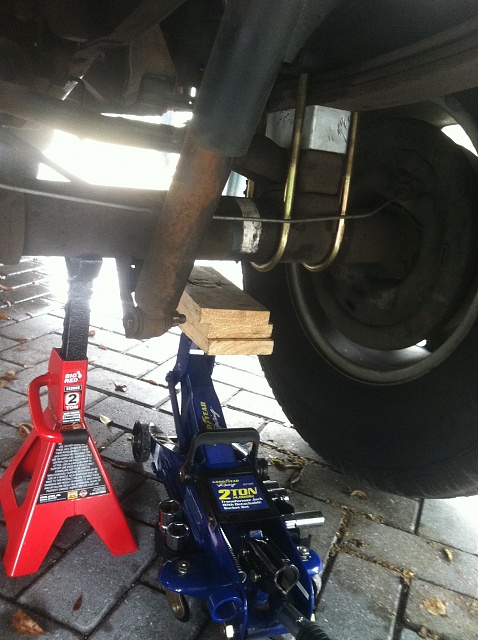 [/ATTACH]
Took the E Brake off and put it into neutral, spun the tires up in the air and the noise was distinctly coming from where my driveshaft meets my rear axle.
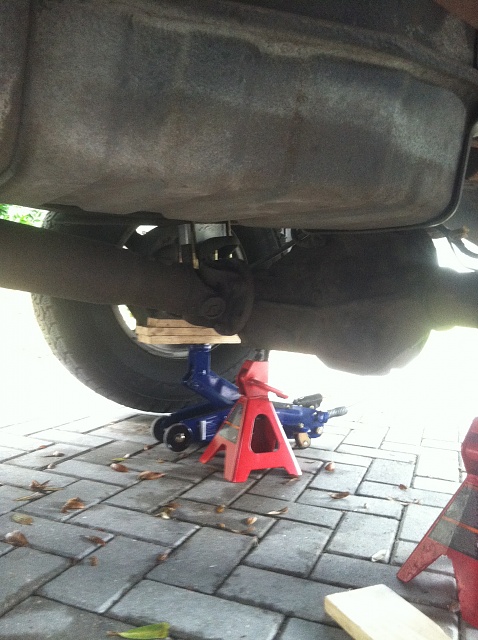
Tried spinning it and spraying some WD40 to see if that could work but its still squeaking, anyone had any similar problem? doesn't seem to effect anything but just kind of bothers me and not sure if it could be indicating a future problem?
First I went and got the front tires blocked, E Brake on, and lifted up the rear end.[ATTACH]
 [/ATTACH]
Took the E Brake off and put it into neutral, spun the tires up in the air and the noise was distinctly coming from where my driveshaft meets my rear axle.


Tried spinning it and spraying some WD40 to see if that could work but its still squeaking, anyone had any similar problem? doesn't seem to effect anything but just kind of bothers me and not sure if it could be indicating a future problem?
12-21-2013, 07:59 PM
#6

So today I went about Tinting my windows on my truck. I went out and bought some Premium Black Magic 20% vlt window tint from walmart and set off on my adventure.

Heres the supplies that I used:
-Black Magic Premium Window tint 20% (2) {$22 total}
-BLack Magic Application Kit (spray, squeegee, low lint cloth, breakaway razor) {$10}
-Rainx Microfiber window cloth {$3}
-Razor Blades
1. The first step was taking the back windows off the truck for ease. You do not my any means need to take the windows off, but I would suggest it because it is fairly simple and makes it much easier. On my 97 Scab the windows are held on by 3 bolts witch came out with ease.

2. Next Step is to super clean the windows. Both sides will need to be cleaned because you will be molding the tint on the outside and then moving it into the inside. I first generously sprayed the window with the application spray and then went over it with a razor blade to clean all the unseen debree off of the window. After going over it once or twice with the blade, spray it again, wipe with the low lint cloth, and squeegee it completely dry and clean.
3. Roll your tint on to your window and cut it out with lots of room to work around the edges. You must make sure that the sticky side is facing UP at this point, away from the window. It will still have the film over it so you must look at a corner or side and can tell with side has the clear film on it. This is important so when you flip it to the other side the cuts will line up.
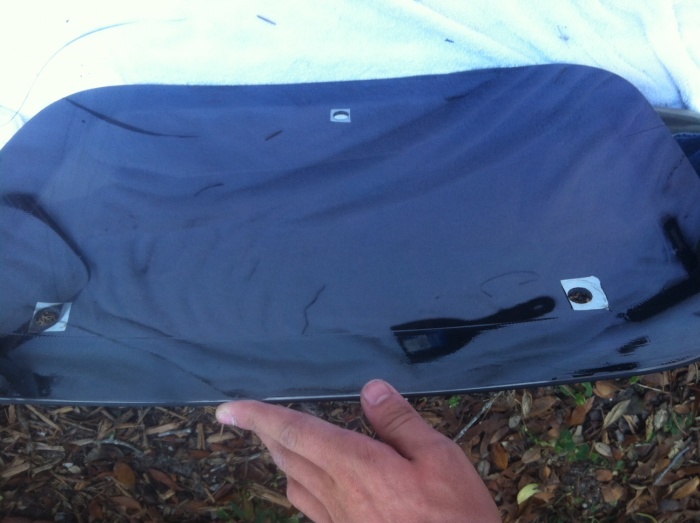
4. Next, take your application spray and get the window very wet. Place the window tint down (still on the outside of the window) with the sticky side still up as before. Now squeegee all the bubbles out and your will begin the trim the tint to mold your window. You want to get as close and fine cut as possible to the edge of the window, even going over it alittle bit.

This is how it should look when your finished cutting

For simplicity on the back window holes for the brackets, I just cut small squares around them like so.

5. Now time to prep the inside the SAME way as you did the out. So follow step 2 but for the inside of the window now.

6. With your window now cleaned and ready to be tinted, take the tint and place two pieces of tap on either side of the tint, overlapping on the end of it. This will allow you to pull the film off the tint and reveal the sticky side as you get ready to apply it. As you pull the film off, GENEROUSLY spray the sticky side with the application spray, also doing so to the inside of the window. This allows you to move it around once you put it on.
7. After moving the tint into place, squeegee all of the excess water out from underneath. Now Your tint should be firmly stuck to the glass in place.
8. Do some final trimming around the edges with your breakaway blade and push out all of the air bubbles. After about 15 minutes in the sun your tint should be mostly free of moisture and ready to go!
Last edited by Joeybrodsky1; 12-21-2013 at 08:06 PM.

