il_duce's 2013 King Ranch Build


 04-01-2014, 07:54 PM
#102
Senior Member
Thread Starter
 04-01-2014, 09:55 PM
#104
Senior Member
Thread Starter
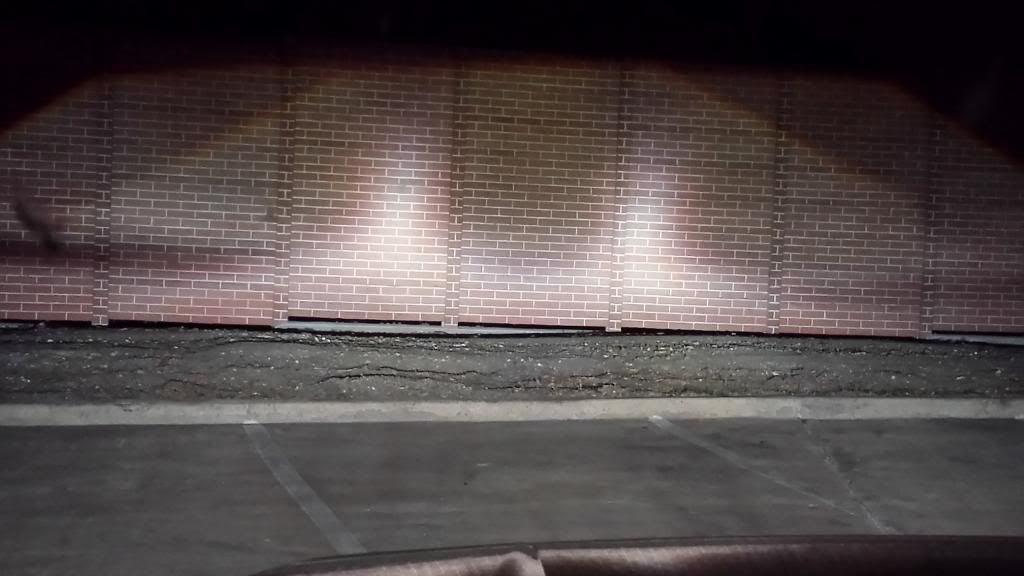
Well, I got to take her for a drive tonight to try out the new headlights. For reference, here is a "before" pic with the stock HID heads:
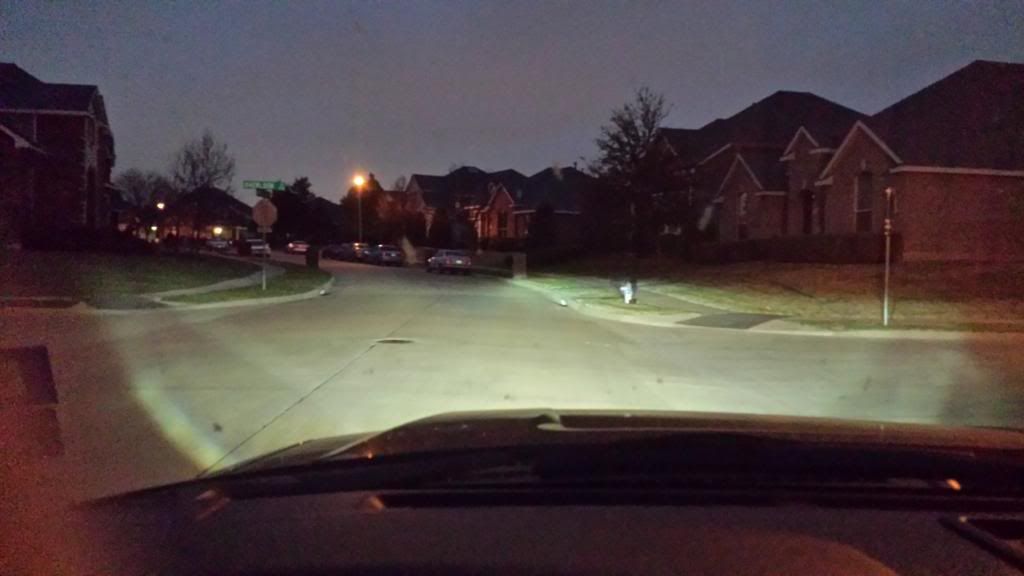
Notice the lack of side to side lighting here.
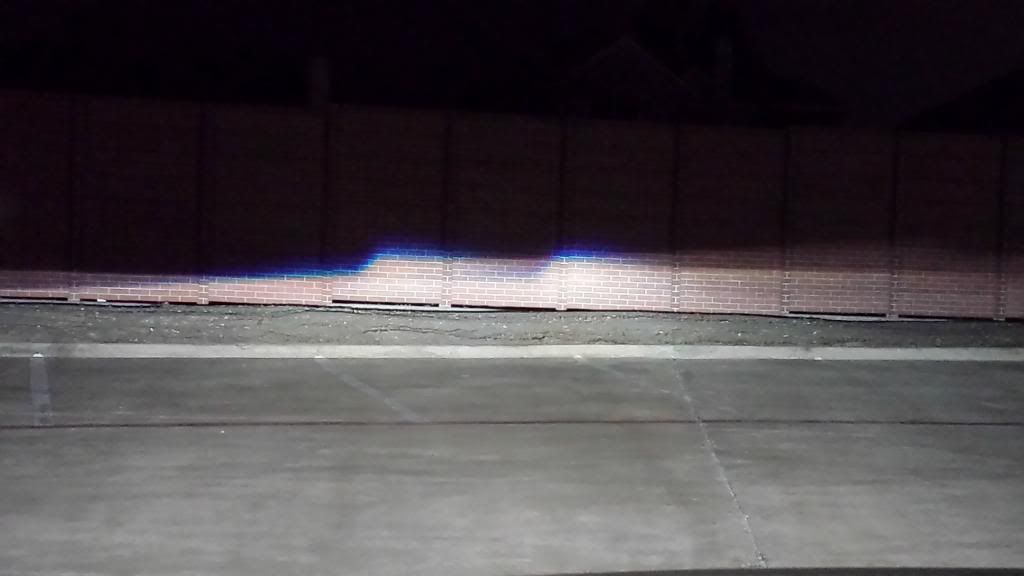
Overall, I would say this is a HUGE improvement over stock. The side to side lighting is ridiculously better and the light spread is much smoother. I do, however, think I have an issue (possibly with bulb seating???). The first pic is taken in the same spot as the before to show the difference:

These next photos show what I think might be my issue. Notice the cutoff line on the driver's side especially. It slants up and to the right:
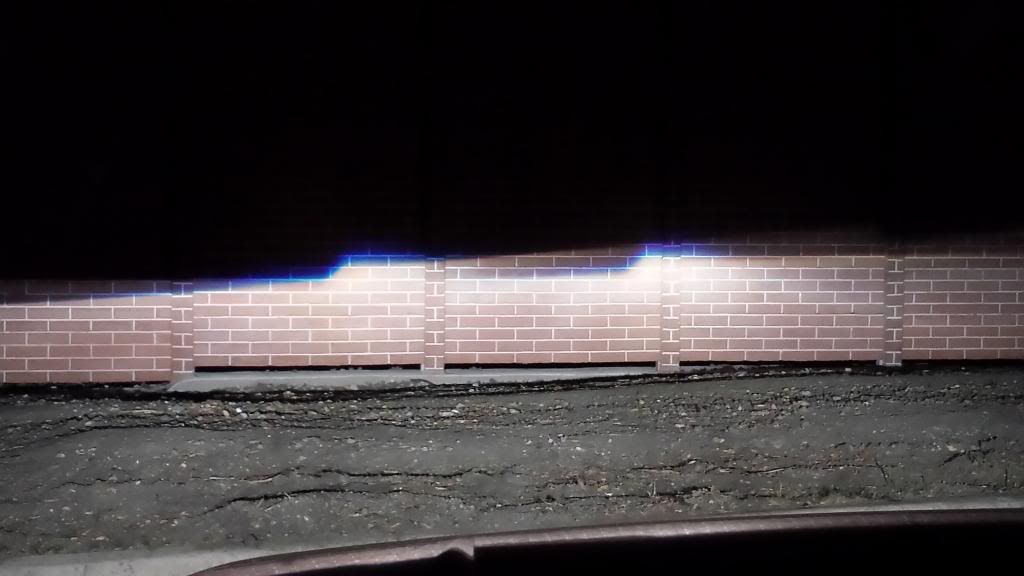

High beams:
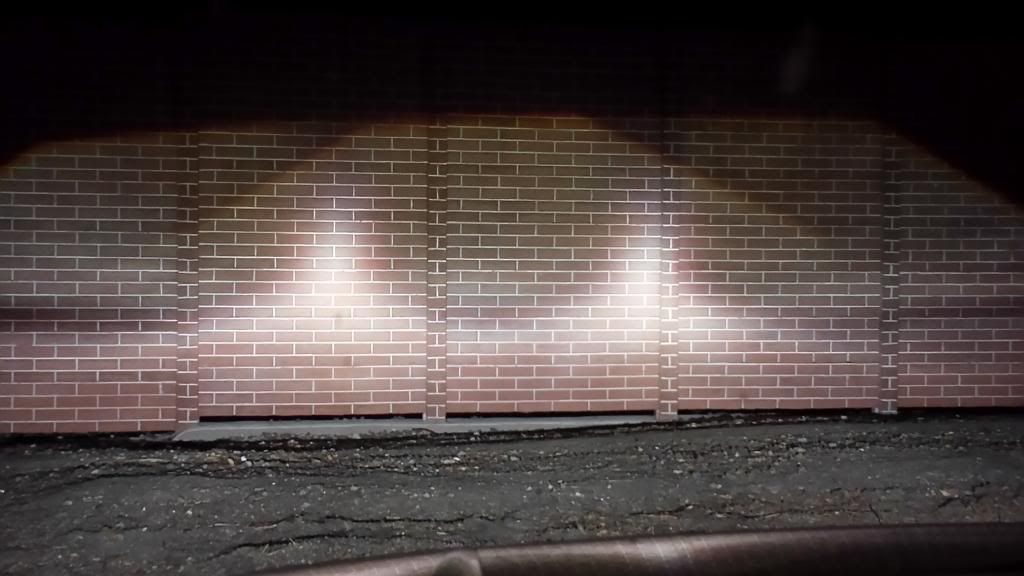
Here are some pics showing some of the "flicker colors:"


Notice the lack of side to side lighting here.
Overall, I would say this is a HUGE improvement over stock. The side to side lighting is ridiculously better and the light spread is much smoother. I do, however, think I have an issue (possibly with bulb seating???). The first pic is taken in the same spot as the before to show the difference:

These next photos show what I think might be my issue. Notice the cutoff line on the driver's side especially. It slants up and to the right:


High beams:


Here are some pics showing some of the "flicker colors:"

 04-01-2014, 10:07 PM
#106
Senior Member
Thread Starter
Thanks man. It really is a significant difference. Even if I'm told the "slant" is normal, I'll live with it haha. No I haven't contacted him yet. I literally just got back inside from taking pics. I can only assume it has something to do with the bulb seating. But I'll shoot him an email with the output pics in the morning just to see if he has any recommendations.
 04-02-2014, 08:38 AM
#109
Senior Member
Thread Starter
Extremely easy. You'll see a small opening on the enclosure that you will be able to fit a flat head screwdriver. Just pry out and then straight down so you don't break the clip. It really could not be simpler. If you bought the same one's as me, they should have instructions included just in case there is any confusion.
04-08-2014, 11:19 AM
#110
Lonestar state of mind

Thanks! It is a 2" Autospring level: http://autospringcorp.com/index.php?...products_id=20
I was the same way. I didn't really want a lift and this allowed me to clear an almost 35" tire. Someday I might do a 4" lift, but this works for now.
I was the same way. I didn't really want a lift and this allowed me to clear an almost 35" tire. Someday I might do a 4" lift, but this works for now.