When you click on links to various merchants on this site and make a purchase, this can result in this site earning a commission. Affiliate programs and affiliations include, but are not limited to, the eBay Partner Network.
Hmm. I hadn't even thought of that. That looks pretty good, actually. Good looking call there, CCR90! That truck shown in the picture above looks clean, too. I think I am going to take that picture you posted and do some photoshopping on it when I get home tonight (if I have time, LOL) and play around with that picture and a picture of my truck and see what it would look like if that grille were on mine. Also think I will play around with colors for the mirrors and maybe the bumper.
It's a pretty cool looking bronco, think it was from carid's site. I just googled obs f150 mesh grille and came up that.
Well, that's something I am definitely going to use in the future… when money comes in for it. In the meantime, I am in the middle of downloading Photoshop so I can edit some ideas onto my truck. I will be installing my clear headlight housings soon, which will hopefully be getting some switchback LED strips to go into the housings, similar to what smcox1 has. I need some deep sockets though, so I can remove the piece that the headlight housings connect to. I won't have time to go to the local parts store either until Sunday. Oh well. Hopefully my Photoshop finishes downloading soon (I have miserably slow internet at the moment), so I can tinker with colors and possible projects.
Jeez I haven't been on here in a while. I haven't had much time to get anything else done on the truck lately, but here's a sneak peek at what will be on the front of the truck soon...
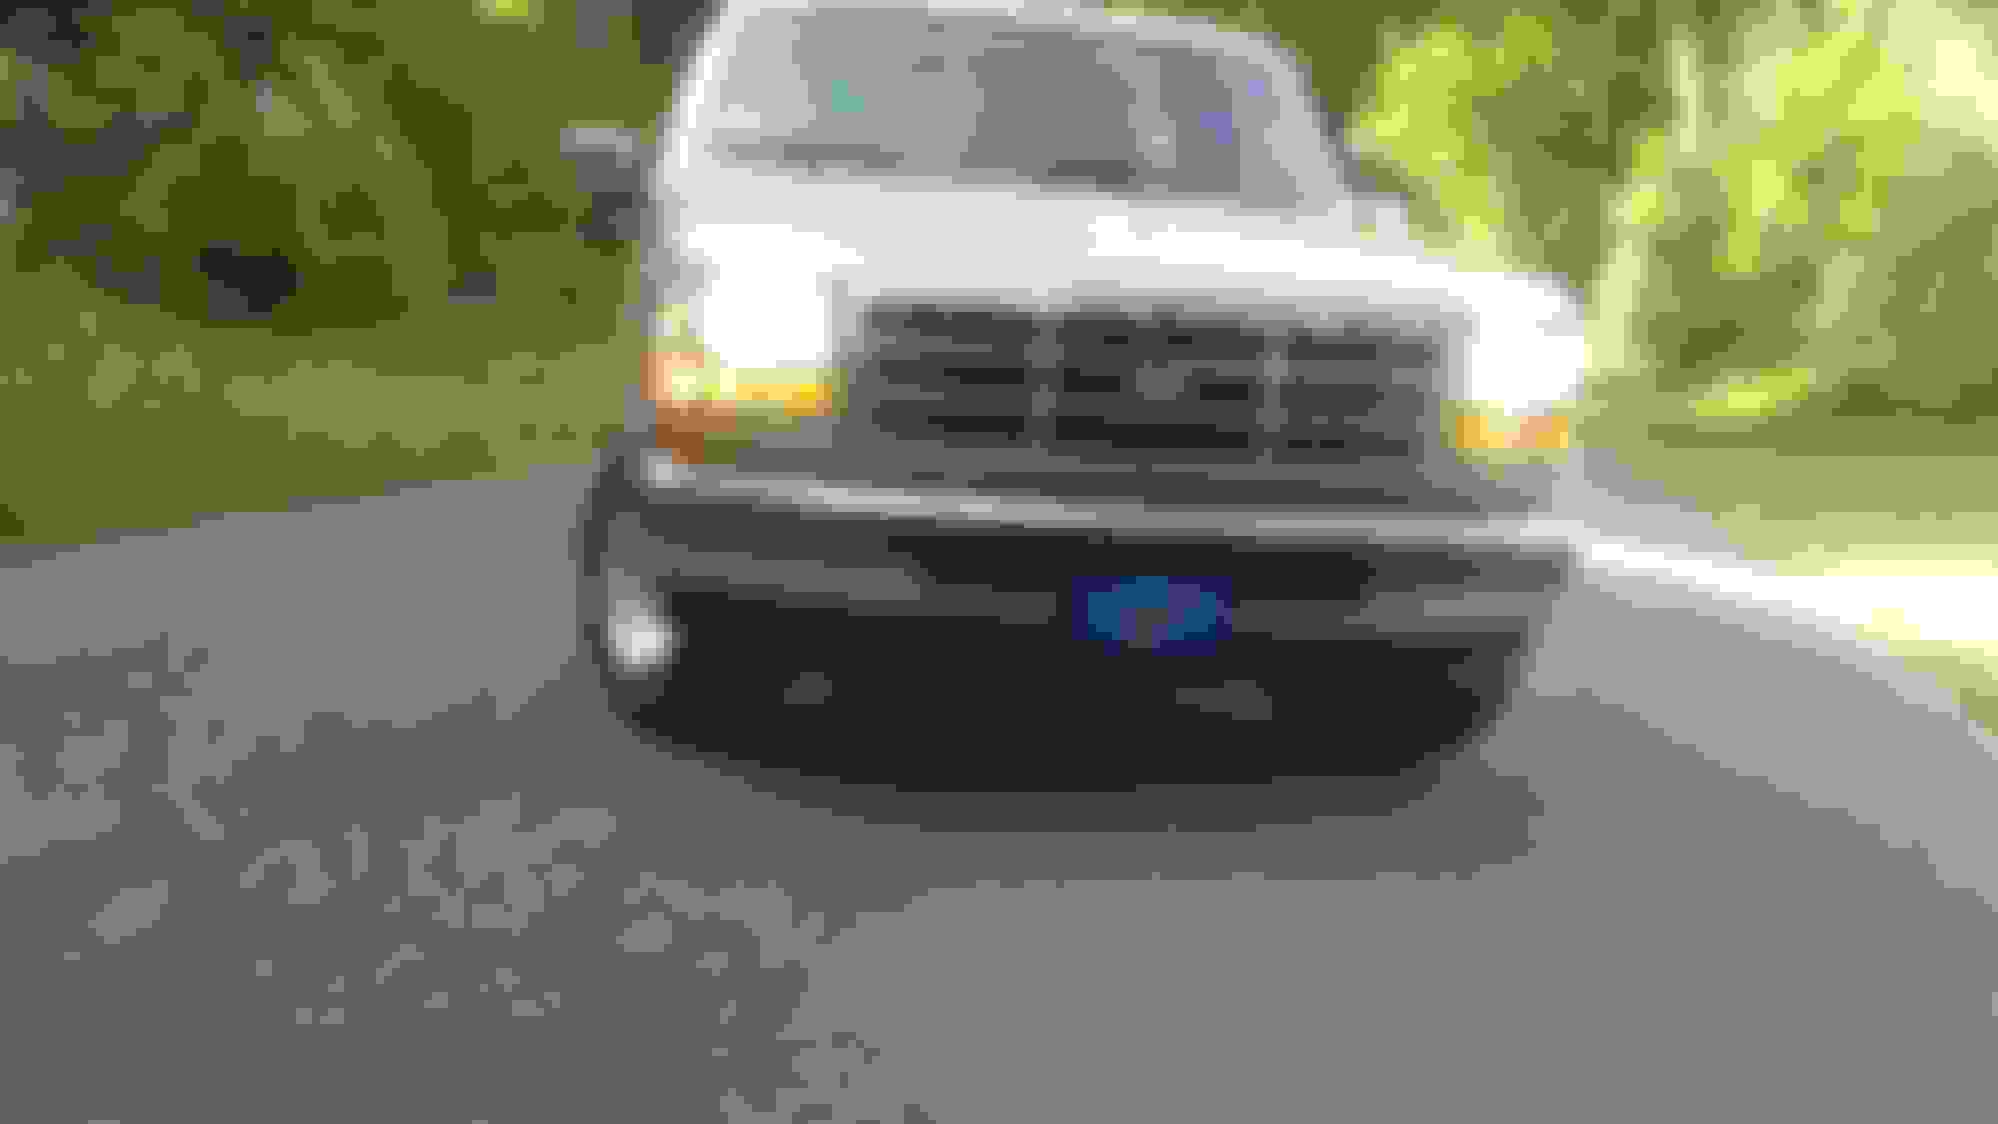
Another member on here has a similar setup (SMCOX1), however mine will stick to the CREE LED's that I already have in it right now. Here's a shot of it on the way home a couple days ago with them in the stock housings.
They're really bright, although you can't really tell they're LED in the current lighting. I'll try for a night shot sometime soon.
This is how I made the lights. I didn't take many pictures of the process. But, it involves "Audi style" LED strips (you want Audi style to get the fluid look), new Euro headlights of your choice (I chose chrome because of my truck's lighter colors), and some miscellaneous tools.
Step 1: heat an oven to 270*
Step 2: put one headlight in at a time for 12 minutes.
Step 3: QUICKLY while headlight is still hot, use a knife or something with a small flat tip to pry the clear lens off of the housing.
Step 4: After opening the light, take your LED strip and fit it to the shape of the lens however you want.
Step 5: Make an opening for your wiring for the strip.
Step 6: Use Butyl Rubber or if you plan to never service the light again on the inside, a plastic glue, to seal the unit back together.
Step 7: After drying, install the headlight. Remember to splice the wires in for the LED strip. The white light splices in with the running light. Amber goes with the turn signal, and black with the negative.
Step 8: Enjoy!
 03-19-2015, 12:47 PM