Cheapshot's 2007 Lariat Work truck (Lots of pictures sorry)


The following users liked this post:
bobkyle2 (02-10-2013)
 02-10-2013, 02:18 AM
#22
So the last couple days my truck has kind of evolved into version 2.5. Since my last update I've basically just been routine maintenance. I replaced my front drive shaft and both rear u-joints. I also added a second 2 way radio, with a hood mount antenna. I started in a new position working as a field operator in a gas field, taking care of gas wells and their related equipment. With the new job comes new challenges and first and foremost was all of the alarms get called out electronically, automatically over the radio. For instance "we'll low flow" "generator down" etc. However I also do all of my driving on a radio controlled road, meaning you call your location on the road as your driving it using km boards. So I have to monitor two radios at once, not awesome but what can you do. Anyways on to the truck.
So what I did was
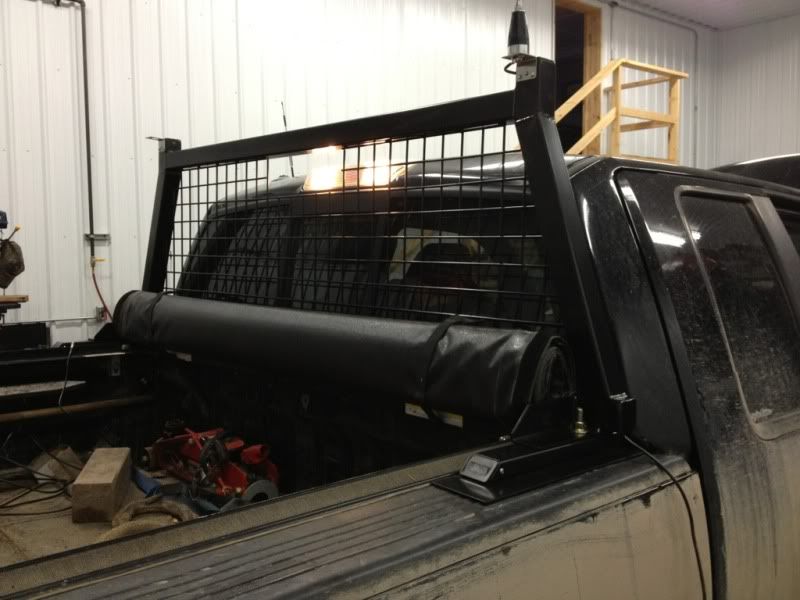
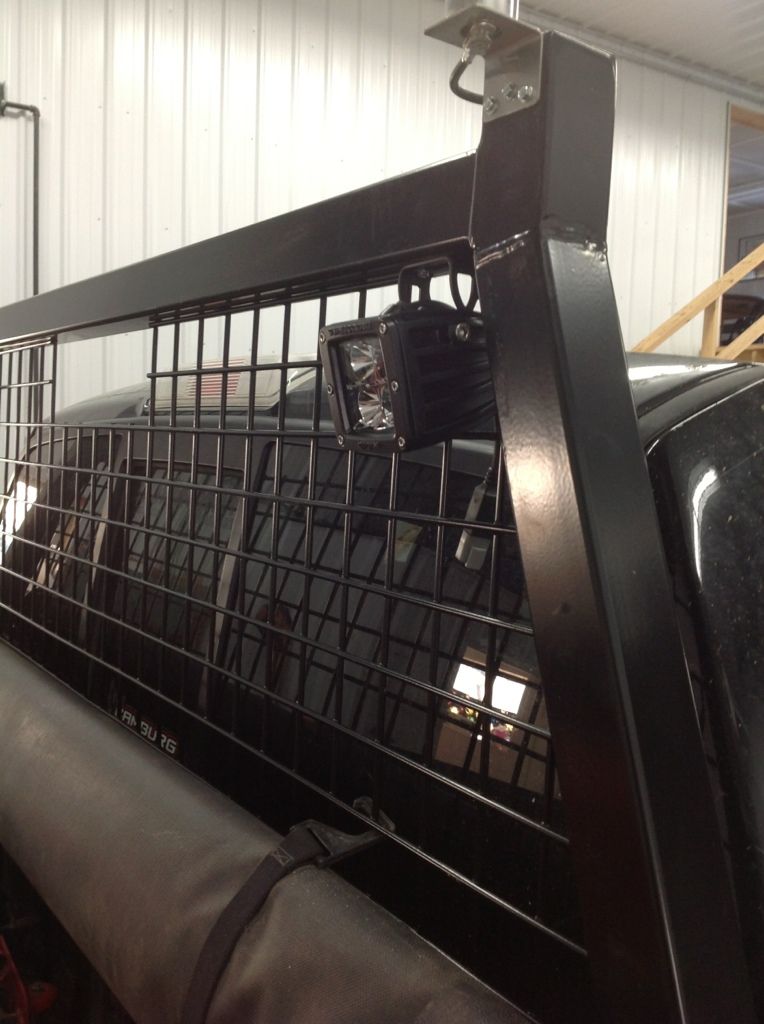
- Finally install the headache rack I got for Christmas
- Rid of my magnetic antennas for my primary radio and cellphone booster, switching to antennas mounted in my headache rack
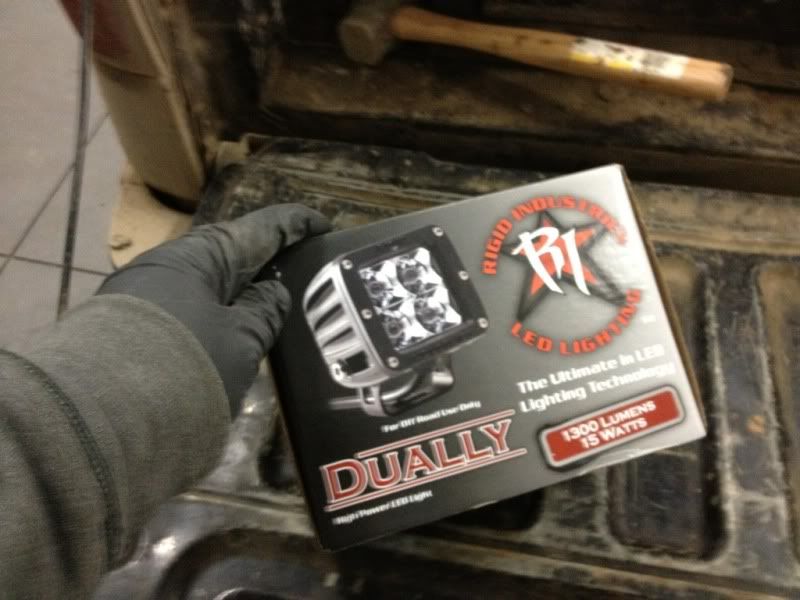
- Install my Rigid Dually cargo lights
- Move my interior booster antenna closer to my cradle
-Move my auxiliary radio from the hideous, scabby side mount by the passenger seat into the centre console with my primary radio.
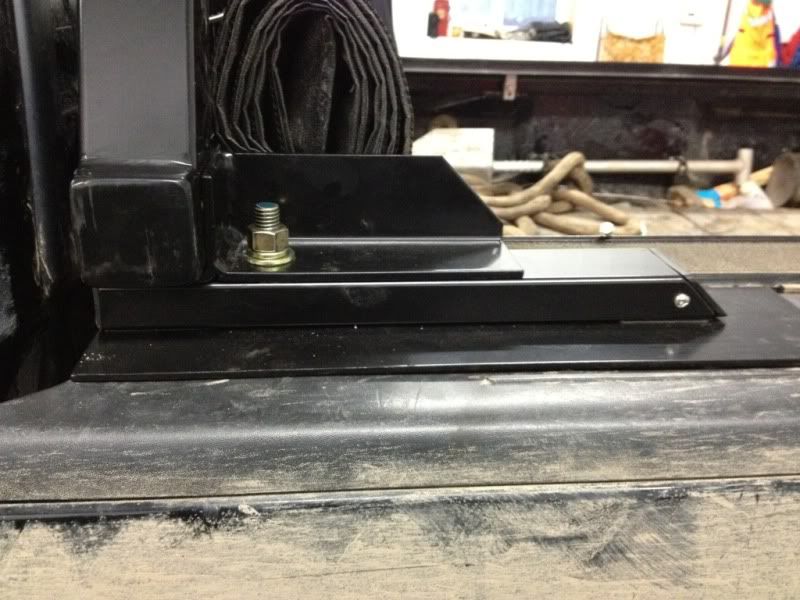
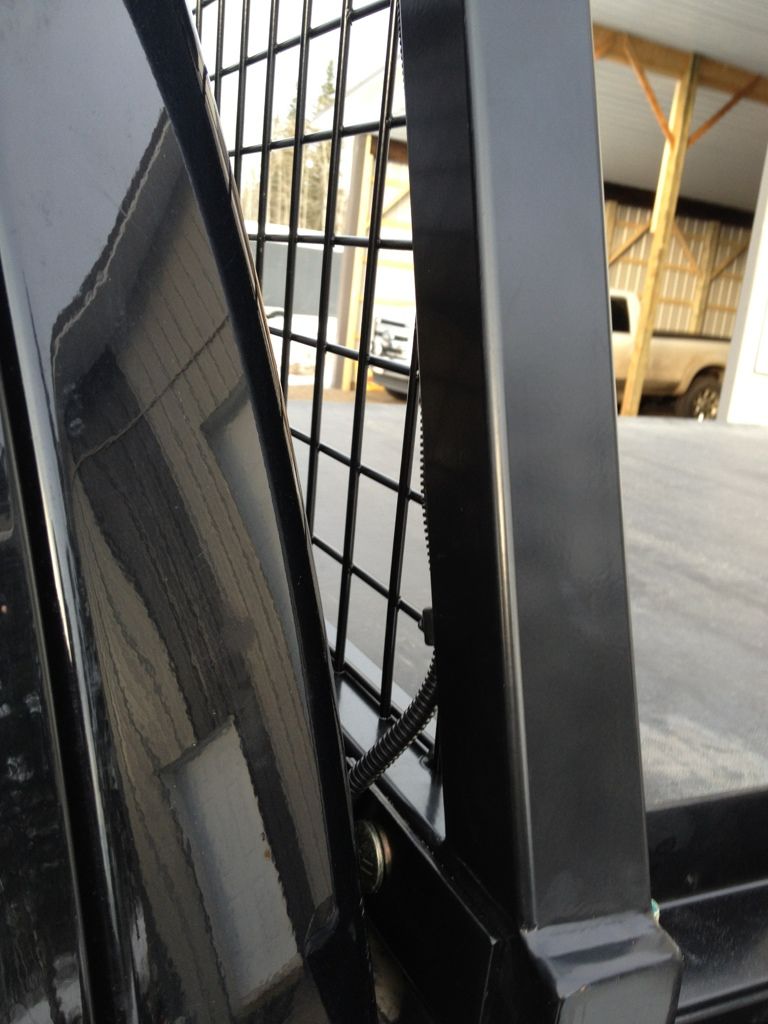
Here is a side view of the components making up the headache rack, the one piece is the "tonneau cover adapter" spacer so I could keep my tonneau cover.
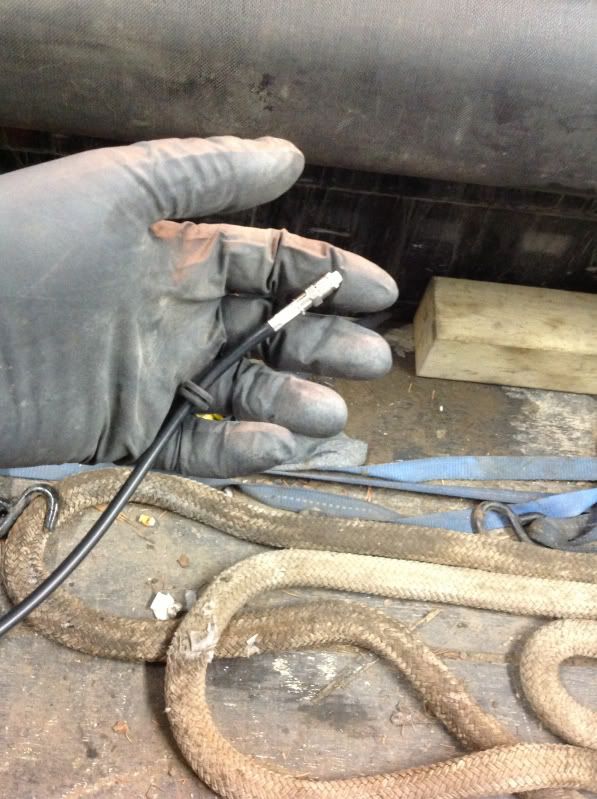
The headache rack has holes already drilled to facilitate wiring, so I used a piece of brazing rod as a fish tape.
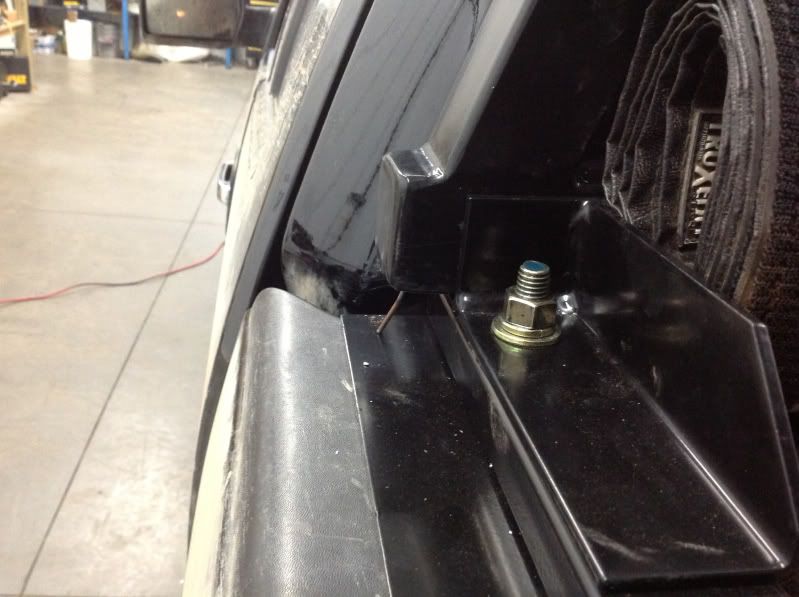
I used grommets to try and cut down on wear on the coax, I only had one appropriate grommet so I used the plug as a grommet on the other side.
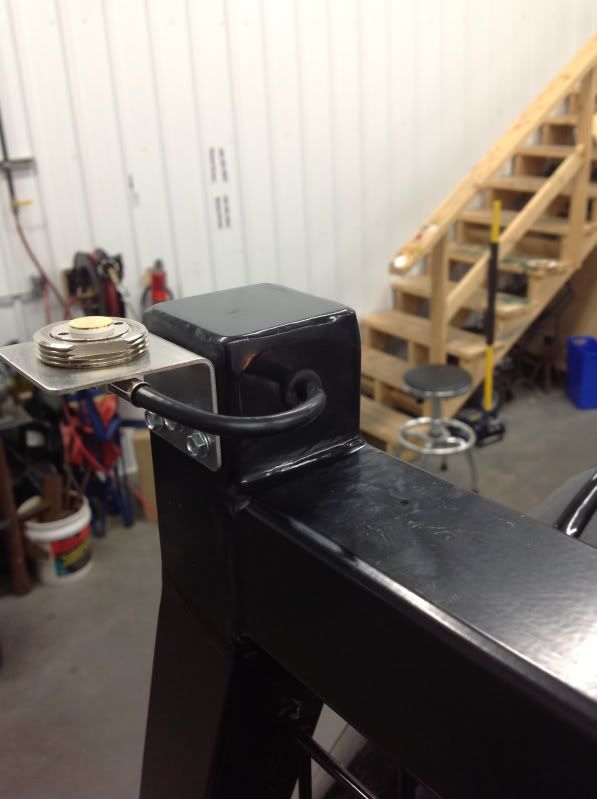
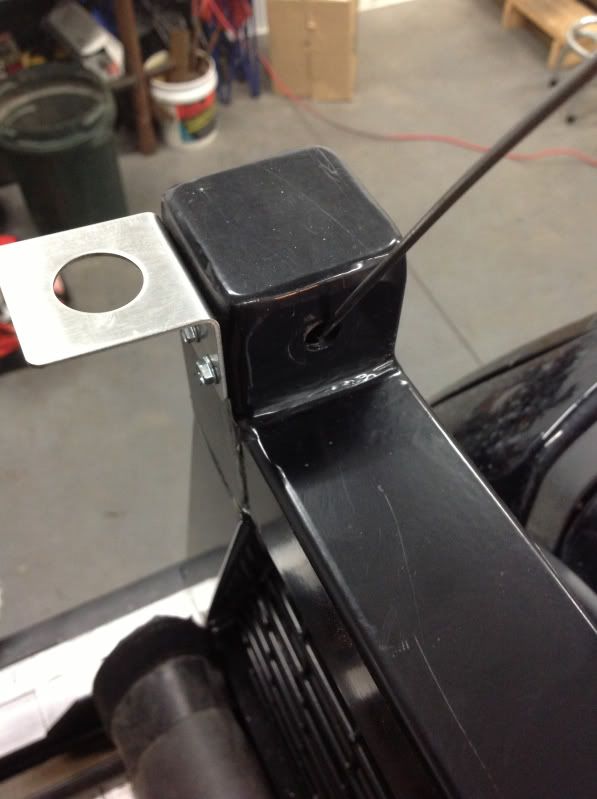
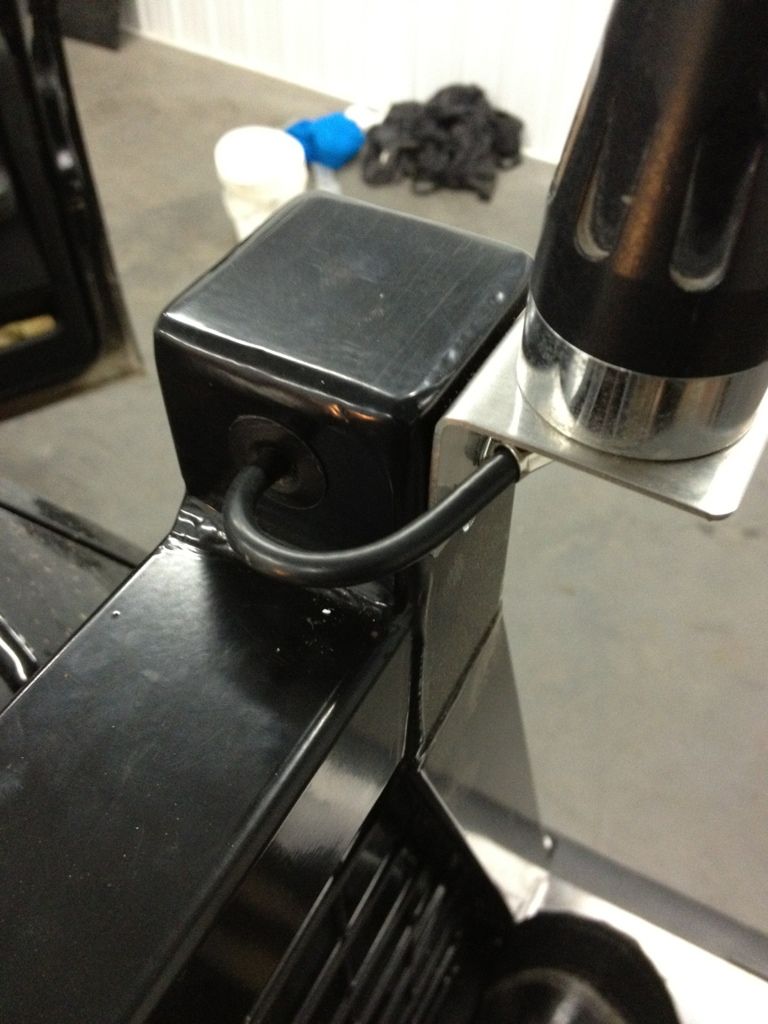
Here is a shot of the right angle mount and the antenna base, with the wire and the grommet. I'm a big fan of self tappers, some people aren't.
The previous antenna set up.
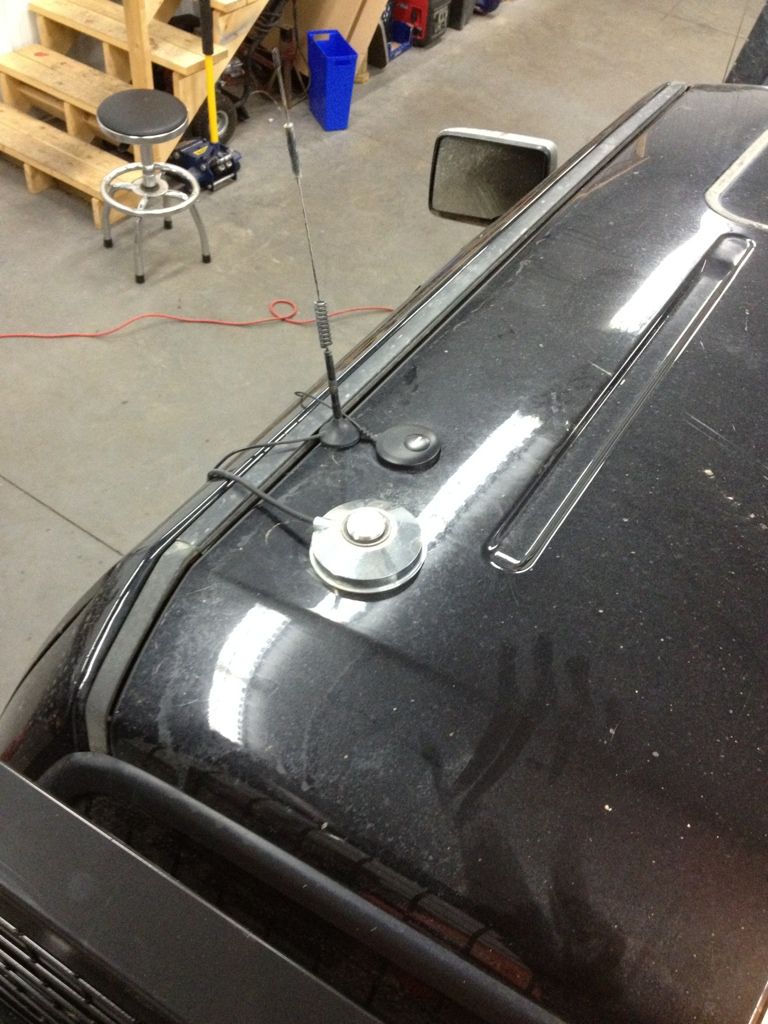
The current antenna set up
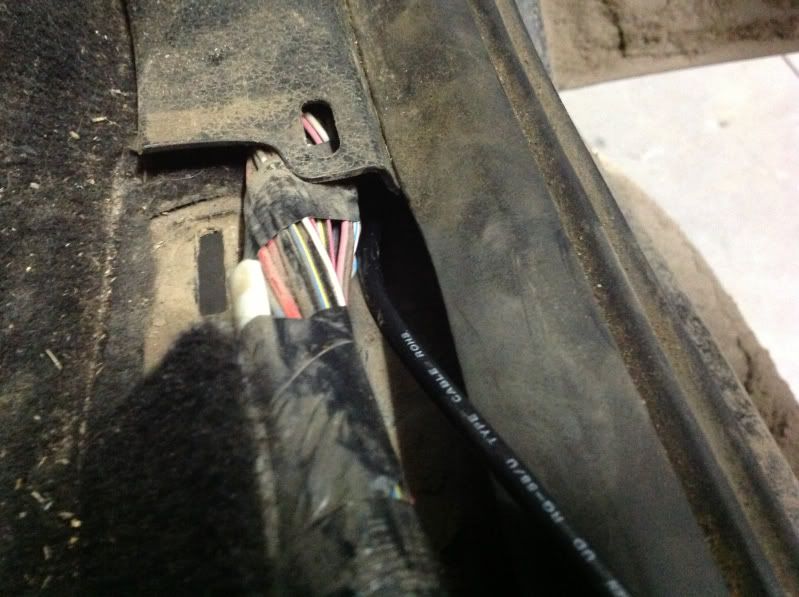
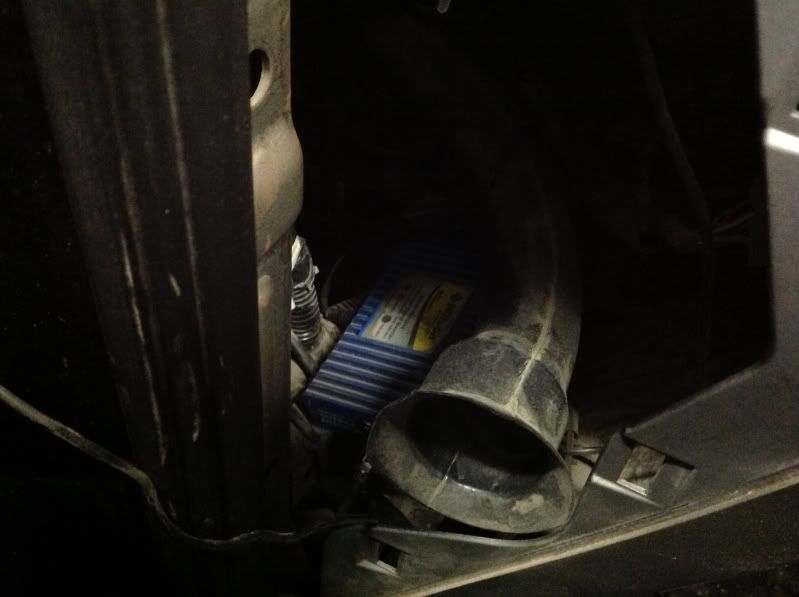
I used the grommet located towards that pack of the cab that ties into the cable gutter and ran the booster antenna through it up into the dash, where my booster is mounted behind the panel on the driver's end of the dash.
So what I did was
- Finally install the headache rack I got for Christmas
- Rid of my magnetic antennas for my primary radio and cellphone booster, switching to antennas mounted in my headache rack
- Install my Rigid Dually cargo lights
- Move my interior booster antenna closer to my cradle
-Move my auxiliary radio from the hideous, scabby side mount by the passenger seat into the centre console with my primary radio.
Here is a side view of the components making up the headache rack, the one piece is the "tonneau cover adapter" spacer so I could keep my tonneau cover.
The headache rack has holes already drilled to facilitate wiring, so I used a piece of brazing rod as a fish tape.
I used grommets to try and cut down on wear on the coax, I only had one appropriate grommet so I used the plug as a grommet on the other side.
Here is a shot of the right angle mount and the antenna base, with the wire and the grommet. I'm a big fan of self tappers, some people aren't.
The previous antenna set up.
The current antenna set up
I used the grommet located towards that pack of the cab that ties into the cable gutter and ran the booster antenna through it up into the dash, where my booster is mounted behind the panel on the driver's end of the dash.
02-10-2013, 02:27 AM
#23
Shot of the booster mounted in behind the panel.
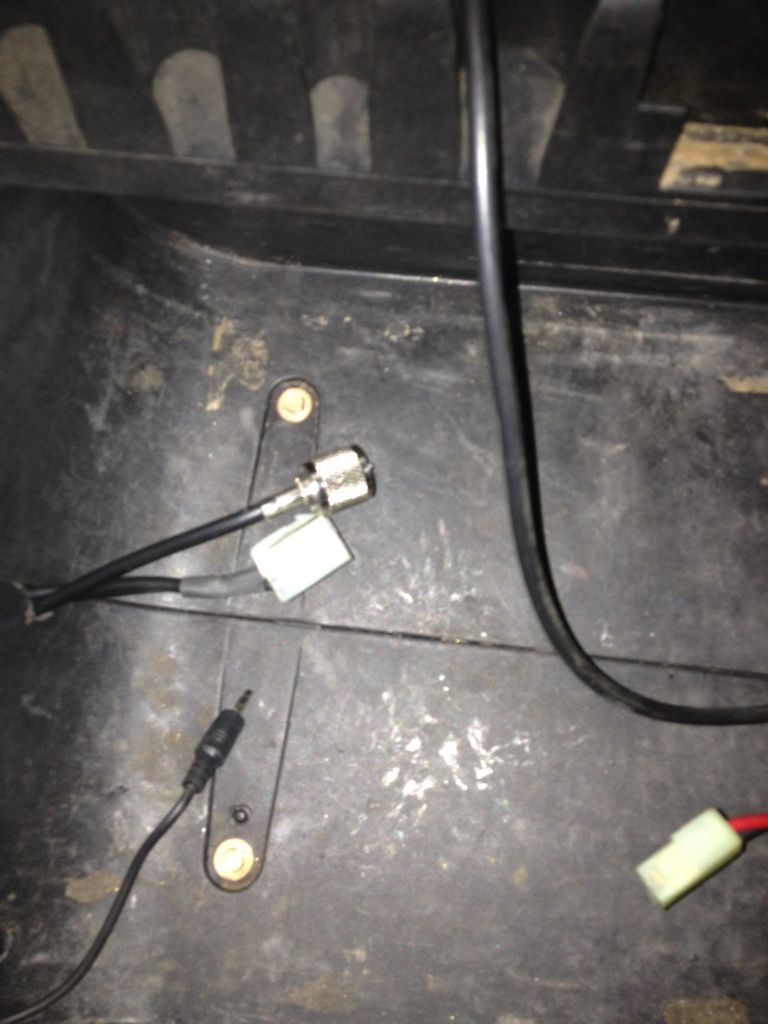
Here is the antennas and power in the centre console. The hood mount antenna comes through the grommet on the driver's side firewall, through the centre console into the centre console. Hahaha, the antenna on the headache rack goes into the wire gutter on the passenger side, under the carpet into the centre console. Power is from the fuse blocks behind the dash.
Sorry about the terrible pictures I didn't take the time to properly take the pictures, and I was using my ipad, since I lost the battery for my camera...
02-10-2013, 03:24 PM
#24
Now to mount up the dually's, the mounts that come with dually's are meant to be used with the supplied carriage bolts, which wasn't going to work for me. So I drilled some holes in the brackets.

I know, I lose left to right adjustment, but I'm not that worried about it today, it's something that'll be easy to change down the road.
However the full mesh design of the headache kind of makes mounting some accessories a bit of a pain, that's easy enough to rectify.

I ran the wiring in the driver side grommet same as my booster antenna, to a switch right by the door, kind of in a gaudy spot but it keeps the theme and I can flick it without having to reach very far.

For the record, I wasn't able to put it by the headlight switch.
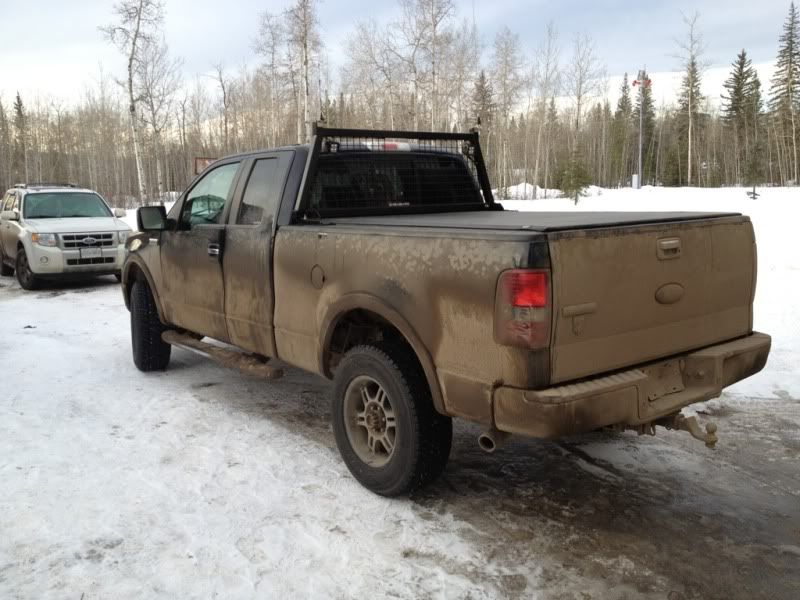
A picture from this morning with the Wifey's Escape
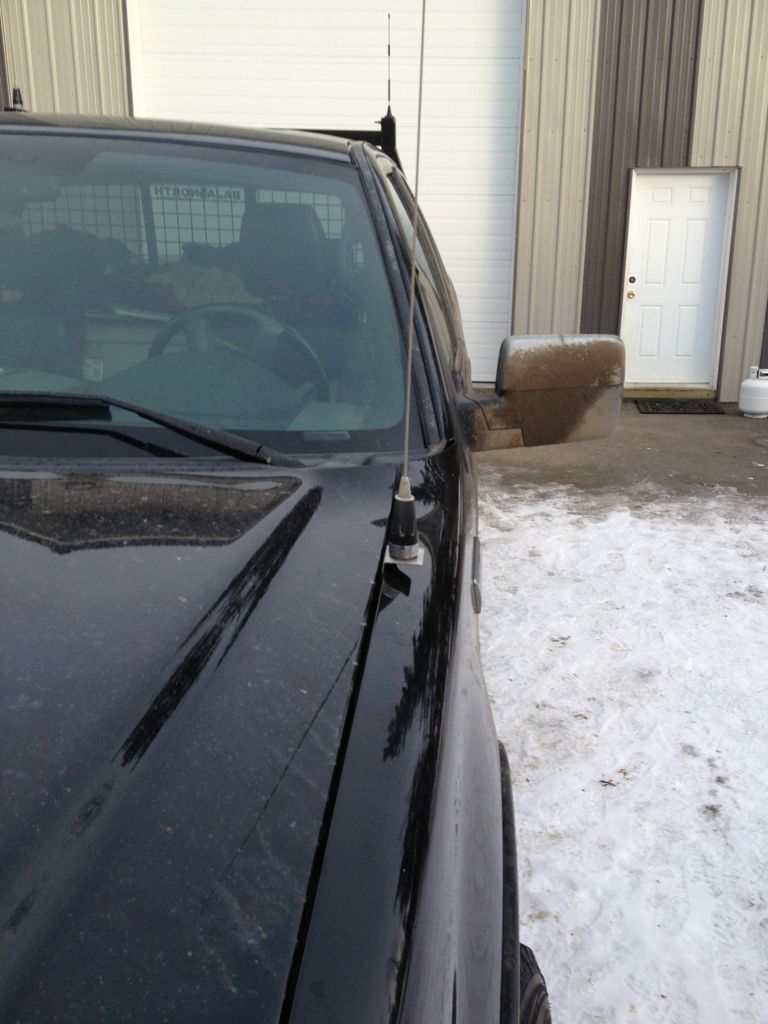
The hood mount antenna
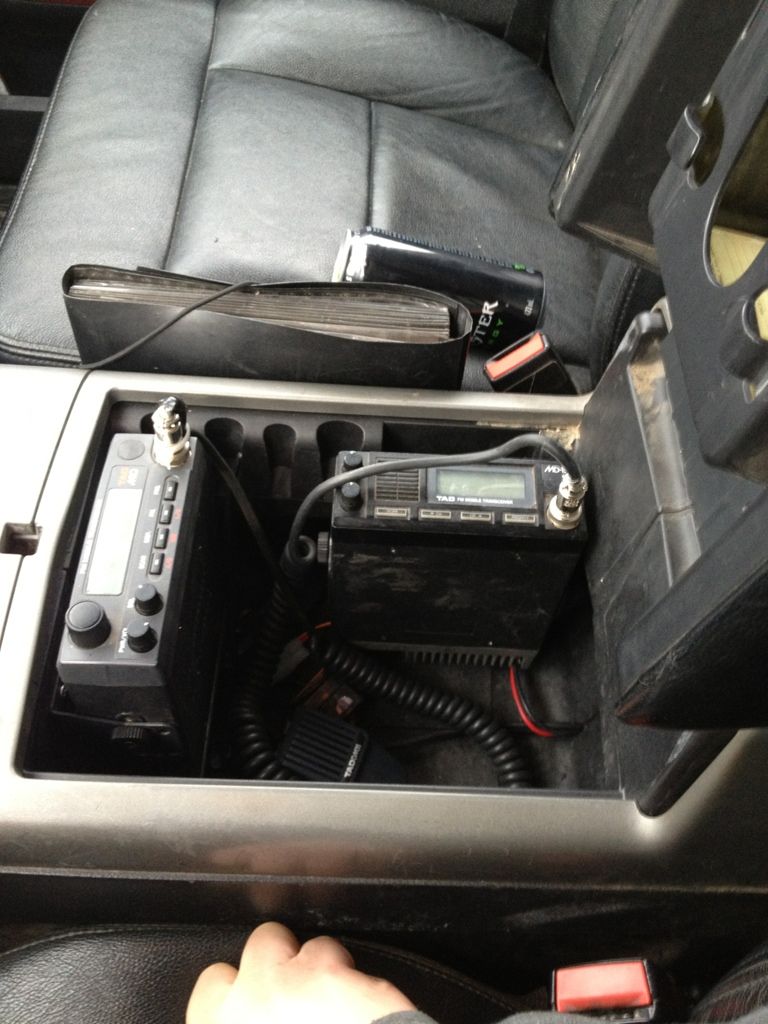
The radios
I know, I lose left to right adjustment, but I'm not that worried about it today, it's something that'll be easy to change down the road.
However the full mesh design of the headache kind of makes mounting some accessories a bit of a pain, that's easy enough to rectify.
I ran the wiring in the driver side grommet same as my booster antenna, to a switch right by the door, kind of in a gaudy spot but it keeps the theme and I can flick it without having to reach very far.
For the record, I wasn't able to put it by the headlight switch.
A picture from this morning with the Wifey's Escape
The hood mount antenna
The radios