The Build of ChuckNorris: '98 F150
 07-09-2014, 10:51 PM
#11
Junior Member
Thread Starter
Join Date: Jun 2014
Posts: 28
Likes: 0
Received 0 Likes
on
0 Posts
Taping for Herculiner application; taping took FOOORRRREEEEVVVVERRRRR.
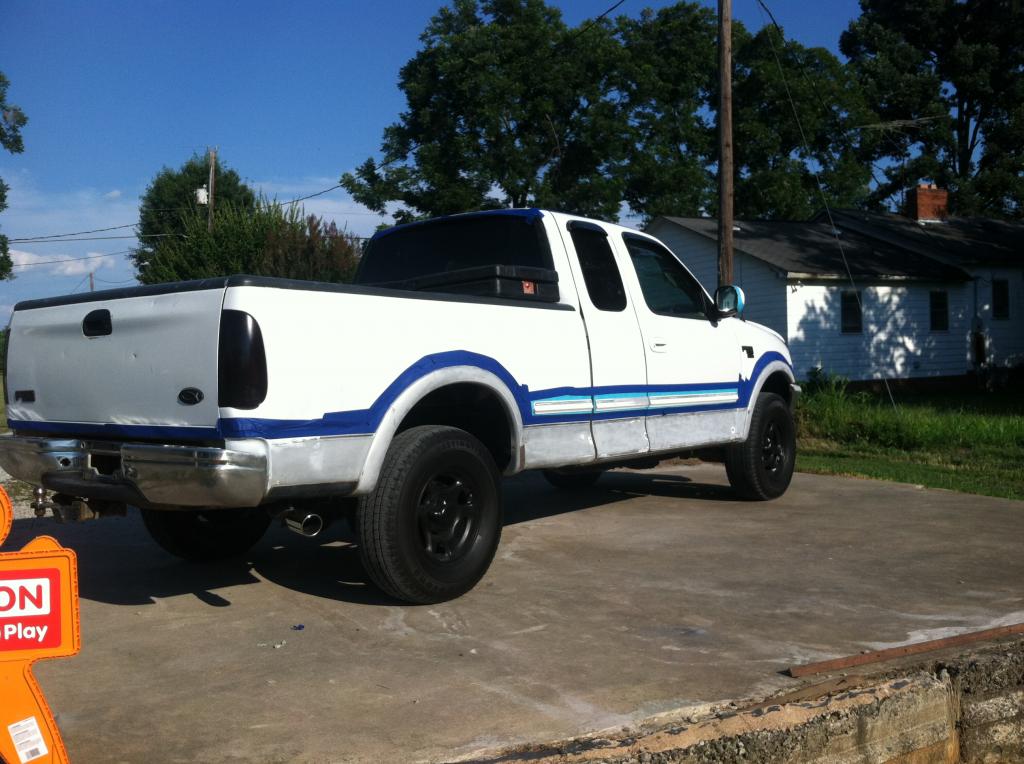
Two solid coats of Herc later, and this is where Chuck Norris sat on Monday morning in my work parking lot. Yep, didn't have time to remove all of the tape. So, rode "dirty" to work on Monday morning.
Now, the Herculiner directions say to remove the tape "right after" the second coat is applied. However, I had poor luck with this. May have been because I waited about 16 hours to put on the second coat. Time is "of the essence" when your working around a family schedule with kiddos.
Tape removal has been a seriously pain-staking process. I've taken it in sections, 15-30 minutes at a time. I probably have nearly 2.5 hours in it so far. Just one section left to go. I've been cutting the tape lines with a razor blade, then slowing pulling the tape. The Herculiner forms a bridge above the tape line. If you just pull the tape, it will pull of the Herc past the tape line. No bueno.
Anyway, back on my next update with cleaned up and finalized exterior pictures. Need to do the following first:
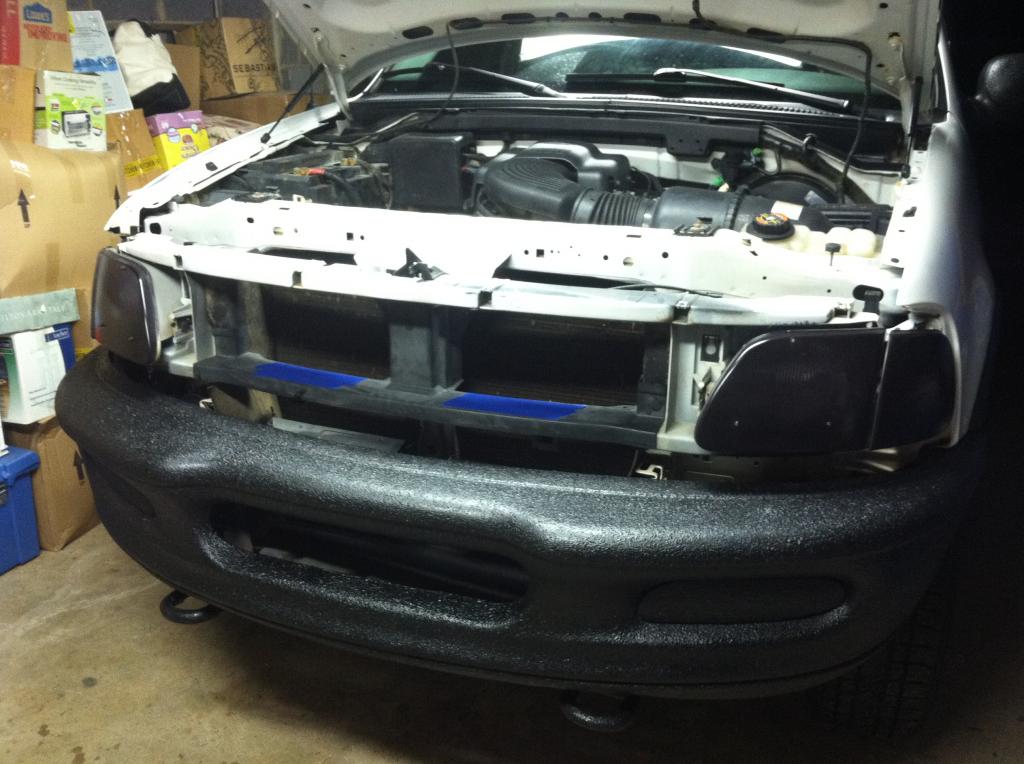
- Install KC lights behind grille
- Remove all excess Herc
- Herc and paint a few areas where paint or Herc pulled out.
- Polish and touch up paint
Let me know what you guys think so far.


Two solid coats of Herc later, and this is where Chuck Norris sat on Monday morning in my work parking lot. Yep, didn't have time to remove all of the tape. So, rode "dirty" to work on Monday morning.


Now, the Herculiner directions say to remove the tape "right after" the second coat is applied. However, I had poor luck with this. May have been because I waited about 16 hours to put on the second coat. Time is "of the essence" when your working around a family schedule with kiddos.
Tape removal has been a seriously pain-staking process. I've taken it in sections, 15-30 minutes at a time. I probably have nearly 2.5 hours in it so far. Just one section left to go. I've been cutting the tape lines with a razor blade, then slowing pulling the tape. The Herculiner forms a bridge above the tape line. If you just pull the tape, it will pull of the Herc past the tape line. No bueno.
Anyway, back on my next update with cleaned up and finalized exterior pictures. Need to do the following first:
- Install KC lights behind grille
- Remove all excess Herc
- Herc and paint a few areas where paint or Herc pulled out.
- Polish and touch up paint
Let me know what you guys think so far.
 07-14-2014, 07:26 AM
#12
Junior Member
Thread Starter
Join Date: Jun 2014
Posts: 28
Likes: 0
Received 0 Likes
on
0 Posts
Update: Exterior 95% Complete
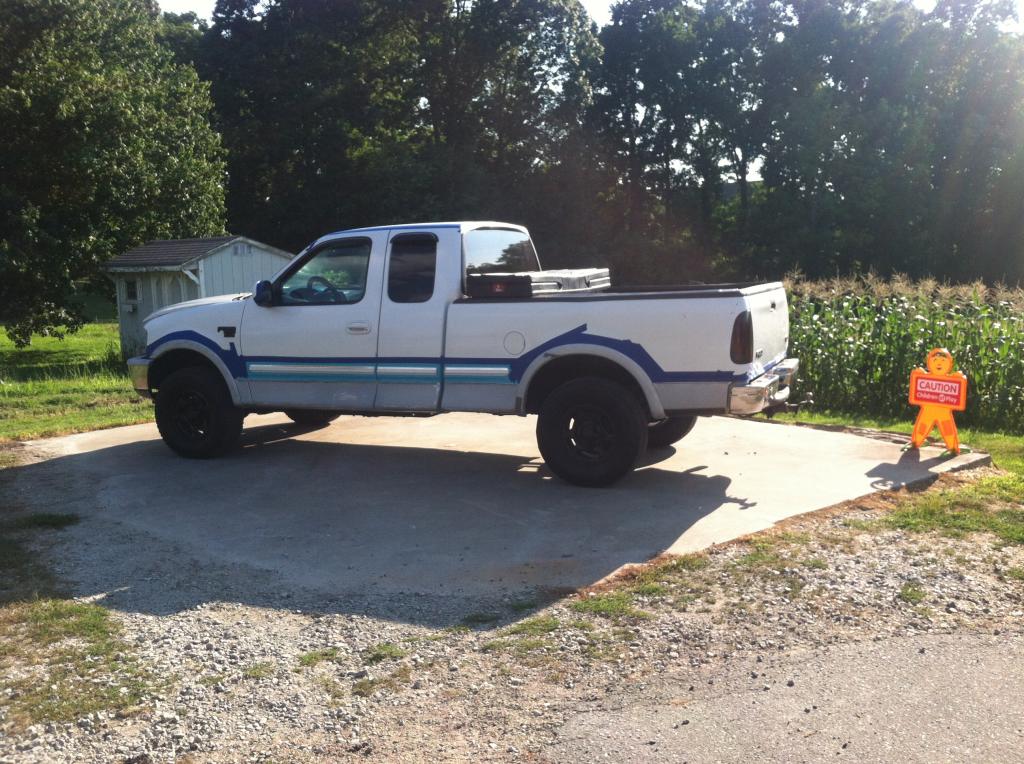
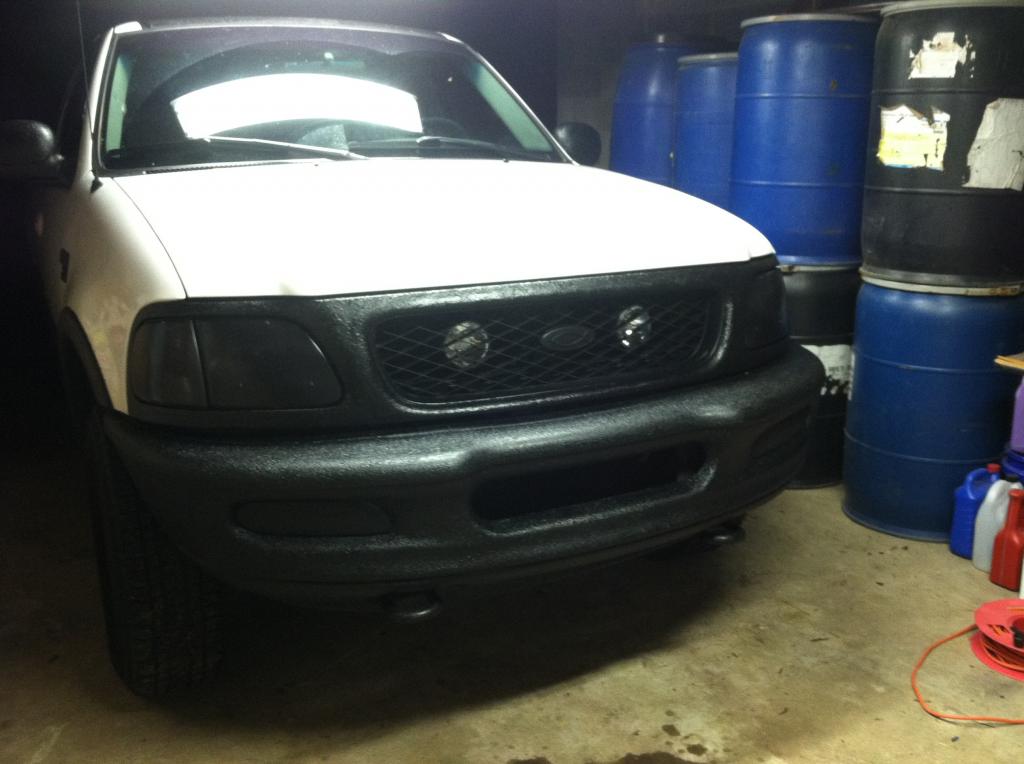
Hello all. I managed to get some more work done on ChuckNorris over the last few days. Sans the 4x4 decals, the majority of the exterior work is now done on the truck.
Here's some progress and completed pics:
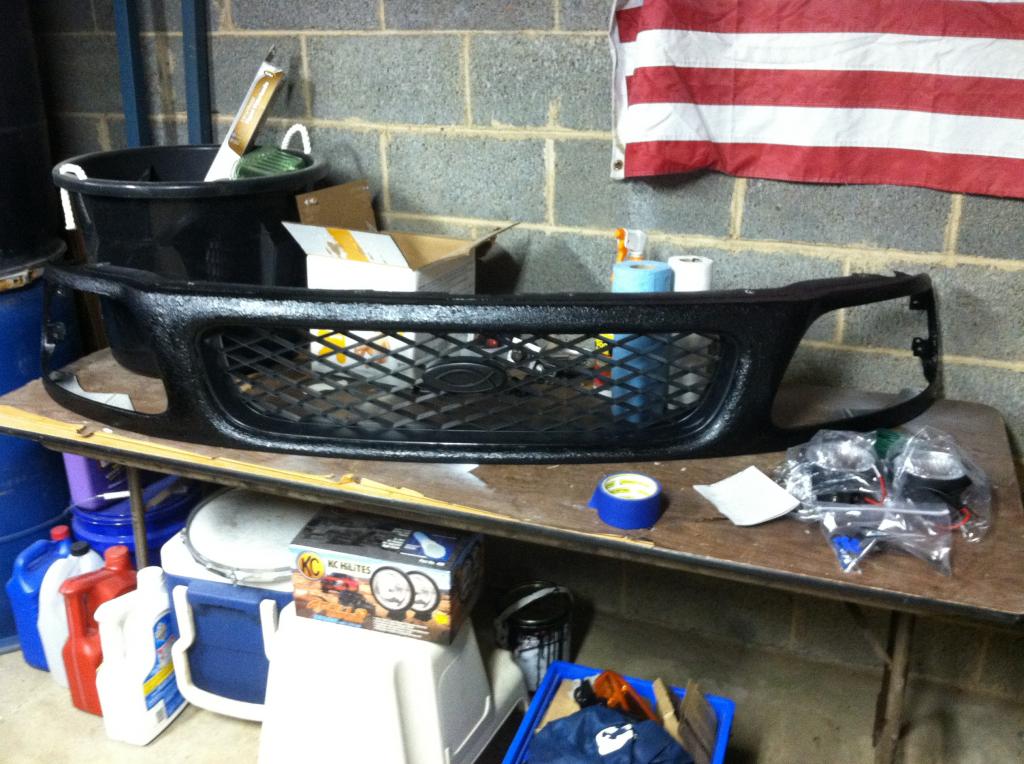
Measured and installed some KC Apollo lights behind the grille:
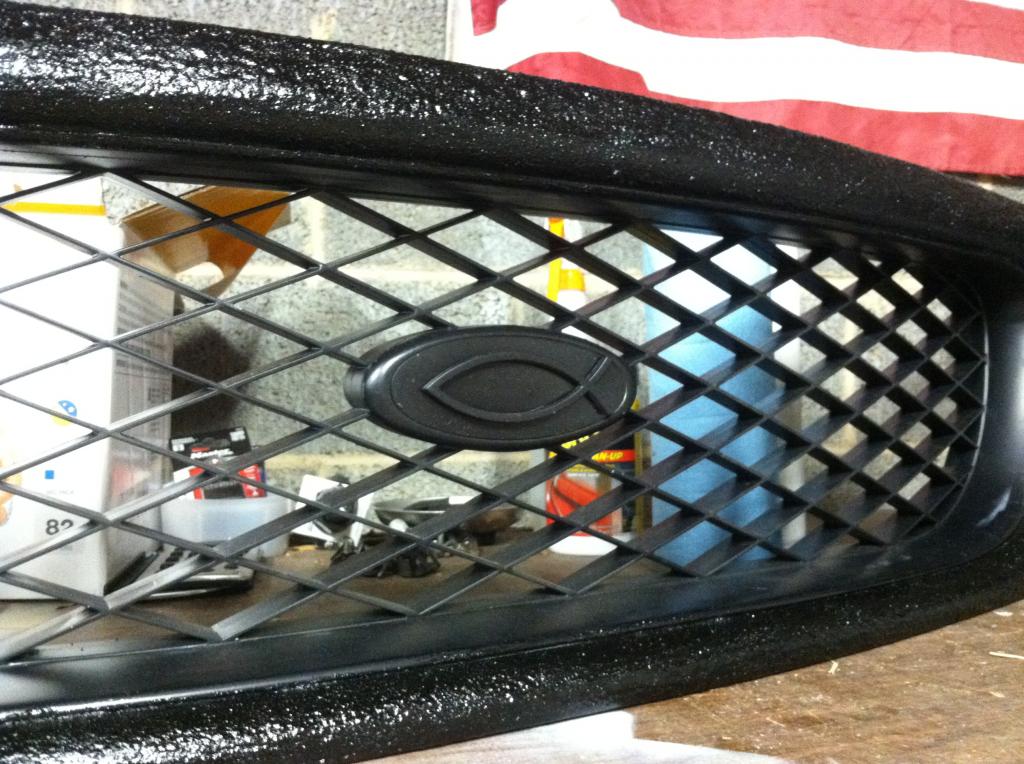
Brush-painted my grille with Herculiner, as the spray can stuff didn't match well enough:

Did an ictus and plasti-dip for my front and rear grilles.
More on the next post...
Hello all. I managed to get some more work done on ChuckNorris over the last few days. Sans the 4x4 decals, the majority of the exterior work is now done on the truck.
Here's some progress and completed pics:
Measured and installed some KC Apollo lights behind the grille:


Brush-painted my grille with Herculiner, as the spray can stuff didn't match well enough:


Did an ictus and plasti-dip for my front and rear grilles.

More on the next post...
07-14-2014, 07:31 AM
#13
Junior Member
Thread Starter
Join Date: Jun 2014
Posts: 28
Likes: 0
Received 0 Likes
on
0 Posts
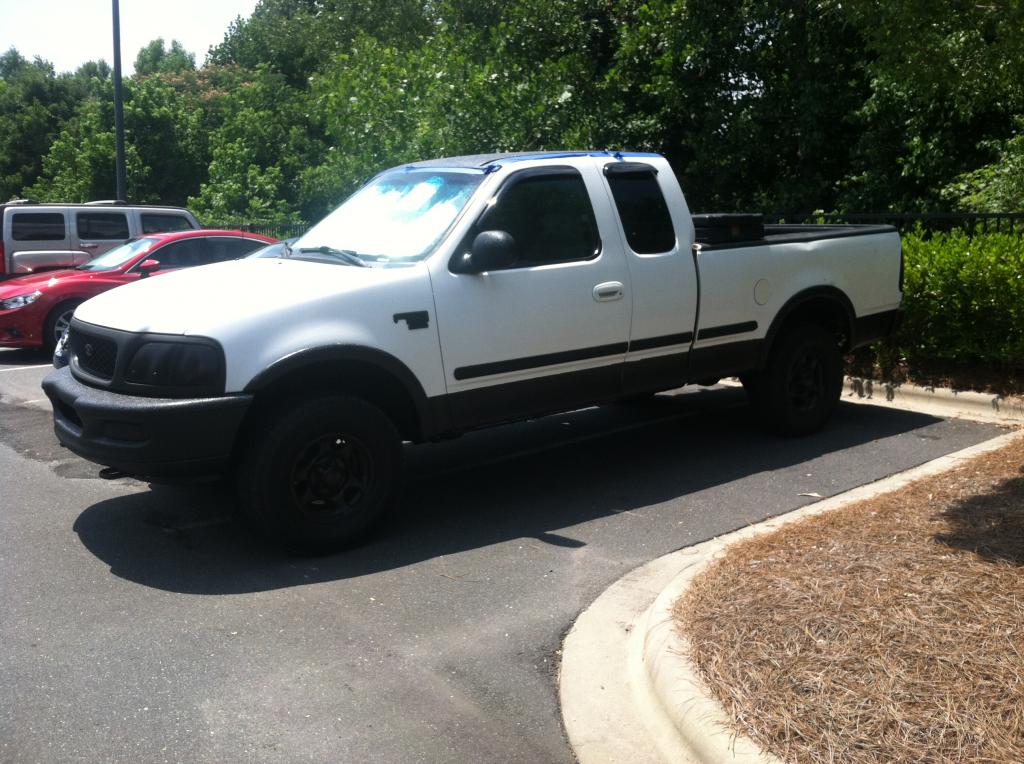
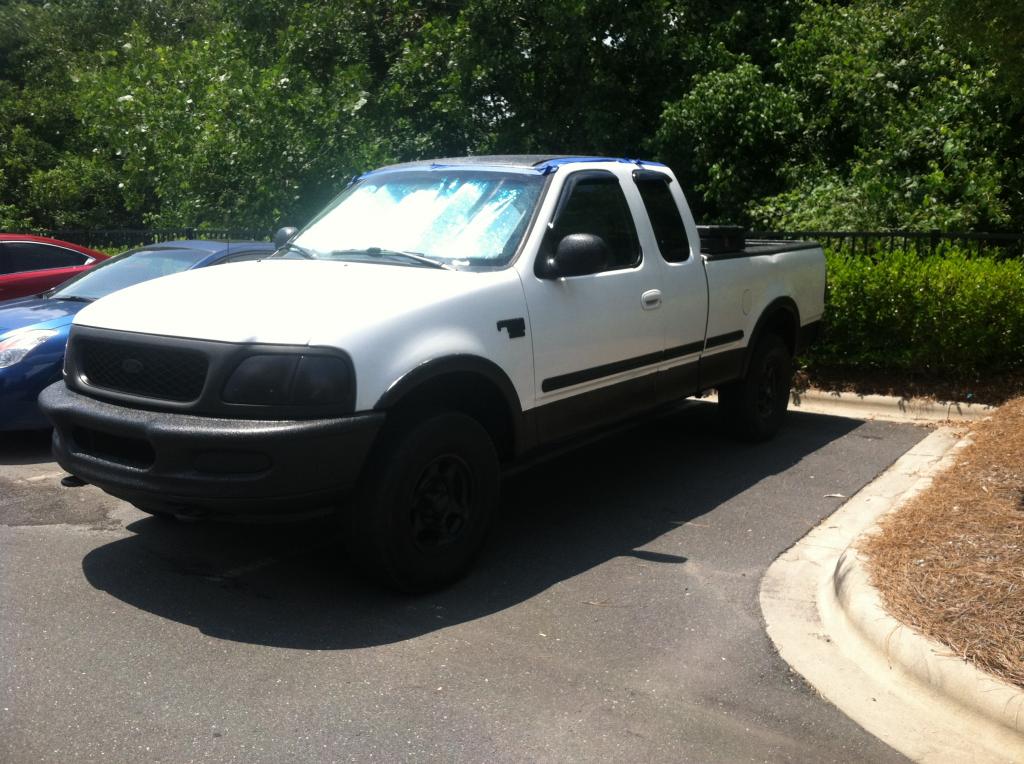
Then I was able to start on the paint clean up and restoration/polishing.
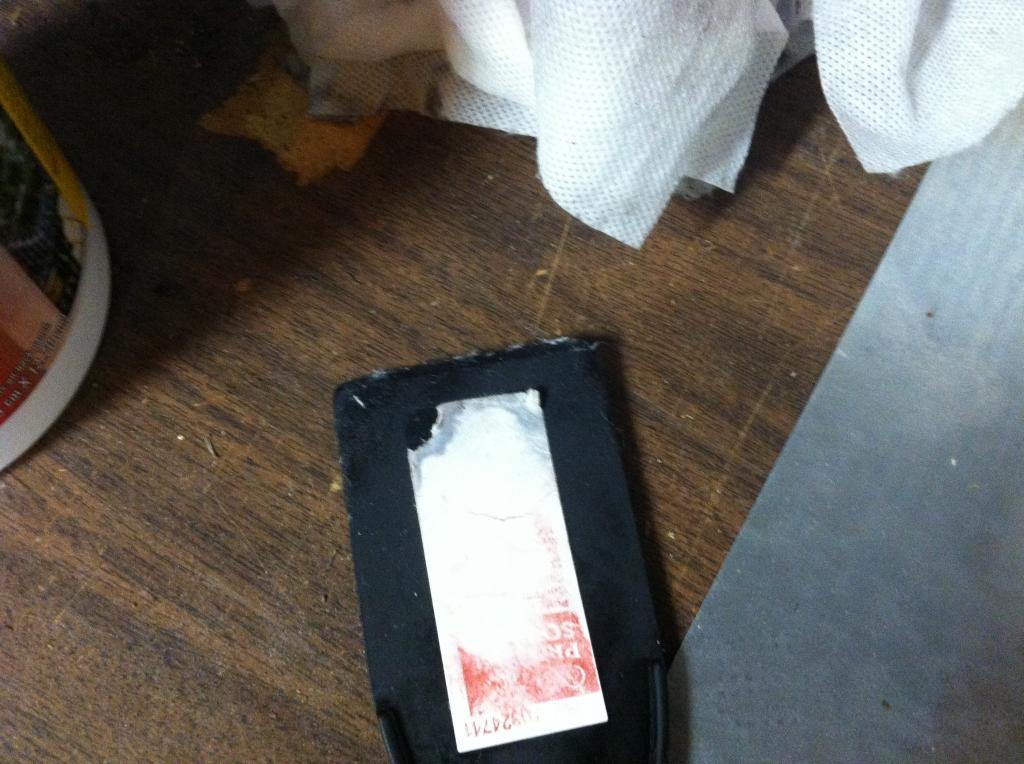
Started by using a putty knife and some Goo-Gone wipes to remove any paint overspray, as well as clean up the edges of all the Herculine'd pieces. These wipes are AWESOME!! You can see how much I wore out the edge of the putty knife scraping stuff off.

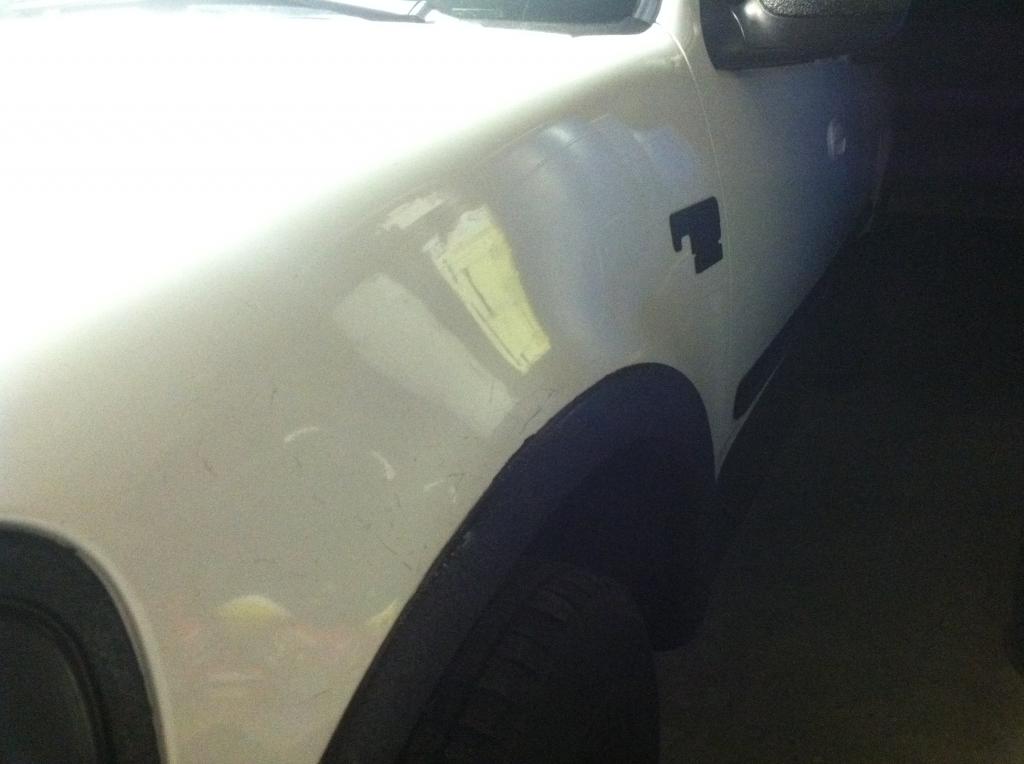
Then came some clay-bar action:
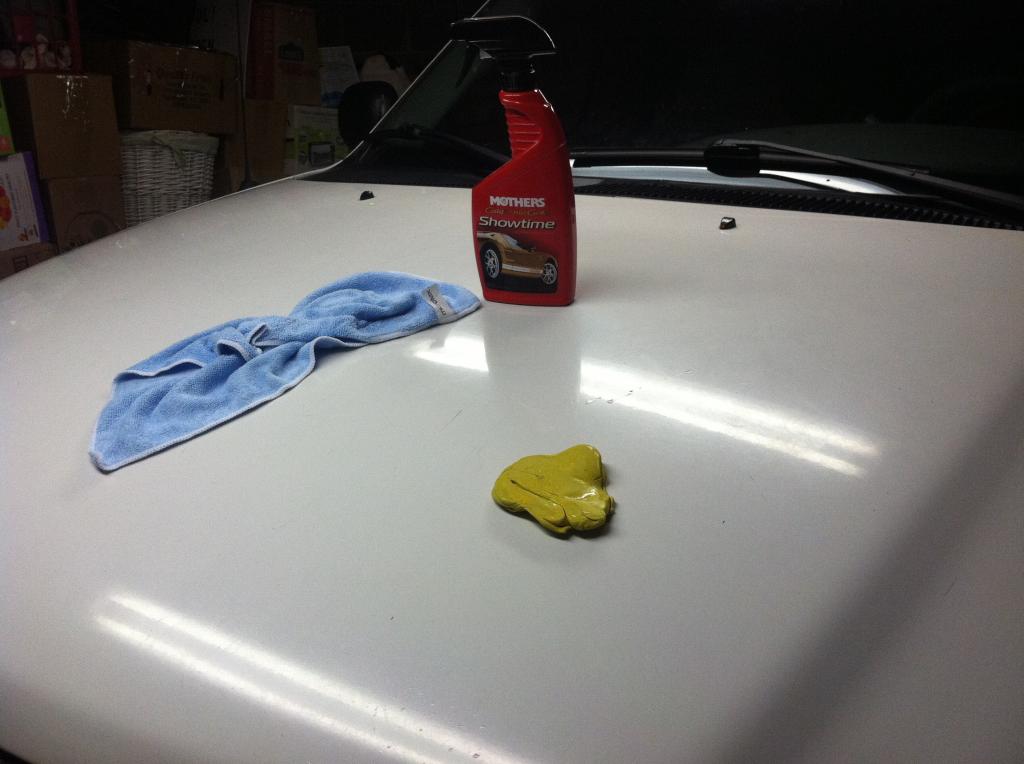
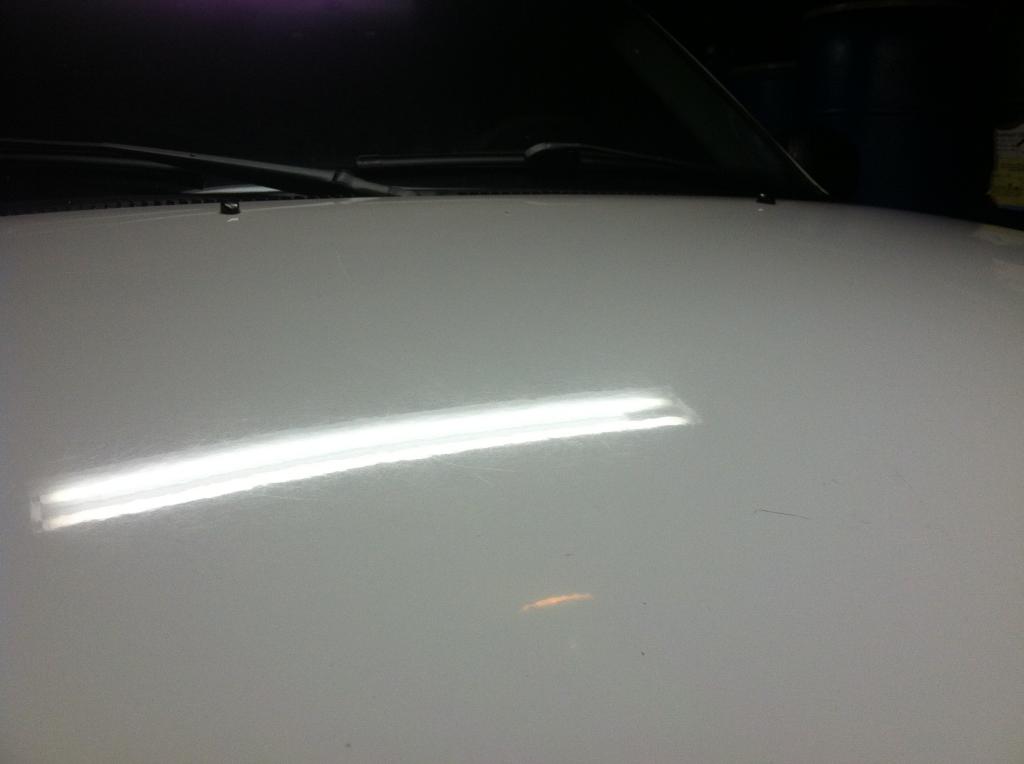
Here's the paint after clay. Clean of oils/dirt, but very very hazy
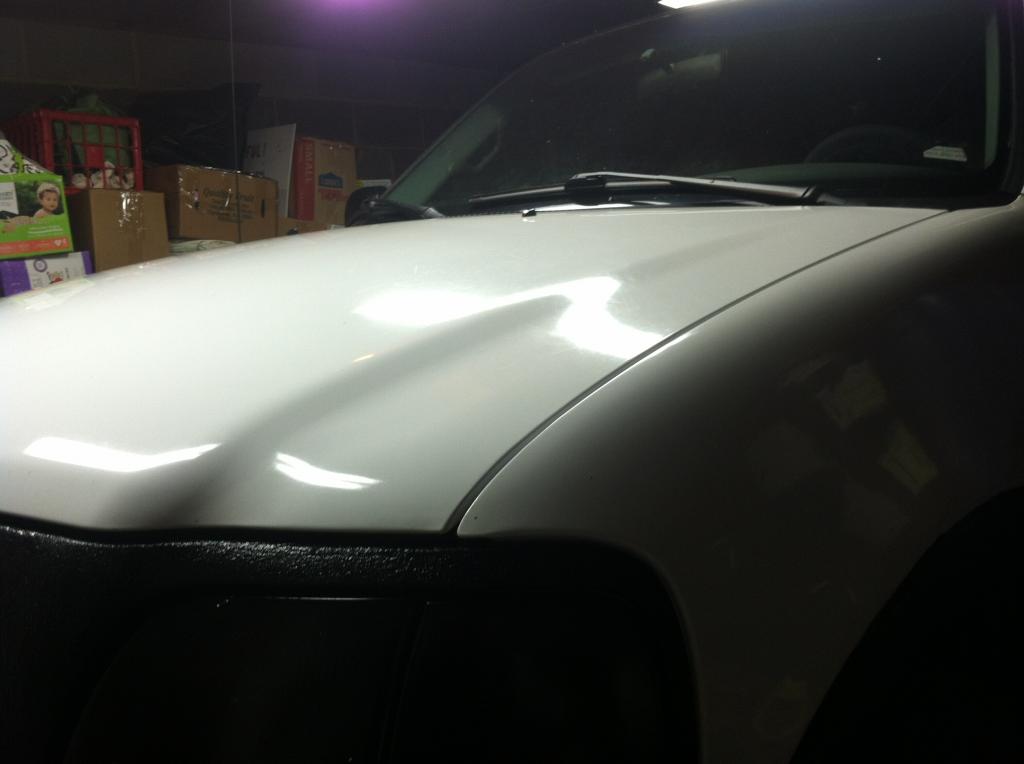
Then cutting and polishing began. Used an Autozone polisher. Cost me $20. Worked GREAT, but broke at the very end ;(
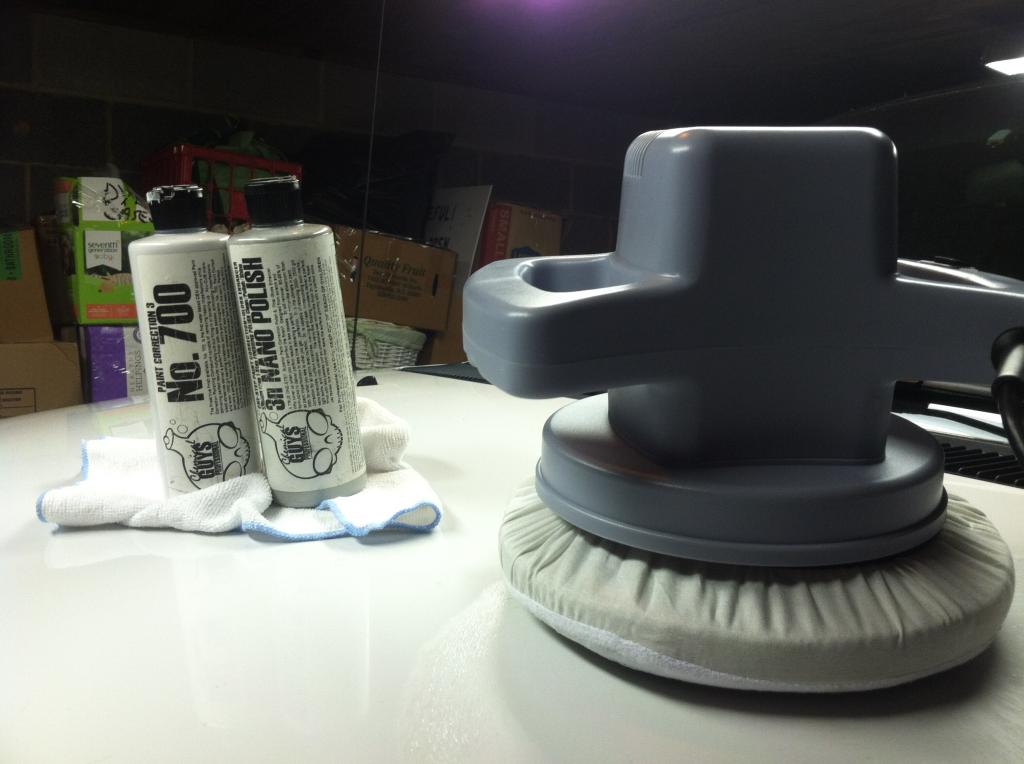
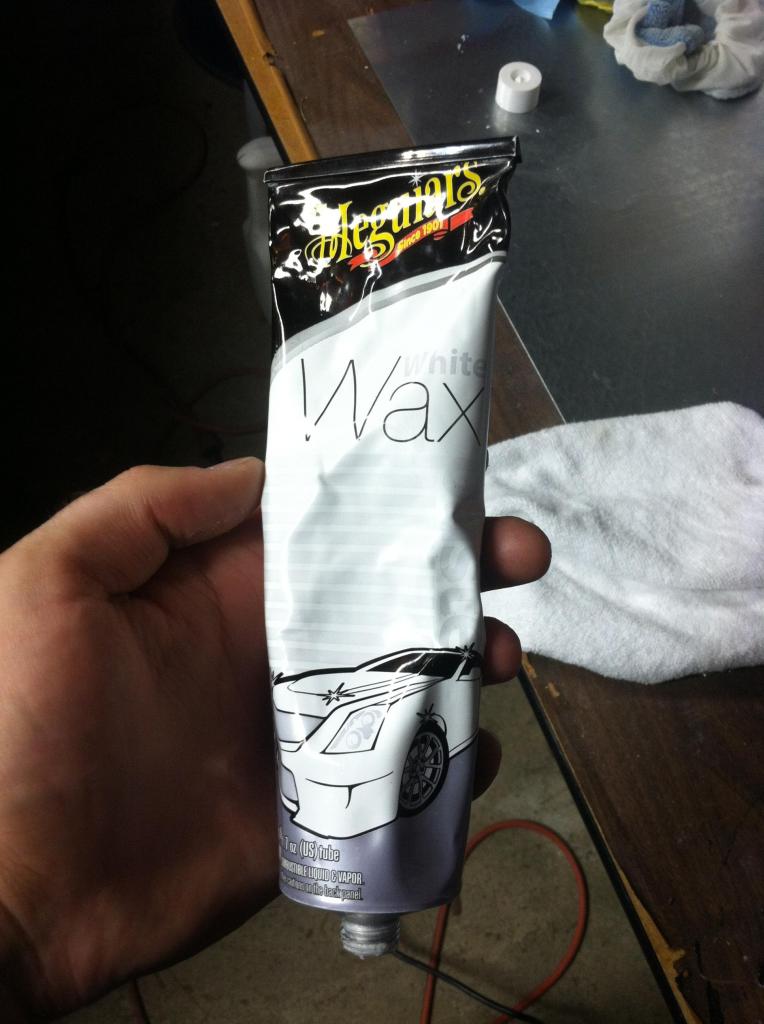
Finished up with some of this wax. Love this stuff!
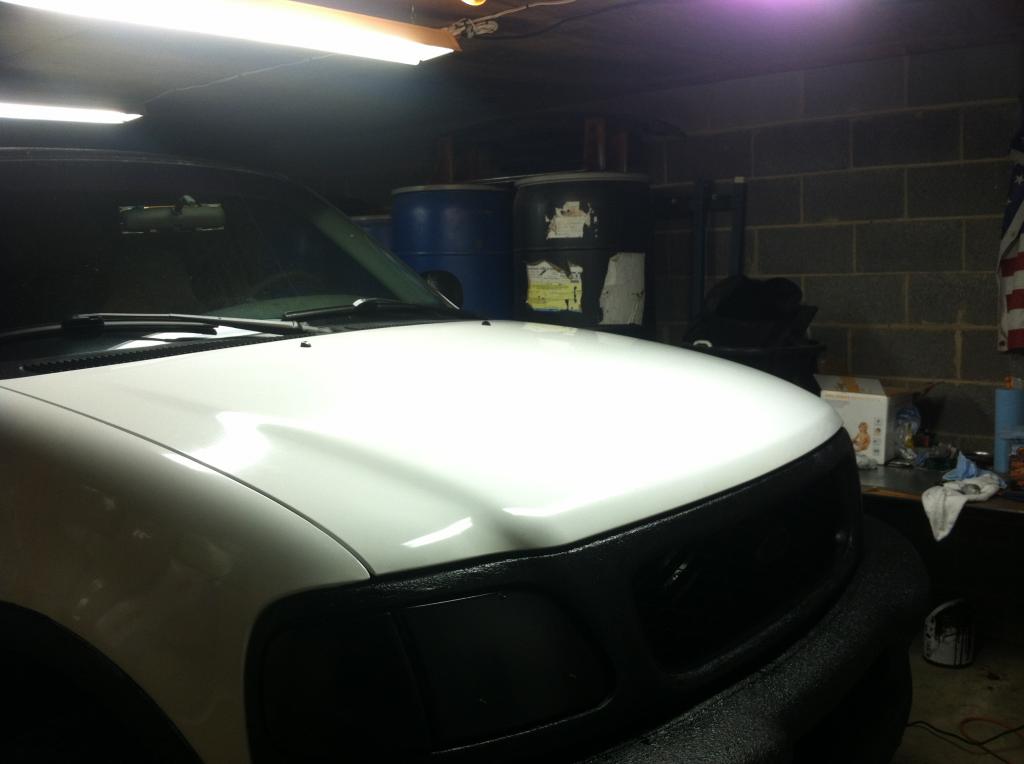
Final results. The paint really came back well:
Started by using a putty knife and some Goo-Gone wipes to remove any paint overspray, as well as clean up the edges of all the Herculine'd pieces. These wipes are AWESOME!! You can see how much I wore out the edge of the putty knife scraping stuff off.


Then came some clay-bar action:

Here's the paint after clay. Clean of oils/dirt, but very very hazy

Then cutting and polishing began. Used an Autozone polisher. Cost me $20. Worked GREAT, but broke at the very end ;(

Finished up with some of this wax. Love this stuff!

Final results. The paint really came back well:


 07-17-2014, 01:36 PM
#17
Junior Member
Thread Starter
Join Date: Jun 2014
Posts: 28
Likes: 0
Received 0 Likes
on
0 Posts
Yeah, the headlights came out a bit darker than I had originally hoped they would be. Now that I've added the KC driving lights, I'm hoping I won't run into any issues with cops, nor getting the car inspected.
We shall see...
Be back with more updates shortly.
 07-22-2014, 03:58 PM
#20
Junior Member
Thread Starter
Join Date: Jun 2014
Posts: 28
Likes: 0
Received 0 Likes
on
0 Posts
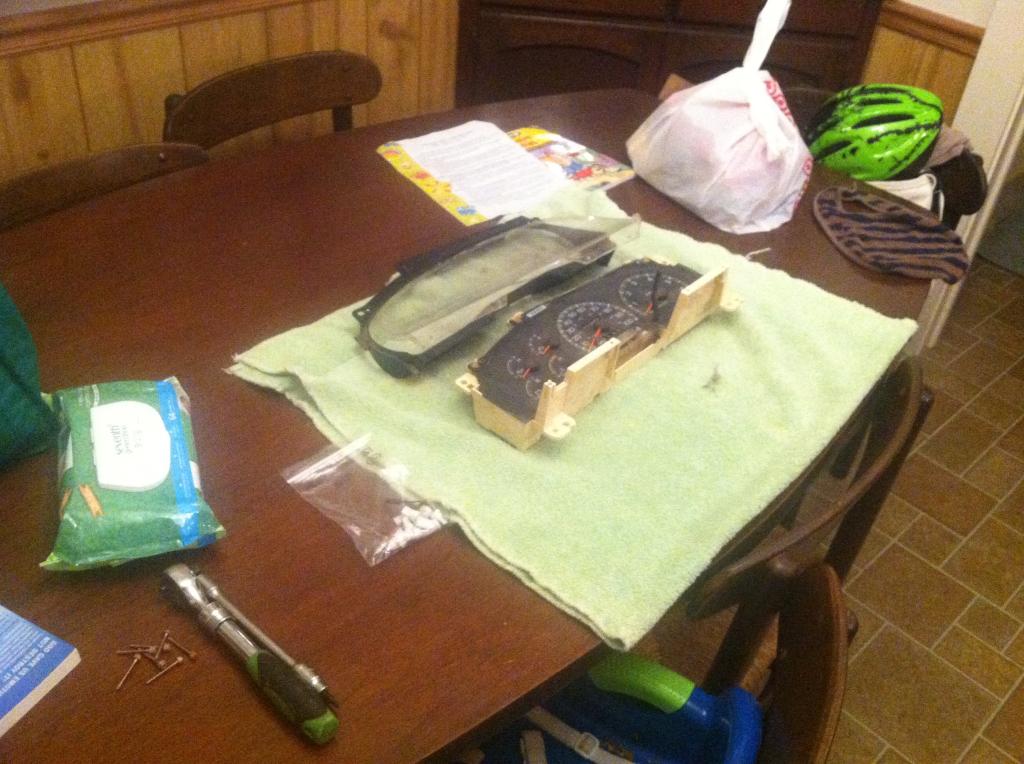
Update: Gauge Cluster Restoration + LED Bulb Swap
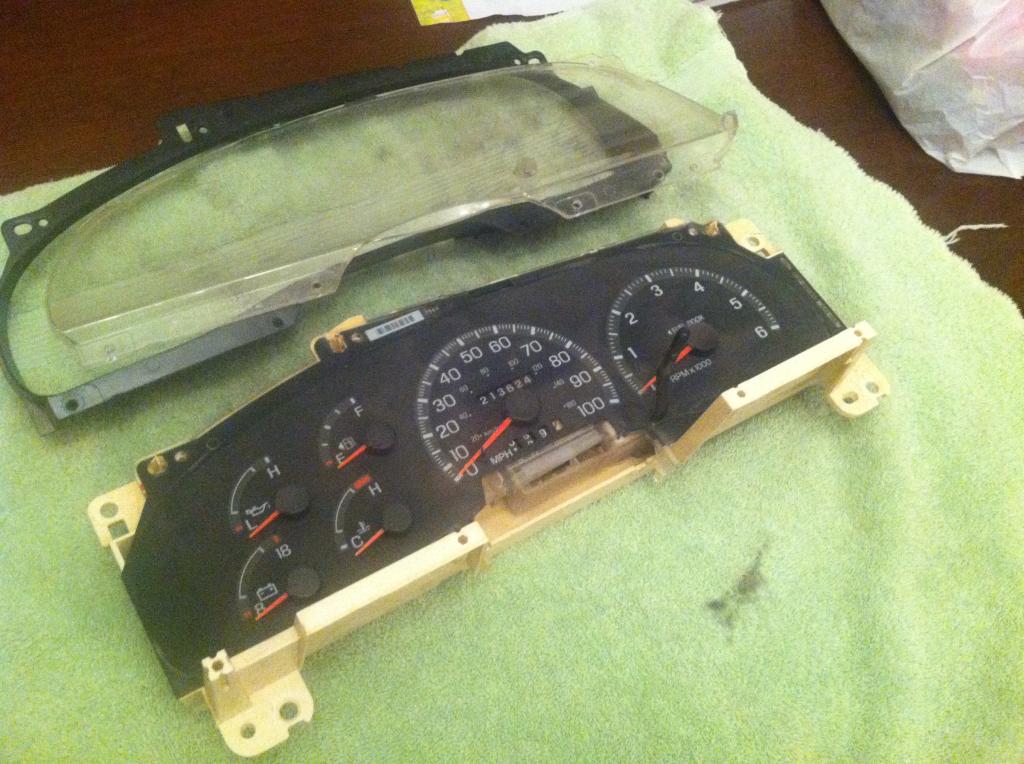
This past week, I removed the cluster. You can tell from the pics earlier in this thread that a ton of dust had made its way up through the hole where the shifter needle enters the cluster. It was so dusty, and the bulbs were so old/burnt out, that the cluster was nearly un-readable both day and night.
I decided to remove and clean things up, as well as to replace the cluster and HVAC panel bulbs with white LED bulbs while I was at it.
Here's some pics of the restoration process on the cluster:
Before:
After:
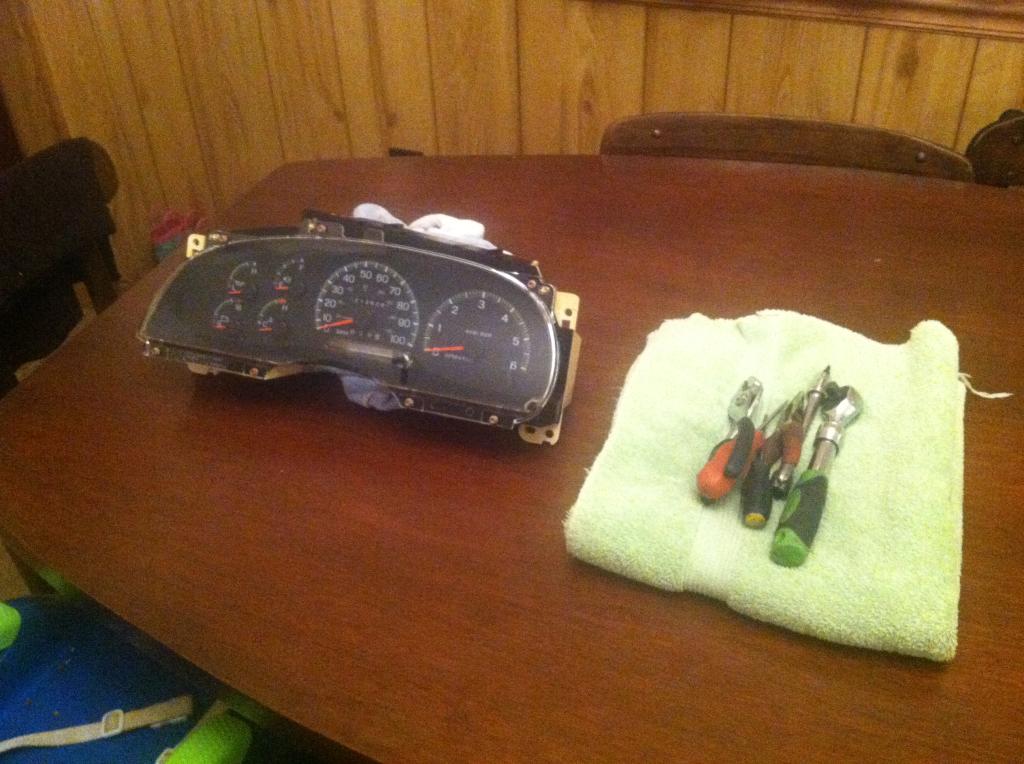

Once the cluster was apart, I cleaned the face/needles/body with baby wipes and then dryed everything up with lint free shop towels.
I then got to work on the plastic shroud. I used Invisible Glass cleaner and a microfiber towel to clean the inside portion of the shroud. For the outside, I used some Meguires Fine Cut Cleaner, repeating the polishing process two times. This smoothed out most of the surface scratches. I finished up the job by polishing/protecting the lens with Meguires PlastiX.
I'll be posting several more interior updates soon, including a custom high-mount light switch panel that I'm pretty excitied about my progress on, thus far.
Until then, thanks for following along.
This past week, I removed the cluster. You can tell from the pics earlier in this thread that a ton of dust had made its way up through the hole where the shifter needle enters the cluster. It was so dusty, and the bulbs were so old/burnt out, that the cluster was nearly un-readable both day and night.
I decided to remove and clean things up, as well as to replace the cluster and HVAC panel bulbs with white LED bulbs while I was at it.
Here's some pics of the restoration process on the cluster:
Before:


After:


Once the cluster was apart, I cleaned the face/needles/body with baby wipes and then dryed everything up with lint free shop towels.
I then got to work on the plastic shroud. I used Invisible Glass cleaner and a microfiber towel to clean the inside portion of the shroud. For the outside, I used some Meguires Fine Cut Cleaner, repeating the polishing process two times. This smoothed out most of the surface scratches. I finished up the job by polishing/protecting the lens with Meguires PlastiX.
I'll be posting several more interior updates soon, including a custom high-mount light switch panel that I'm pretty excitied about my progress on, thus far.
Until then, thanks for following along.
Last edited by ChuckNorris; 07-23-2014 at 09:16 PM.