The Build of ChuckNorris: '98 F150
 06-23-2014, 11:48 PM
#1
Junior Member
Thread Starter
Join Date: Jun 2014
Posts: 28
Likes: 0
Received 0 Likes
on
0 Posts
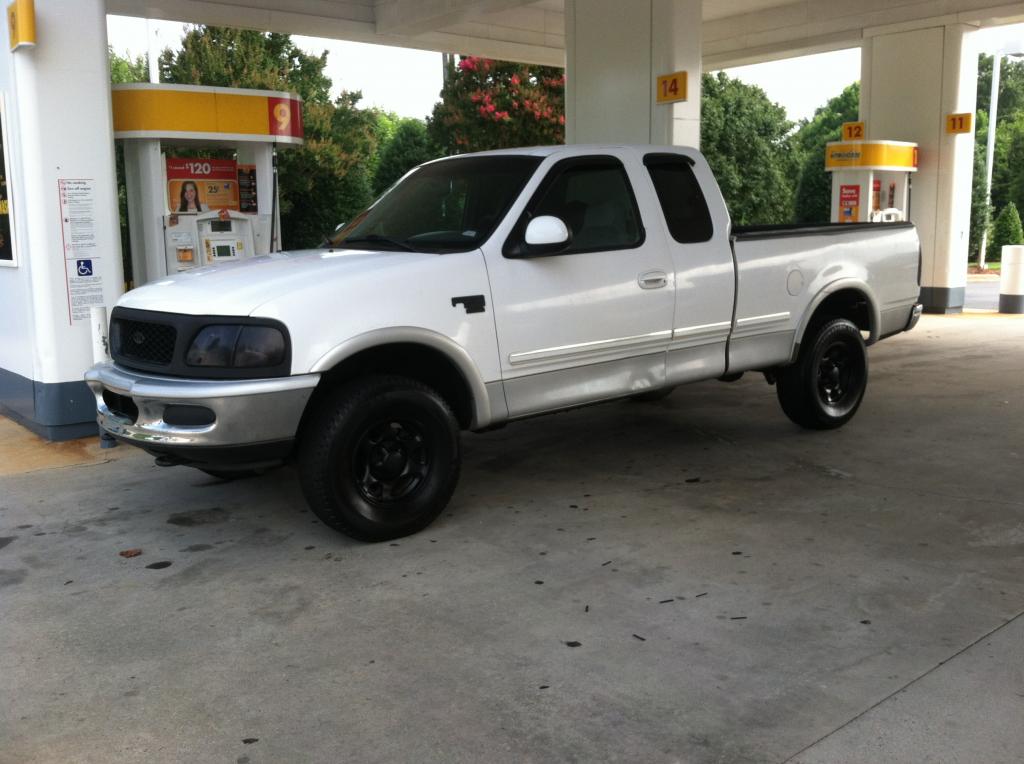
Hello all, this is my first post. Great to be here.
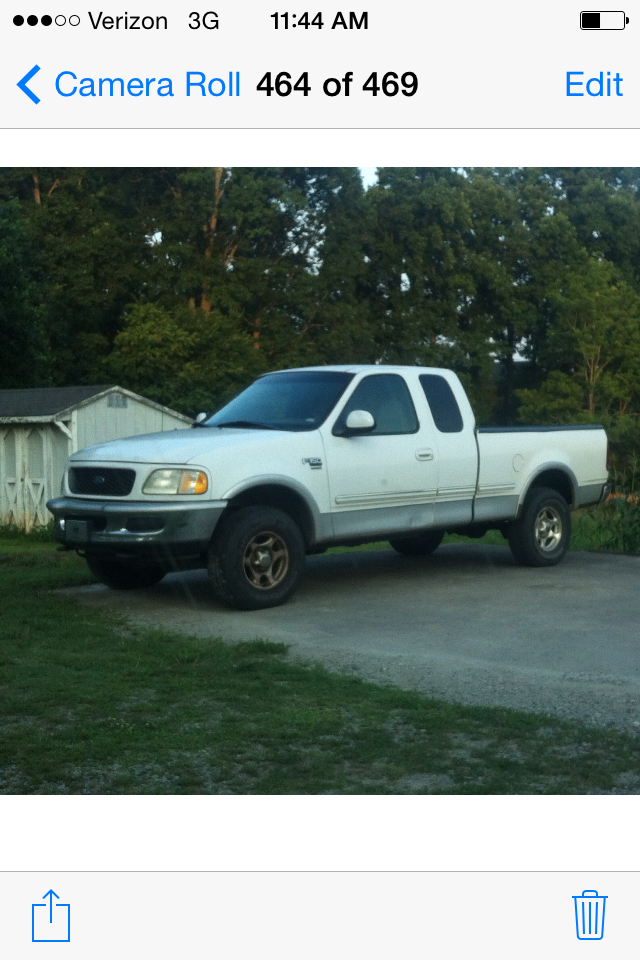
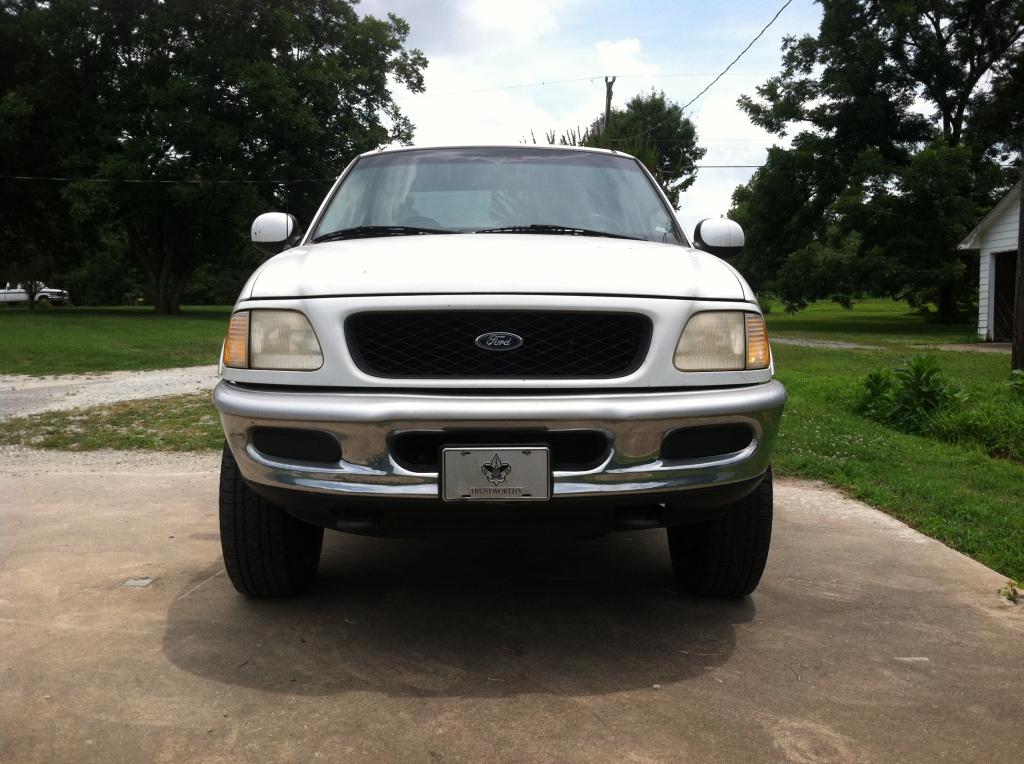
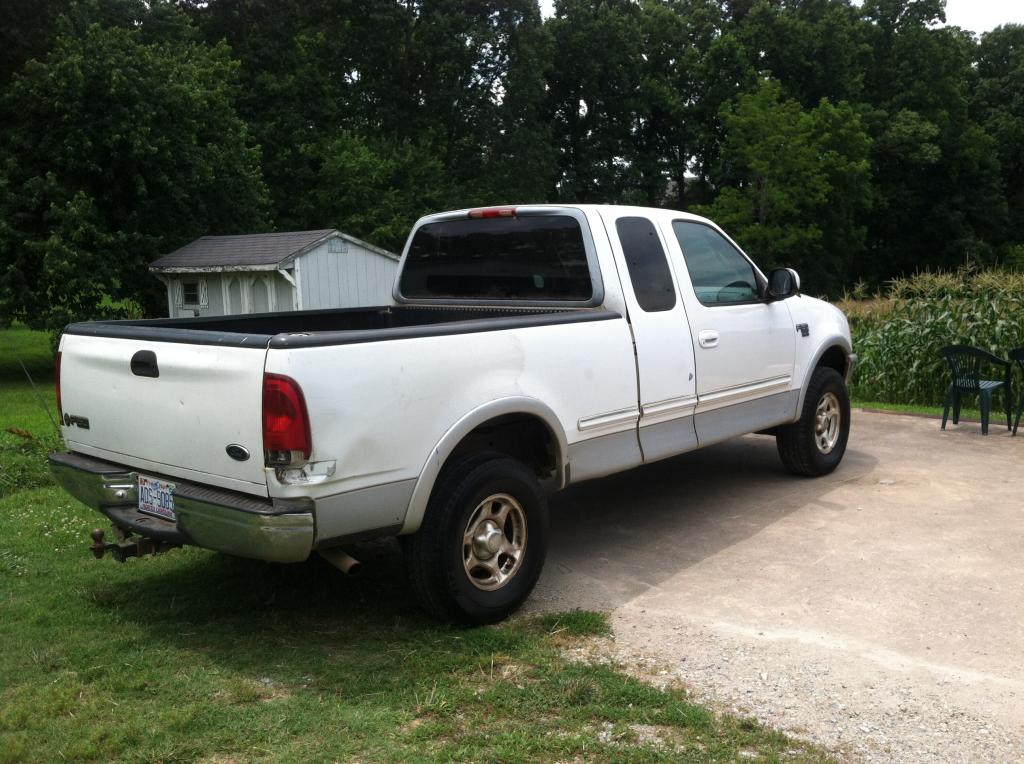
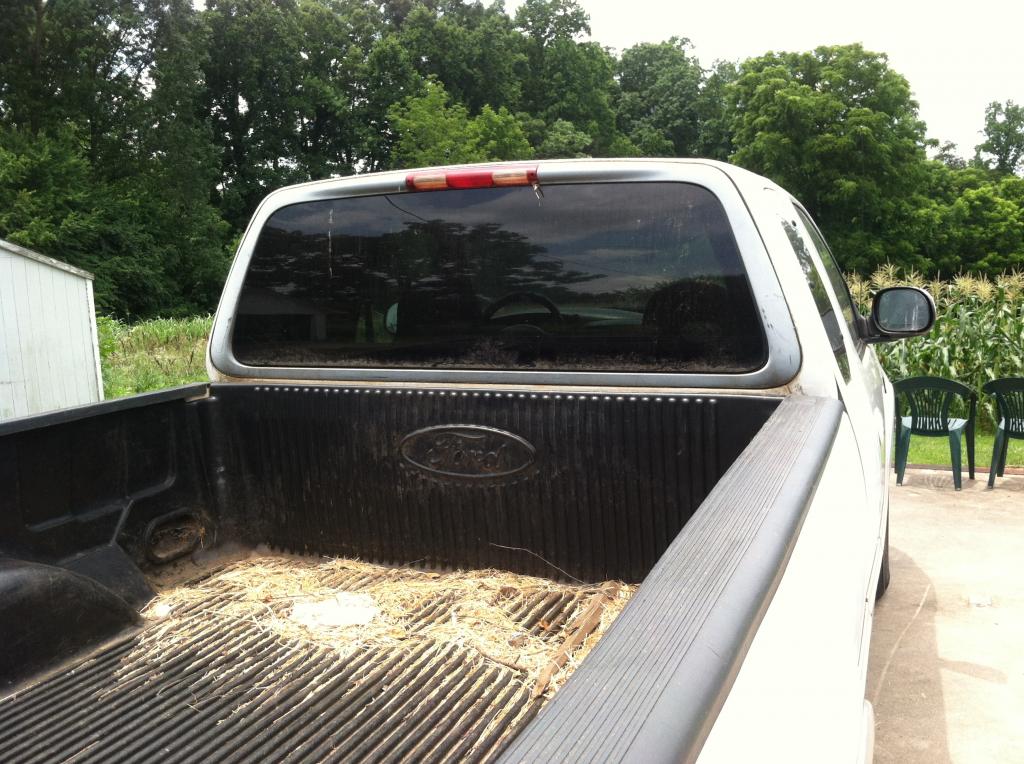
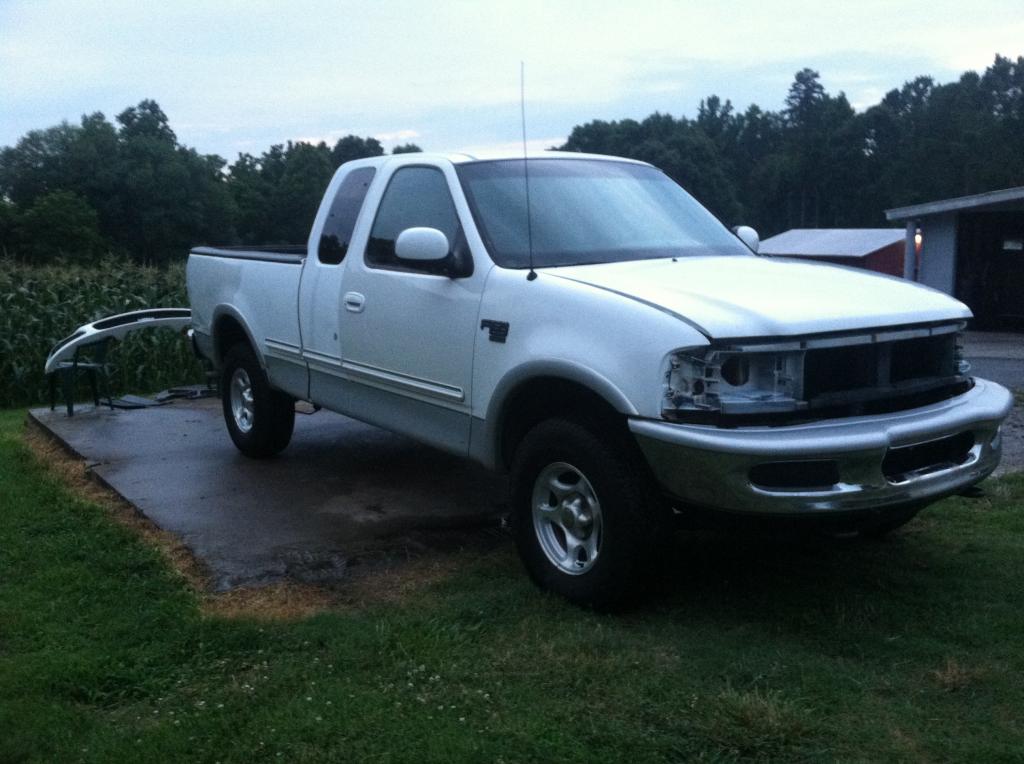
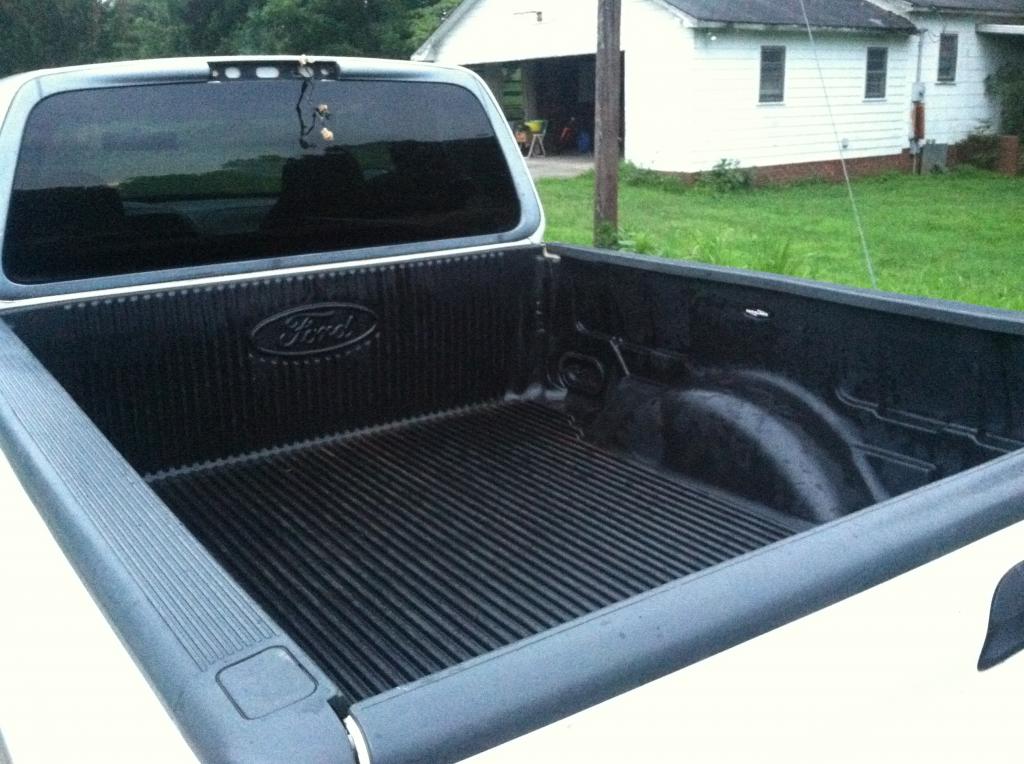
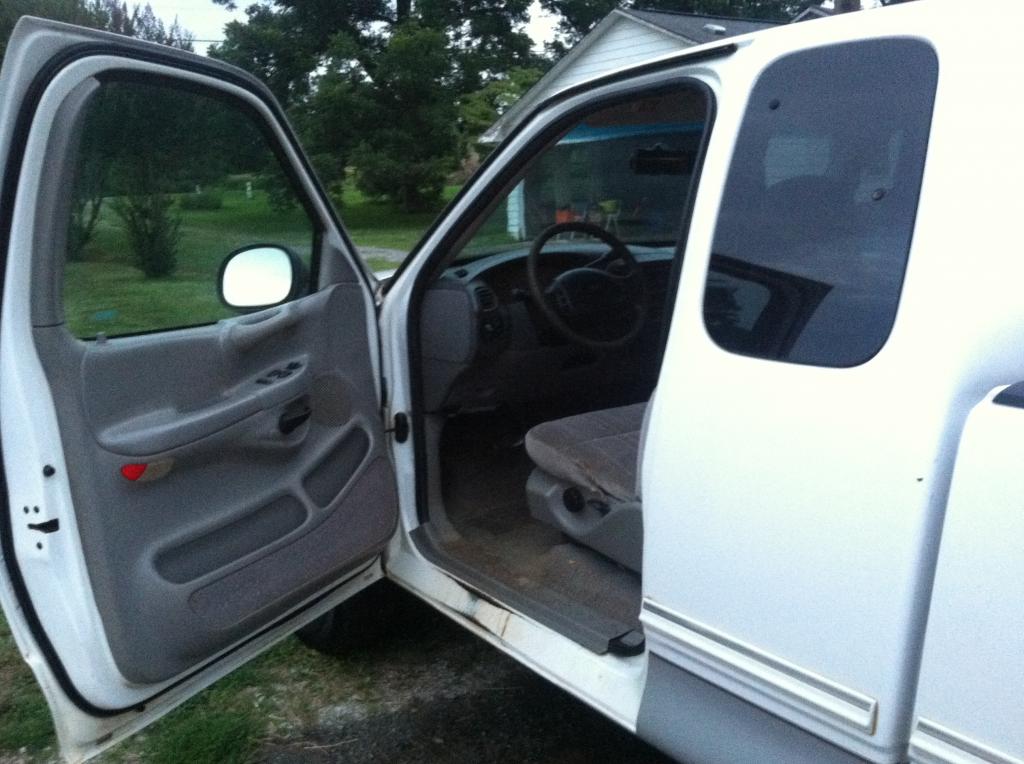
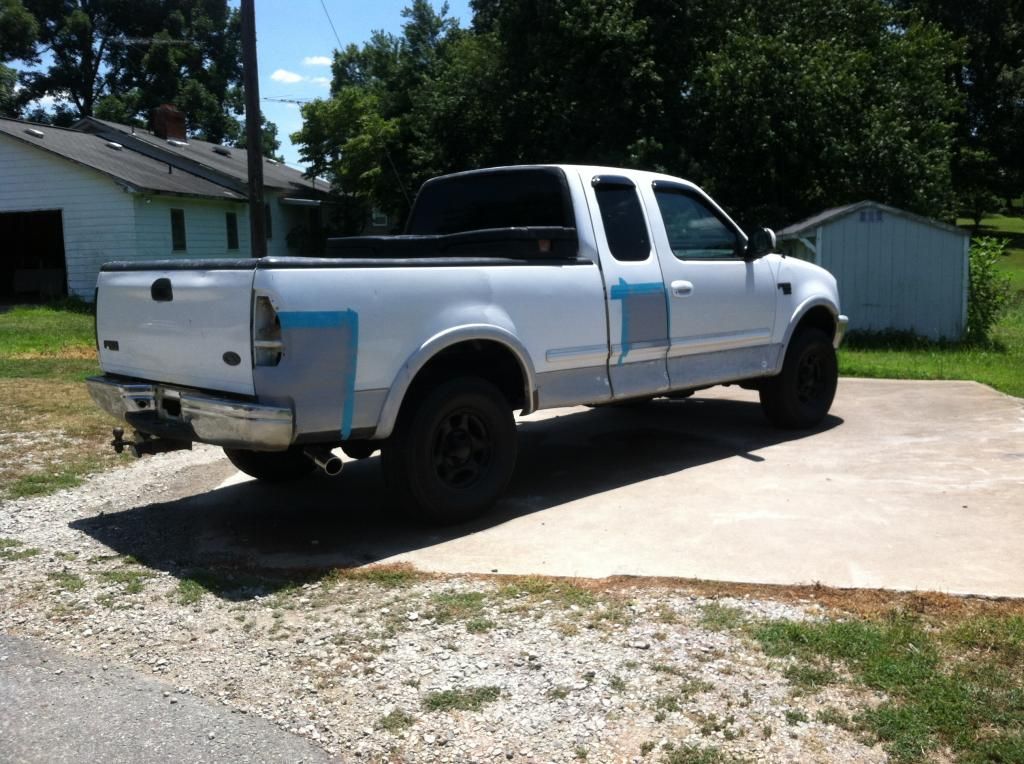
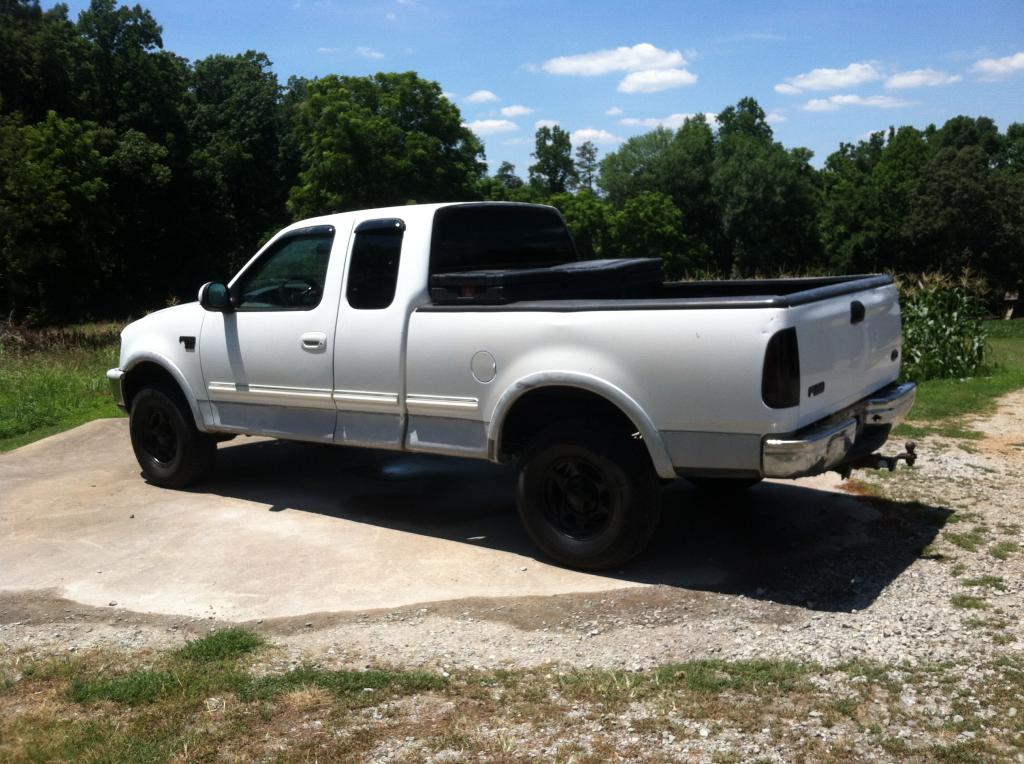
A good friend sold me this truck for a great price. I’ve decided to name him ChuckNorris.. He runs well; tough as nails. ChuckNorris was used as a work truck for a grading business, and he came to me with the bumps outside and red clay inside to prove it.
ChuckNorris will be a tough truck that also looks tough. Chuck will get budget-friendly treatment for now, but my hope is that the craftsmanship will not be budget on my end.
I'll post progress here as I go along.
I started on this past weekend with the interior restoration work. I hope to have the inside of the truck finished up this week. Once that is completed, the exterior and maintenance work will follow in the weeks/months ahead.
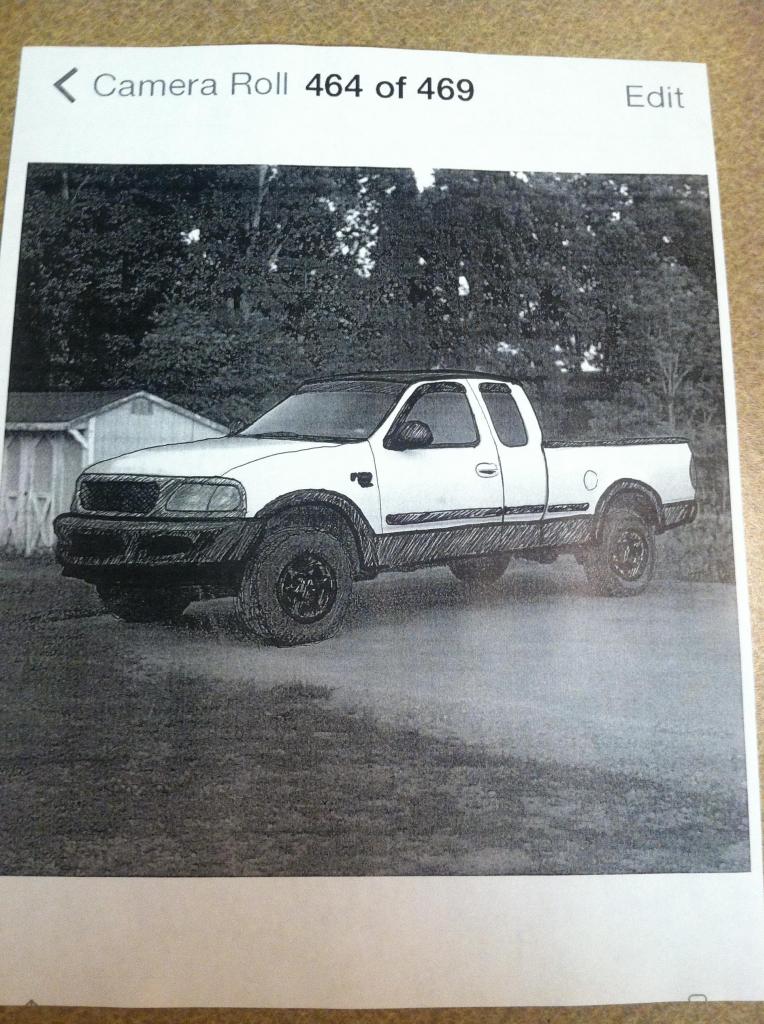
I did a rough sketch to see how my final plans for Chuck’s resto-looks might end up :
Before
After
Here is what is planned for this project:
Interior:
- Thorough cleaning
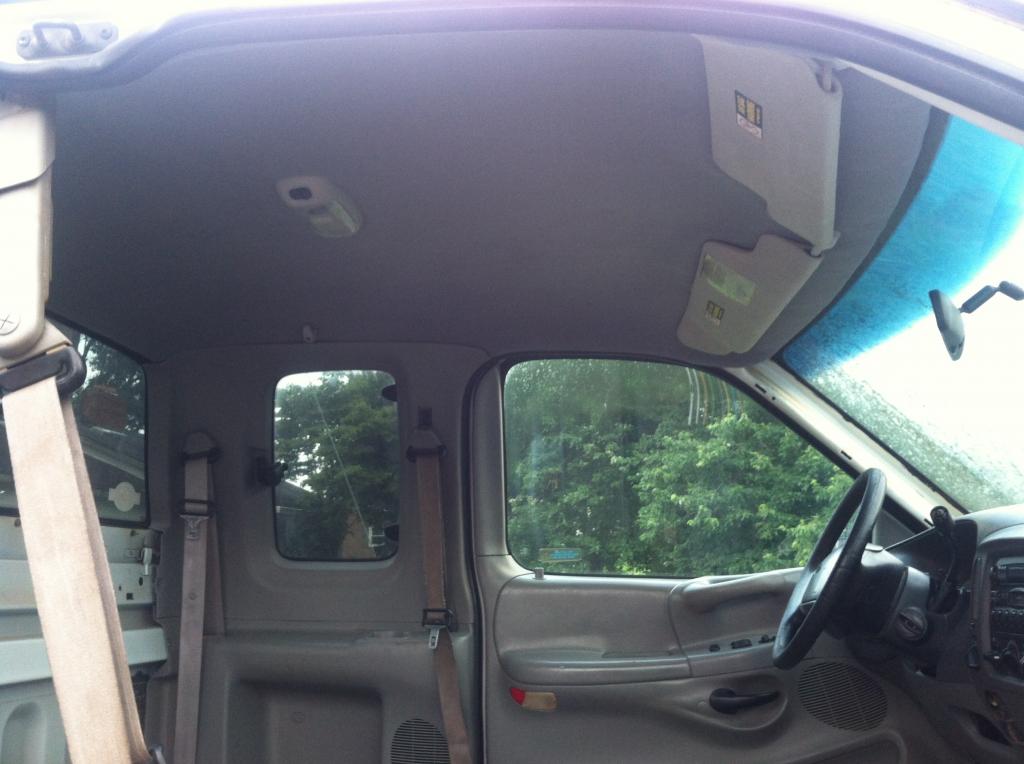
- Headliner re-wrap
- LED lighting conversion to the following: cluster, climate control, headlamp switch, door/courtesy lamps; map lights & dome light, cigarette lighter, glove box
- Aftermarket radio and speakers
- LATER: Bass-tube behind Drivers Seat
- Adjust loose transmission shift arm
- Replace a few worn/missing parts
- Matching Tint applied to front windows
- Front windshield banner
- Patch small hole on LH side of drivers seat
- Alarm w/ keyless entry
Exterior:
- Thorough cleaning of entire chassis: exterior, wheels (inside also), undercarriage, engine bay, and inner door jams/fuel door.
- Light buffing/paint correction w/ cheap Autozone buffer
- Touch up paint on about 20 scratches
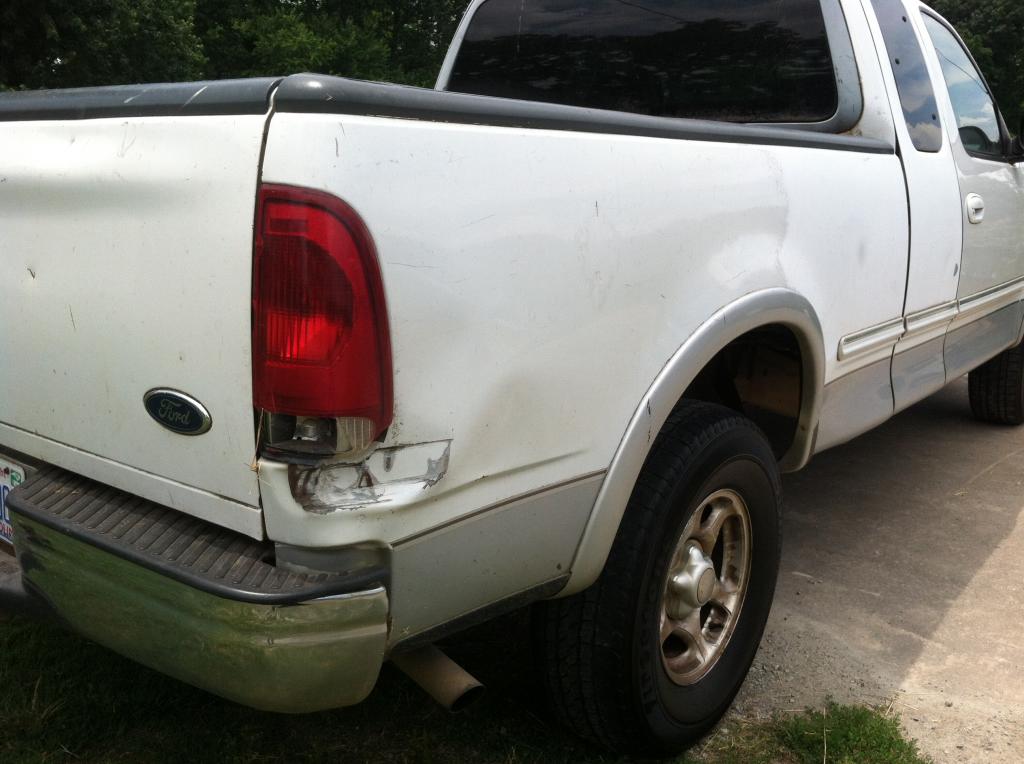
- Correct RH tail lamp dent; patch paint
- Correct RH rear door panel; patch paint
- Correct bump on LH lower door fascia
- Herculiner (roll on) applied to all lower fascias, fender liners, bumpers, front grille, tow hook (sans ball), and roof (yes, the roof).
- Plasti-Dip All Badges
- Plasti-Dip OEM Wheels
- Window Vent Visors
- Degrease/Wash inside of all exterior lights
- Source and install clean/crack-free OEM taillights
- Sand-Buff OEM headlight lenses
- Tint spray/Buff Headlights, Parking Lamps, Tail LIghts, Dole-light (if legal)
- Apply fresh black paint Under-carriage and exhaust piping
- Chrome bolt on tip for exhaust
- Clean bed; apply “Forever Black” Bedliner Gel
- Clean and apply Duplicolor Trim Black paint to the following: wiper cowl, wiper arms, tailgate handle, rear step board, inner front grille mesh, rear window trim
- Install fresh wiper blades
- Locate/Select black “4x4” decals for sides of truck (rear)
- LED conversions to all rear exterior bulbs
- Later: Bull Bar w/ a winch and Hella fogs (or similar)
- Much Later: Possible fresh Oxford White paint on non-bedliner surfaces
Mechanical/Performance:
- Fresh air filter
- Oil Change; add Engine Restorer
- Add Sea Foam to fuel tank/crankcase
- Radiator drain and fill
- Track down current/known oil leak
- LATER: cold/ram air intake
- LATER: possible custom exhaust
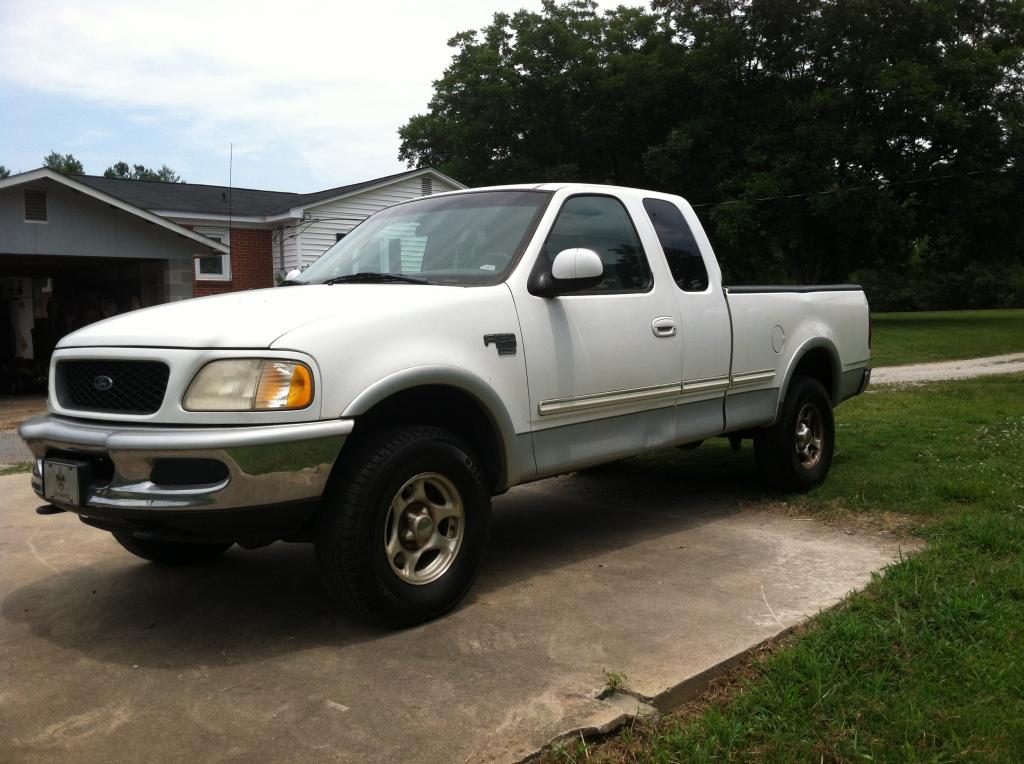
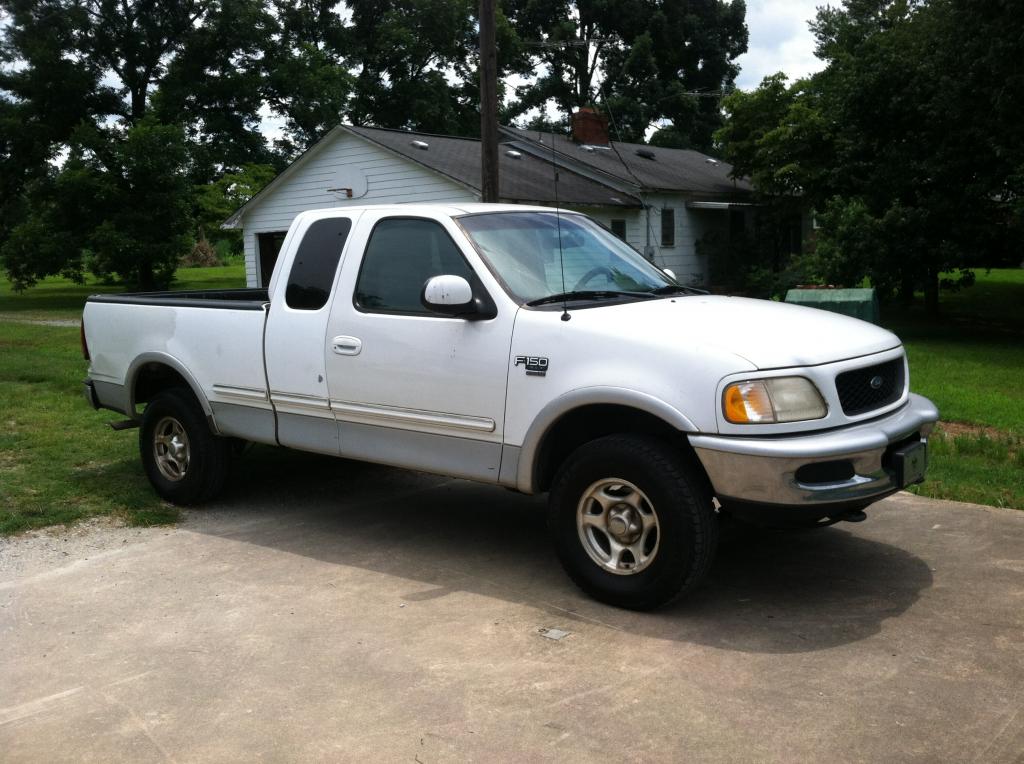
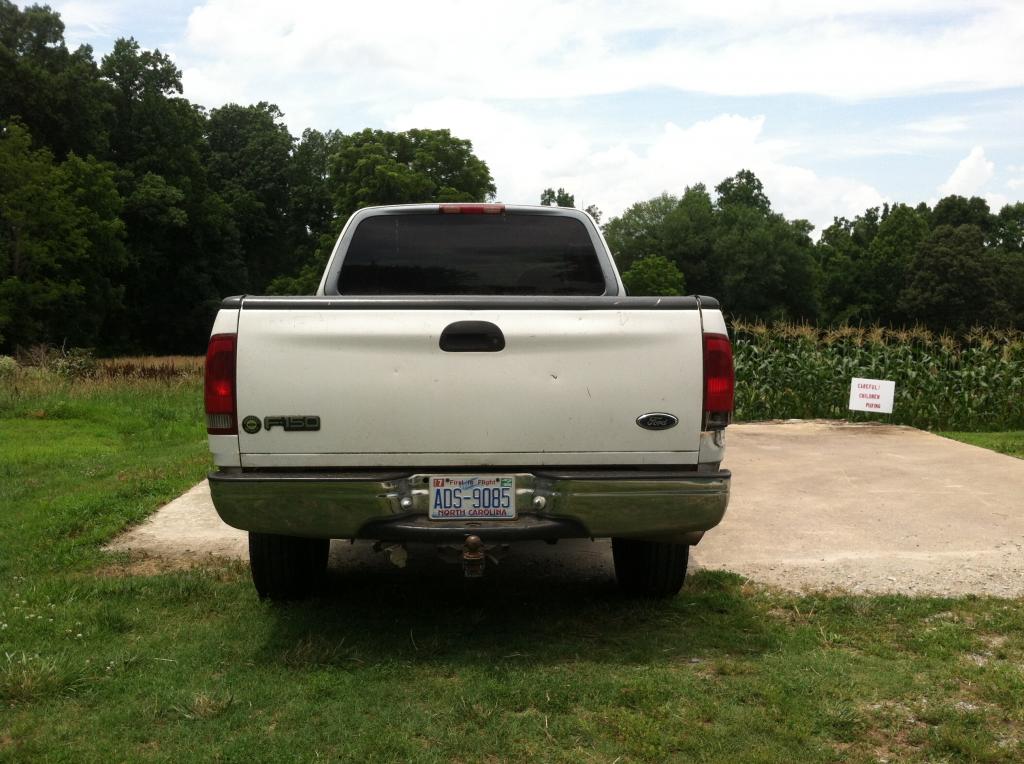
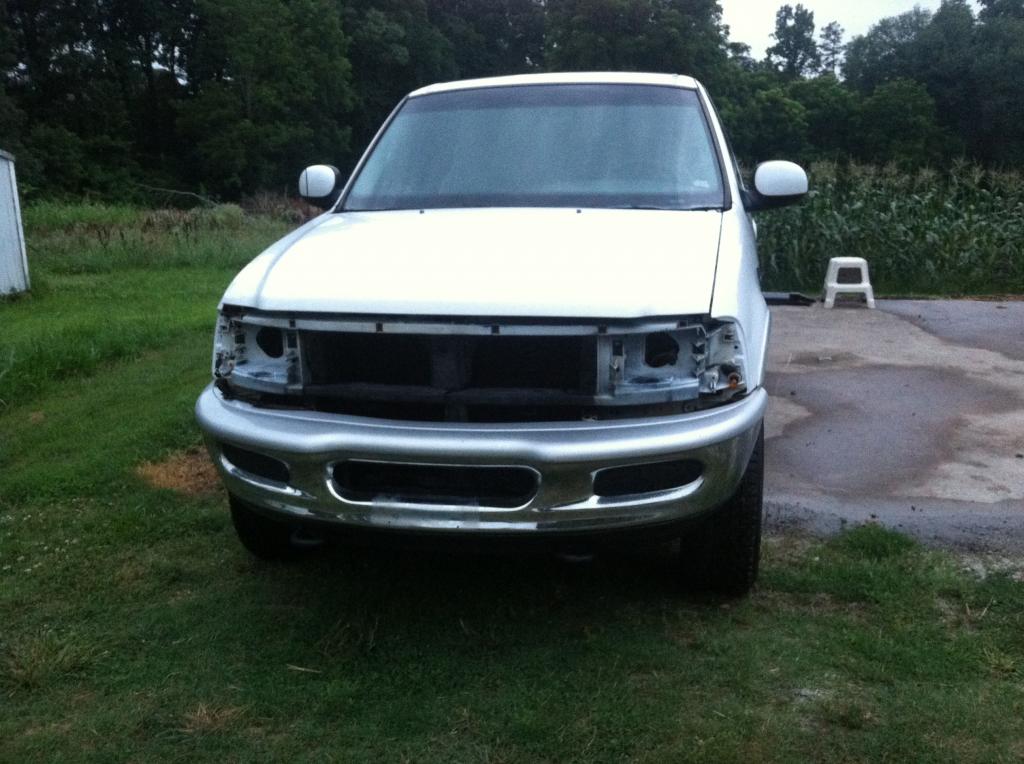
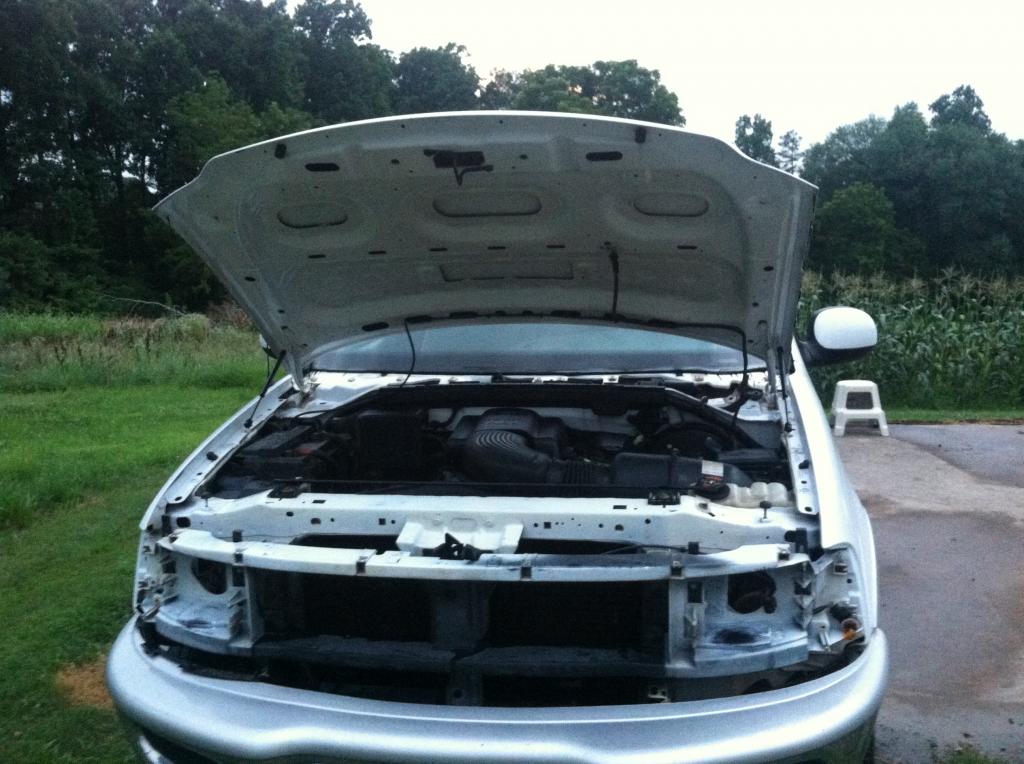
To finish up my first post, here’s a bevy of “before” shots:
[URL=http://s1301.photobucket.com/user/DanTaylorJr123/media/IMG_05183_zpsd4f92405.jpg.html][IMG]http://i1301.photobucket.com/albums/ag114/DanTaylorJr123/IMG_0518
A good friend sold me this truck for a great price. I’ve decided to name him ChuckNorris.. He runs well; tough as nails. ChuckNorris was used as a work truck for a grading business, and he came to me with the bumps outside and red clay inside to prove it.
ChuckNorris will be a tough truck that also looks tough. Chuck will get budget-friendly treatment for now, but my hope is that the craftsmanship will not be budget on my end.
I'll post progress here as I go along.
I started on this past weekend with the interior restoration work. I hope to have the inside of the truck finished up this week. Once that is completed, the exterior and maintenance work will follow in the weeks/months ahead.
I did a rough sketch to see how my final plans for Chuck’s resto-looks might end up :
Before

After

Here is what is planned for this project:
Interior:
- Thorough cleaning
- Headliner re-wrap
- LED lighting conversion to the following: cluster, climate control, headlamp switch, door/courtesy lamps; map lights & dome light, cigarette lighter, glove box
- Aftermarket radio and speakers
- LATER: Bass-tube behind Drivers Seat
- Adjust loose transmission shift arm
- Replace a few worn/missing parts
- Matching Tint applied to front windows
- Front windshield banner
- Patch small hole on LH side of drivers seat
- Alarm w/ keyless entry
Exterior:
- Thorough cleaning of entire chassis: exterior, wheels (inside also), undercarriage, engine bay, and inner door jams/fuel door.
- Light buffing/paint correction w/ cheap Autozone buffer
- Touch up paint on about 20 scratches
- Correct RH tail lamp dent; patch paint
- Correct RH rear door panel; patch paint
- Correct bump on LH lower door fascia
- Herculiner (roll on) applied to all lower fascias, fender liners, bumpers, front grille, tow hook (sans ball), and roof (yes, the roof).
- Plasti-Dip All Badges
- Plasti-Dip OEM Wheels
- Window Vent Visors
- Degrease/Wash inside of all exterior lights
- Source and install clean/crack-free OEM taillights
- Sand-Buff OEM headlight lenses
- Tint spray/Buff Headlights, Parking Lamps, Tail LIghts, Dole-light (if legal)
- Apply fresh black paint Under-carriage and exhaust piping
- Chrome bolt on tip for exhaust
- Clean bed; apply “Forever Black” Bedliner Gel
- Clean and apply Duplicolor Trim Black paint to the following: wiper cowl, wiper arms, tailgate handle, rear step board, inner front grille mesh, rear window trim
- Install fresh wiper blades
- Locate/Select black “4x4” decals for sides of truck (rear)
- LED conversions to all rear exterior bulbs
- Later: Bull Bar w/ a winch and Hella fogs (or similar)
- Much Later: Possible fresh Oxford White paint on non-bedliner surfaces
Mechanical/Performance:
- Fresh air filter
- Oil Change; add Engine Restorer
- Add Sea Foam to fuel tank/crankcase
- Radiator drain and fill
- Track down current/known oil leak
- LATER: cold/ram air intake
- LATER: possible custom exhaust
To finish up my first post, here’s a bevy of “before” shots:


[URL=http://s1301.photobucket.com/user/DanTaylorJr123/media/IMG_05183_zpsd4f92405.jpg.html][IMG]http://i1301.photobucket.com/albums/ag114/DanTaylorJr123/IMG_0518


 07-04-2014, 09:07 AM
#6
Junior Member
Thread Starter
Join Date: Jun 2014
Posts: 28
Likes: 0
Received 0 Likes
on
0 Posts
Hello all,
I've made a bunch more progress on the truck.
Got the headliner done. Came out great, I think!
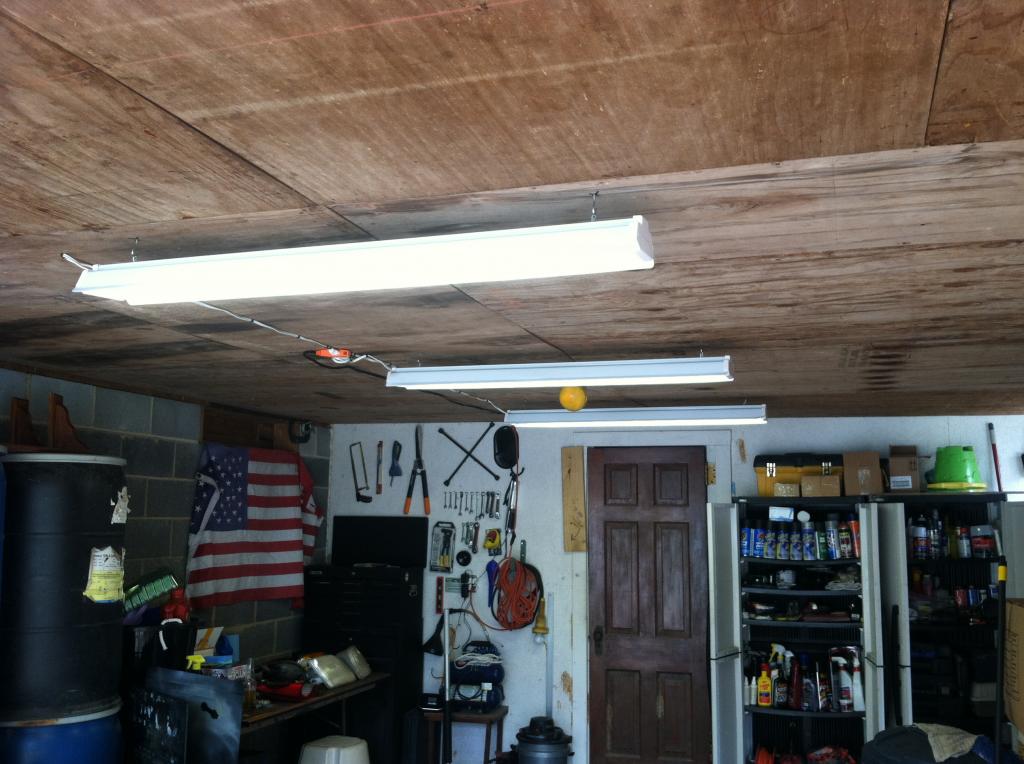
Next, I installed some shop lights in the garage port for late night escapades.
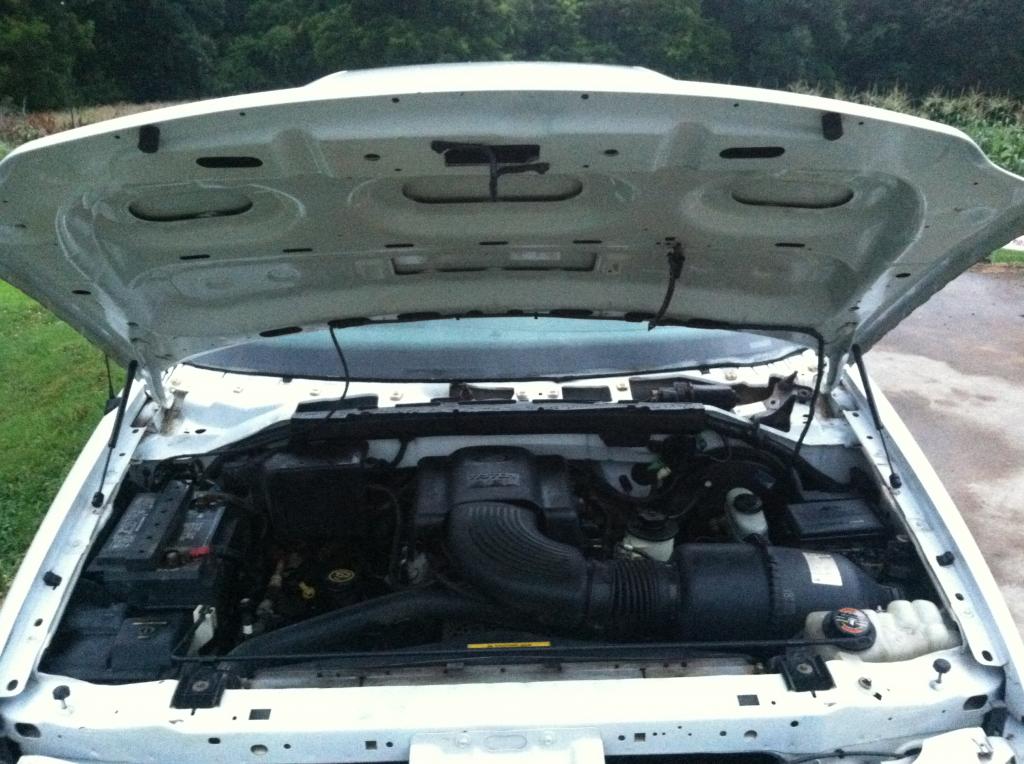
I then spent about 8 hours washing the outside and cleaning all the grease out of the engine bay and underbody.
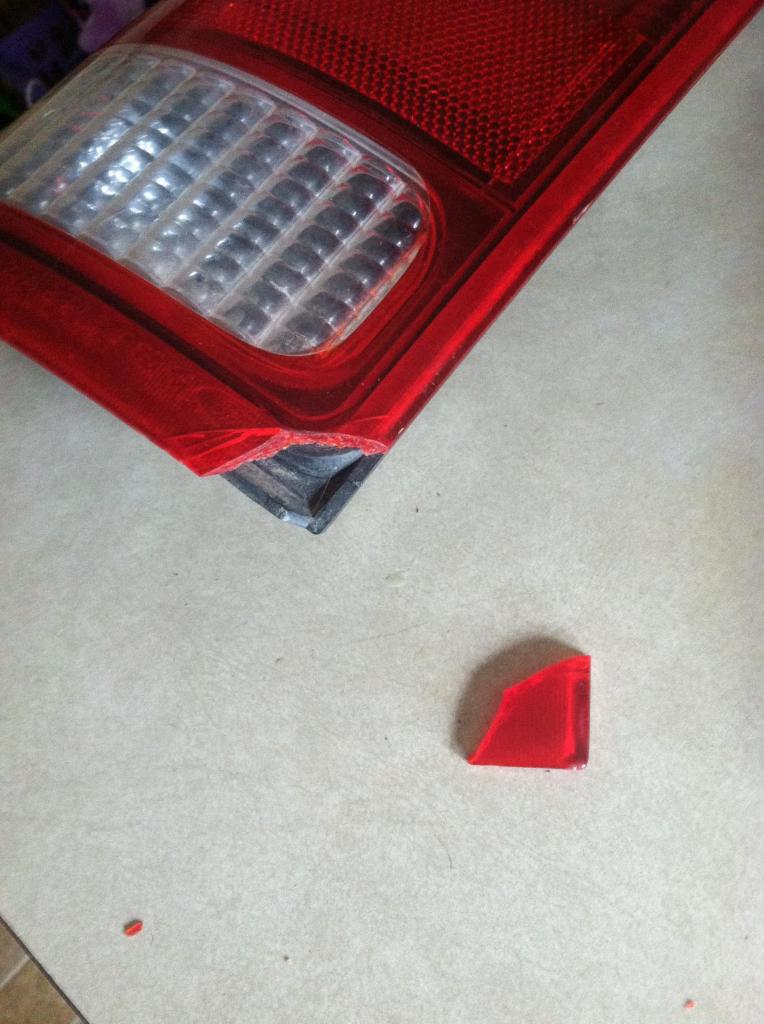
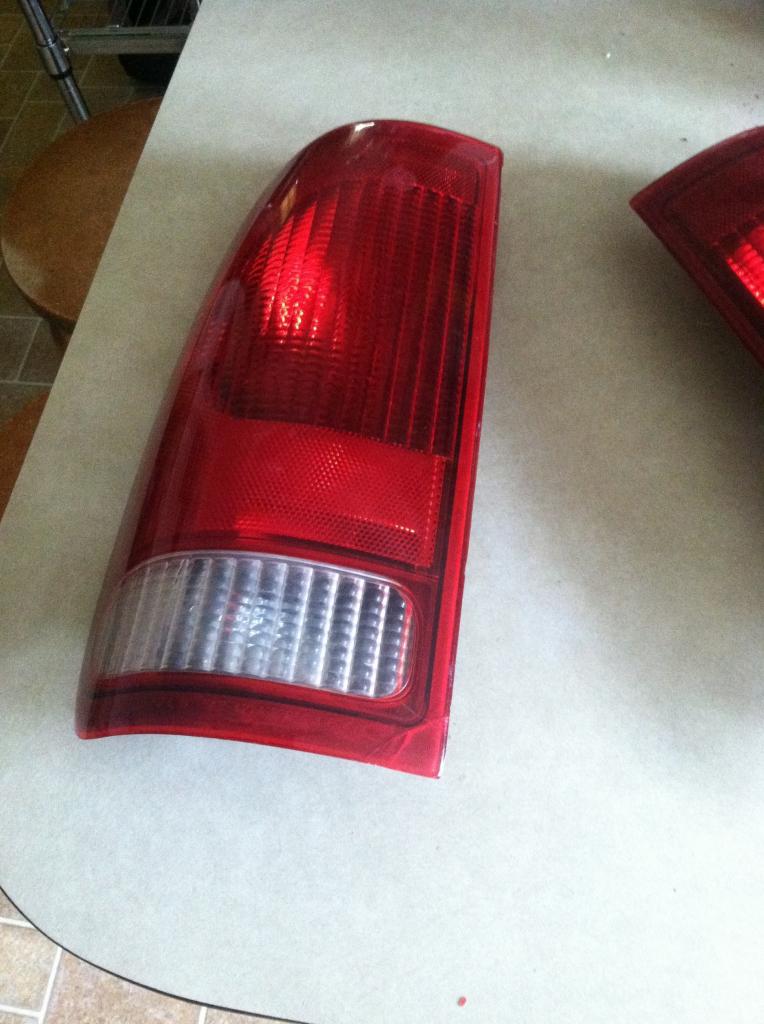
Got a set of fresh OEM tails off of Ebay for $45 shipped. A piece cracked off the bottom LH lamp in shipping, so the seller gave me a $25 refund! Spent $4.50 at Wally for some Plastic epoxy and good as new!
More pics/progress in a sec...
I've made a bunch more progress on the truck.
Got the headliner done. Came out great, I think!

Next, I installed some shop lights in the garage port for late night escapades.

I then spent about 8 hours washing the outside and cleaning all the grease out of the engine bay and underbody.


Got a set of fresh OEM tails off of Ebay for $45 shipped. A piece cracked off the bottom LH lamp in shipping, so the seller gave me a $25 refund! Spent $4.50 at Wally for some Plastic epoxy and good as new!


More pics/progress in a sec...
07-04-2014, 09:11 AM
#7
Junior Member
Thread Starter
Join Date: Jun 2014
Posts: 28
Likes: 0
Received 0 Likes
on
0 Posts

Also, picked up some AVS visors over at Autozone, with a 20% discount. Can't beat that!

Got a SWEET Contitec toolbox off of CL for $25. Score!

Used Duplicolor Bumper/Trim Paint (shoebox applicator style; basically a Forever Black knock-off avail at Autozone) to paint the rear window trim. Can't out nice!

Painted multiple trim pieces with Duplicolor Trim Paint. OEM fresh!

Prepping the OEM grille for a few coats of Rust-O-Leum Bedliner Spray

Wet-sanding/prepping the lenses for Tint Spray:

Taped and drying; ready for paint

Trending Topics
07-04-2014, 09:13 AM
#8
Junior Member
Thread Starter
Join Date: Jun 2014
Posts: 28
Likes: 0
Received 0 Likes
on
0 Posts
And here is Chuck after competition of this past week's workload:
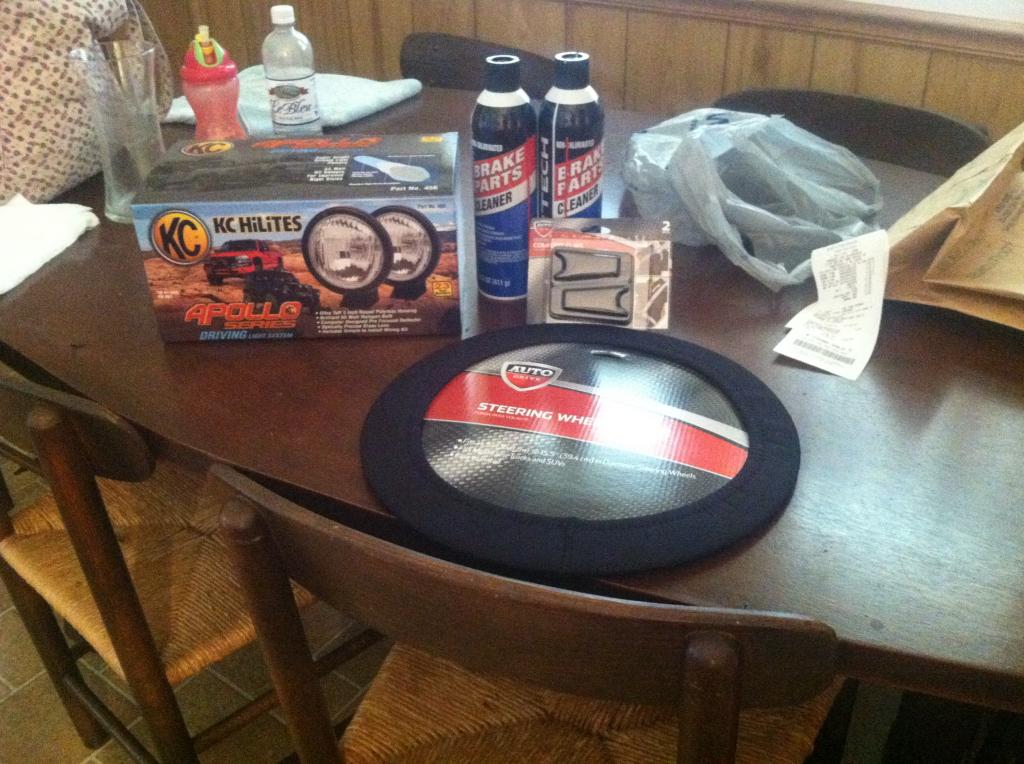
Check engine light:
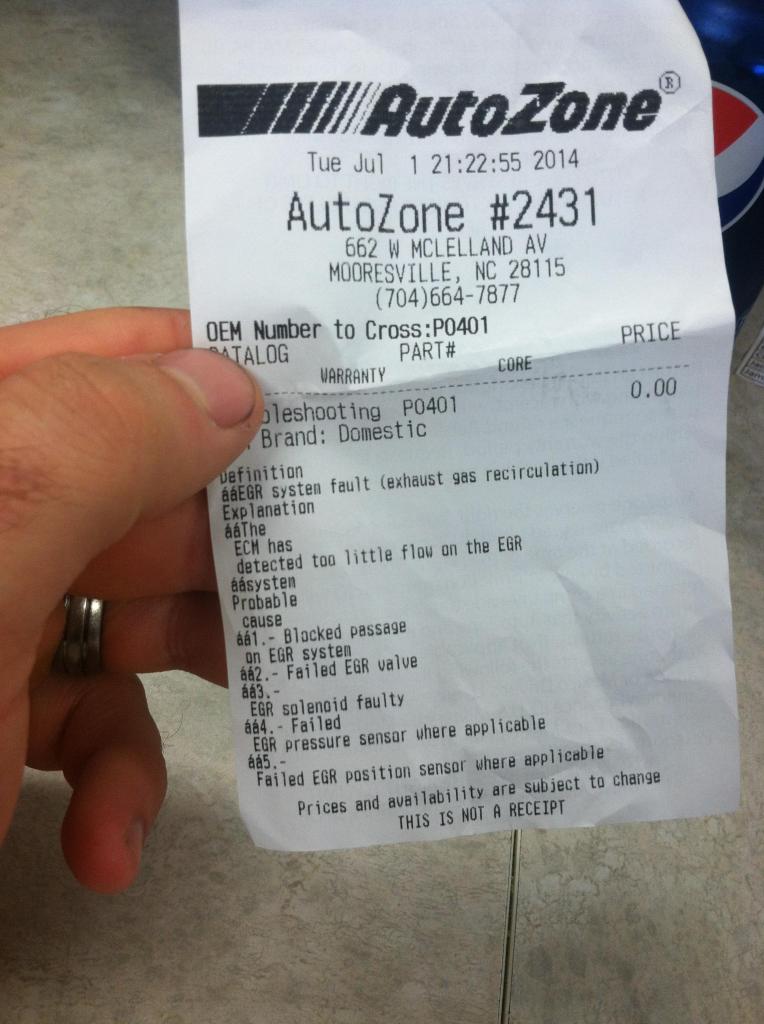
Got some brake cleaner to clean the EGR ports/fixed light, and some KC Apollo lights:

Check engine light:

Got some brake cleaner to clean the EGR ports/fixed light, and some KC Apollo lights:


 07-09-2014, 10:50 PM
#10
Junior Member
Thread Starter
Join Date: Jun 2014
Posts: 28
Likes: 0
Received 0 Likes
on
0 Posts
Update: Body Work & Herculiner
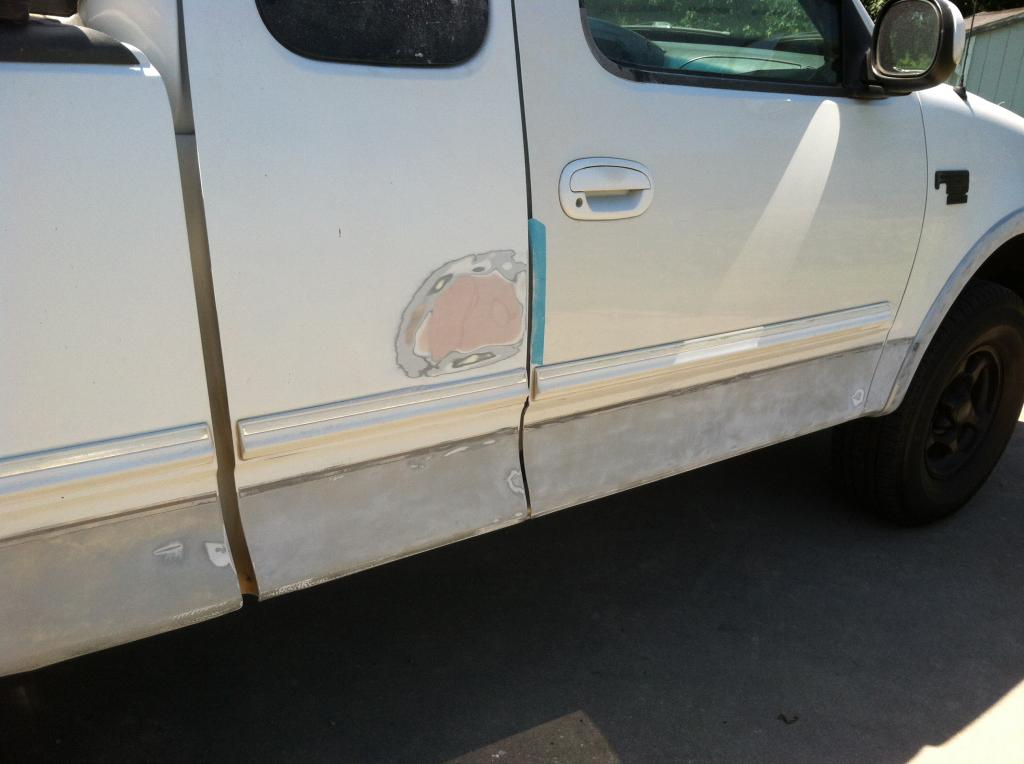
Hello all, I finally got a chance to do some bodywork on the truck. There were three spots I put some work towards fixing.
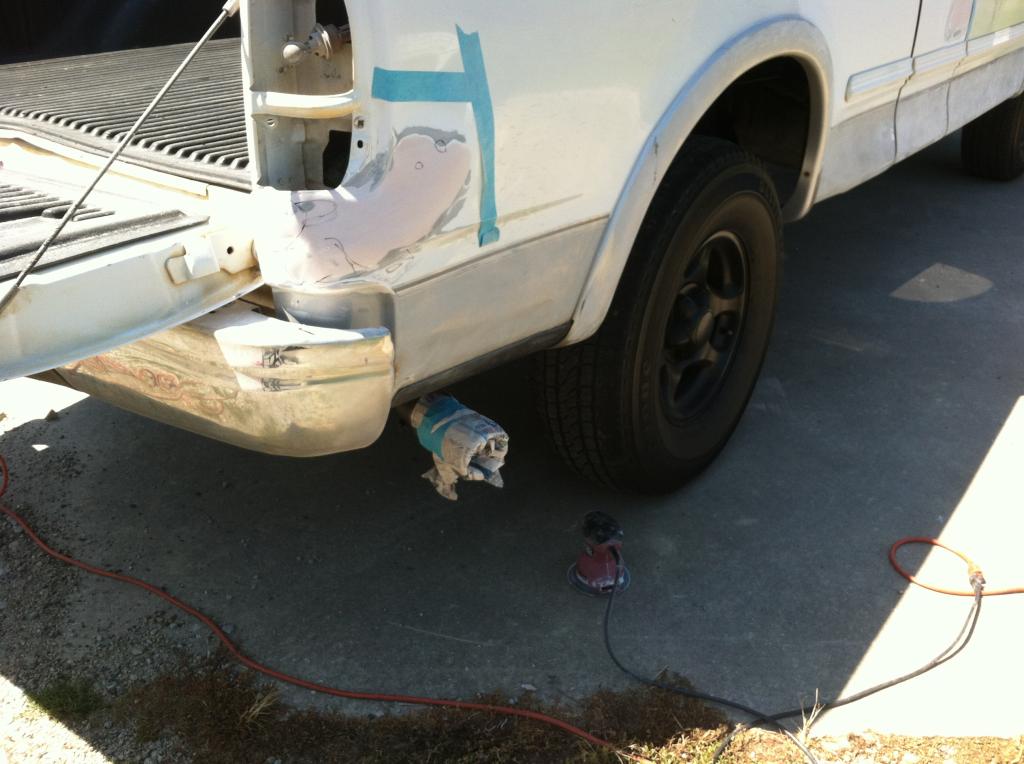
1. Massive dent in PR tail light area
2. Dent just below DF door
3. Bondo chip (from previous crappy work) behind PR 3rd door.
Here's some pics of that process:
Before:
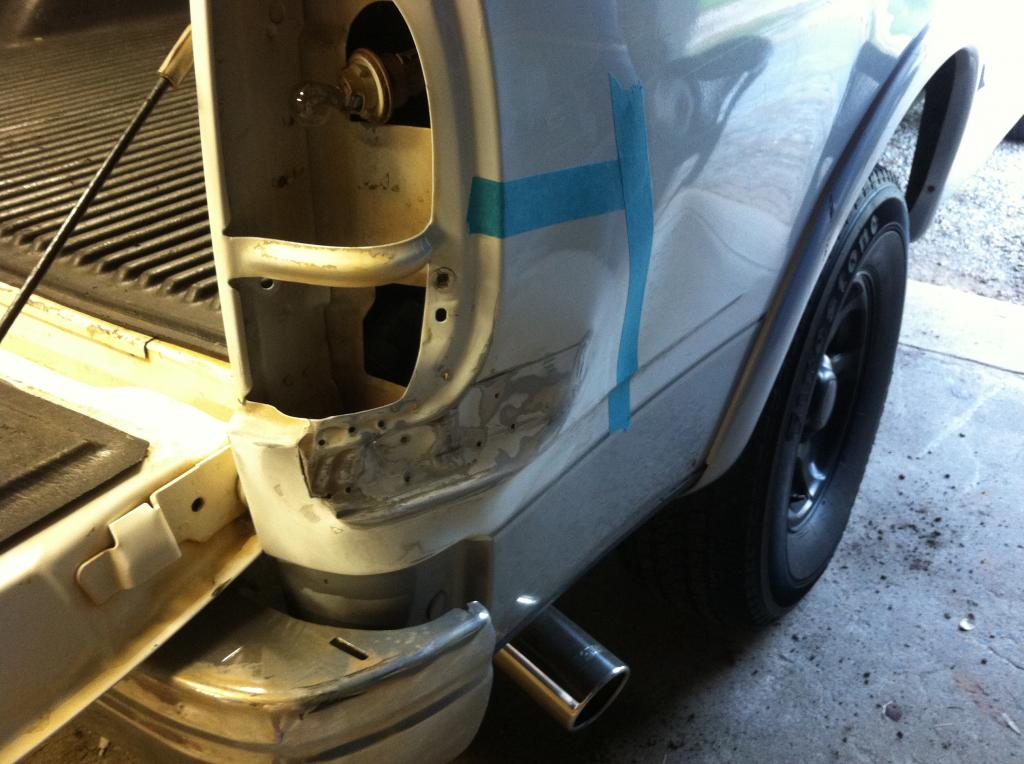
No access avail to bang out the dent from behind the panel, so I bought and tried a pull hammer. Didn't work. Even tried heating the metal and pulling. Still didn't work.
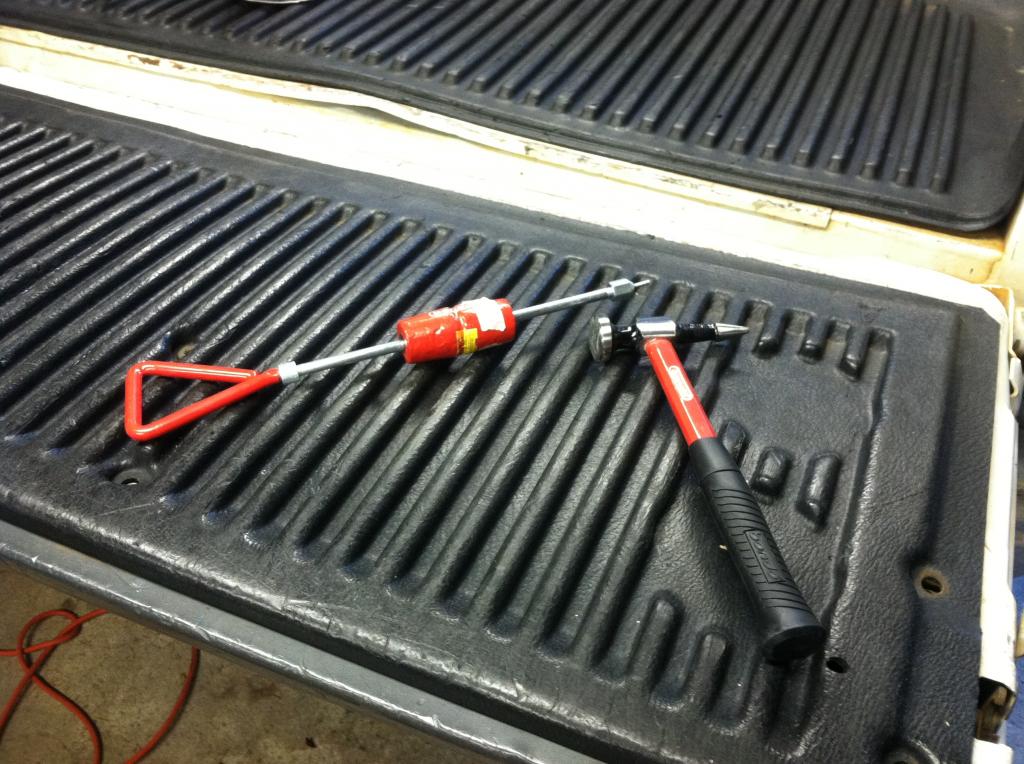
Sooo, since this is no Mona Lisa project, I did what any DIY'er would do on a low budget build. Filled that son of a gun up with...
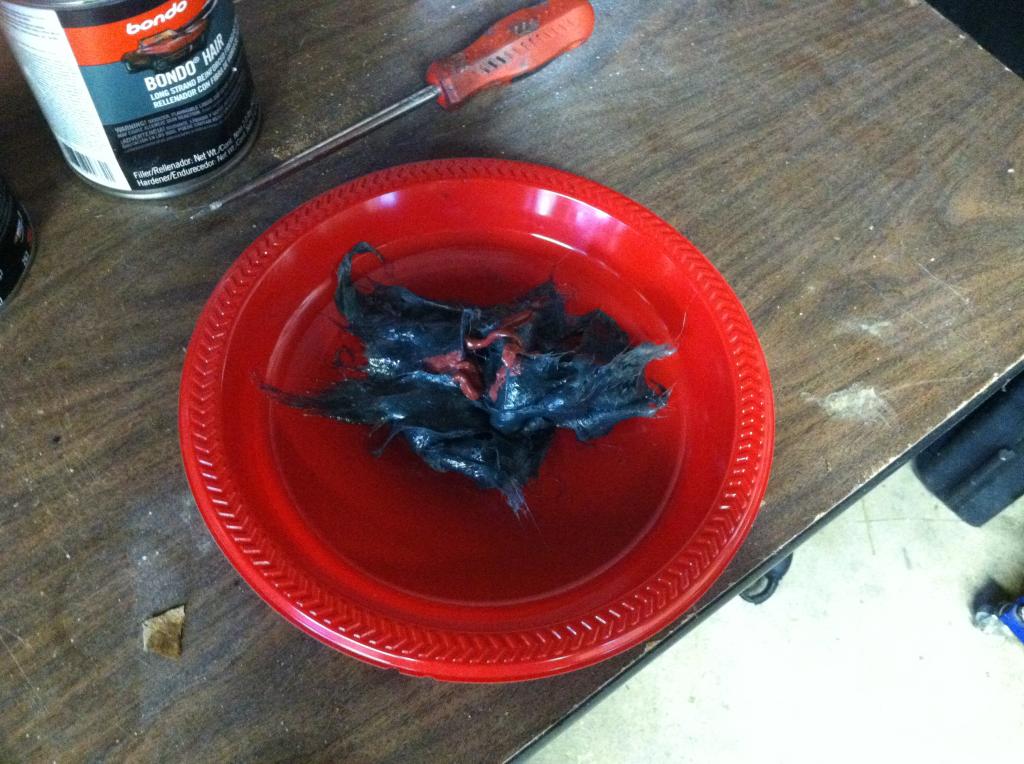
"Fixed" (if you squint your eyes...a lot)
Drivers Side door; Pulled and sanded
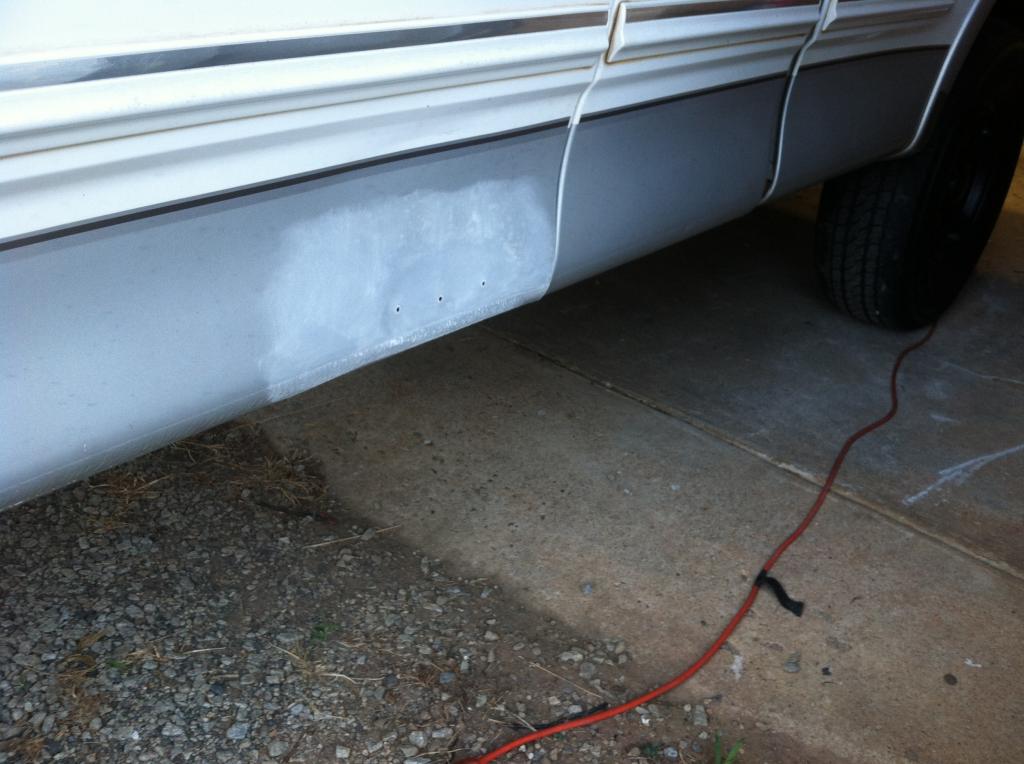
"Fixed"
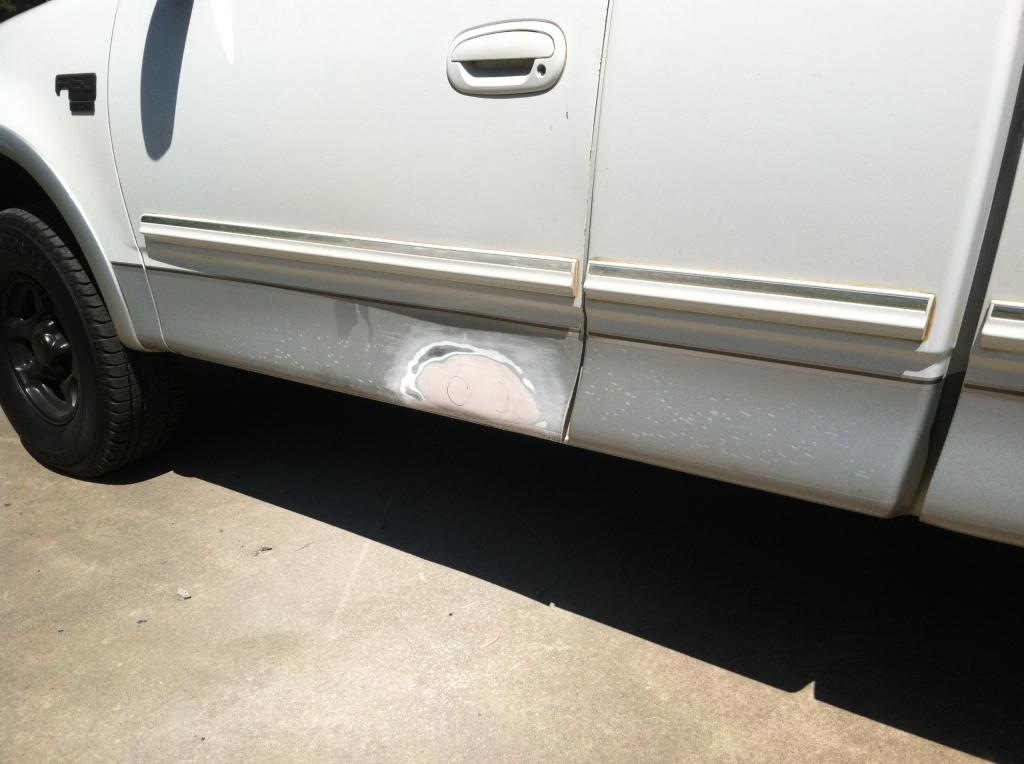
Passenger side panel "fixed"
Primed pics: (no pics, but these areas were painted with Duplicolor OEM paint and clear to match the rest of the body)
More on next post...
Hello all, I finally got a chance to do some bodywork on the truck. There were three spots I put some work towards fixing.
1. Massive dent in PR tail light area
2. Dent just below DF door
3. Bondo chip (from previous crappy work) behind PR 3rd door.
Here's some pics of that process:
Before:

No access avail to bang out the dent from behind the panel, so I bought and tried a pull hammer. Didn't work. Even tried heating the metal and pulling. Still didn't work.

Sooo, since this is no Mona Lisa project, I did what any DIY'er would do on a low budget build. Filled that son of a gun up with...

"Fixed" (if you squint your eyes...a lot)

Drivers Side door; Pulled and sanded

"Fixed"

Passenger side panel "fixed"

Primed pics: (no pics, but these areas were painted with Duplicolor OEM paint and clear to match the rest of the body)


More on next post...

