When you click on links to various merchants on this site and make a purchase, this can result in this site earning a commission. Affiliate programs and affiliations include, but are not limited to, the eBay Partner Network.
Hey DJ, I really like it but it's actually more so for my cars than my truck as I don't really need it that often for a 6" lift . With that said, it's very useful. I keep each side/jack underneath and down the center of one of the cars, you can't keep them in line with the tires as you cannot run over them because you'll break the air cylinders. So when I need them I just pull them out, one from each side. I have seen one person hang them in his garage and use a pretty simplistic chain wrapped around them tightly. One thing, I assume most in here have an air compressor, but you do need one in order to pressurize each of the cylinders. Quickjack does offer Truck Adapters . Let me know if you have any other questions.
I also added a couple of cosmetic things/replaced old worn items:
Carbon Fiber accents to the doors and also changed out the wiper blade arms and wiper cowl. I sprayed a few coats of UV clear over the arms and cowl before the install.
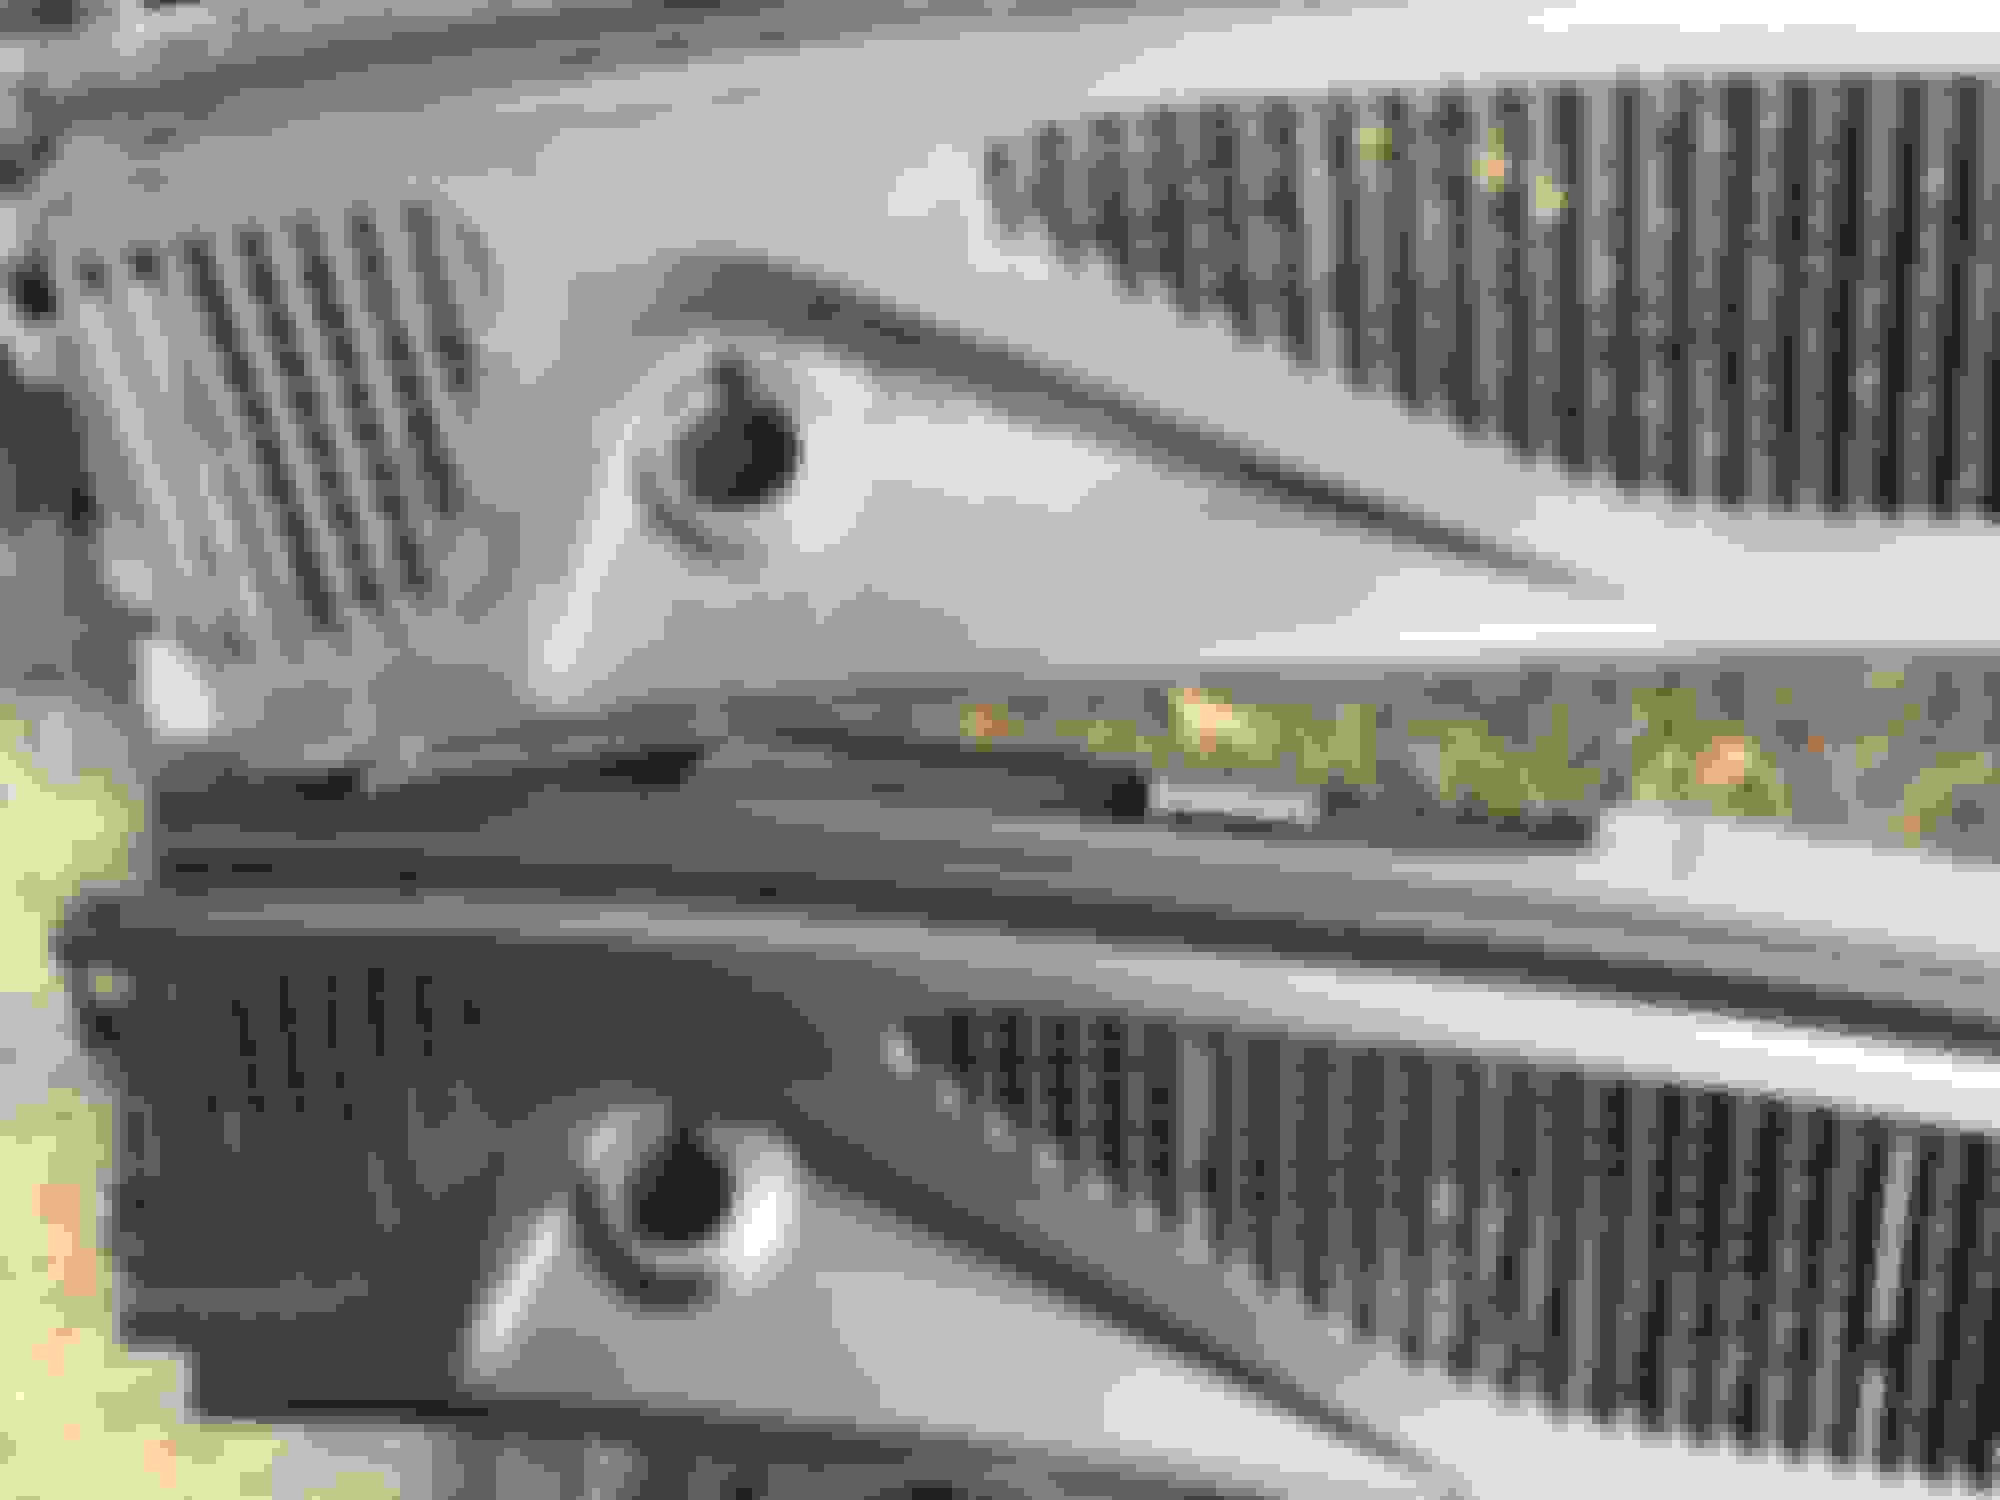
CF Accents
Old v New Wiper Arms
Old v New Wiper Cowl
Were these from a dealer? Thinking about replacing mine too.
Especially one arm, passenger wiper doesn't contact glass.
I'm going to include some pictures of my own with some tips to go along with their tutorial:
*The door is a tight space to work in so I removed the small plastic clips that hold the wires that go along the door to the inner door handle as well as the clips that hold the lock. You can move them out of the way so it gives you a bit more freedom.
* You don't have to pull the lower window channel out of the door, just push it over to the side towards the middle of the door.
*I suggest using the method of unbolting the handle and pulling it outside the door a small amount. It makes it very easy to install the circular clamp.
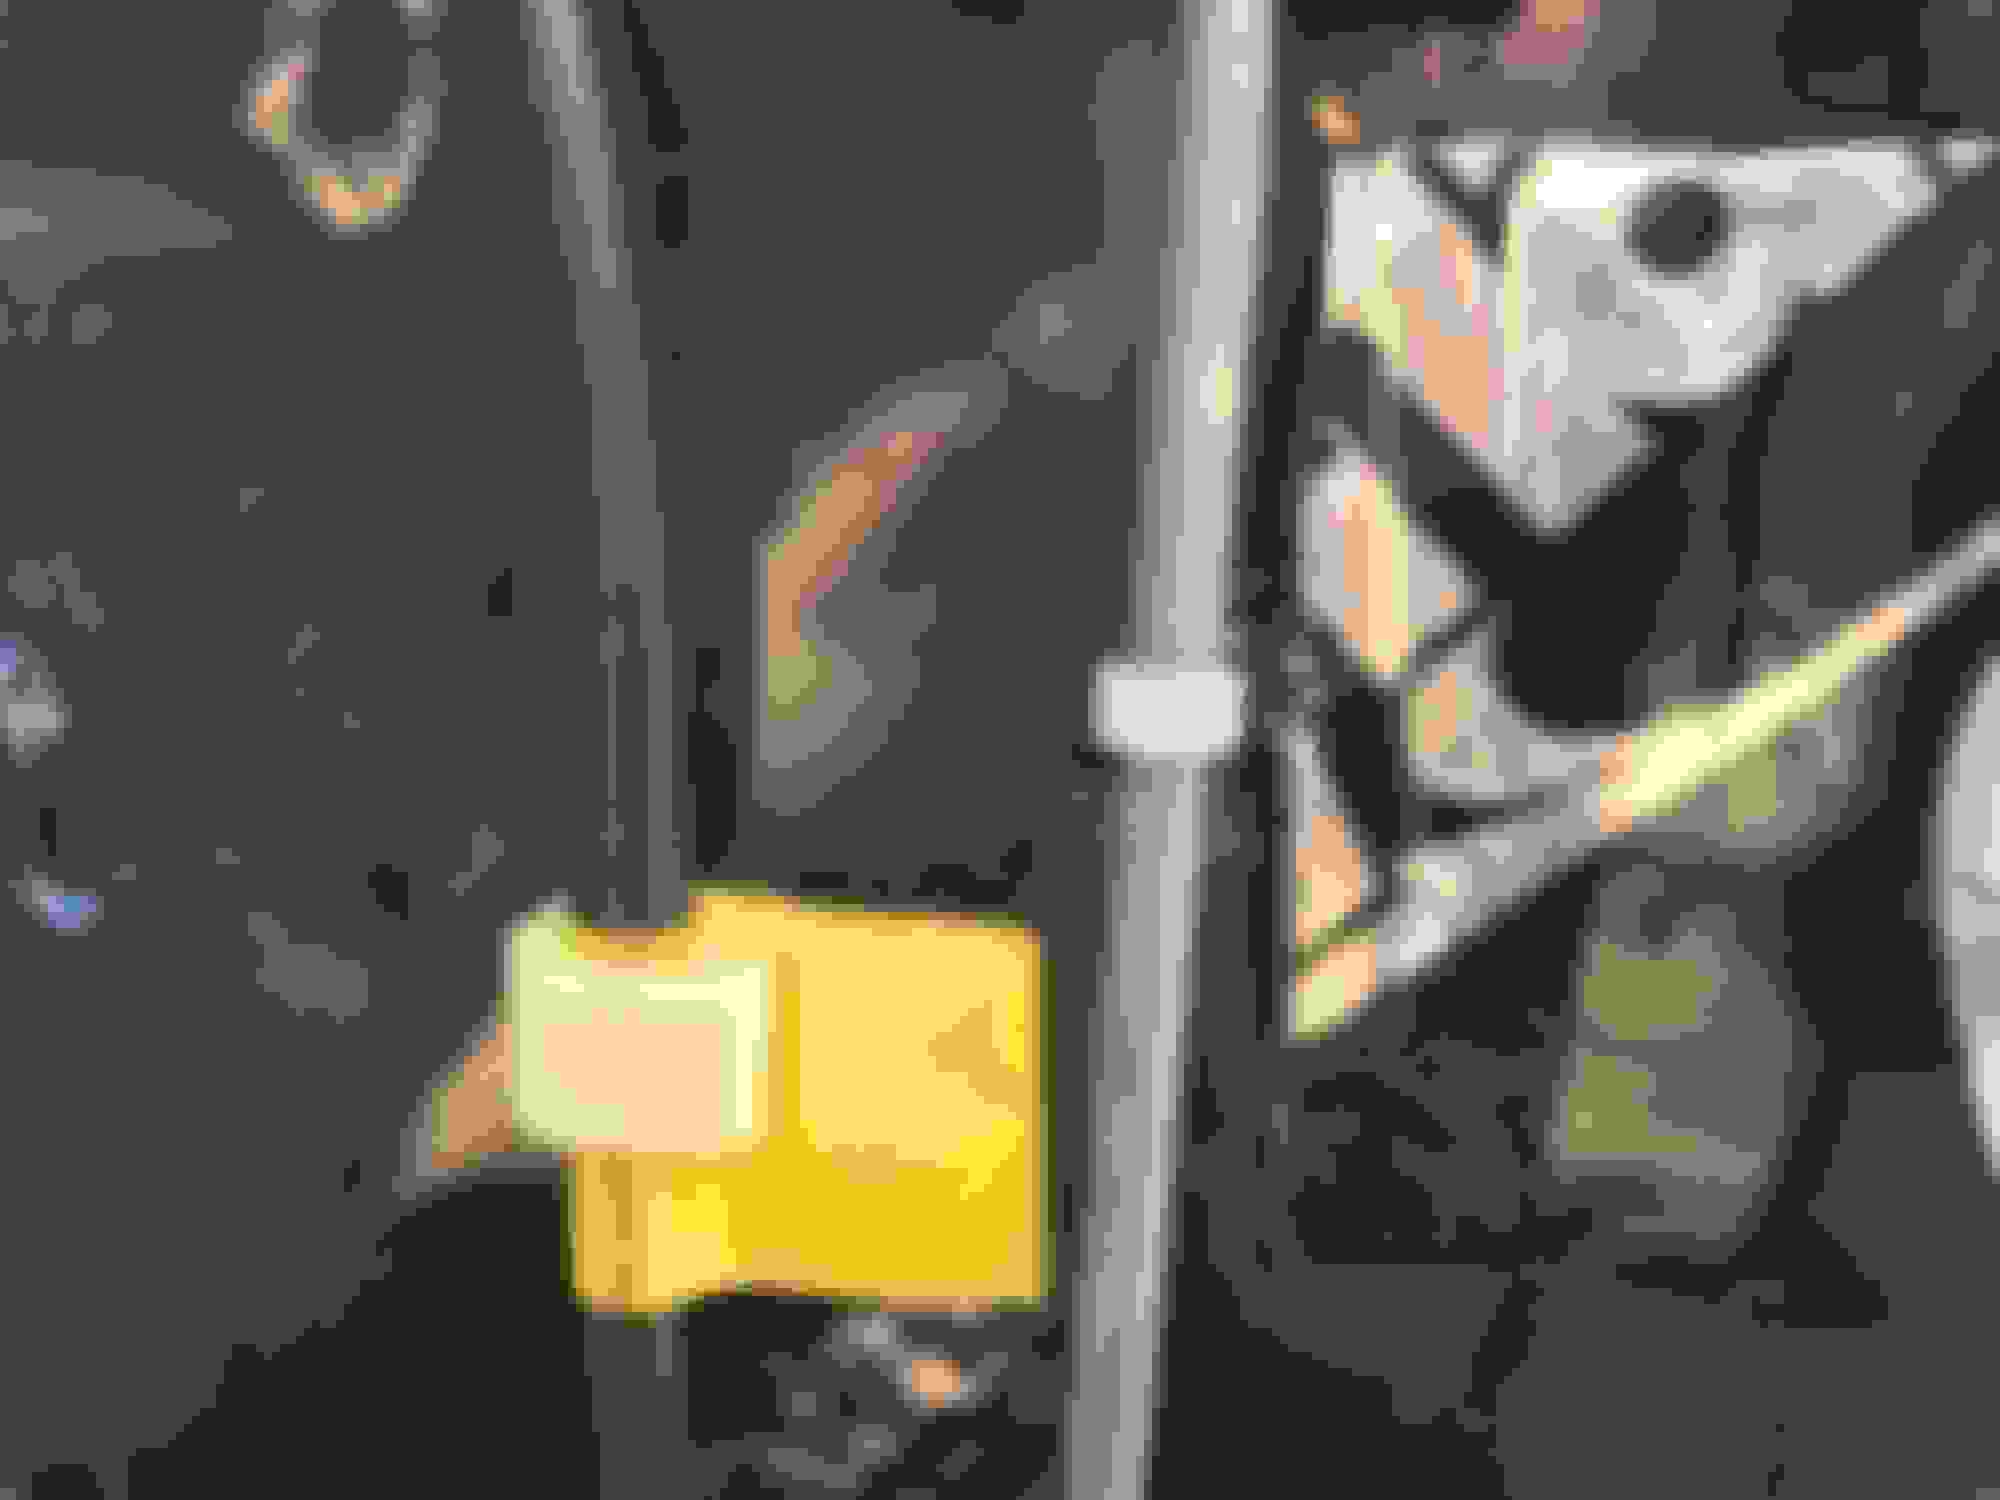
*While removing C-Clip I used a long flexible magnet tool to hold onto the clip while I was slowly prying it off, if not, you'll be fishing for it.
*I used a small narrow LED light that helped with illuminating the inside of the door panel.
* I used an off-set ratchet to get the outer 10mm bolt off the door handle as it is an even tighter fit within that area.
Two of these hold the lock bar along the door panel. You can pry one side open to remove the bar.
Having this small LED light to put inside the door was helpful.
This is the lock pawl that is held in place by the C-clip.
Installing the Clamp around the lock cylinder outside the door. I used a offset ratchet to get the bolt toward the outside of the door as it is a very tight fit. 10mm socket.
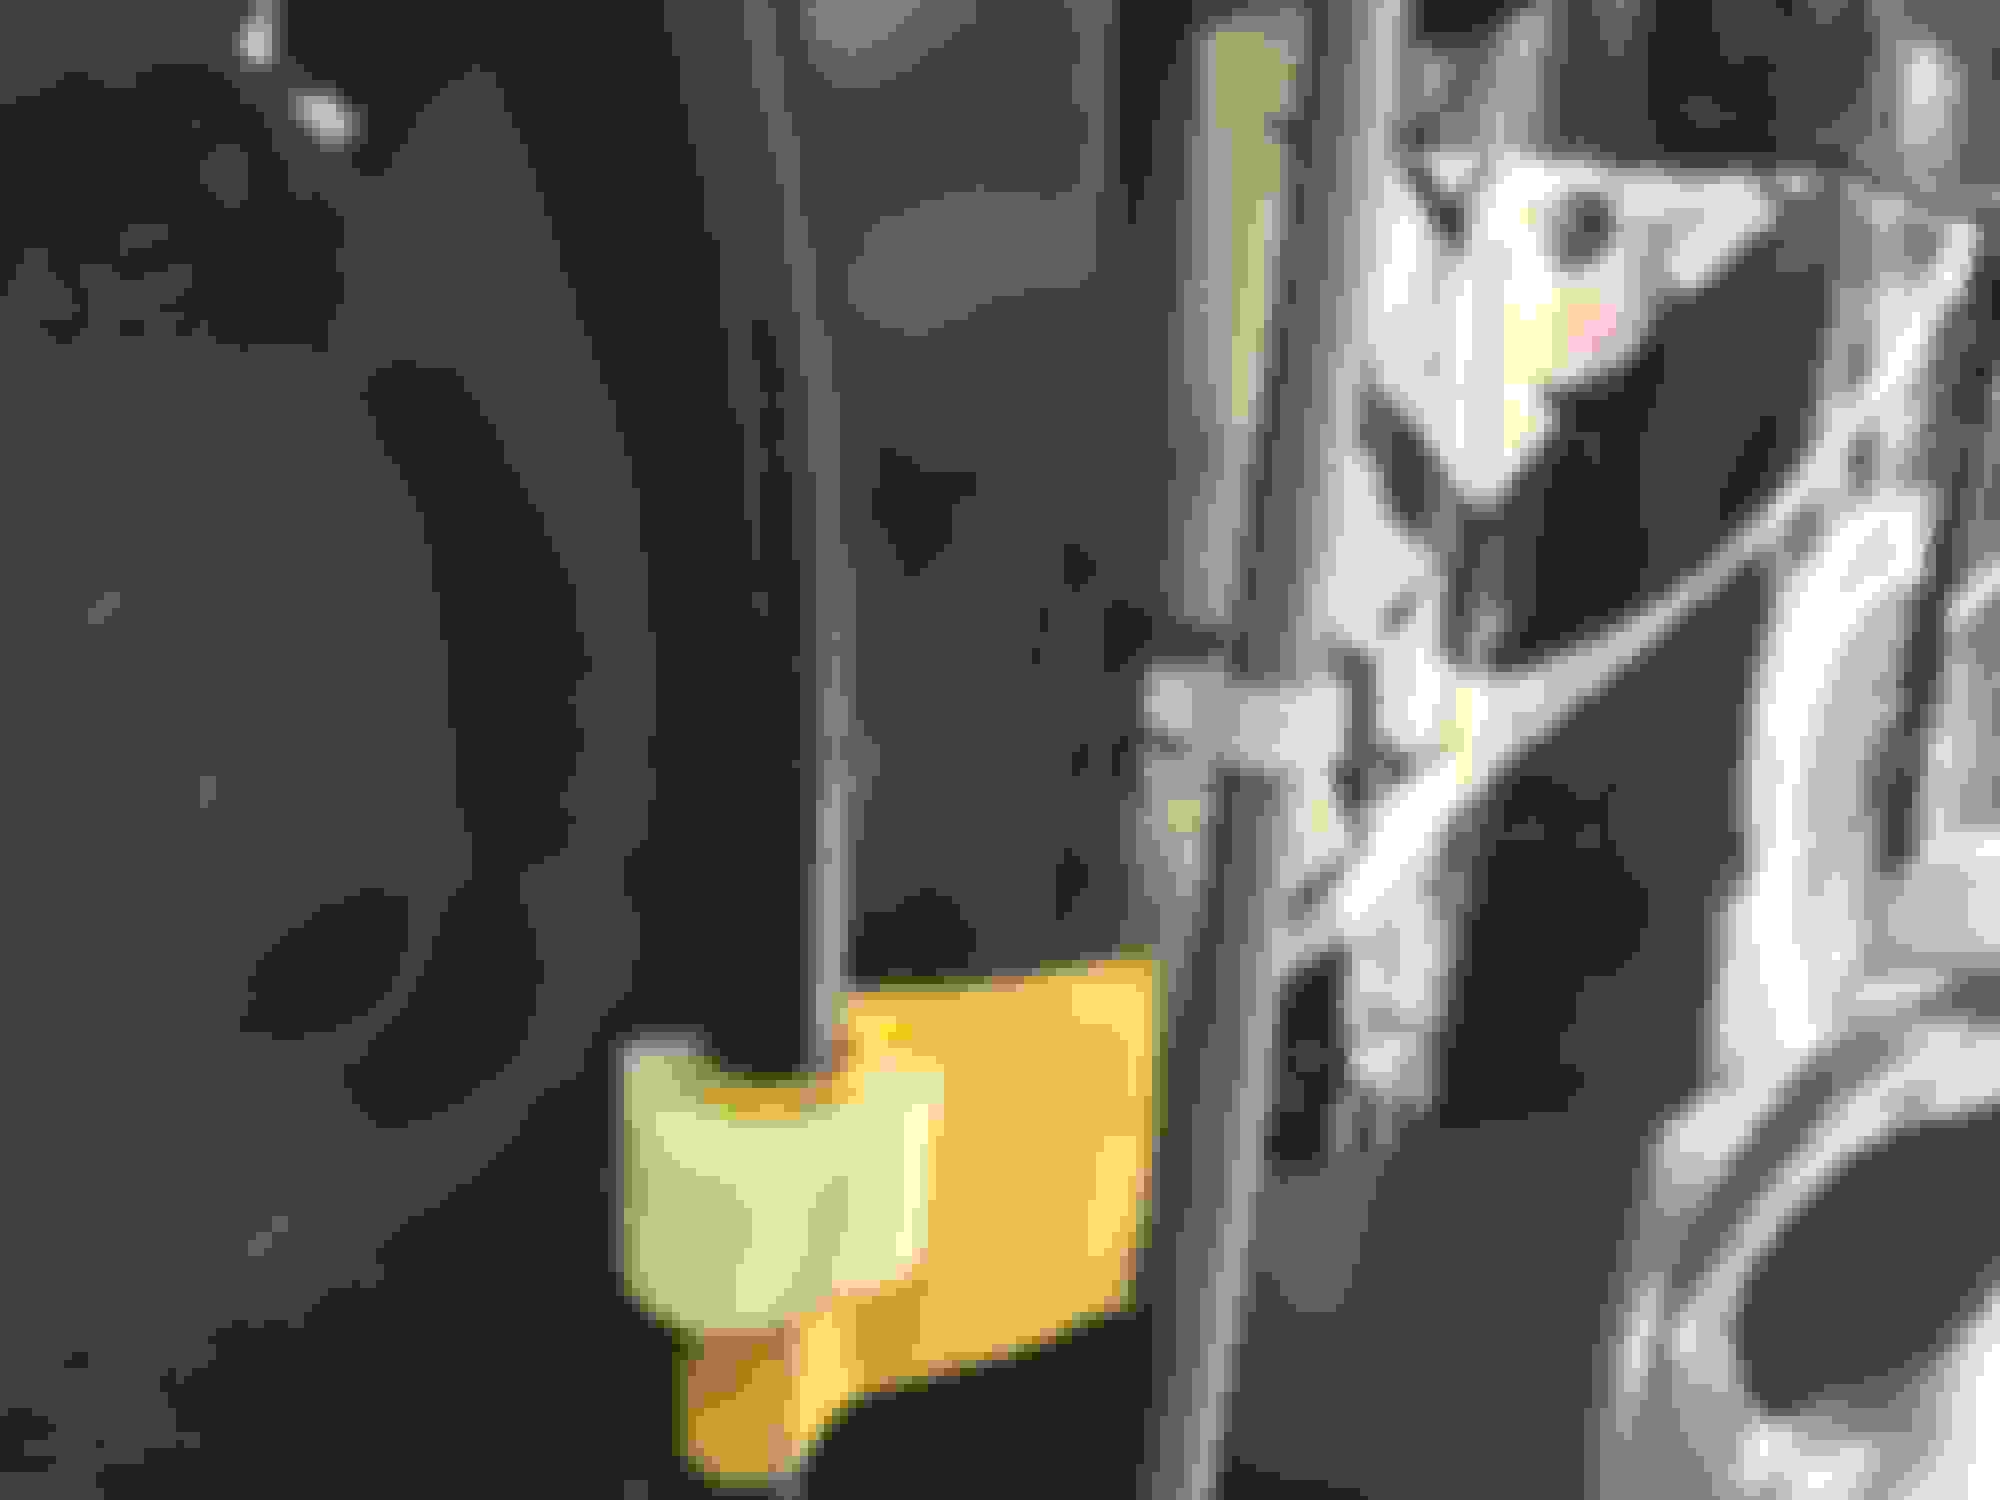
Plate dry fit installed. The outer edge of the plate fits inside a ledge in the door skin like a wedge.
The wire and lock bar reinstalled here. I broke one of the clips, so I looped a small clear zip tie around it and cut it inside the door so it didn't hang on anything.
Here you can see the zip tie is tight enough to hold it down while loose enough to let it still move.
Last edited by BlackBullXLT; 01-31-2017 at 04:10 PM.
Just a helpful tip so that you don't go through the same headache I did: When I took my door apart to change a few things out, the inside door lock rod clips loosened up a bit in their holes and now the assembly rattles. May be worth it to put a little piece of foam behind it or something. I bought new clips as well. Whenever the bass hits in my door speakers, those rods rattle and it drives me crazy
 01-20-2017, 09:38 AM


 . With that said, it's very useful. I keep each side/jack underneath and down the center of one of the cars, you can't keep them in line with the tires as you cannot run over them because you'll break the air cylinders. So when I need them I just pull them out, one from each side. I have seen one person hang them in his garage and use a pretty simplistic chain wrapped around them tightly. One thing, I assume most in here have an air compressor, but you do need one in order to pressurize each of the cylinders. Quickjack does offer Truck Adapters . Let me know if you have any other questions.
Thanks for the info.
. With that said, it's very useful. I keep each side/jack underneath and down the center of one of the cars, you can't keep them in line with the tires as you cannot run over them because you'll break the air cylinders. So when I need them I just pull them out, one from each side. I have seen one person hang them in his garage and use a pretty simplistic chain wrapped around them tightly. One thing, I assume most in here have an air compressor, but you do need one in order to pressurize each of the cylinders. Quickjack does offer Truck Adapters . Let me know if you have any other questions.
Thanks for the info.