Big White Upgrading Build
 05-13-2013, 12:13 PM
#1
Senior Member
Thread Starter
Hello everyone,
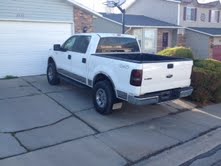
My name is Jared and I have been doing some work on my new to me 2005 SCrew. It's been a trip so far. I love working on my vehicles. This will be an ever-updated build as I get things done. The truck is pretty close to what I want so only minor upgrades are in the works as of now. I bought the truck on May 4, 2013. It had 96000 miles on it. I wasted no time getting to work. this past weekend I did the following:
I have a few things on the to do list for the coming weekend.
Thanks for looking. Can't get the uploader to work so I will add pictures as soon as I can.
My name is Jared and I have been doing some work on my new to me 2005 SCrew. It's been a trip so far. I love working on my vehicles. This will be an ever-updated build as I get things done. The truck is pretty close to what I want so only minor upgrades are in the works as of now. I bought the truck on May 4, 2013. It had 96000 miles on it. I wasted no time getting to work. this past weekend I did the following:
- Changed the spark plugs. They appear to have been changed once before, so i got all 8 out intact. Replaced them with OEM Motocraft plugs.
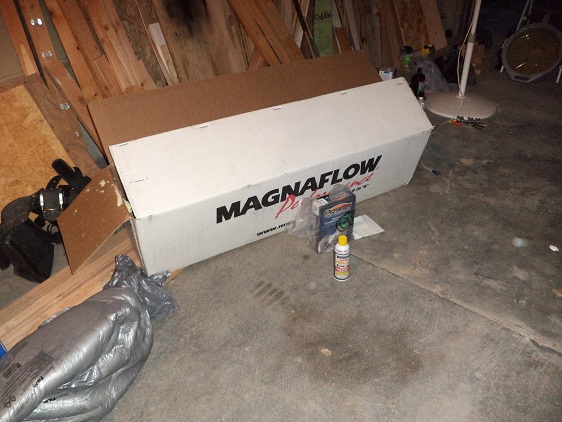
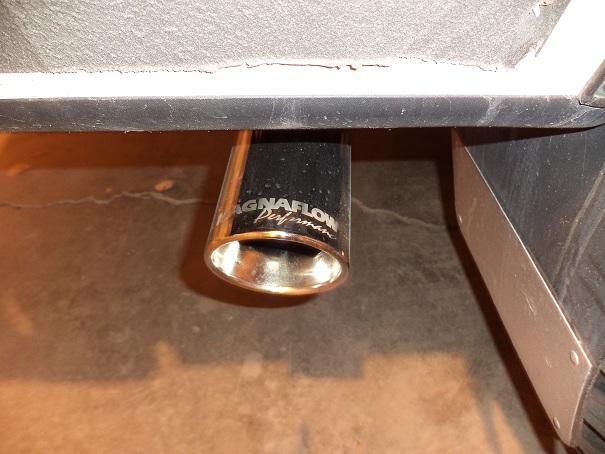
- Installed a Magnaflow cat-back exhaust to replace the stock unit.
- Changed the stock antenna for a CravenSpeed.com stubby. Great product in my opinion and more than worth the $24.
- Changed the oil and filter. Used Mobil full synthetic and Mobil filter.
- Dropped the transmission pan, changed the filter, and installed a drain plug (thanks to a write up on here) to help with future draining.
- Cleaned the MAF and TB and dropped in a K&N air filter.
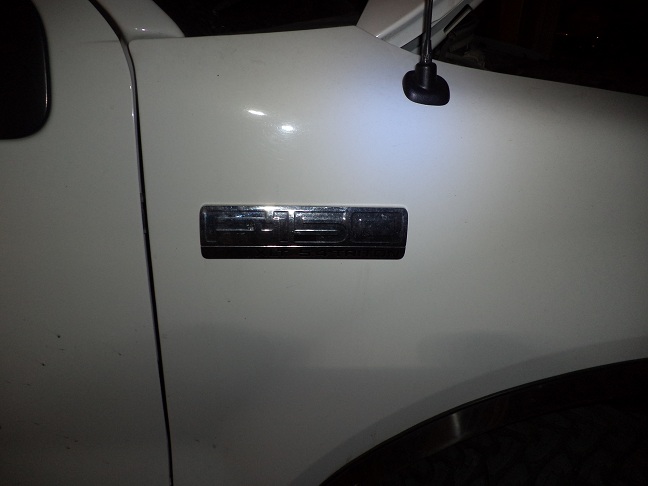
- Started my blackout with plastidip on the emblems.
- Began removing the hideous stick on chrome rocker panels. Got all the panels off, now just working the Goof-Off on the left over 3M tape.
I have a few things on the to do list for the coming weekend.
- Install the new Rancho 9000XL and QuikLift Loaded shocks to replace the shot stock units.
- Finish removing the 3M tape from the rockers and remove the chrome flares
- Plastidip the front and rear bumpers as well as the chrome grill surround.
- The motometal rims have some minor rust and galvanized residue so I am going to sand them down and plastidip them as well.
- Drain the tranny fluid again and replace.
- GOTTS Mod.
Thanks for looking. Can't get the uploader to work so I will add pictures as soon as I can.
 05-13-2013, 01:42 PM
#2
Senior Member
Thread Starter
as promised here are some pictures:
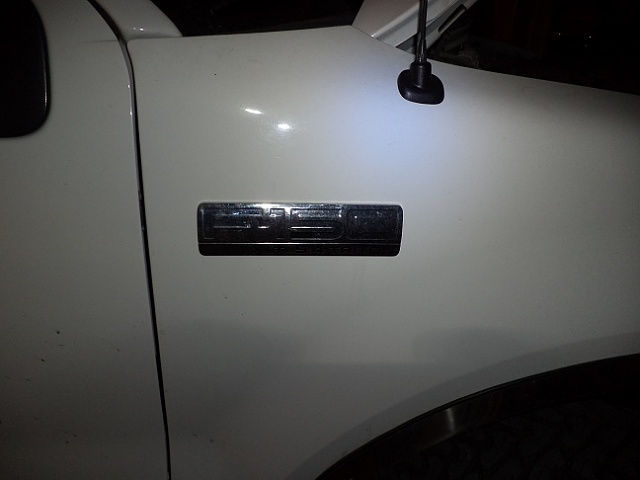
The badges before.
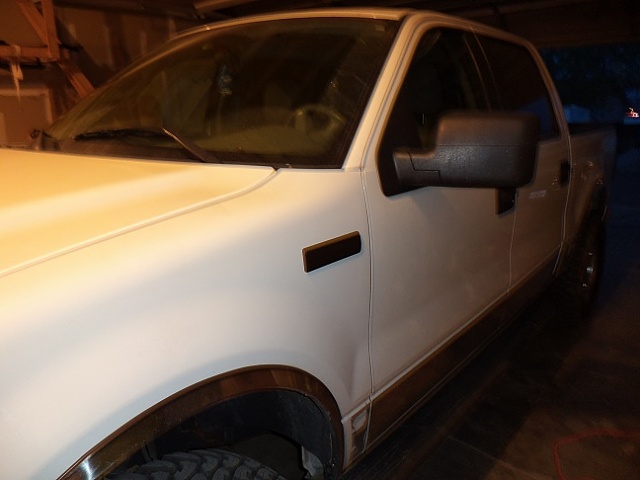
Drivers badge after dip.
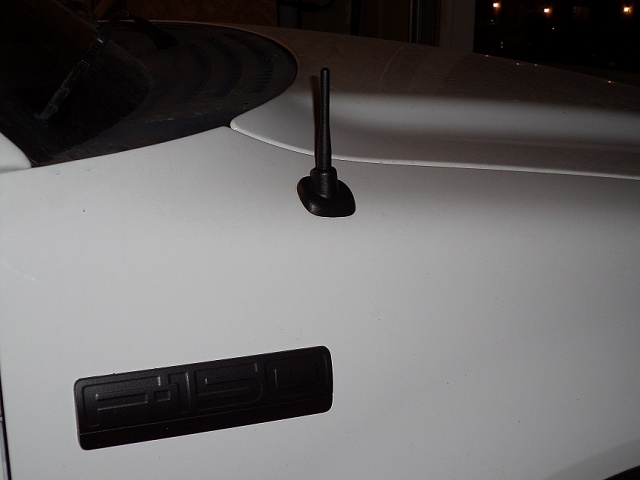
Passenger badge after dip and the cravenspeed stubby.
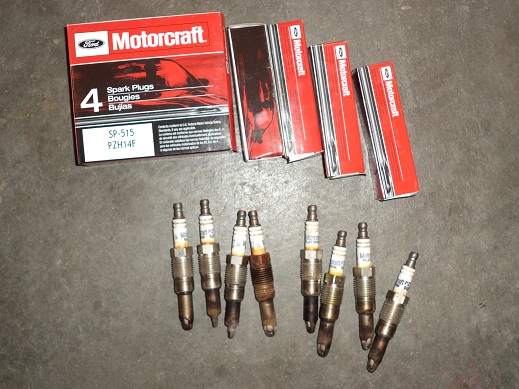
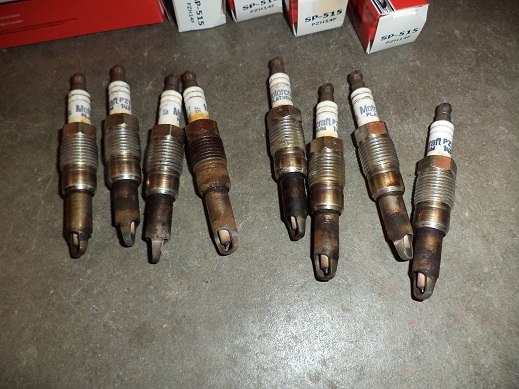
The old plugs. New ones were already installed when I got to the camera.
I have been inspired as to what to do with the badges. Thanks to 5-1-5-0 on here, I am going to two tone them now. With white inside and black outside. More pics shortly
The badges before.

Drivers badge after dip.

Passenger badge after dip and the cravenspeed stubby.
The old plugs. New ones were already installed when I got to the camera.
I have been inspired as to what to do with the badges. Thanks to 5-1-5-0 on here, I am going to two tone them now. With white inside and black outside. More pics shortly

 05-14-2013, 12:41 AM
#6
Senior Member
Thread Starter
Got the rear rancho 9000XLs installed tonight. Too me about 30 minutes. Torqued em down to spec and put them on 4. Started trying to disassemble the front but couldn't find my cheater to get the upper ball joint undone. The truck will be on the stand til I get down to the auto store for a new breaker bar tomorrow after work. I'll snap some pics of the finished product.
Edit to add: the shocks that came off the rear were the originals I assume. They were very worn out. Can't wait to feel the new and improved ride.
Edit to add: the shocks that came off the rear were the originals I assume. They were very worn out. Can't wait to feel the new and improved ride.
Trending Topics
05-14-2013, 08:55 AM
#9
Senior Member
Thread Starter
Thanks guys. Ya it was definitely time for the plugs to be swapped. The shocks are even more worn out than them though. When I took the tire off the front end, I noticed that the A arm has a little bit of rust so I think while the tire is off I will take a wire brush to it, put on some rust inhibitor and paint it black.
05-14-2013, 09:36 AM
#10
SkallyWag
Looking good.