2012 F150 XTR Rebuild

 10-20-2016, 09:49 PM
#62
Senior Member
Thread Starter


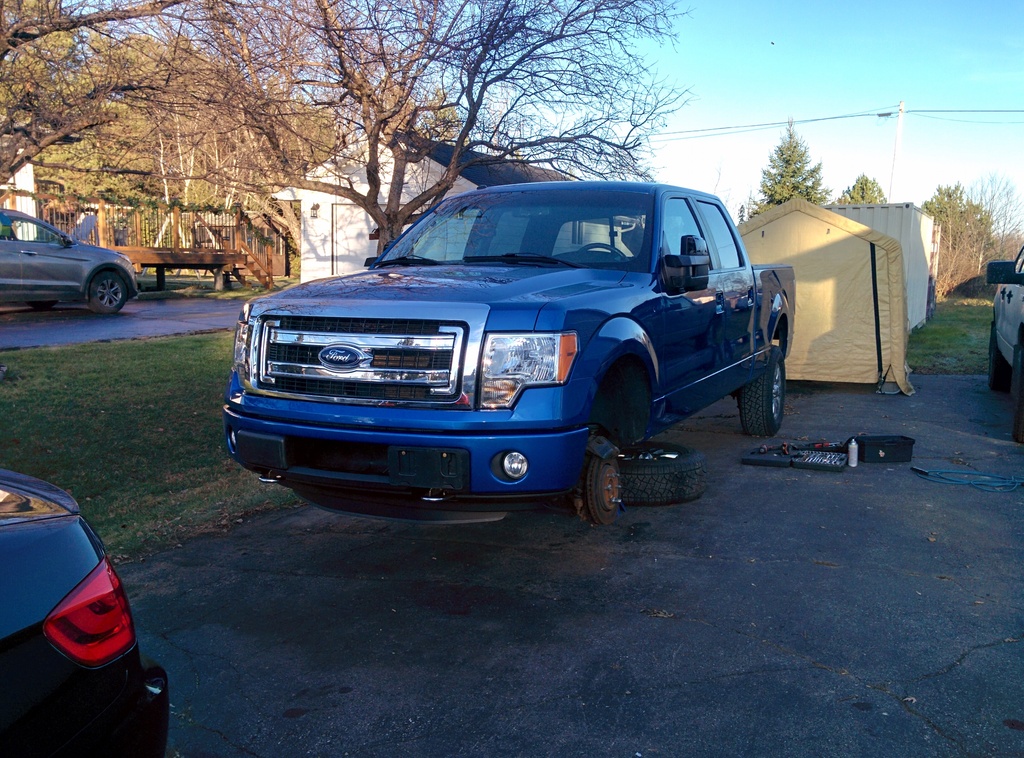
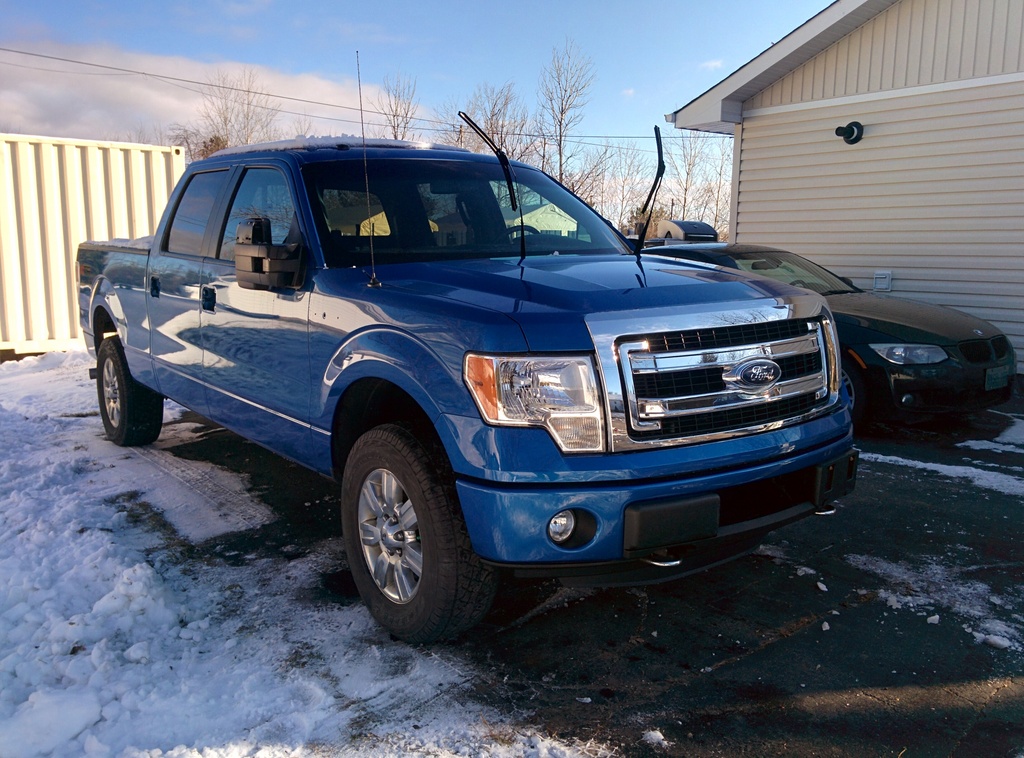
Alright as promised, here are some pictures of the truck!
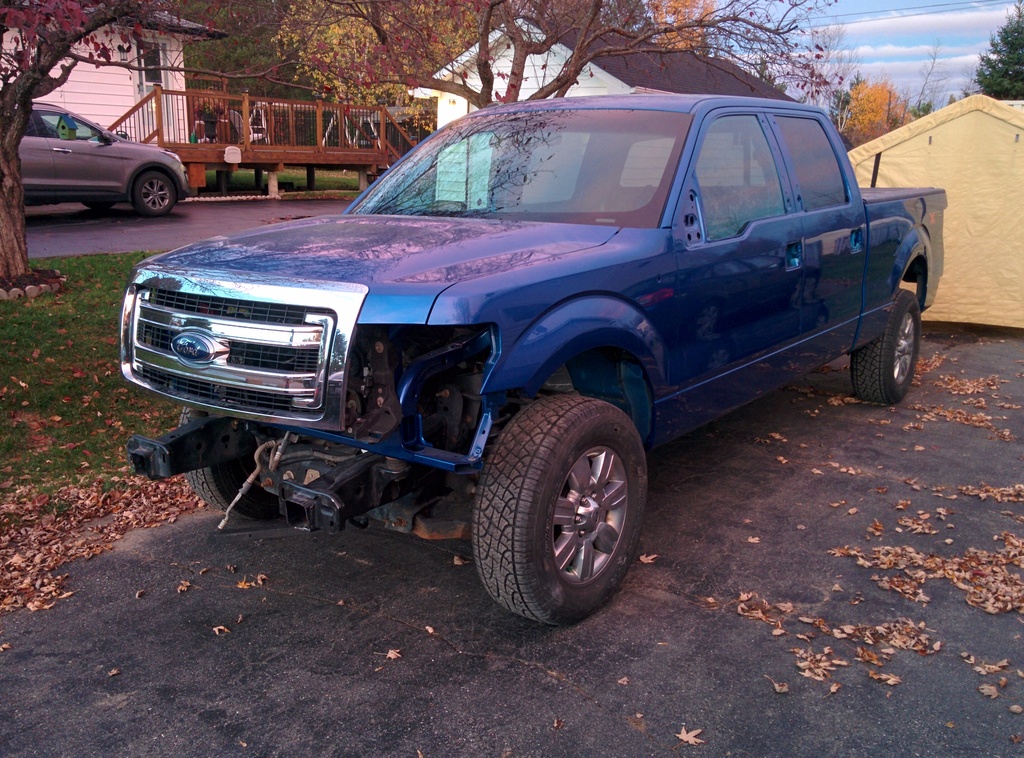
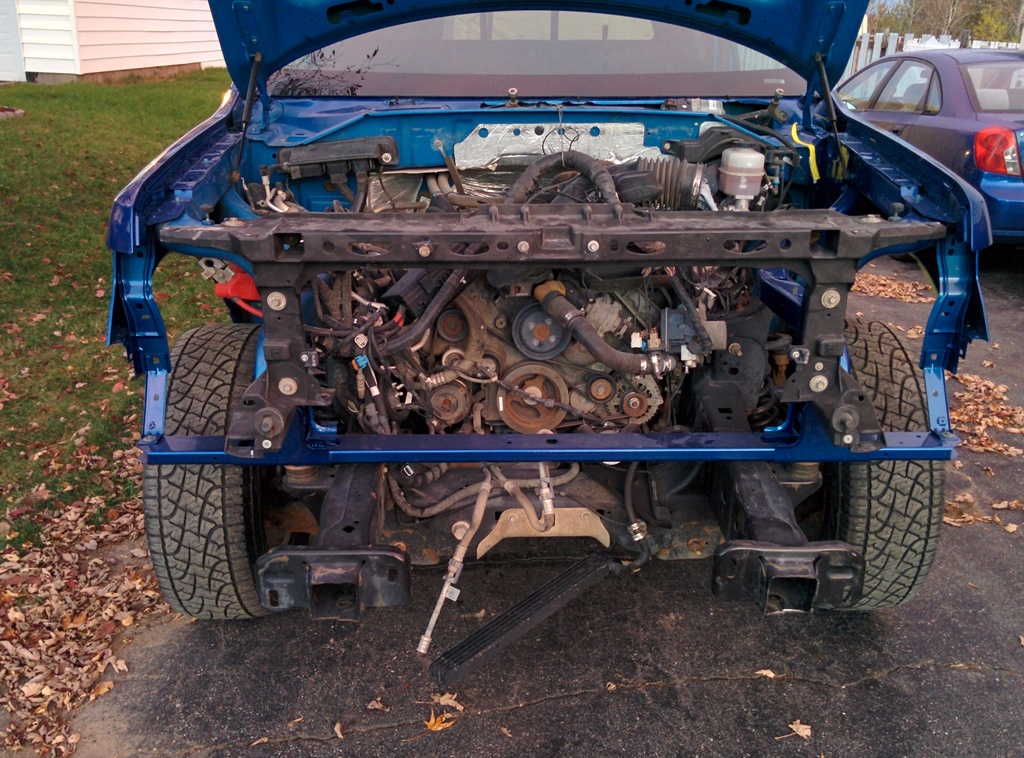
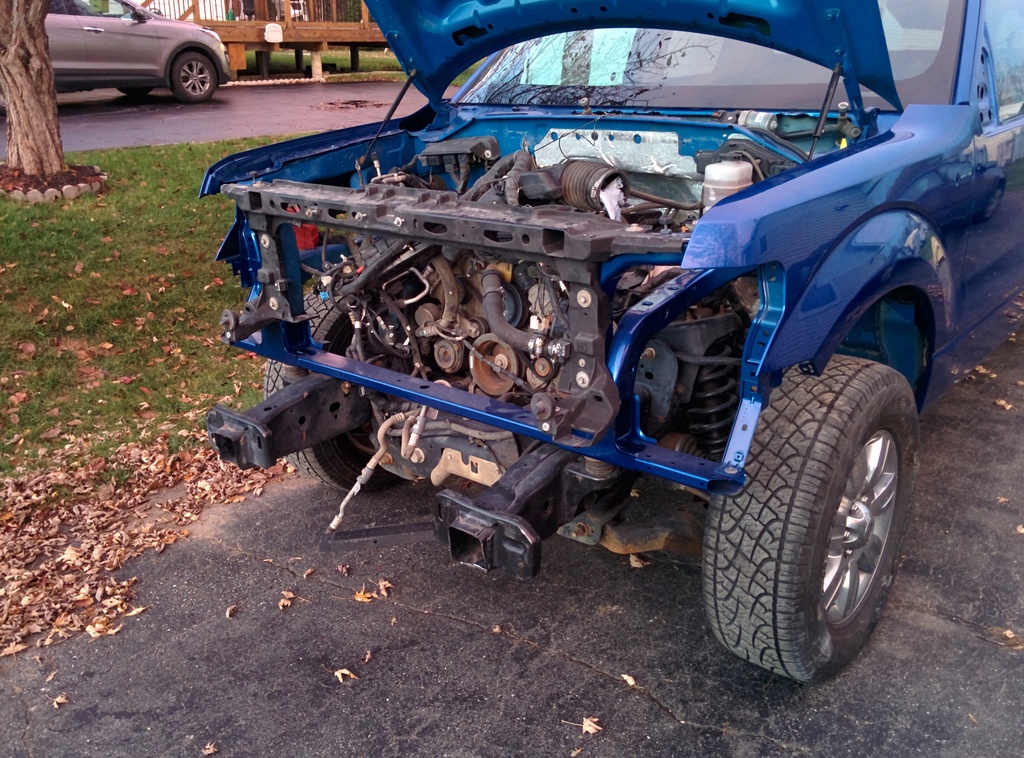
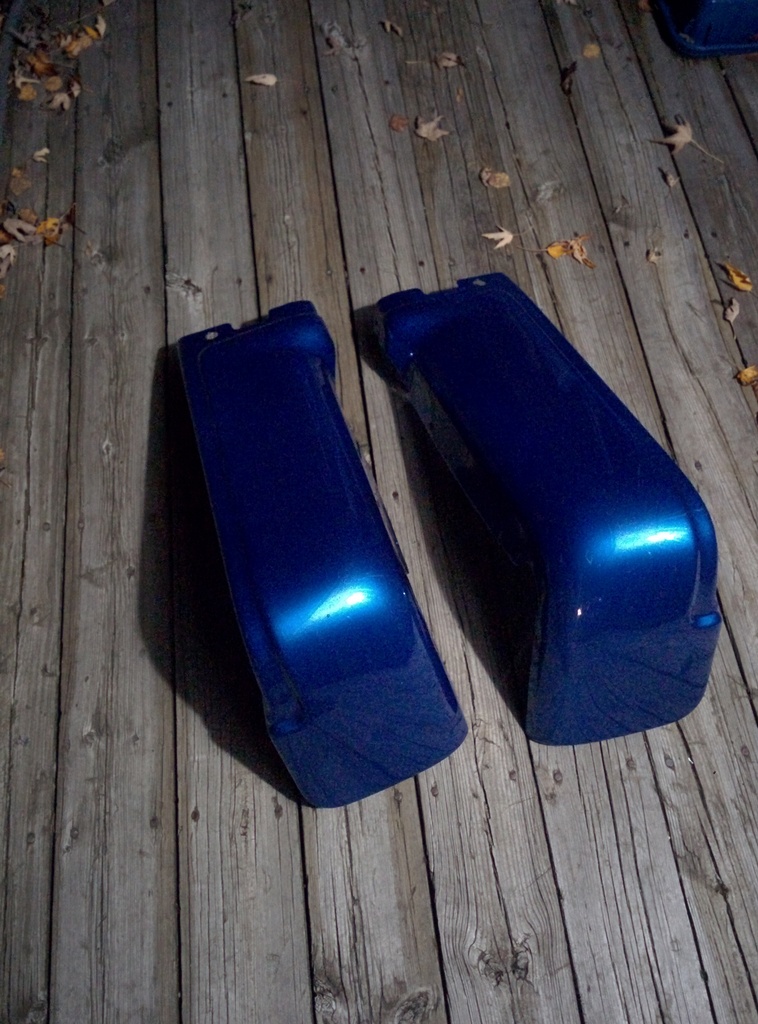
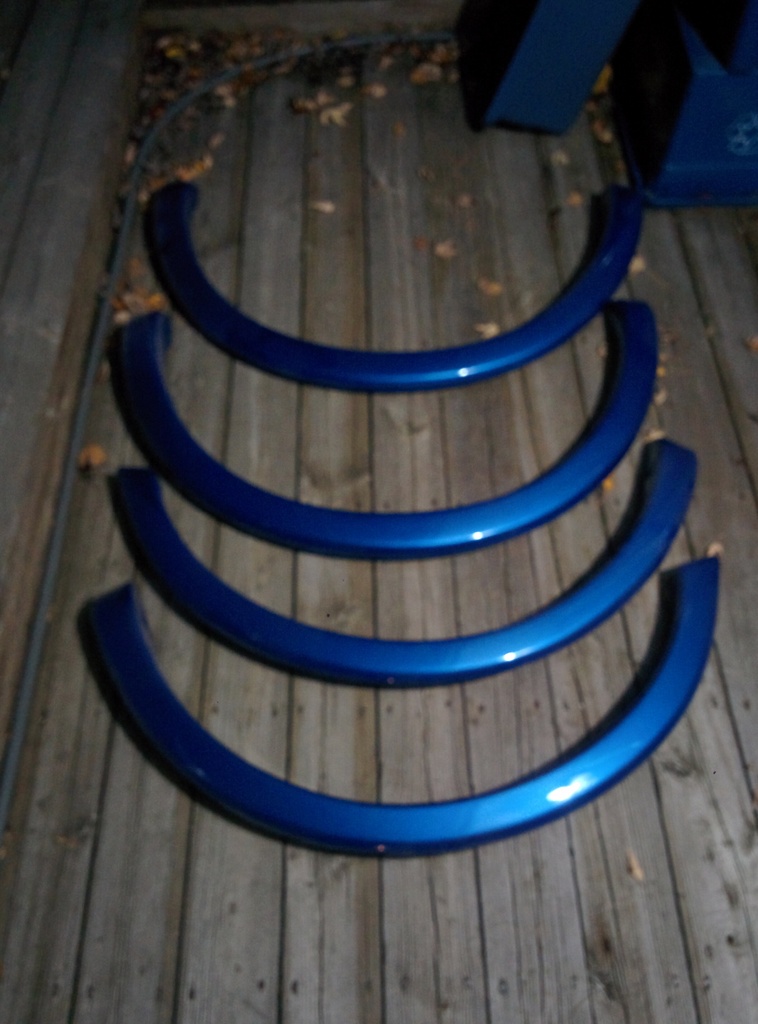
I also got the rear bumper end pieces and the fender flares back.
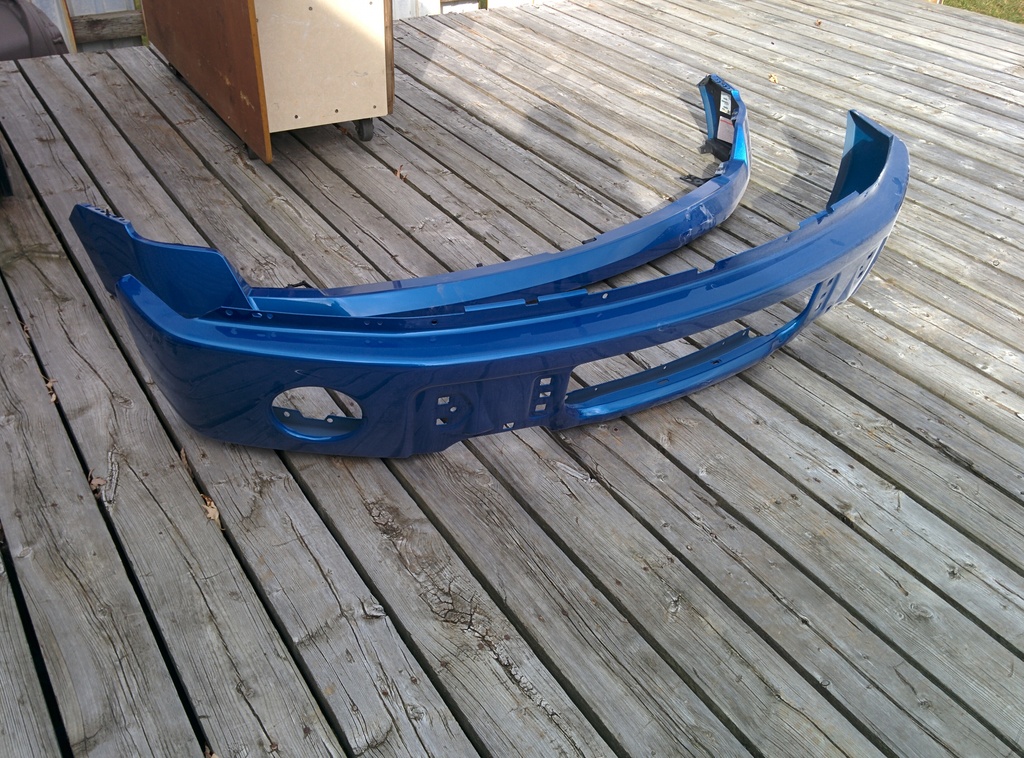
The front bumpers are painted and ready, I just need to make my way to the body shop to pick them up
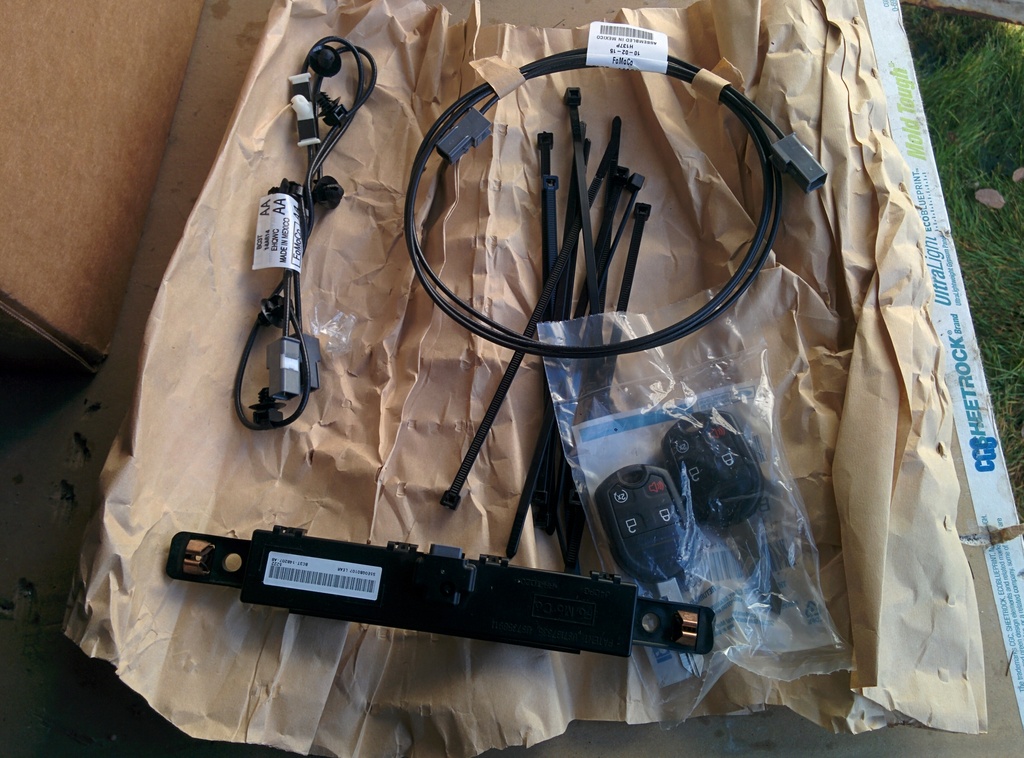
I ordered up Ford factory remote start kit for the truck which has two new keys (I only got one with the truck). I also ordered what I hope was the rest of the mechanical/maintenance parts required to get the truck up and going. Saturday I'm hoping to swap out some control arms and struts. I got a set of control arms for the drivers side that have less than 1k mile on them. The truck was hit in the rear and totaled out. Usually I'm not a fan of using used suspension components but these are near new with very low miles and well the price was right.
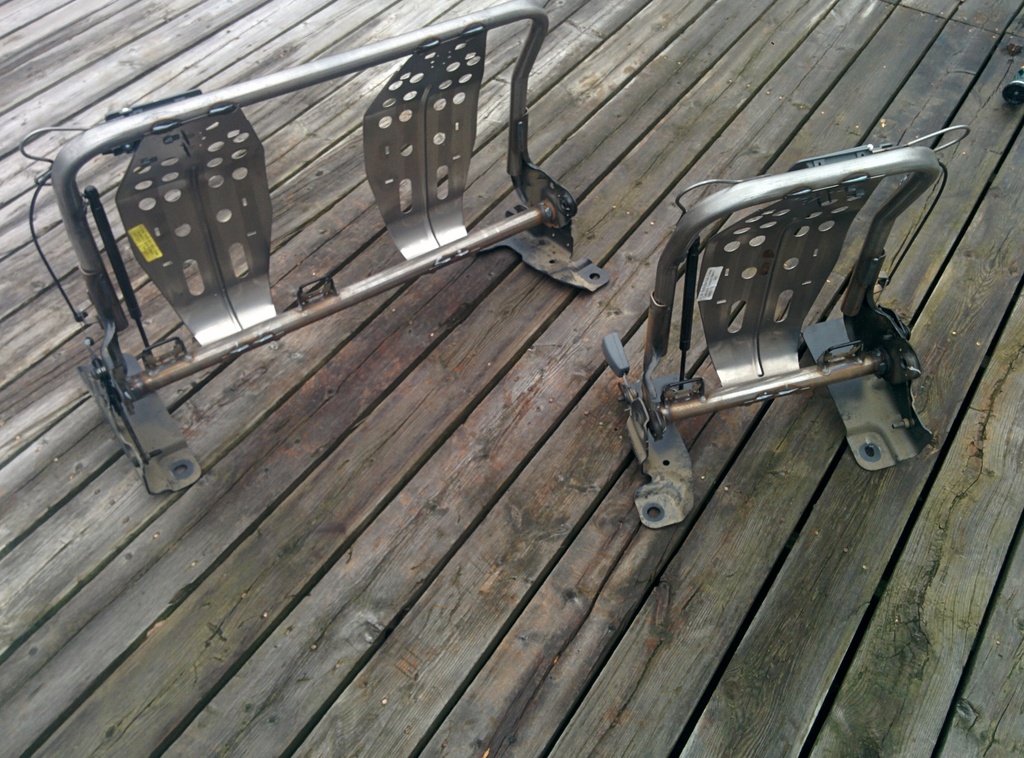
Last weekend I took apart the rear seats and gave them the same deep cleaning as the front set. The seat covers came out looking great so I'm glad I did it. I'm still waiting on my seat heaters to come in for the front too so I won't be putting those together for a while.
Hopefully this weekend I can make some good progress on the truck. It would be nice to get the front suspension done and get the dash in at least.
I also got the rear bumper end pieces and the fender flares back.
The front bumpers are painted and ready, I just need to make my way to the body shop to pick them up
I ordered up Ford factory remote start kit for the truck which has two new keys (I only got one with the truck). I also ordered what I hope was the rest of the mechanical/maintenance parts required to get the truck up and going. Saturday I'm hoping to swap out some control arms and struts. I got a set of control arms for the drivers side that have less than 1k mile on them. The truck was hit in the rear and totaled out. Usually I'm not a fan of using used suspension components but these are near new with very low miles and well the price was right.
Last weekend I took apart the rear seats and gave them the same deep cleaning as the front set. The seat covers came out looking great so I'm glad I did it. I'm still waiting on my seat heaters to come in for the front too so I won't be putting those together for a while.
Hopefully this weekend I can make some good progress on the truck. It would be nice to get the front suspension done and get the dash in at least.
10-21-2016, 10:58 AM
#63
Senior Member

There is no question that once your done this will be the cleanest from the inside-out, 2012 on the planet. Keep up the good work
12-03-2016, 01:22 PM
#66
Senior Member
Thread Starter
I have been incredibly busy at work as well as around the house but the tuck is progressing slowly. With winter starting I've tried to get the exterior all together so I don't have to work in snow. Anyway's here's a bit of a step by step.
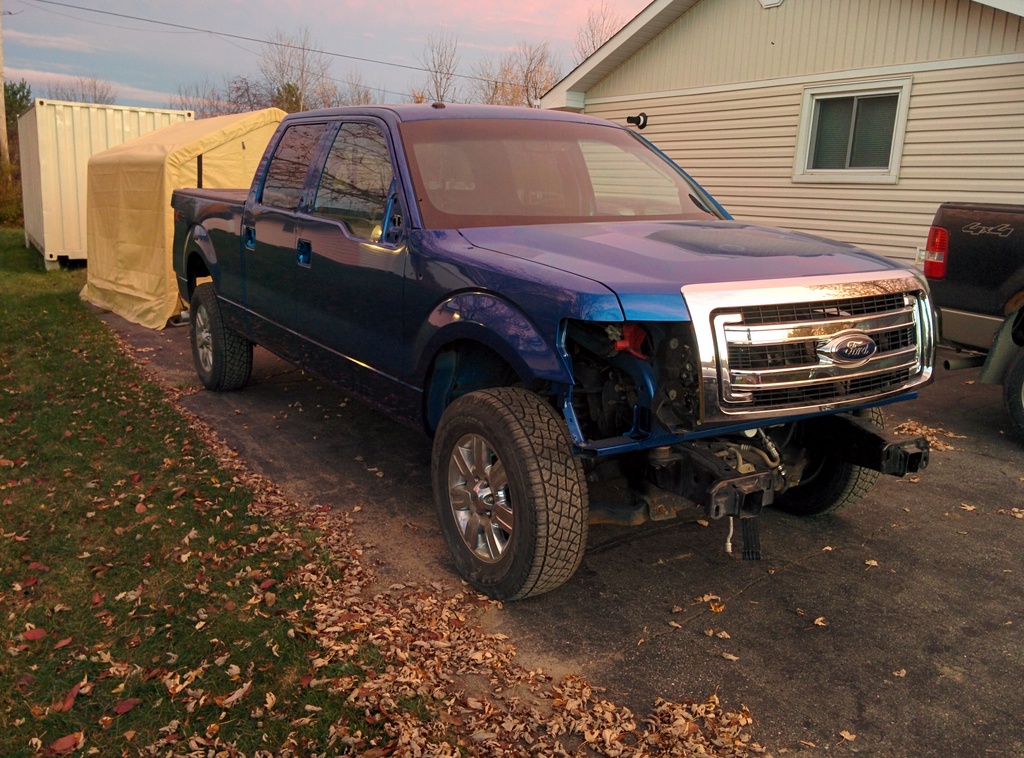
I picked up the front bumper and upper valance cover from the paint shop, I don't think I've posted a picture of them before.
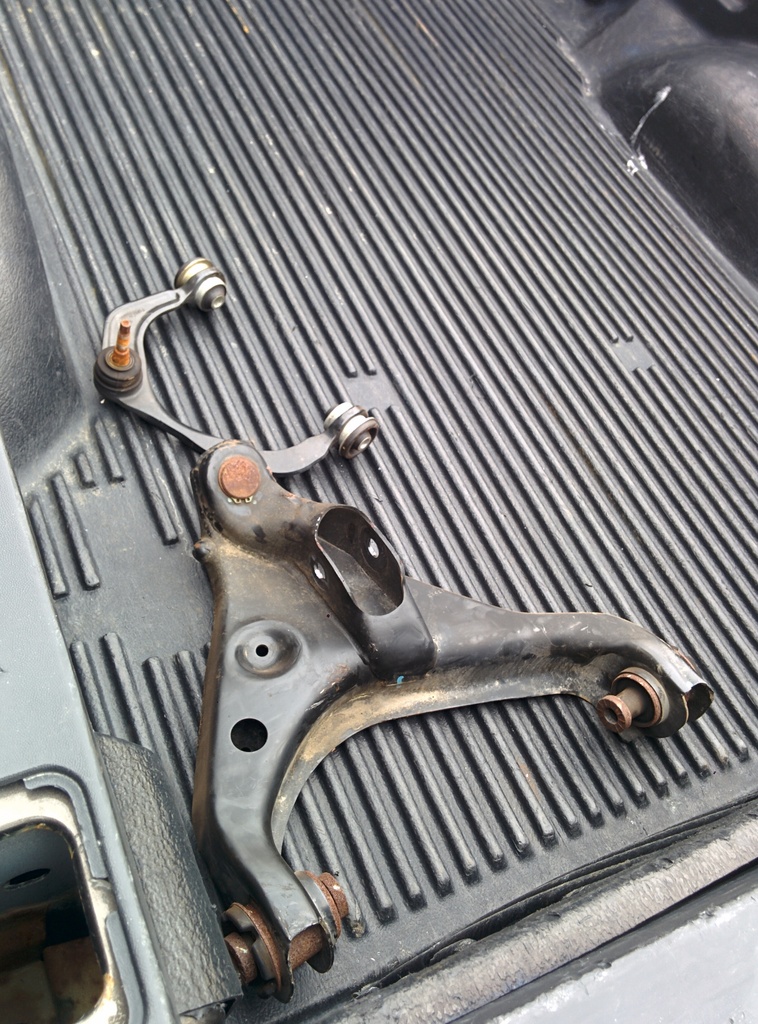
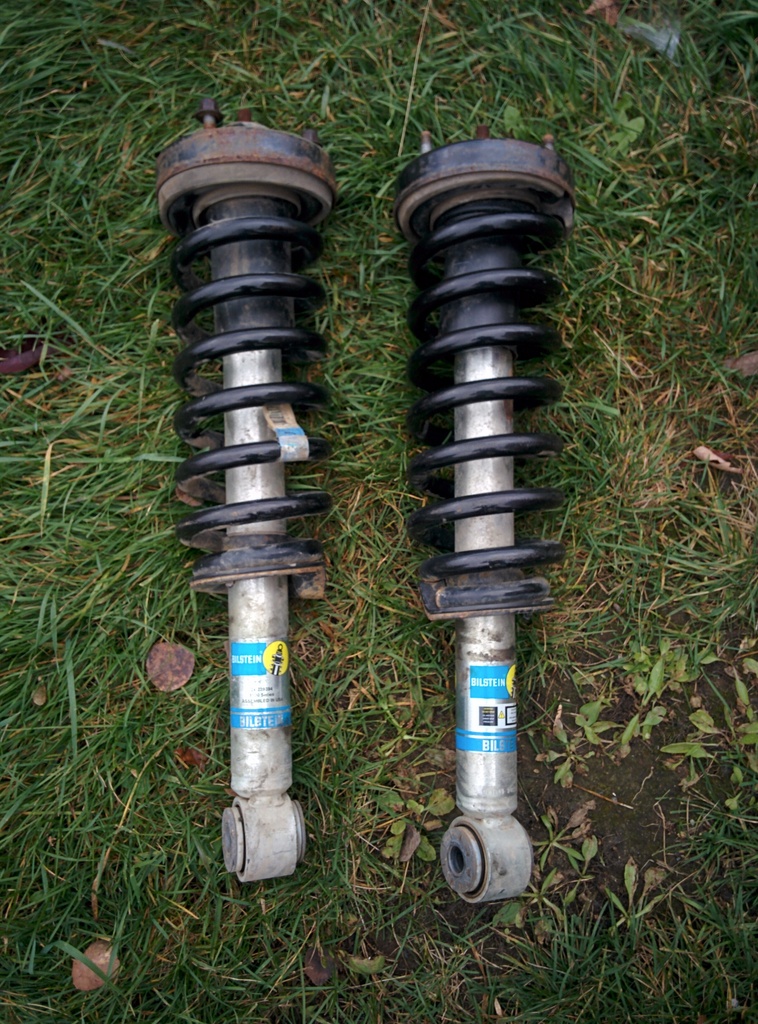
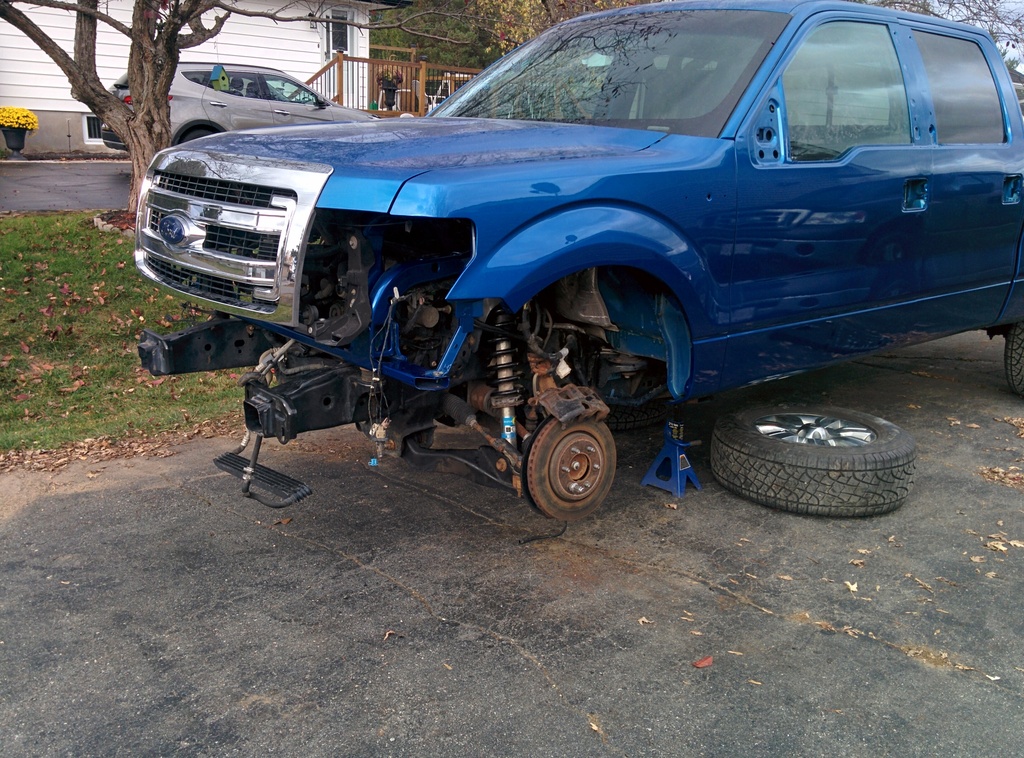
New/ used Bilstein 5100 assemblies that I got from the local parts guy. While I was at it I replaced the drivers side upper and lower control arms.
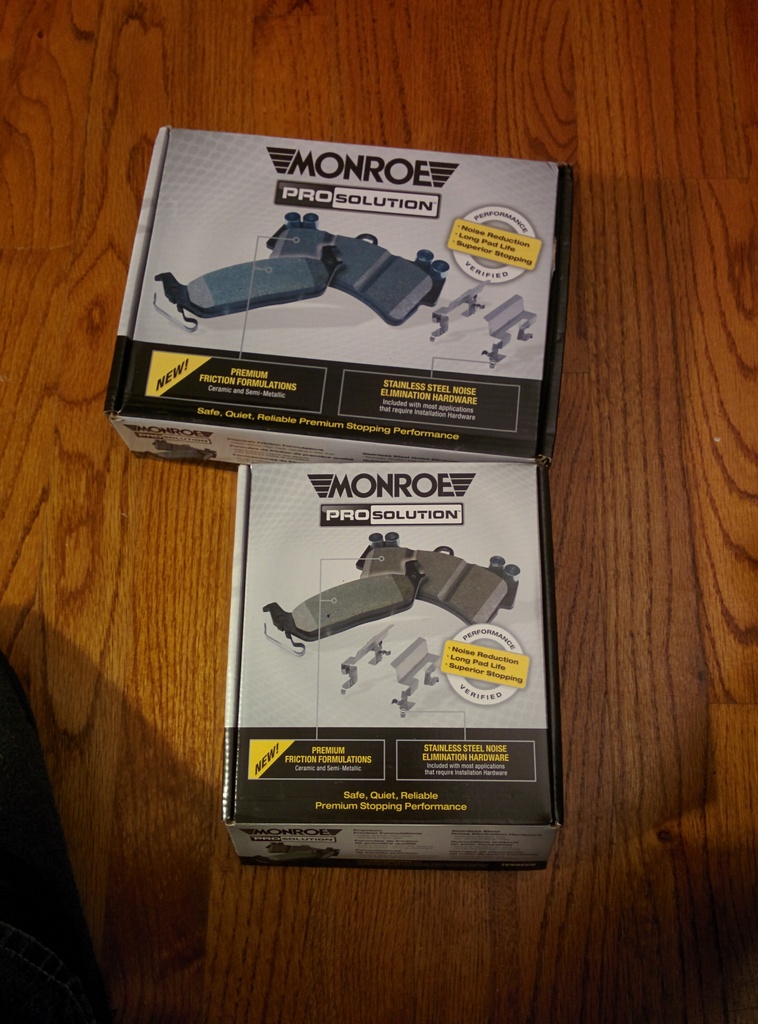
A few more repair parts as well as the remote start kit.
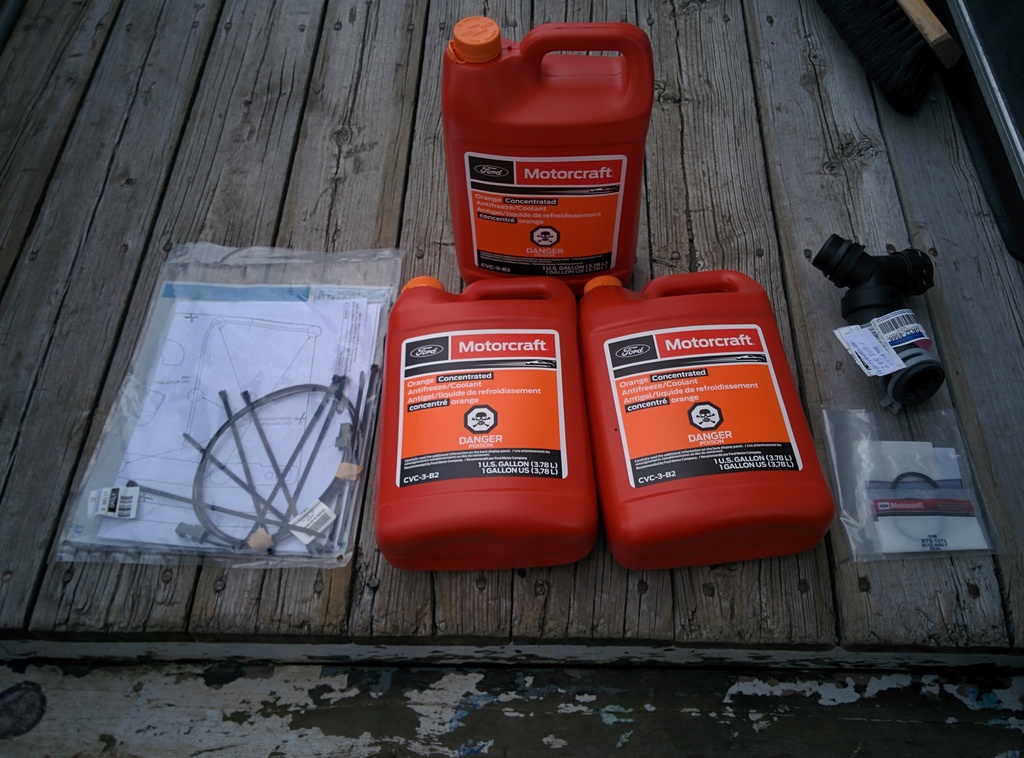
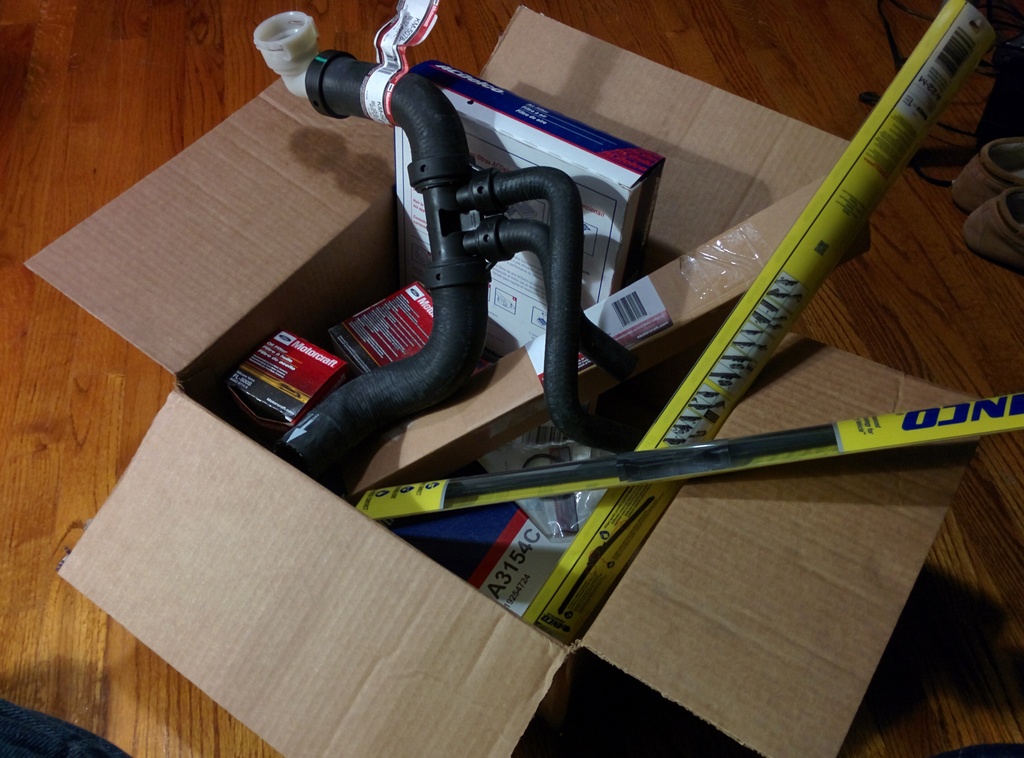
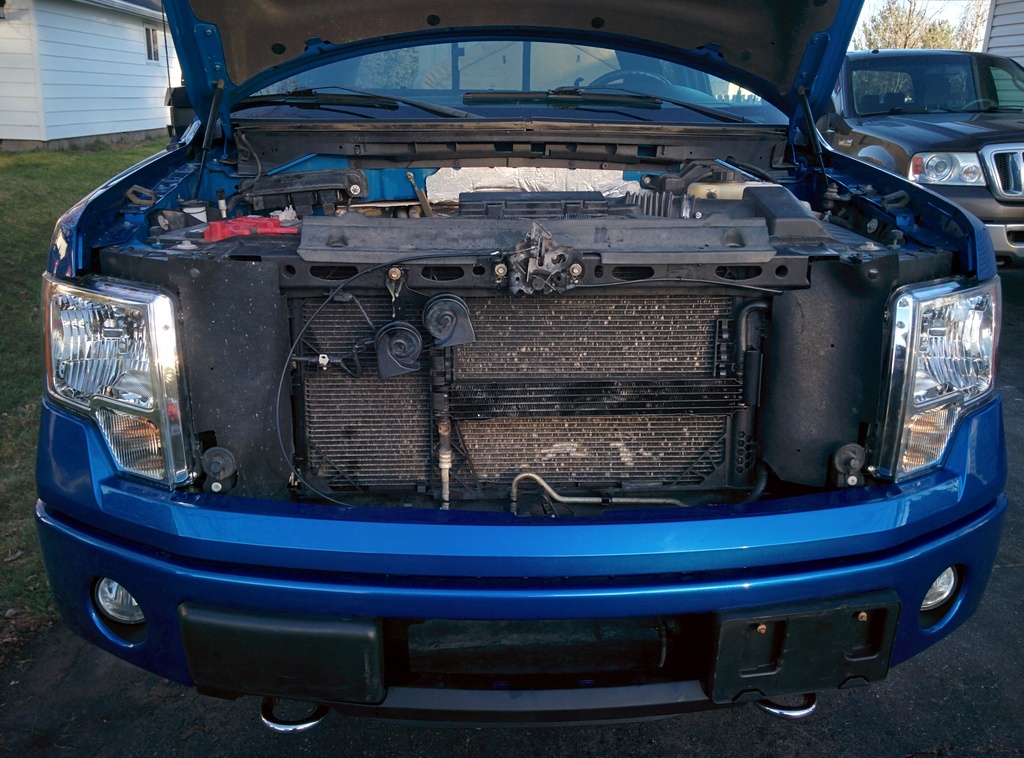
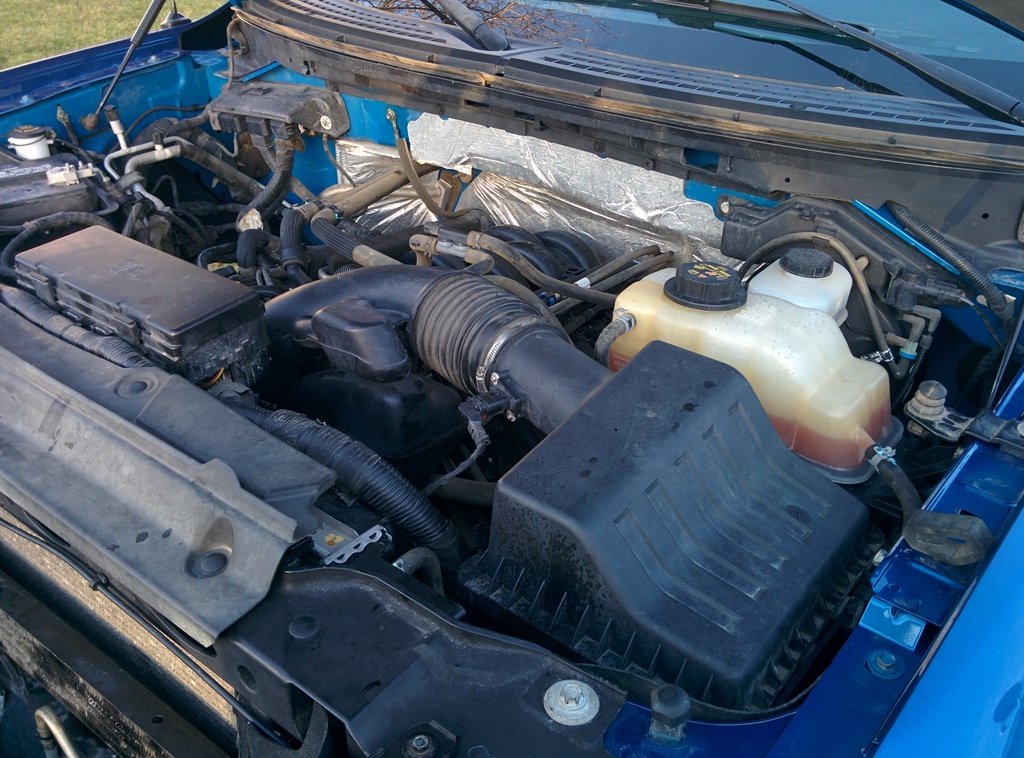
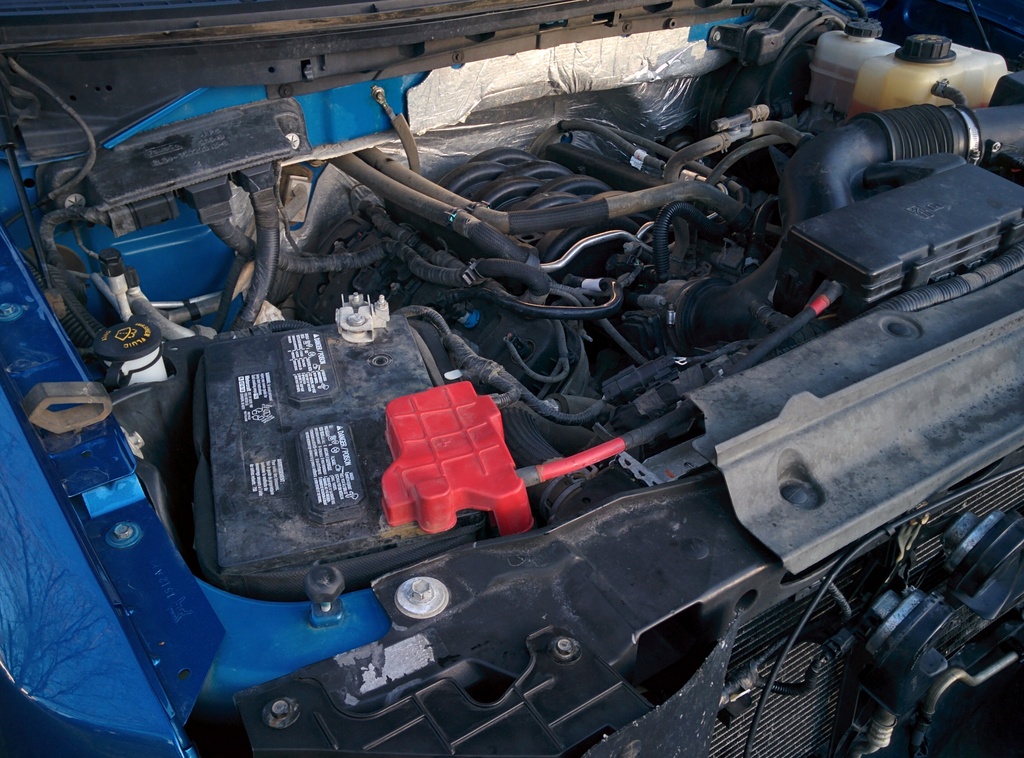
From there I started putting the rest of the front end back together. I flushed the cooling system with distilled water a few times then replaced the coolant adapter y piece that goes on the block as well as the lower rad hose. I replaced the o-rings in the upper rad hose as well as the coolant overflow bottle hose. The radiator then went back in along with the air box/ coolant bottle and battery and battery box. The AC condenser was put back in and the system got a vacuum to test for leaks too. This was all followed by the headlights and bumper pieces for the following end result.
I picked up the front bumper and upper valance cover from the paint shop, I don't think I've posted a picture of them before.
New/ used Bilstein 5100 assemblies that I got from the local parts guy. While I was at it I replaced the drivers side upper and lower control arms.
A few more repair parts as well as the remote start kit.
From there I started putting the rest of the front end back together. I flushed the cooling system with distilled water a few times then replaced the coolant adapter y piece that goes on the block as well as the lower rad hose. I replaced the o-rings in the upper rad hose as well as the coolant overflow bottle hose. The radiator then went back in along with the air box/ coolant bottle and battery and battery box. The AC condenser was put back in and the system got a vacuum to test for leaks too. This was all followed by the headlights and bumper pieces for the following end result.
12-03-2016, 01:23 PM
#67
Senior Member
Thread Starter
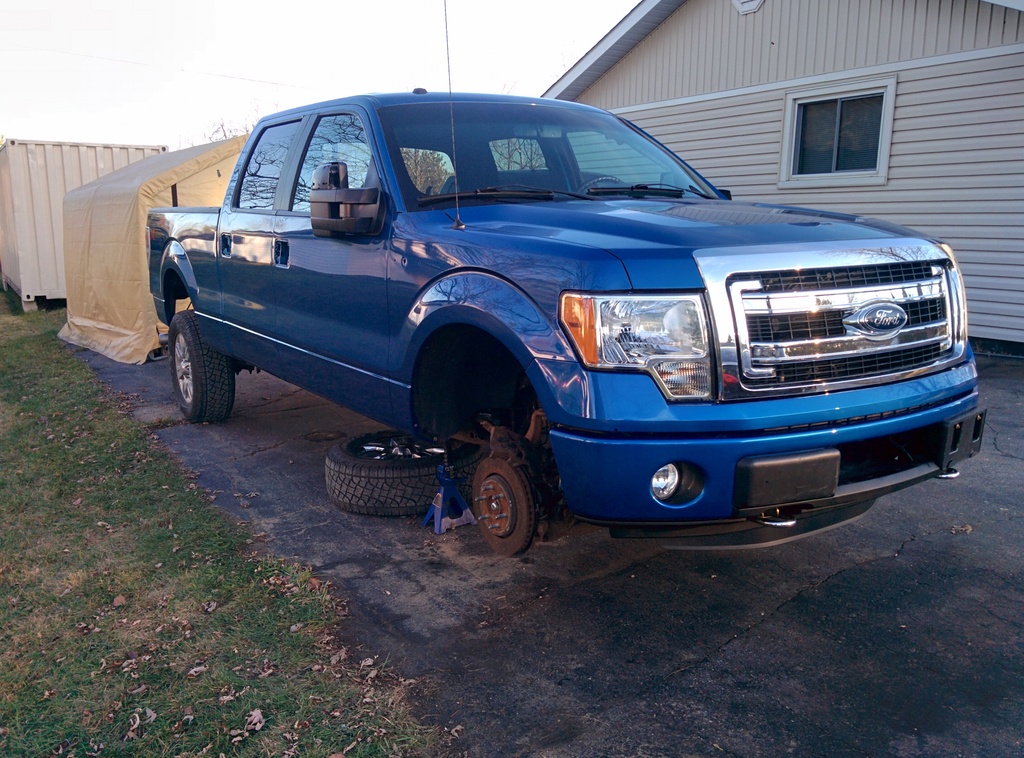
I ended up having to put new pads on all four corners, they were near the wear limit so I didn't want to risk having them fail the upcoming safety inspection. While I was at it I cleaned up the rotors a bit to remove some rust as well as adjusted the the parking brake. In doing so I've concluded that I need a new drivers side rear parking brake cable but it should be okay for a bit.
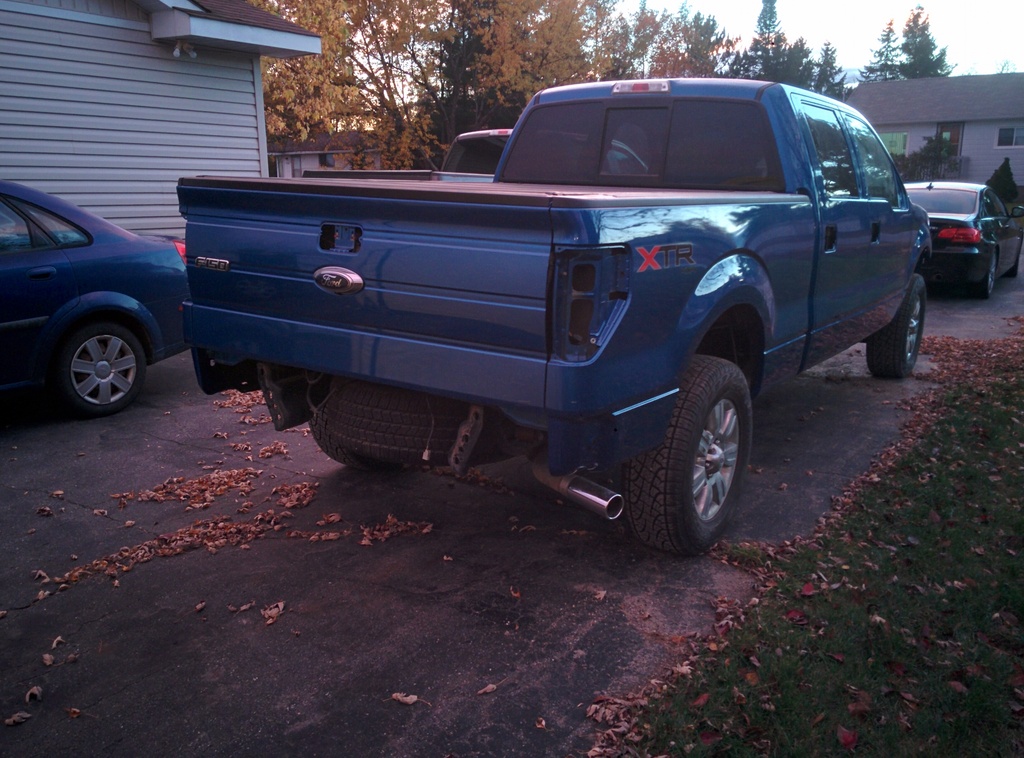
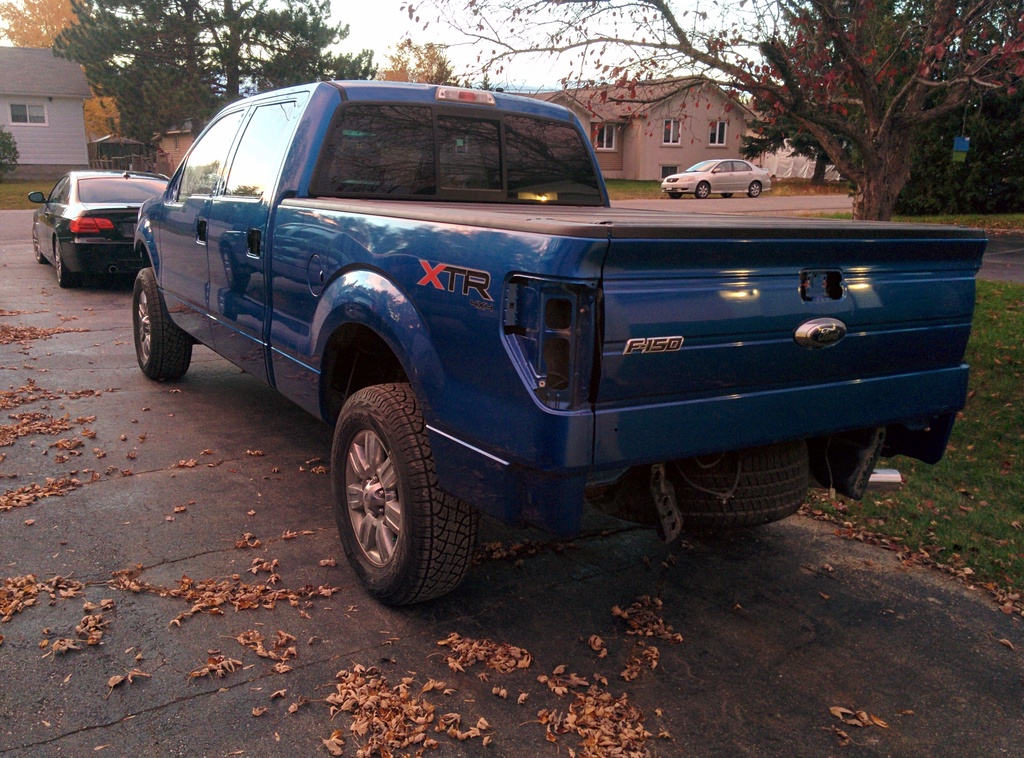
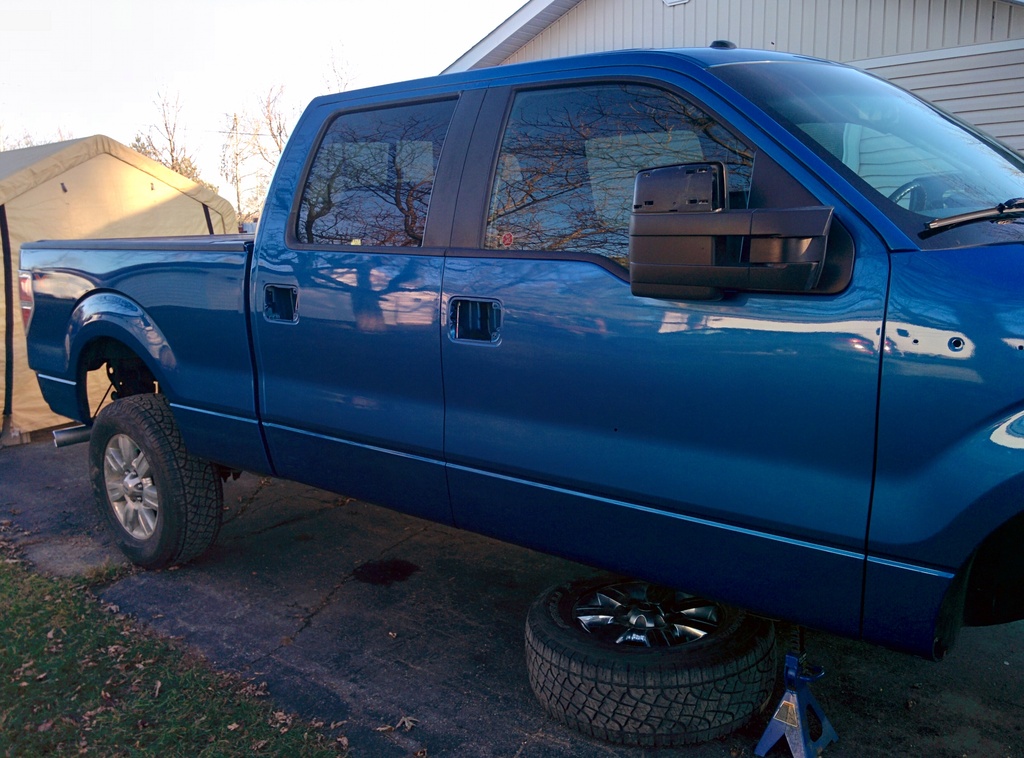
I also mocked up one of the new fender flares just to get an idea of what they would look like. Maybe it's the wheels that are on the truck, but I'm not exactly sold on them just yet. I think I need a bit more offset in my wheels but I want to stick with factory wheels. At this point I really wish I would have jumped on that set of wheel spacers that I was offered for $60 a year back. For now I'm not installing the flares until next spring when I have the time to do it right.
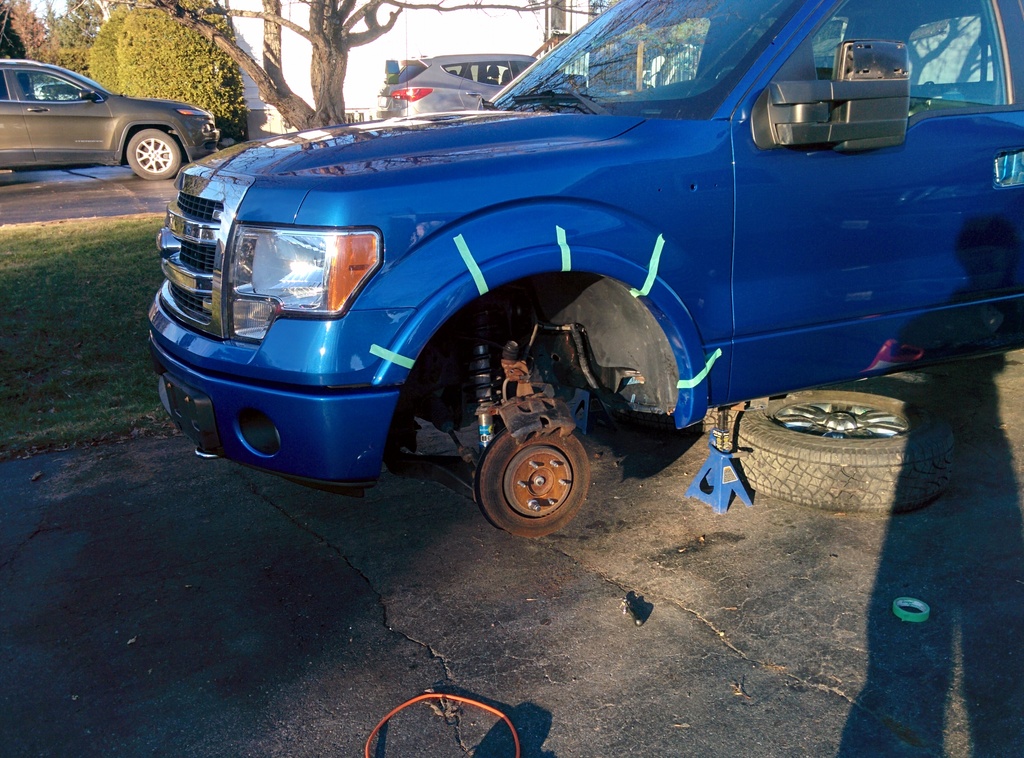
With the brakes all done I was able get the wheels put on the truck and move it around the yard. As you'll notice I'm working in the snow again which is ironic. I started the project with snow on the ground and I'll be finishing it with some too!

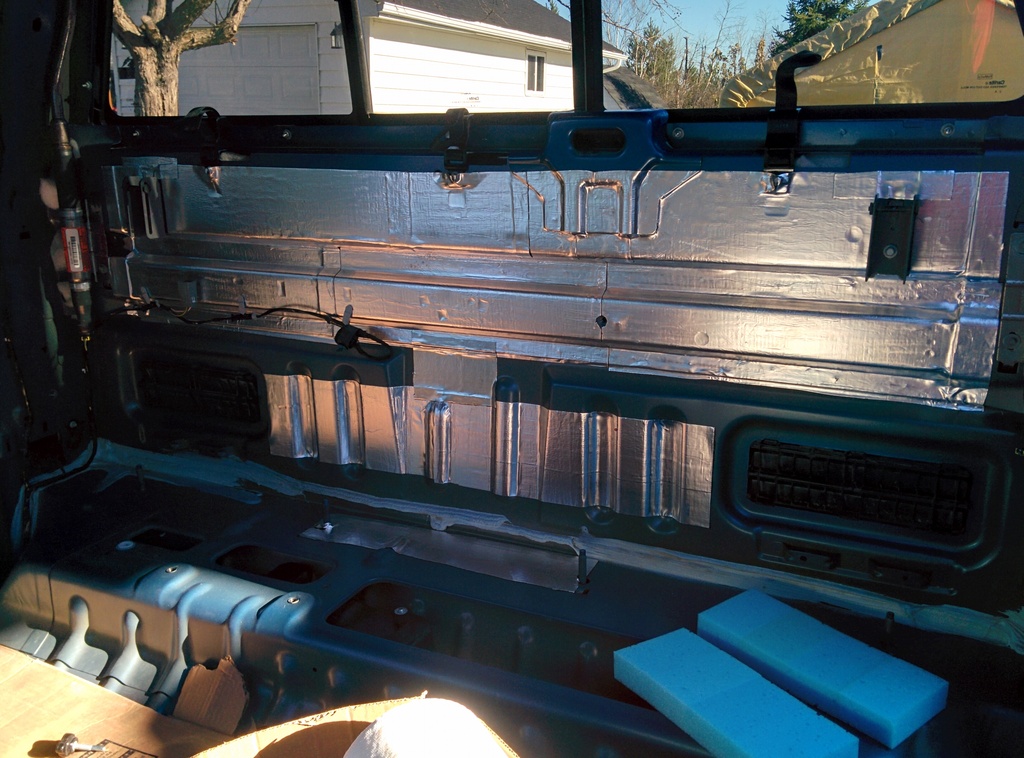
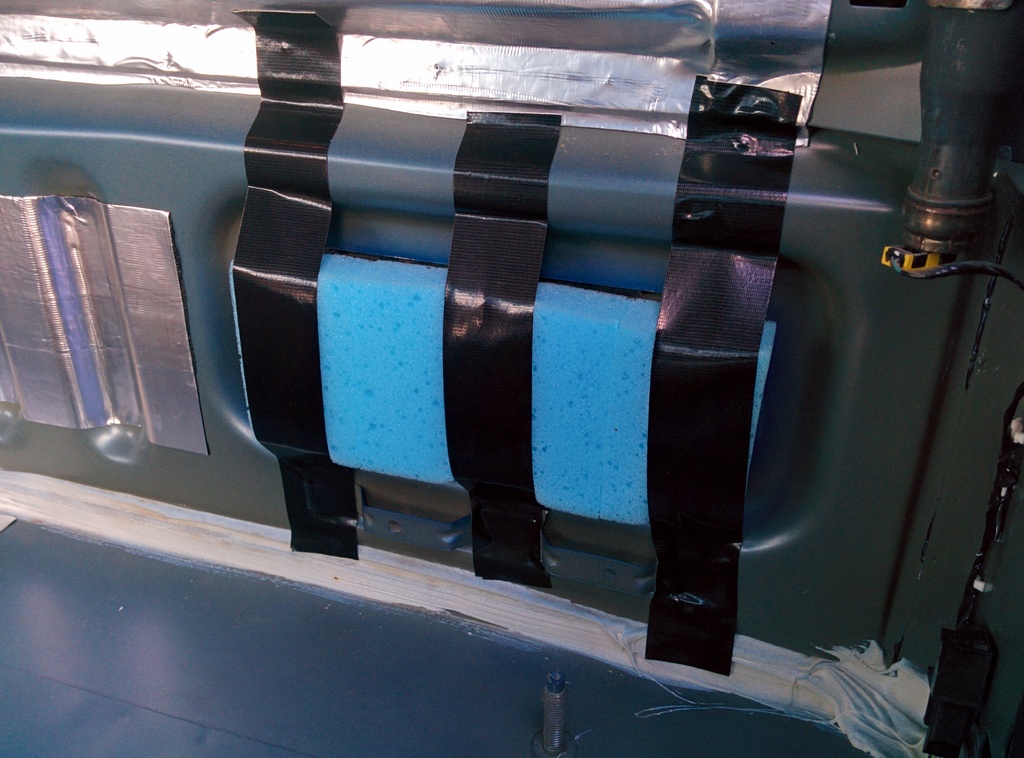
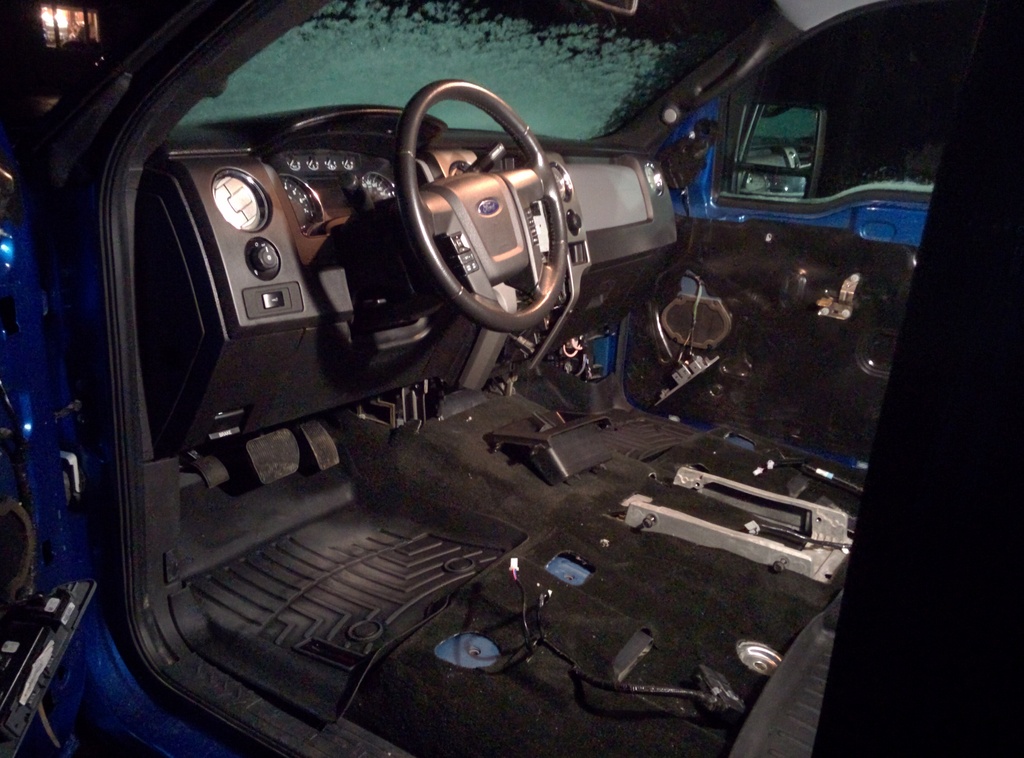
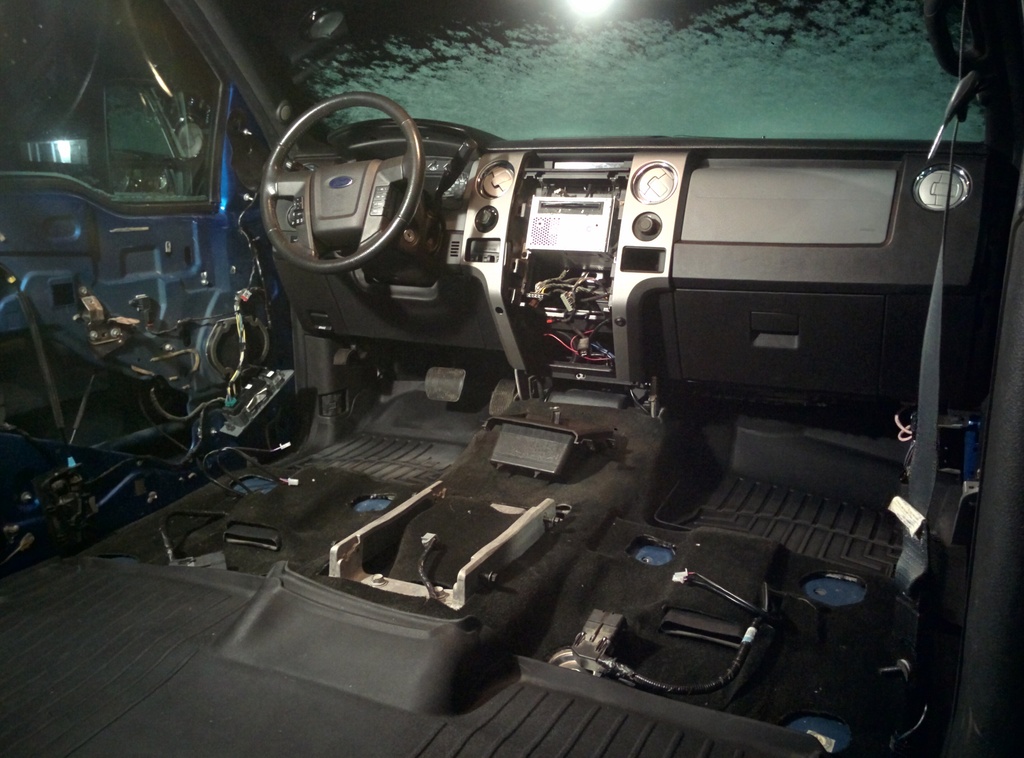
Now for the interior, I got the dash installed less than a week after the truck was back from the body shop. I had planned to install sound deadning material throughout the truck but I was running out of time. I used the material I had on hand and got the back of the cab done. While I was at it I also built some "filters" our of some foam in hopes of keeping dust out of the cab from the cabin vents. The cab was cleaned up and I installed the minty fresh carpet, seat belts and the majority of the remaining interior trim.
 12-03-2016, 01:24 PM
#68
Senior Member
Thread Starter
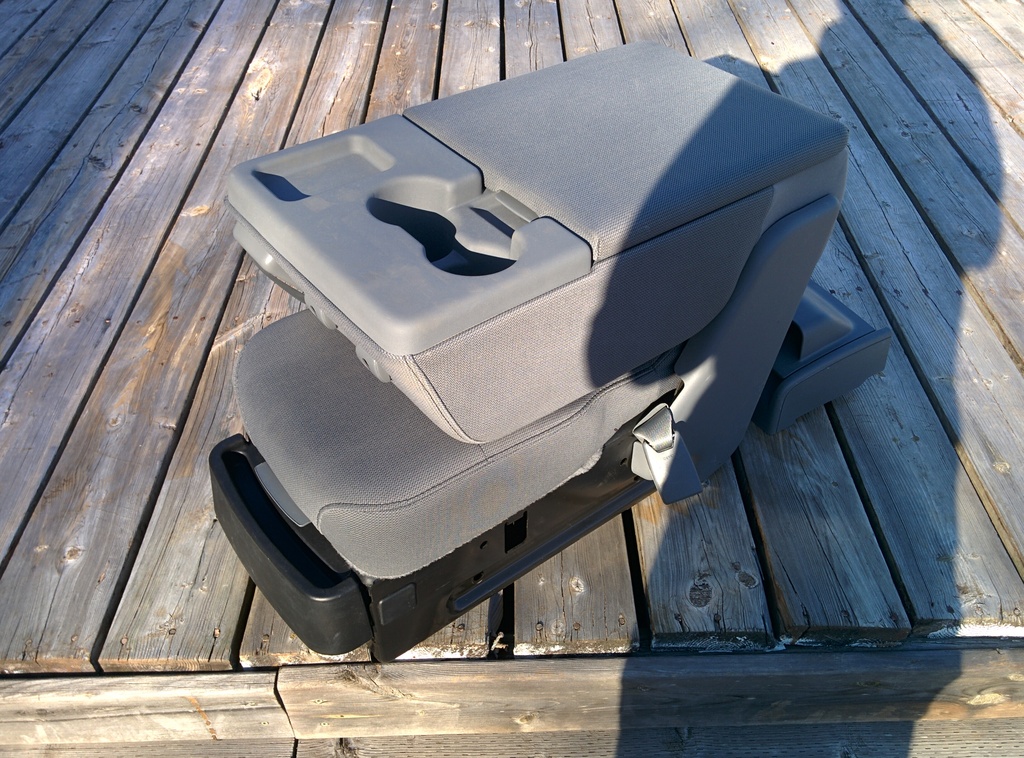
I was on the hunt for a center console to replace the filthy jump seat that came in the truck. I quickly found out that everybody else was also looking for the same thing and I wasn't going to find one without paying dearly for it. So for now I have decided to clean up my original jump seat and just suffer through having that for now. It turned out much better than I thought it would thanks to some pretty strong cleaners.
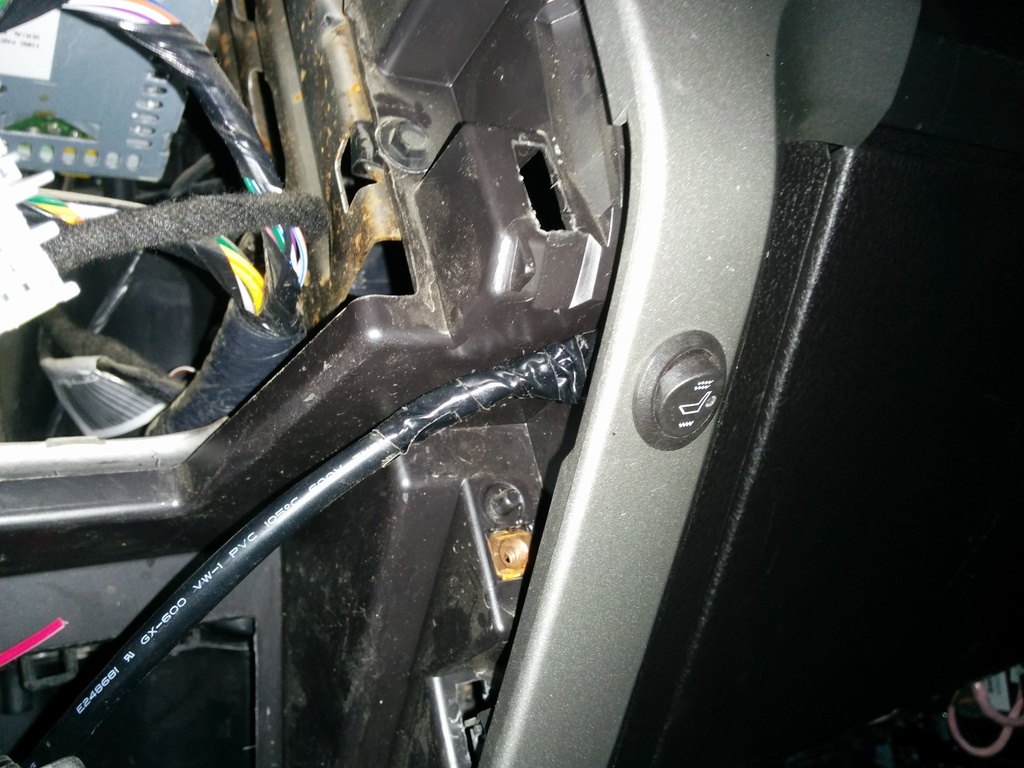
My seat heater kits came in finally to so the wiring is pretty much all installed. I ruined one of the switches during the install process so I had to order a new one. It was hard to find a spot to put them that made sense and had enough space behind it for the wiring.
Now at this point the critical path item to getting the truck finished is getting the door handles sanded down and painted. This will allow me to get the door panels installed and the exterior sealed for winter winter. I also need to get all the seats back together which means reinstalling the seat covers. The rear bumper still needs to be installed but I'm hoping to get some paint protection film applied prior to that. Speaking of PPF, I also want to get some installed on the front of the truck in order to protect it from paint chips.
Anyways stay tuned for more updates even though they might be slow!
The following users liked this post:
speeddemon0712 (12-03-2016)
12-03-2016, 02:15 PM
#69
Senior Member
Looking good!
The following users liked this post:
paintballdude05 (12-04-2016)