2012 F150 XTR Rebuild

 08-15-2016, 08:10 AM
#32
Senior Member
Thread Starter


Haha no I've just been very busy with a new job and a engine swap that's not going as planned. I'm still moving slowly on it, I just haven't made any progress worth mentioning on here.
08-15-2016, 08:30 AM
#33
Senior Member
Thread Starter
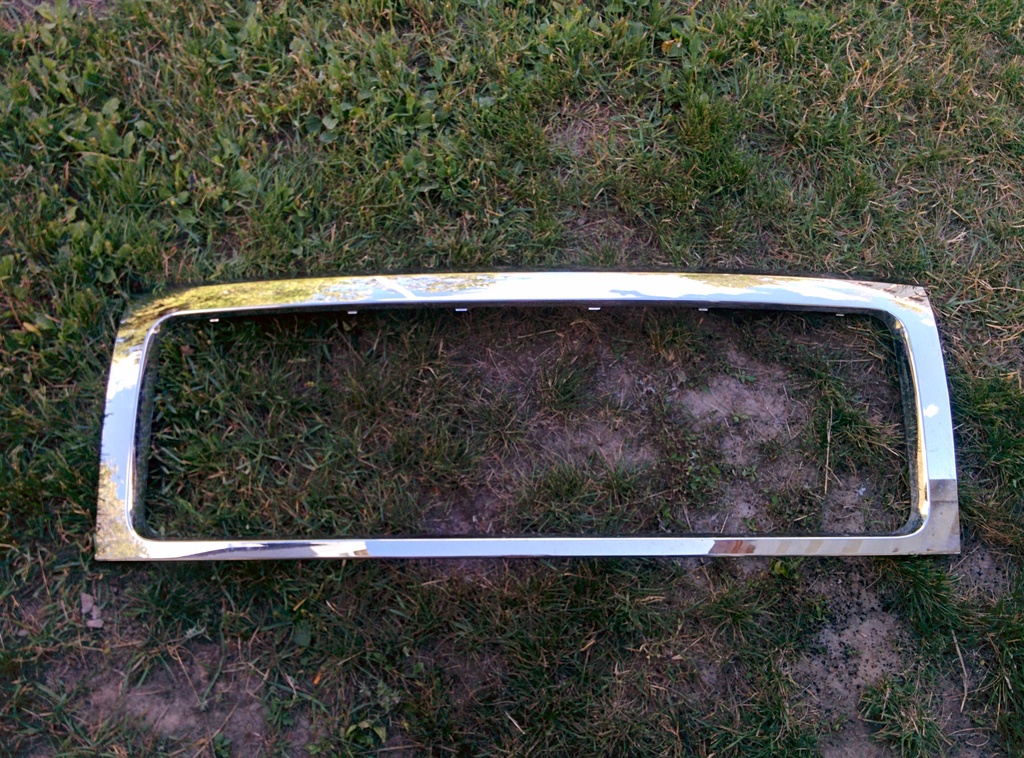
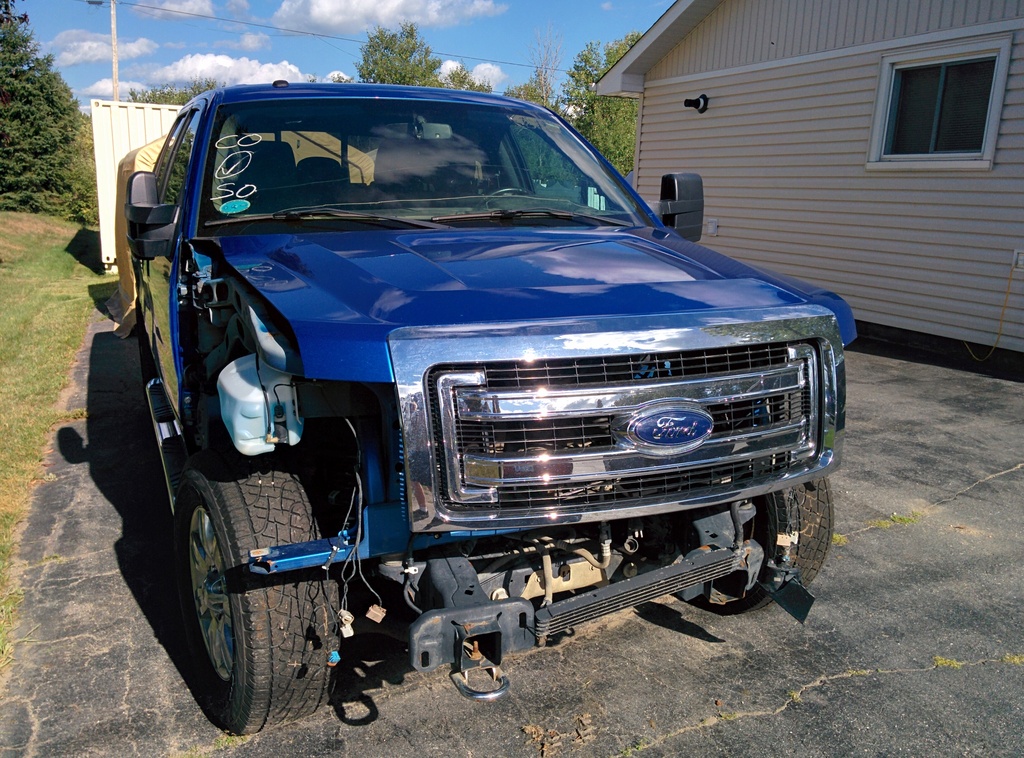
Here's a bit of progress. I have been able to disassemble one of the new grilles I picked up so that I can get the chrome on the surround stripped off. I also put together the second grille and installed it on the truck so that the body shop has something to work with while they're aligning everything. Finally, I scored a set of MINT headlights off a 2014 for a steal for a steal of a deal. I'll use those as "stock" headlights from now on until I get my retrofits all done.
09-11-2016, 10:29 PM
#34
Senior Member
Thread Starter
The dash on trucks don't seem as bad as the LH cars, I'm glad to hear your tear down went well!
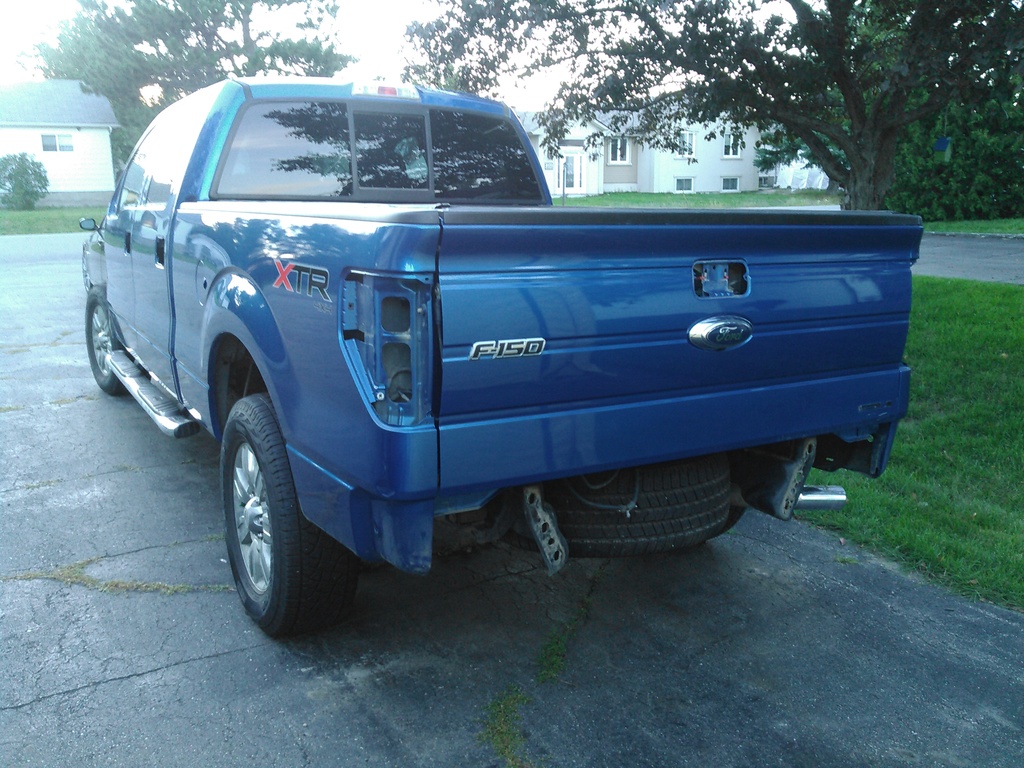
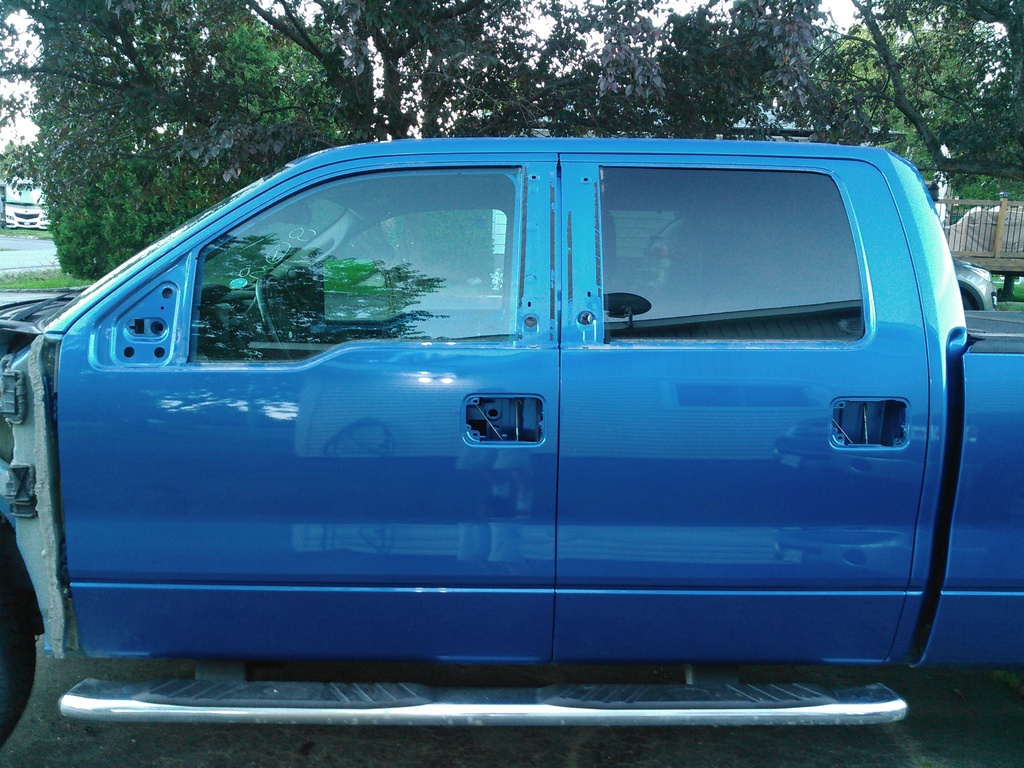
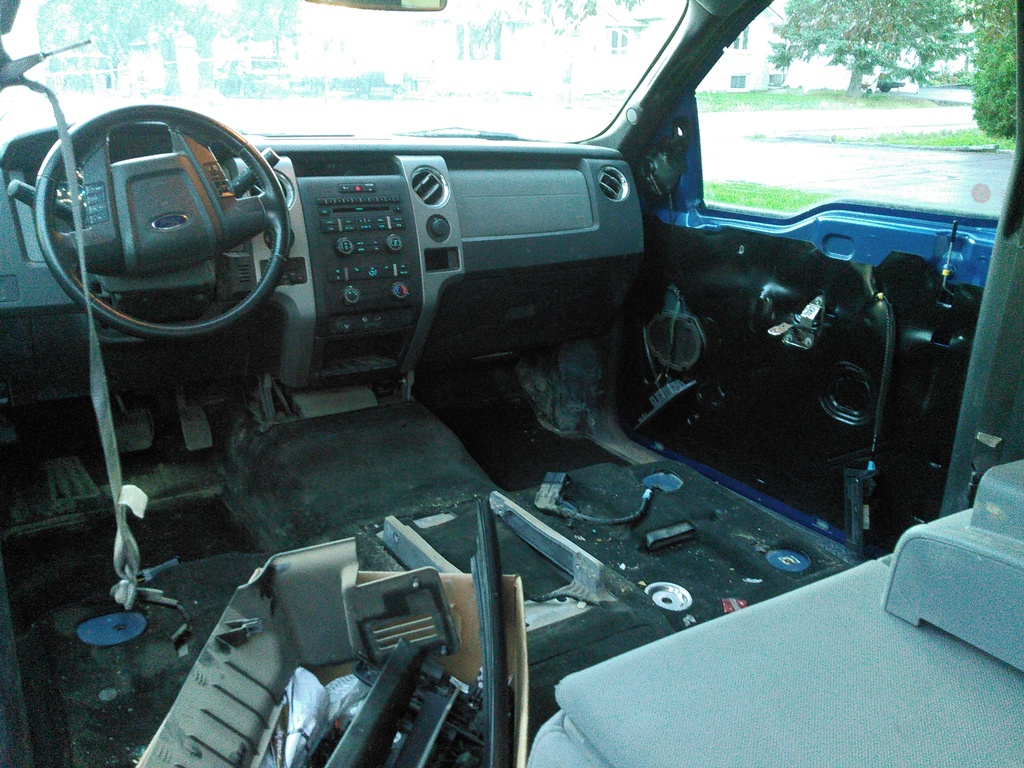
Well I'm back on this project now. I've got the tailgate handle off along with the tailgate and bumper. I'm probably going to take the hitch in to get powdercoated along with the bumper brackets front and back. I've also pulled the tailights and side mirrors and put those away. Today I pulled the window weather stripping and the rest of the rubber and trim on the doors. They're almost ready to go, I just need to remove what's left of the adhesive that held the pillars on. From there I pulled the front seats which turned out to be quite the chore. Some of the bolts holding the seats down were a bit rusty and my battery powered impact wouldn't touch them.
By the end of this week I hope to have the dash pulled and out of the way. It shouldn't be too bad, I've got the FSM procedure along with a video on YouTube that takes you through it step by step.
09-15-2016, 03:31 PM
#35
Senior Member
Thread Starter
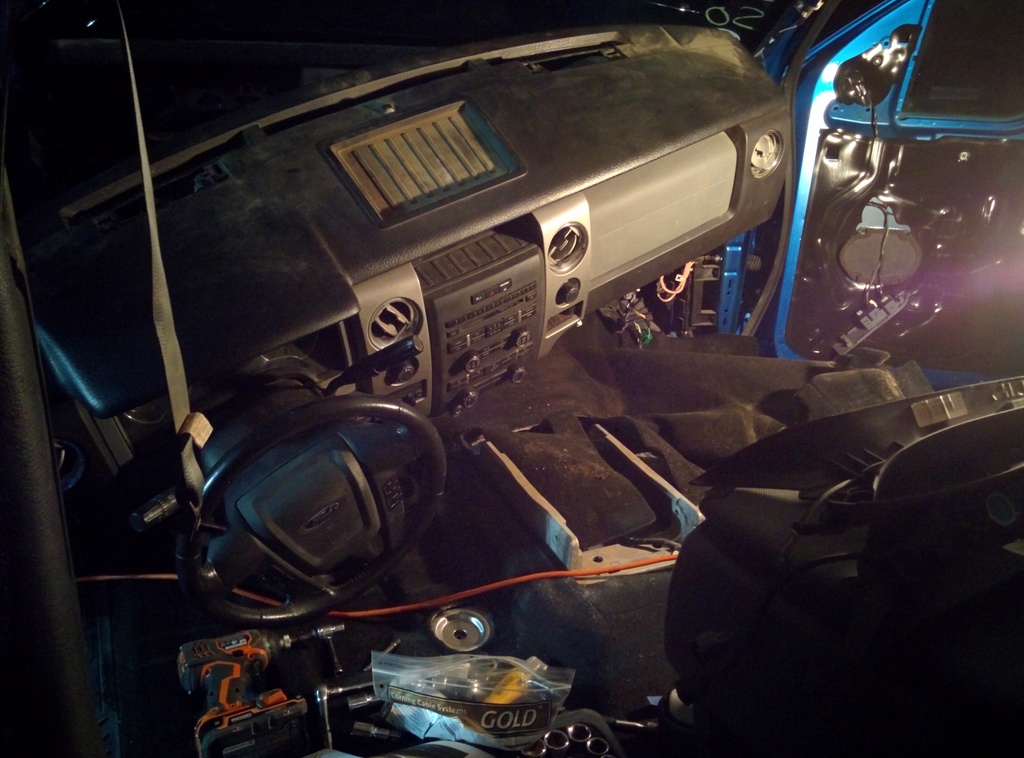
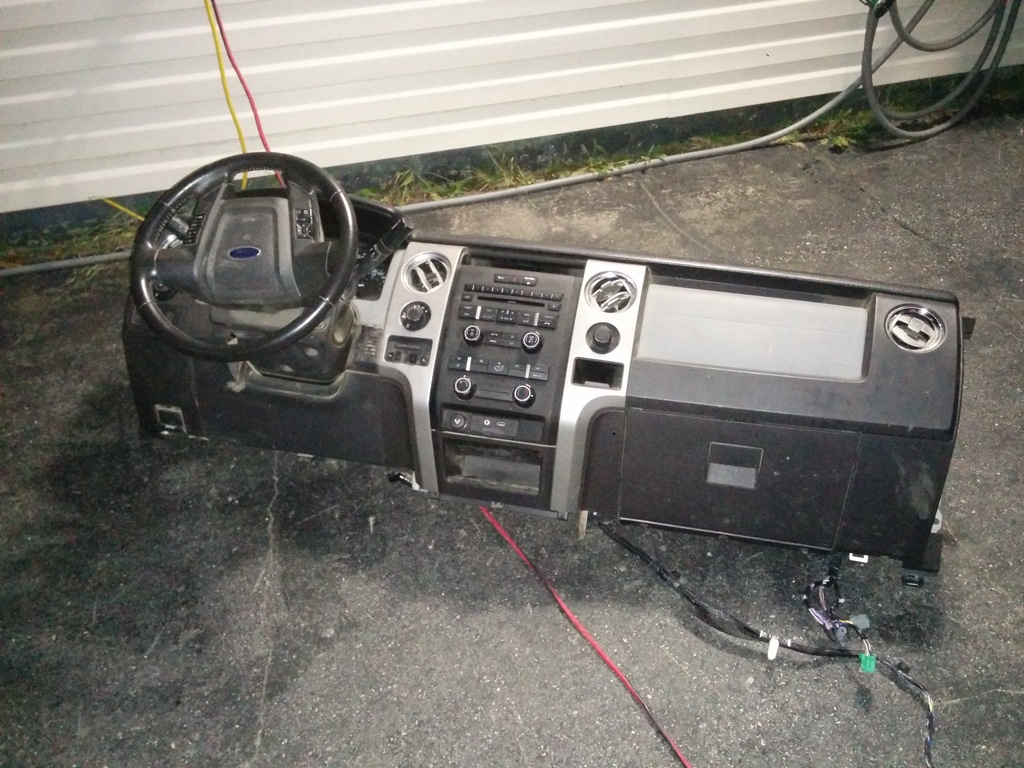
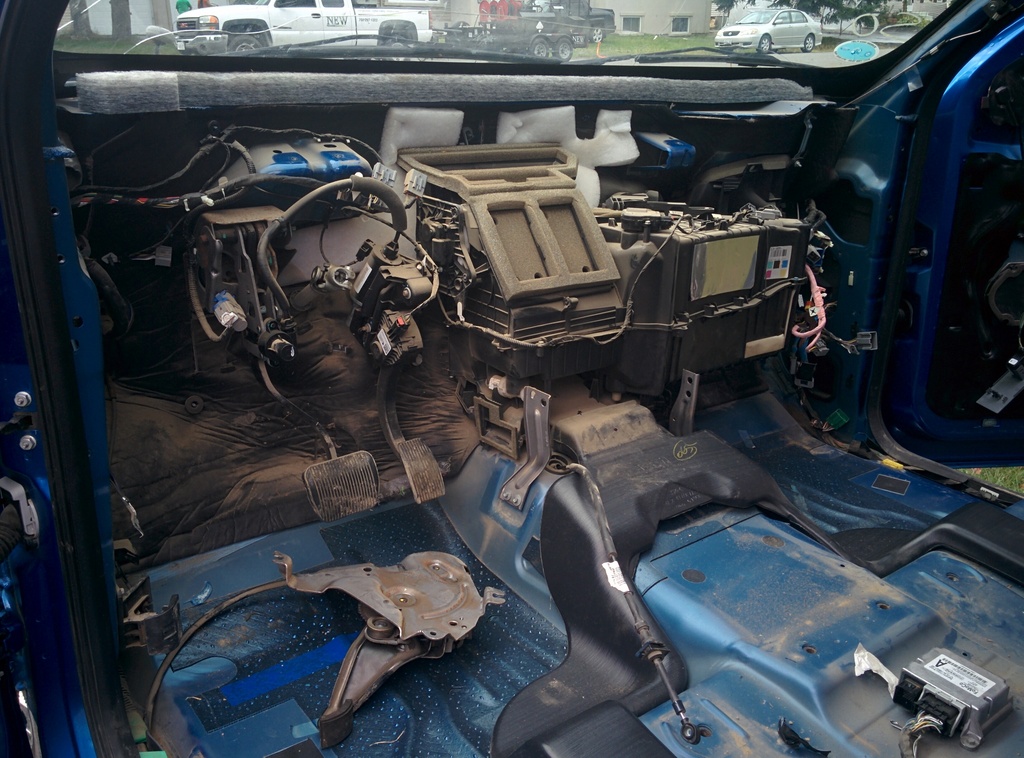
All the bumper brackets and the hitch are now at the powdercoater to get a coat of satin black. The two bumpers are there too getting a coat of powdercoat primer. Last night I pulled the dash out of the truck, that was a fun adventure. The YouTube instructions I followed missed a few steps, I should have just stuck with the FSM instructions. I finally got it out though and put it into storage. Net up is removing the parking brake lever and the fuse box so the body shop can have easy access to t he apron tube mounts. Once that's done, I'll finish stripping the interior down so that I can clean it all when the truck is away. Depending on what I end up doing this weekend, I might just have it ready to go to the shop Monday!
09-18-2016, 11:58 AM
#36
Senior Member
wow wow wow they say you either do the time or the dime, you sir are doing the time for sure. Seems like you will leave no stone un-turned, it's neat to see people can still restore a vehicle that seemed like it wouldn't be worth it.
It's looking great, can't wait to see the before and after. Impressive so far.
I had a few R title cars back in the day, one was a 82 Honda Accord, best car I ever owned as far as reliability. I drove that thing until the engine blew on the highway and then found out the frame was rotten, well that killed it for me.
42 MPG back in 82 an it was a super zippy car....
09-22-2016, 06:59 AM
#37
Senior Member

Such an extensive tear down! Enjoying watching this rebuild unfold. Keep up the good work.
09-22-2016, 10:33 AM
#38
Senior Member
Thread Starter
wow wow wow they say you either do the time or the dime, you sir are doing the time for sure. Seems like you will leave no stone un-turned, it's neat to see people can still restore a vehicle that seemed like it wouldn't be worth it.
It's looking great, can't wait to see the before and after. Impressive so far.
I had a few R title cars back in the day, one was a 82 Honda Accord, best car I ever owned as far as reliability. I drove that thing until the engine blew on the highway and then found out the frame was rotten, well that killed it for me.
42 MPG back in 82 an it was a super zippy car....
It's looking great, can't wait to see the before and after. Impressive so far.
I had a few R title cars back in the day, one was a 82 Honda Accord, best car I ever owned as far as reliability. I drove that thing until the engine blew on the highway and then found out the frame was rotten, well that killed it for me.
42 MPG back in 82 an it was a super zippy car....
The way I see it, I'm going to have gone through the whole truck with a fine tooth comb when I'm done. I'll know the ins and outs of the truck so there shouldn't' be any surprises down the road. On top of that, I'll new paint on the front end which I can add PPF to as well as get a bunch of color matched parts while I'm at it. I'll be coming in at least $5k less than a comparable truck off the lot however mine won't have any rust on it compared to the other vehicles available in this area.
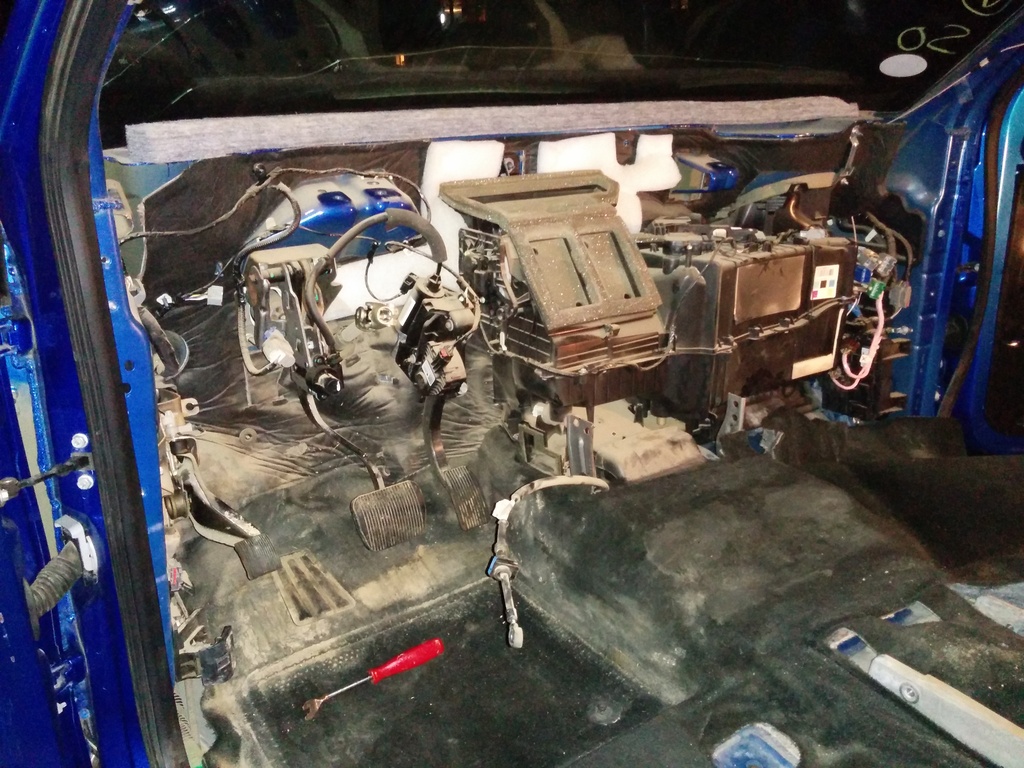
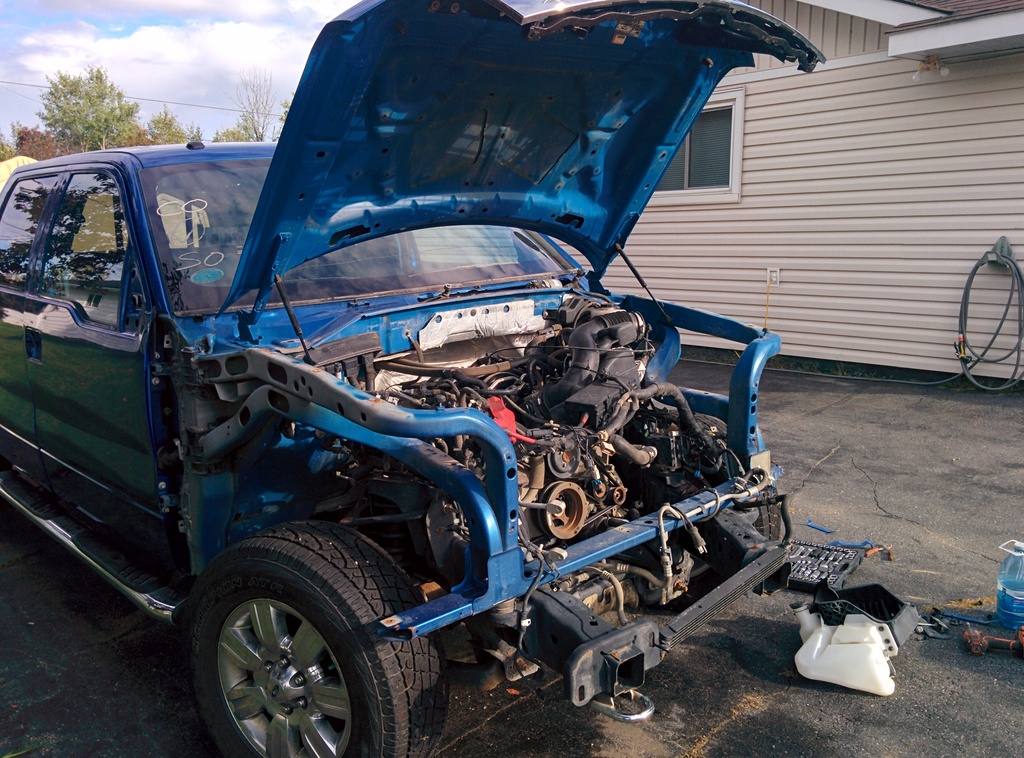
I'm almost there! Last Sunday I pressed on and got a lot done. I got the interior all stripped down so I can give it a thorough cleaning and give the body shop plenty of space to work in.
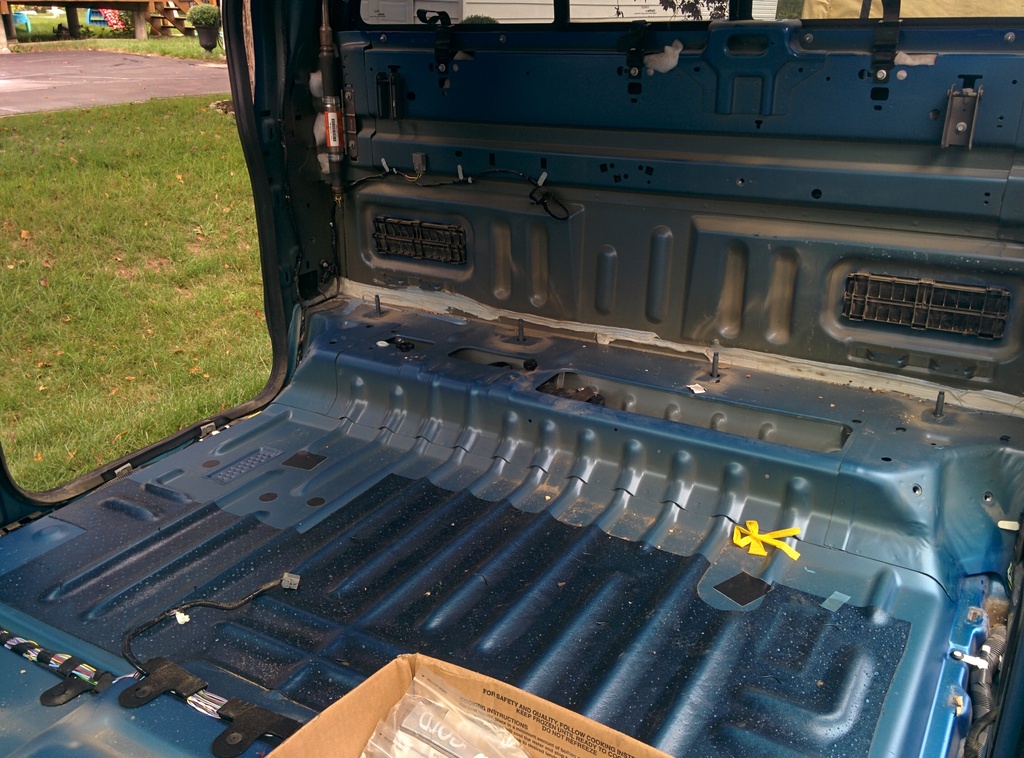
I then removed the battery and windshield washer fluid reservoir along with the airbox and coolant tank. I was then able to strip off all the wiring and brackets off the apron tubes, it's that much less for the body shop to do. From there I removed the hood insulator along with the wipers and cowl assembly.
I also removed the running boards to get them out of the way of the body shop. I'm not sure if I'm going to put them back on or go another way though. I finished off the day by starting to cleaning the under body of all the gravel that's accumulated in all the nooks and crannies. I want to get it fairly clean so that when the rust proofing is applied it's got a good surface to stick too.
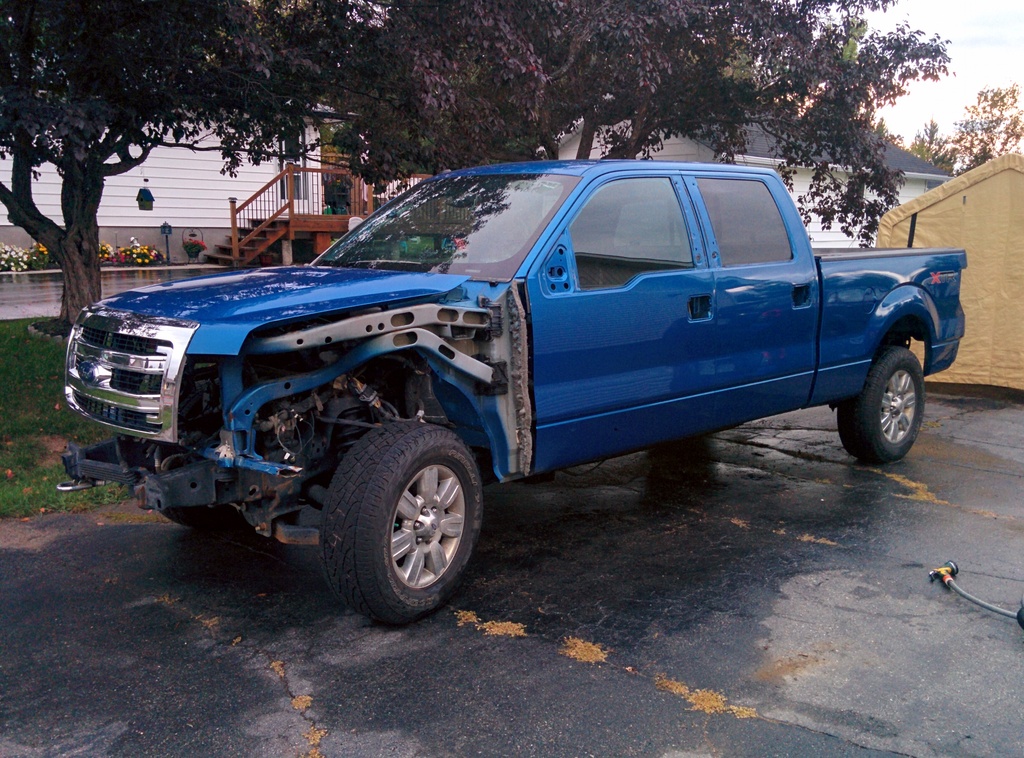
Last night I finished removing all the two way tape from the door B pillars and the new fender. I used a decal removal wheel and it made the job a lot easier. I followed that up with some Goo-Gone. The truck is nearly ready to ship out. All that's left to do before it goes to the body shop is finish washing the under-body and to sort all the hardware.
One thing I thing I missed a few weeks back. I finished stripping the new apron tubes/ radiator cross member assembly so that they are ready to be blasted and painted.

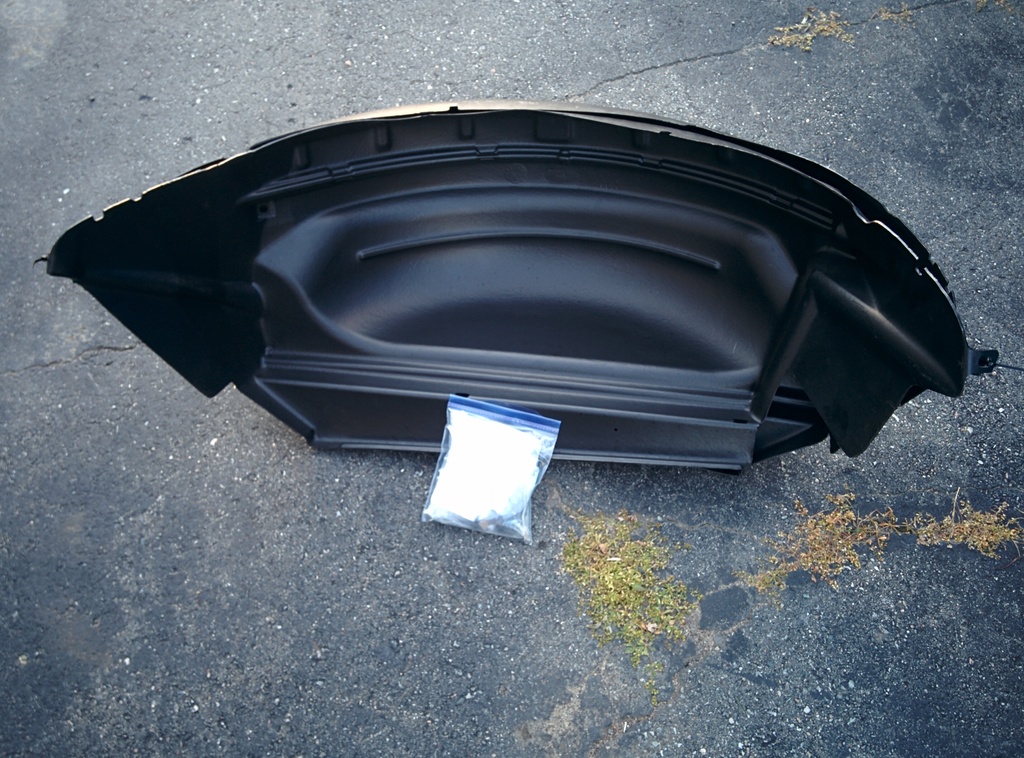
I also scored a sweet deal on a set of Ford rear wheel well liners. They're brand new, never installed and include all the hardware. I got them for $100 cash, they list for $155 at my local dealer.
Last but not least, today I ordered up a set of fender flares that will be painted to match the truck.

http://www.ebay.com/itm/252345107827?_trksid=p2060353.m1438.l2649&ssPageName=STRK%3AMEBIDX%3AIT


The following users liked this post:
paintballdude05 (09-23-2016)