When you click on links to various merchants on this site and make a purchase, this can result in this site earning a commission. Affiliate programs and affiliations include, but are not limited to, the eBay Partner Network.
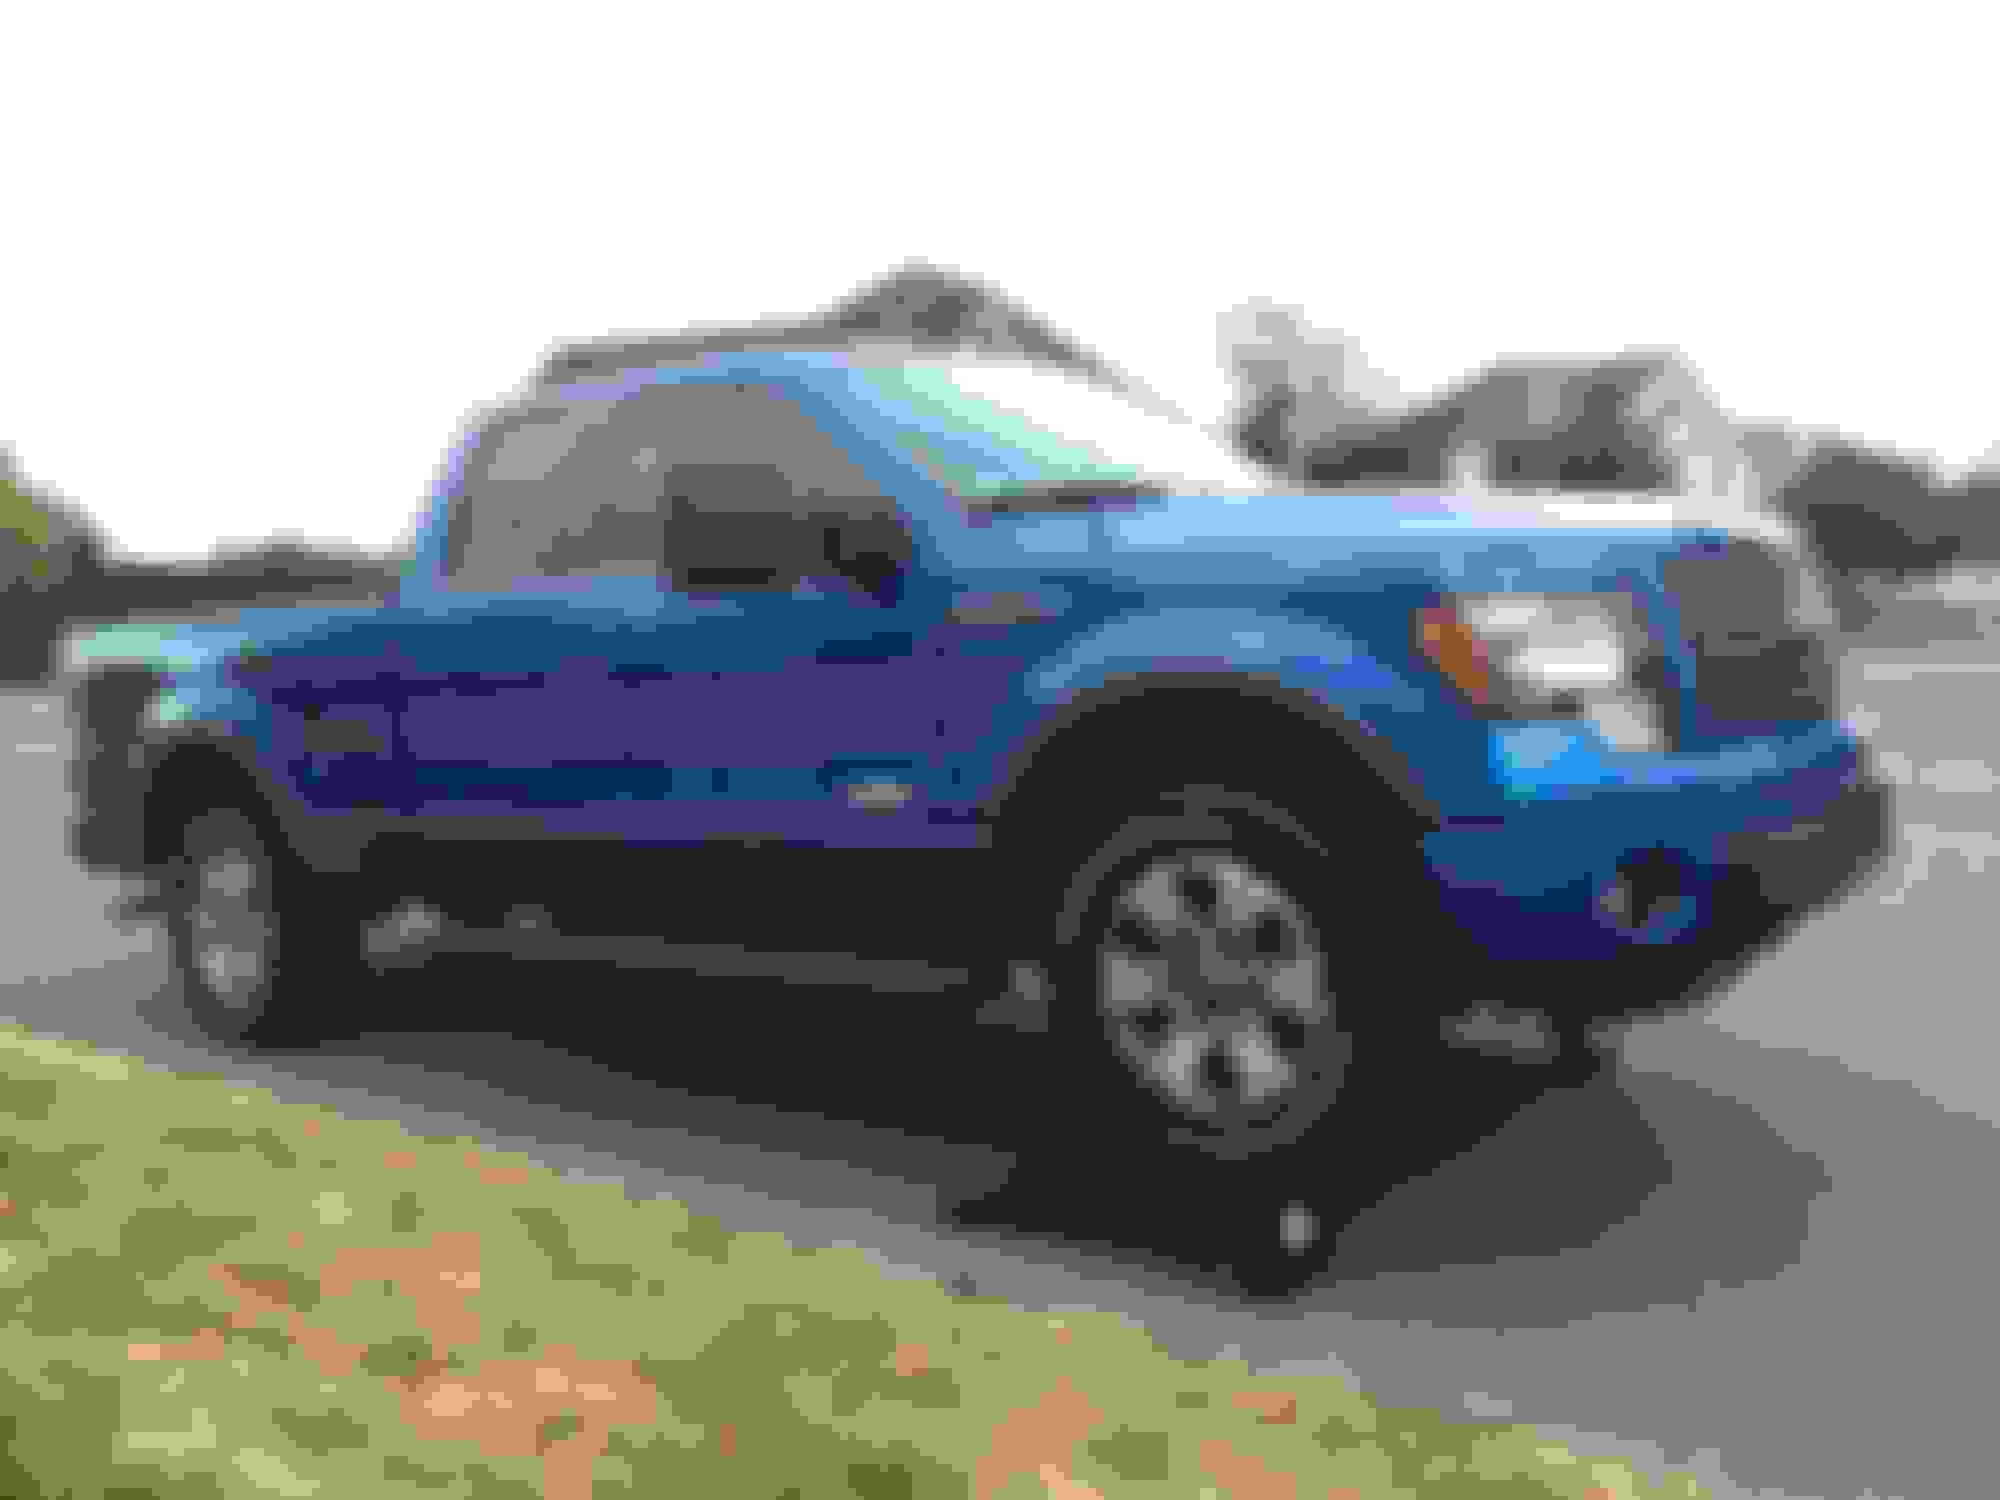
Hey guys, I'm not new to forums but I'm new here, so I figured I would combine my introduction thread and build thread together. I recently picked up a 2011 Blue Flame Metallic FX4 3.5 Ecoboost with 60k on the clock. Previously, I had a 2011 dark shadow grey ranger sport 4x4 which I loved, but I really wanted something a little bit bigger with some more power for pulling the motocross trailer around New England.
I sold the ranger last year, and I finally found a truck in great shape that I actually liked. (I was very disappointed in the quality of used trucks in New England. They're either hammered at 30-70k or well taken care of but a little too rusty at 100-125k.) Maintenance history is huge for me, and this truck had the cleanest car fax I had seen in almost a year of looking.
The truck came equipped with everything I was looking for, except 4 full size doors () but I was able to look past this small shortcoming because of the great price, and the immaculate condition it was in. ()
Since F-150s have a much stronger after market than my Ranger, I have gone a little mod crazy. Within the first weekend of ownership, I had the front windows tinted to match the back, replaced all the interior lights with LEDs and ordered countless other parts I hope to add to the truck shortly.
I also did some routine maintenance which included changing the factory spark plugs for some of the updated SP-534 plugs, and refreshing the transmission with new fluid and filter.
*** I can not stress this enough: Middle to Higher mileage trucks, if you are experiencing the world renowned misfire under load and above 3k rpm, CHECK YOUR PLUGS! After bringing the truck to the dealership once after a lot of misfiring and two series of check engine lights flashing, and them telling me that they couldn't find anything (which I expected from many a night of research on here) I finally went ahead and replaced the plugs and the boots. The misfire has been completely resolved, wether it is a dry 70 degree day or thick as pea soup and 90 degrees, the truck does not miss. I will change the plugs on this engine every 30k from now on because of that.***
Now that I'm done with the boring stuff, I hope to get to know some of you as I continue to bum ideas off everyone, and annoy you with my indecisiveness.
Now, future plans for the truck include:
4 inch BDS Lift
20x9 Fuel Coupler +1 offset or 20x10 Fuel Coupler -12 offset (I would go with mavericks but it seems everyone has them)
295/65R20 Toyo Open Country ATII Extreme tires
Corsa DB cat-back exhaust, Ford resonator delete (unless someone suggests a better alternative), RBP 5 inch tip?
5% Tinted windshield brow
FX4 Taillight paint mod
LED bed lights
LED reverse lights (something super bright)
Thats about it for now, if you have any questions about any of the stuff I've done or plan to do, just leave a comment here, or DM me.
I really like how the 2014 Ecoboost trucks come with a diffuser of sorts that fills the ugly lower hole in the front bumper, and I have been trying to find something I liked that was easy to install, sturdy and looked good.
I thought the boost bars looked the best out of everything I had seen, because they made a set that matched the grey of the FX4 grille and stood out from the rest of the black bumper.
Last week I finally made up my mind and ordered them. They were pretty pricey at around 90 bucks, but the install couldn't have been easier (just snapped into the four existing holes in the bumper) and they are pretty darn strong for a few pieces of braced plastic.
I only had time to snap some pics from my cell, if you guys want more detailed pics let me know.
You drive around all day and thousands of people see you tags ... why do people feel they need to hide them ?
If you look in the earlier photos you can clearly see the tags, I just don't like to throw my license plate number right in people's faces. I know anyone can see it if they work for it a little bit, but I feel a little better not posting a direct picture of it.
Very nice looking Truck! Keep it up and look forward to your next updates
Thanks! The blue has been growing on me, and I've only seen two others within a half hour of my house, so being unique is nice.
I just pulled the trigger on some Morimoto XB LED Fogs that everyone has been raving about, so I plan to install those next week as soon as they come. I won't do a full write up but I will include some pictures or hints that helped me figure it out.
I also ordered the LEDs for my cargo lights on the third brake light, and some super bright projector like LEDs for the reverse light. Once those are in, I'll include some info on how to do the entire LED conversion on a 2011 F150, and link a few threads that helped me figure out what I needed.
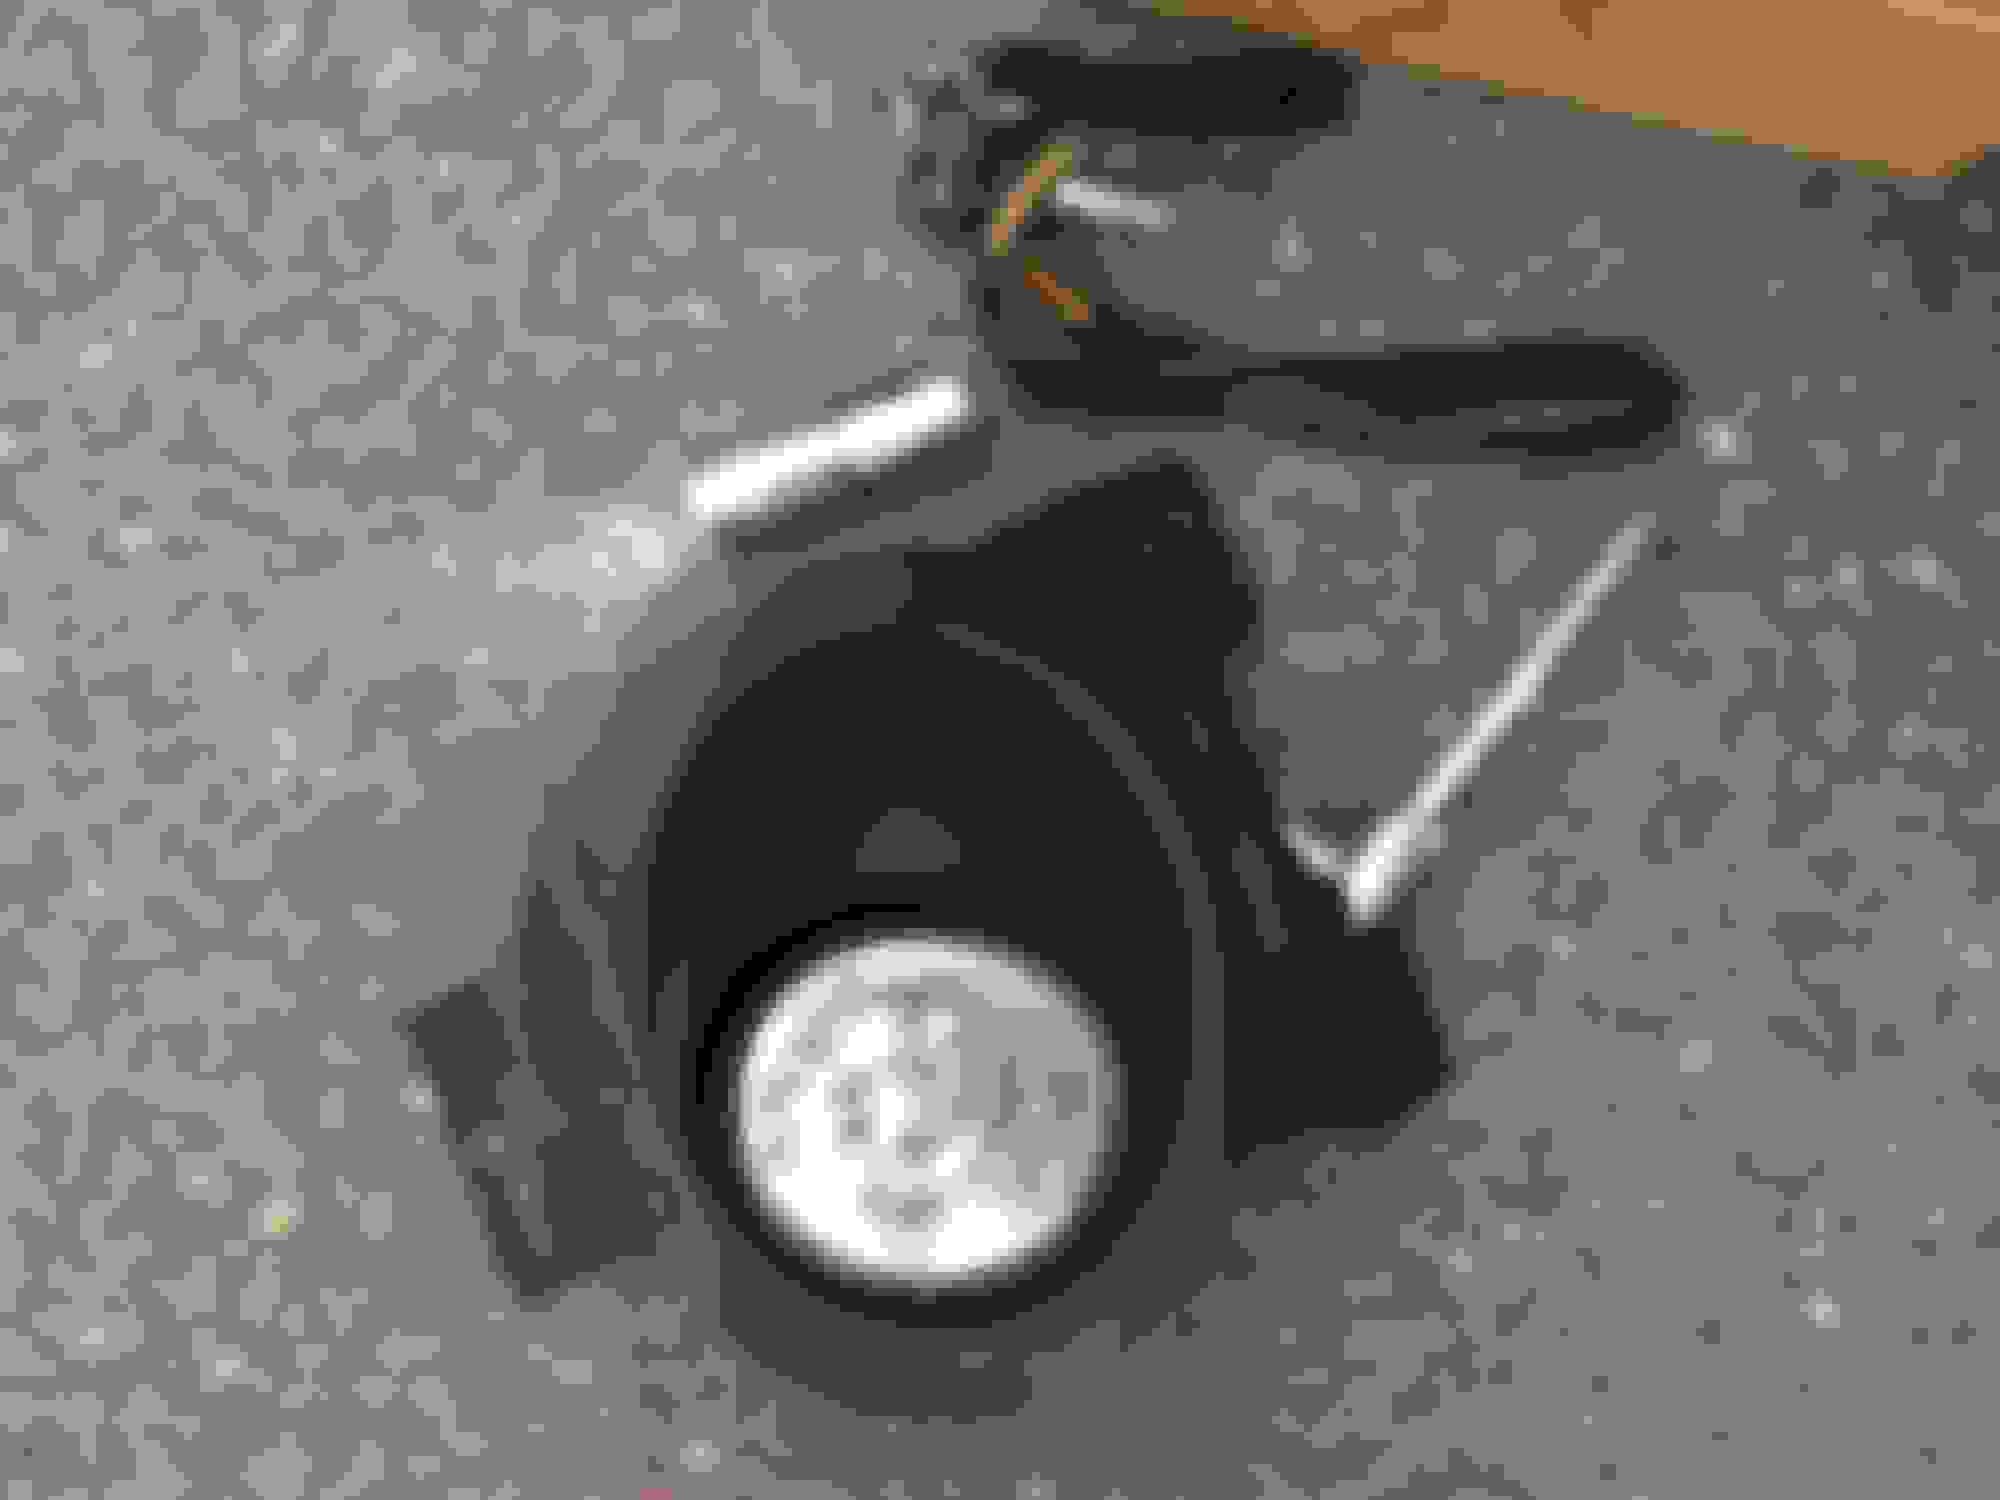
I wanted to do a quick walk through of how to install Morimoto XB Led fog lights. I ordered mine from TRS and the shipping was fast, everything was packaged well and nothing came broken, so I wouldn't hesitate to order from them again.
Build quality is better than stock, as both lights are encased in a solid metal material. The front glass of these lights also feels more rigid than the stock ones.
After doing some research I decided that taking the fog light buckets completely out would be the easiest course of action. I drove my truck up on ramps but I think having the truck on the ground with the wheel cut out of the way would make the process easier.
I would start on the passenger side, because it is the easiest to get at the three bolts that hold the fog light bucket. Once you undo those three bolts (10mm?) the fog light bucket simply pulls out. Unplug the fog light wiring from the fog light, and don't remove the bulb. Note: Make sure you're removing the fog light bucket bolts and not the metal bracing bolts in the front bumper, they're right next to each other but it's easy to tell the difference between the two.
Repeat the same process on the drivers side. This side is a little more difficult because there's some kind of rubber/cloth barrier that covers the top two bolts. You have to kind of feel those two out.
Once you have the buckets out, it's time to remove the fog lights from the housing. Undo the adjustment screw at the back fully so that fog light can swivel freely up and down. Next, pry the tab on the outside edge of the fog light bucket a good amount away from the light and put pressure on the back of the fog light to pop it out. I had to put a good amount of pressure into prying it back with a larger flat head screw driver. Remove the fog light housing by popping the other side out. It's a hard process to explain but it's fairly straight forward when you have the fog light bucket in front of you.
Insert the new fog lights into the fog light bucket in the reverse way you took the stock ones out, pushing one end into the tab and seating the other end by putting pressure on the front of the light.
The Retrofit Source provides new hardware to aim the fog light, but after reading about some problems people had with the new screw and spring I decided to reuse the stock screw and spring but use the plastic adjuster plate that came with the kit. I measured the distance from the tab on the fog light bucket to the tab on the fog light housing to try and keep the aim of the new lights consistent, but they still needed a little bit of re-aiming.
Here is a comparison between stock and the blacked out housing of the XBs.
The fogs have two wired leads with metal prongs on the ends that are inserted into a provided plastic coupling that plug directly into the factory harness.
***Check the polarity of the lights before you insert them into the provided plastic coupling. LEDs are polarity sensitive, they will not turn on if not installed correctly. The red power wire should connect with the brown wire on the factory harness, and the black ground should connect with the black and green wire on the factory harness. ***
***Make sure you insert the prongs into the XB housing correctly, they only go in one way easily, and they should snap into place. They should be angled so the play part of the prong is to the outer edge of the provided plastic coupling. This makes more sense when you have it in front of you, but don't mess it up because it's a pain to get out if you insert it the wrong way***
I used a little bit of dielectric grease on the two connections and connected the two.
Overall this install took about an hour, and wasn't difficult at all if you're even slightly mechanically inclined. I only did a text heavy review because I'm not busy at work and need something to fill the time. I'll probably get around to doing a how to on the LED interior and exterior lighting swap one day this week if we are still slow here. Anyways, here are the final pictures.
These lights are pretty good for being completely plug and play and at a decent price point. The beam is definitely wider than stock, and the light output is worth the $170 you pay for the set. It's nothing mind blowing but it's a nice supplement to your headlights. Rigid DOT fogs would probably blow these out of the water, as would a dedicated 20 inch bar or pods, but these can't be beat if you're going for decent light output and a killer look for a decent price.
 08-04-2015, 06:16 PM
 ) but I was able to look past this small shortcoming because of the great price, and the immaculate condition it was in. (
 )
)