97-03 odometer fix
 05-05-2011, 06:39 PM
#1

A common problem among these trucks is that the odometer will randomly go out, theirs another how-to on another forum but not on here so I thought I would make one.
first you have to remove the plastic piece around the steering column, to do this just grab any corner and pull, its held on by 4 clips
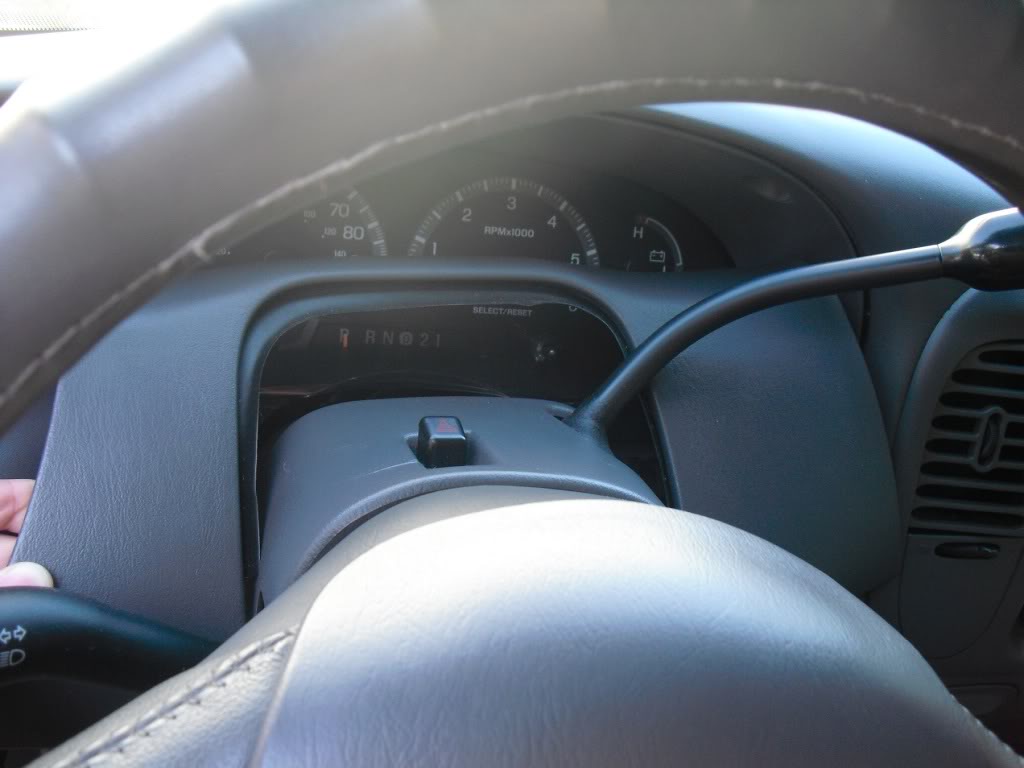
then to get it all the way off, put the transmission in 1st gear and pull it out

heres what it looks like without that piece
then you'll need to start unscrewing the bolts that hold the plastic on that goes over the cluster
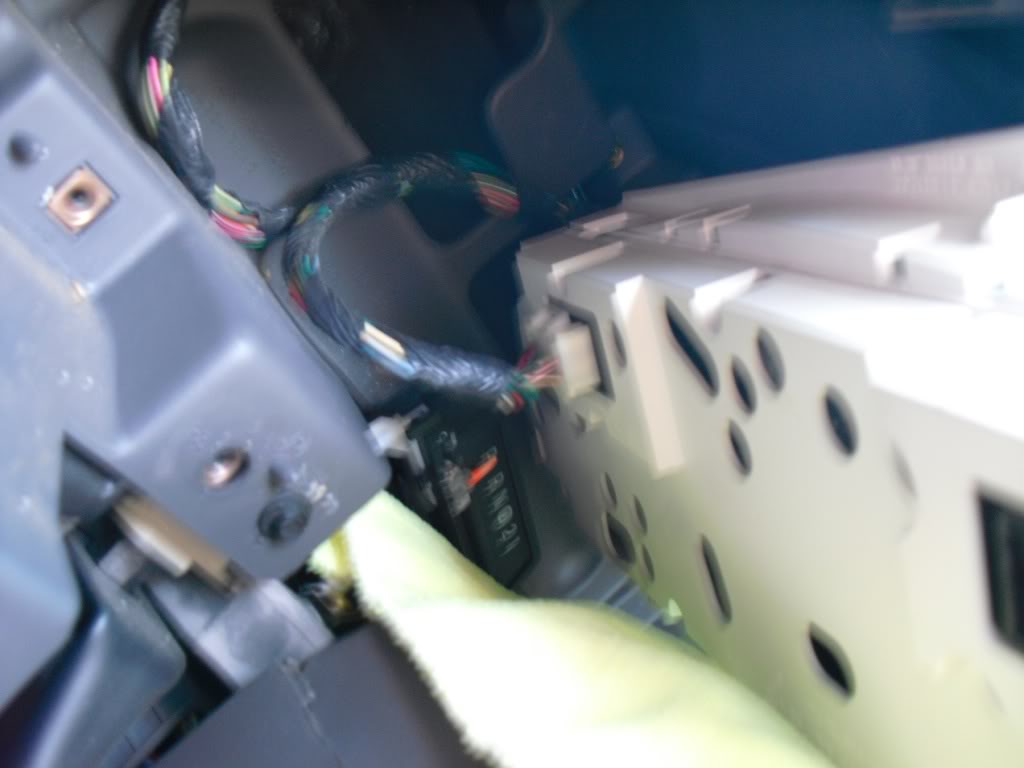
once you get all of them out, remove the headlight switch, to do this theres a video on this link...http://www.f150online.com/forums/199...ht-switch.html

Then pull the switch out and disconnect all of the wiring harnesses, and remove the screw behind the switch

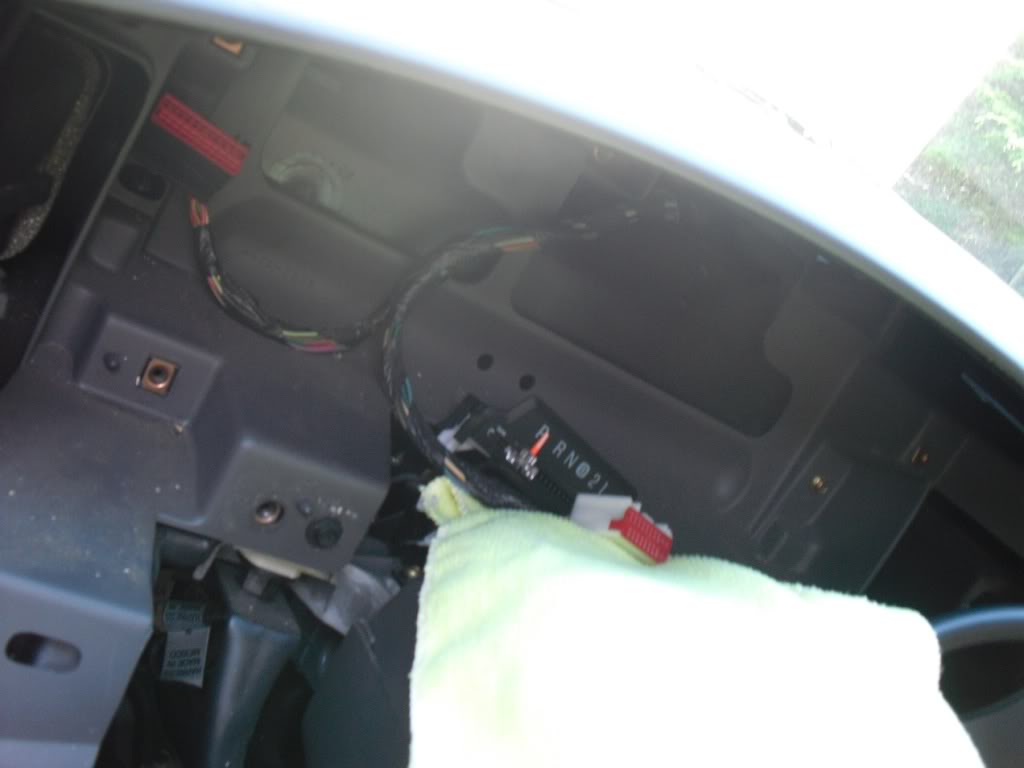
Then put the transmission back into 1st gear(if not still), lay a rag on top of the steering column and remove the plastic piece
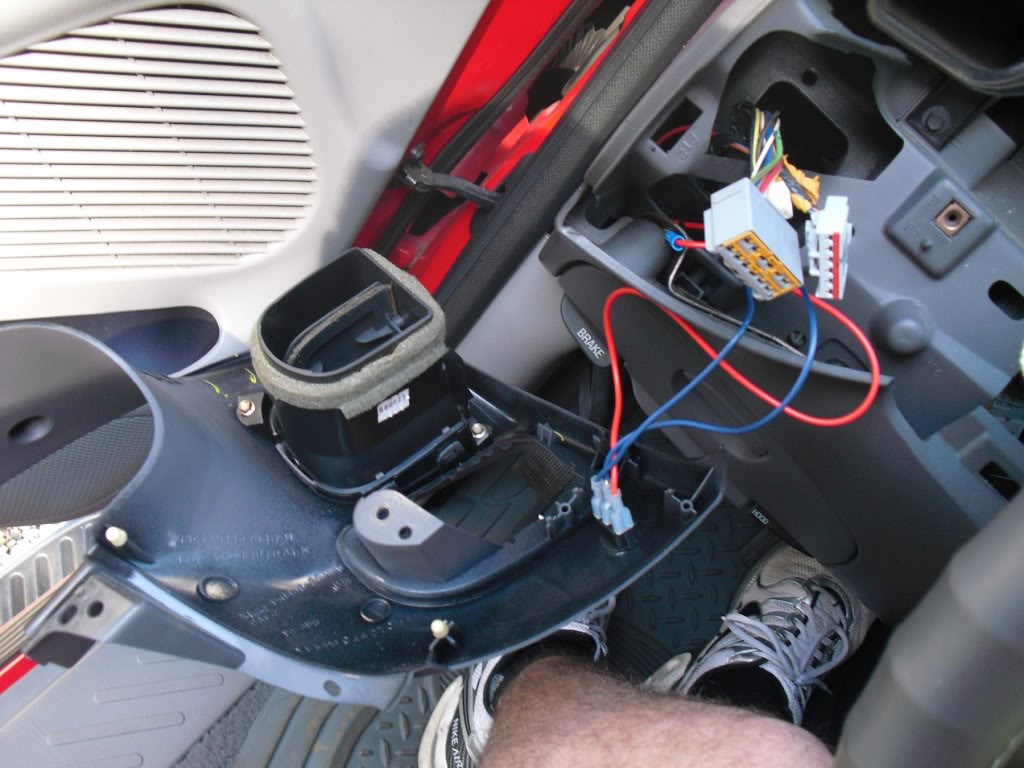
unless you have an auxiliary light switch in that location, those 3 wires will not be there and it can come all the way off
next you need to unscrew the 4 bolts on every corner of the cluster

cont...
first you have to remove the plastic piece around the steering column, to do this just grab any corner and pull, its held on by 4 clips
then to get it all the way off, put the transmission in 1st gear and pull it out
heres what it looks like without that piece
then you'll need to start unscrewing the bolts that hold the plastic on that goes over the cluster
once you get all of them out, remove the headlight switch, to do this theres a video on this link...http://www.f150online.com/forums/199...ht-switch.html
Then pull the switch out and disconnect all of the wiring harnesses, and remove the screw behind the switch
Then put the transmission back into 1st gear(if not still), lay a rag on top of the steering column and remove the plastic piece
unless you have an auxiliary light switch in that location, those 3 wires will not be there and it can come all the way off
next you need to unscrew the 4 bolts on every corner of the cluster
cont...
Last edited by 2000MTZ; 06-17-2011 at 02:26 PM.

The following 6 users liked this post by 2000MTZ:
dualfuel (12-05-2017),
me1234 (08-13-2012),
mike_f (08-26-2019),
mrking (02-22-2014),
stevenokota (10-26-2013),
and 1 others liked this post.
05-05-2011, 06:53 PM
#2
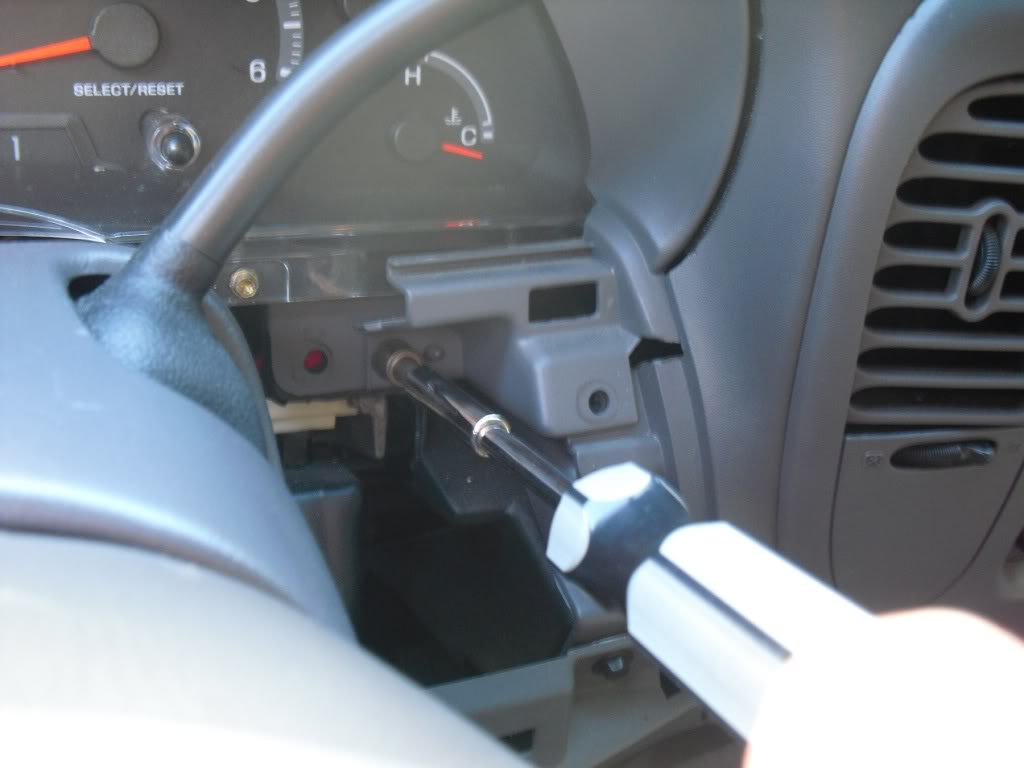
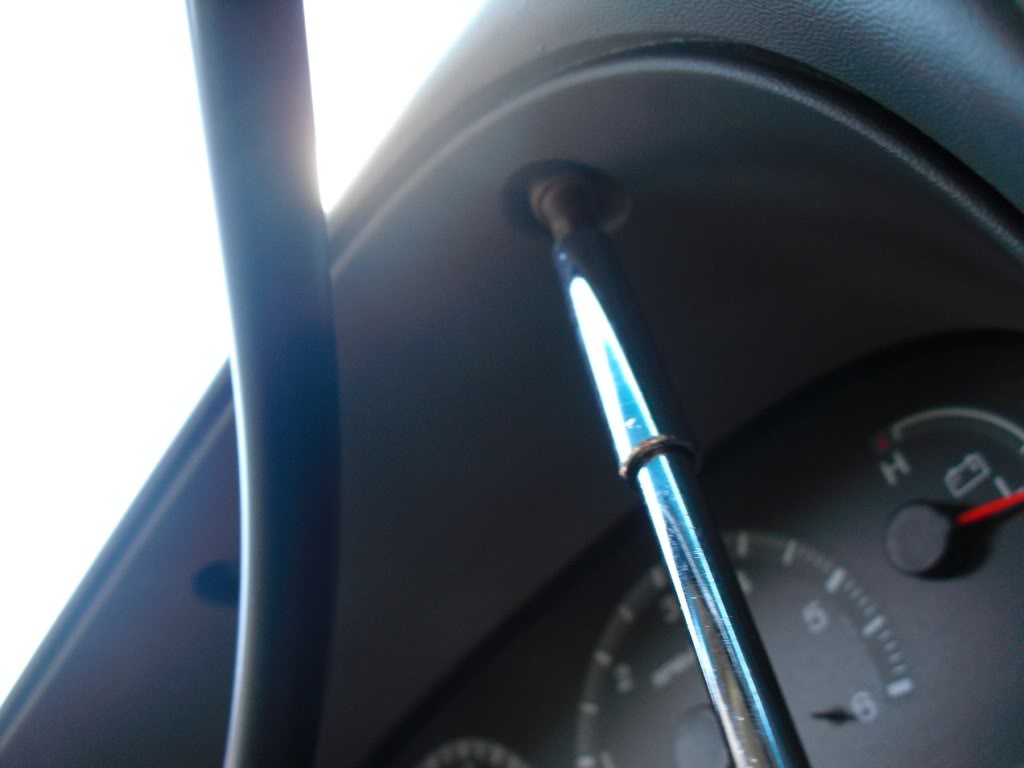
once you remove the 4 bolts, pull the cluster as far out as you can and tilt it back, if you have an automatic transmission then you need to remove the gear selector, to do this squeeze the tab on the wire that connects to it and pull the whole thing out
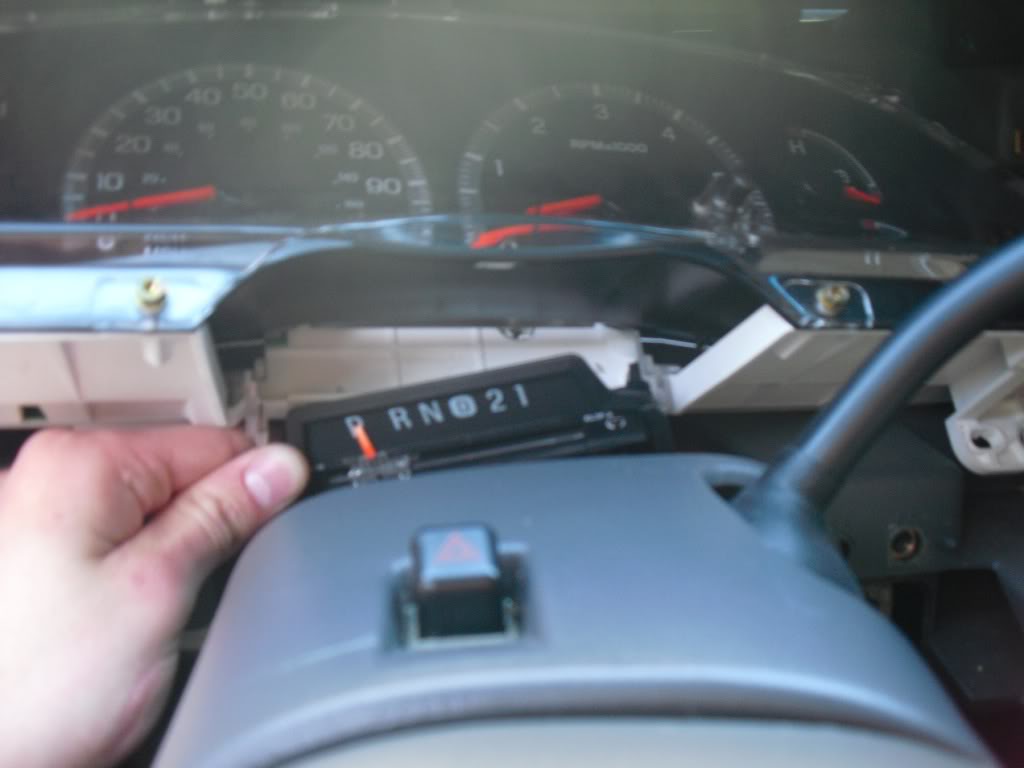
then tilt the cluster towards you to be able to reach the wiring harnesses on the back of it
^^ that ones a little difficult to remove since you cannot reach it good
This is what the truck will look like without the cluster
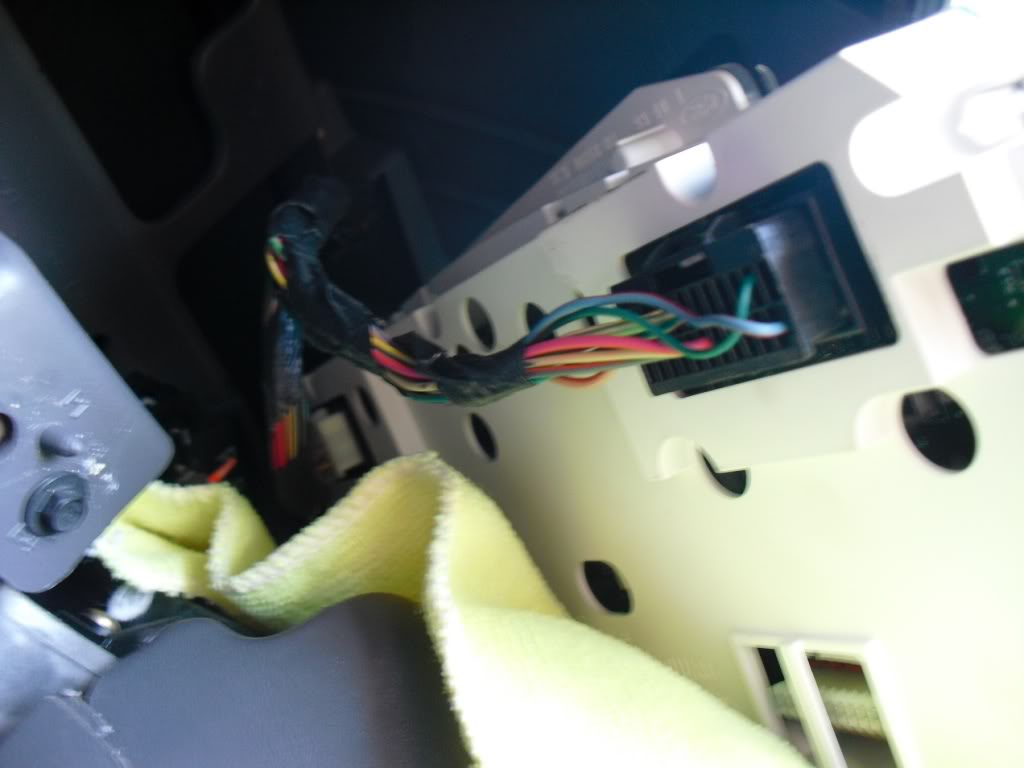
and heres the back of the cluster after its removed, and it might take a while to remove the cluster
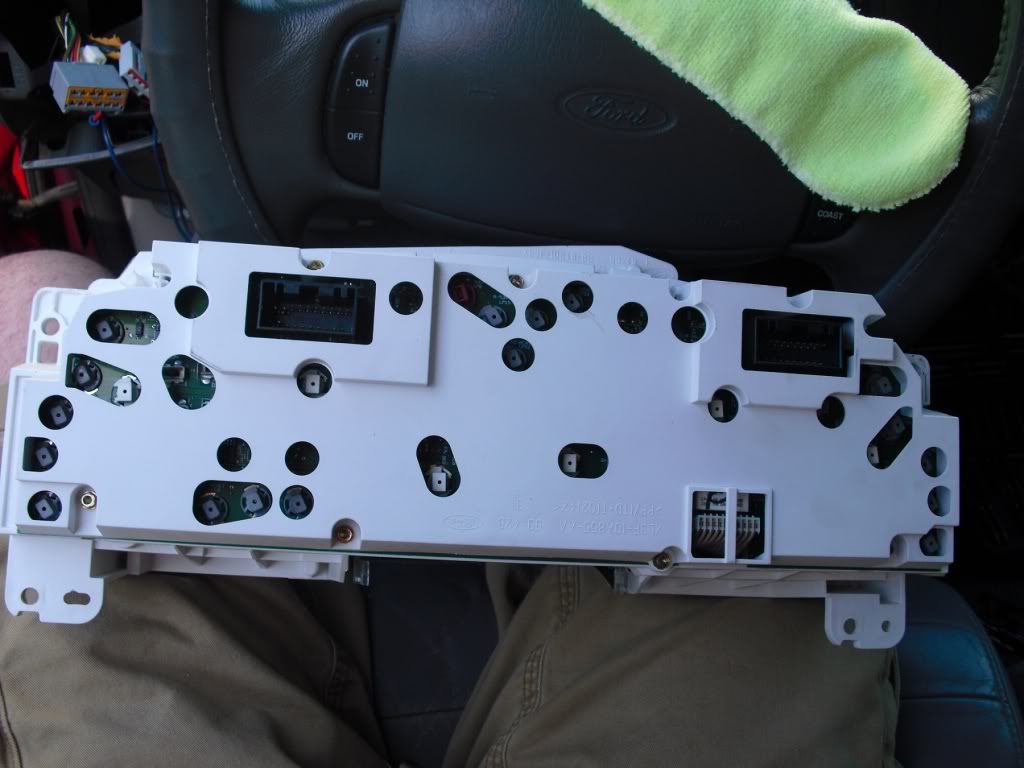
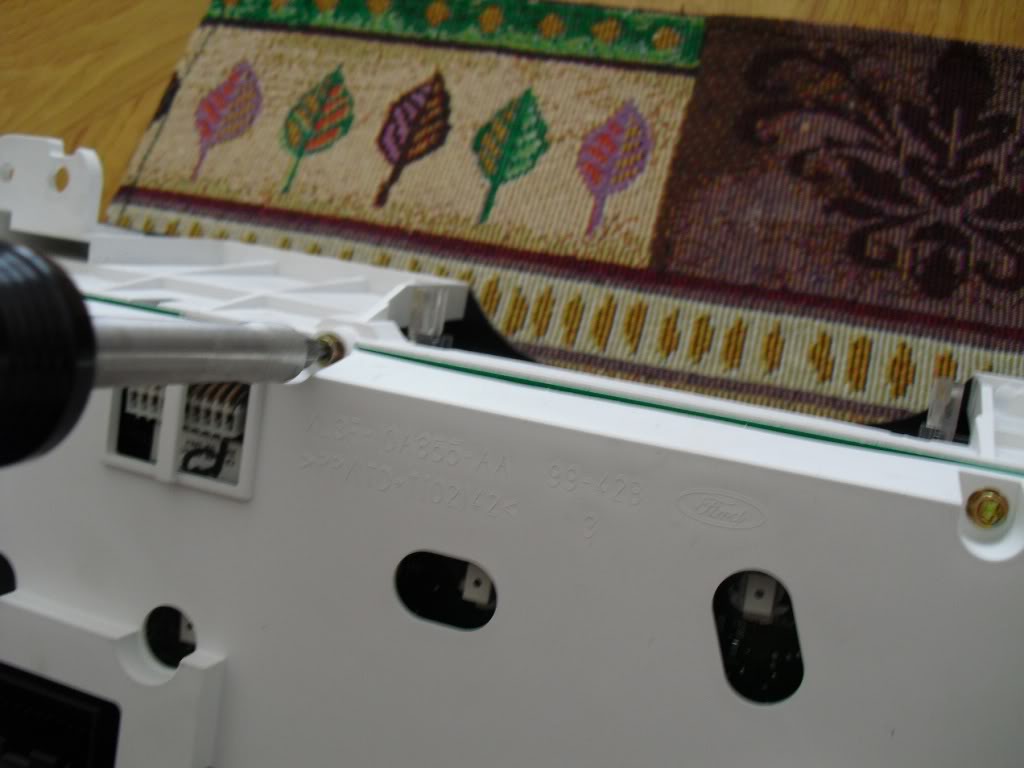
next unscrew the bolts on the back cover of the cluster using a T15 torx bit
this is the back of the circuit board

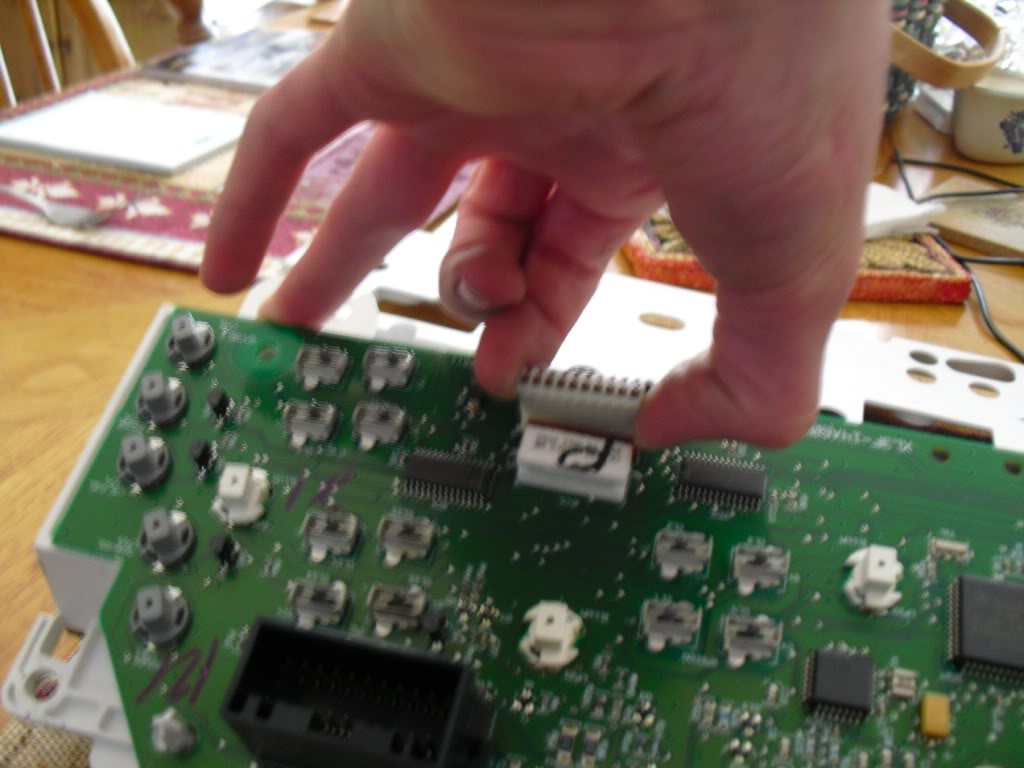
Then you need to locate the ribbon wire on the bottom and pull the harness straight up to disconnect it
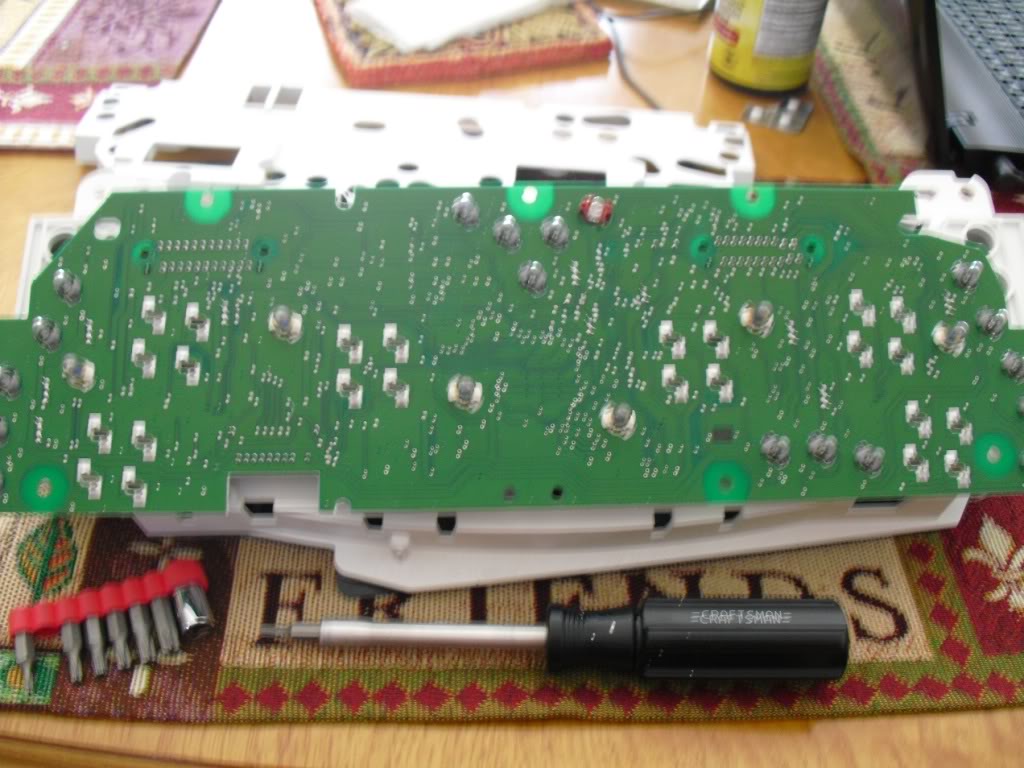
Then gently pry the circuit board off and flip it over, this is what the front looks like
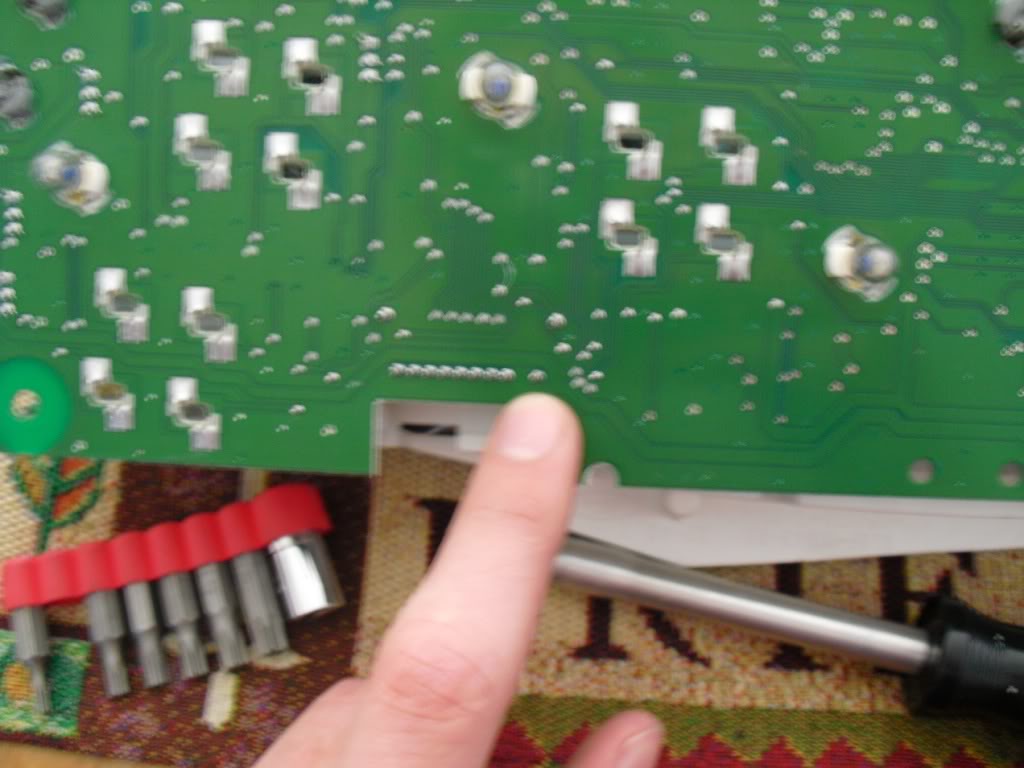
This is the point that your going to have to re-solder
You will probably need a little extra solder to do this right, then after I finished I used my shirt and wiped off all of the lights just in case I touched them.
To reassemble just press the board back in place, reconnect the ribbon wire, and bolt the cover back on. Then all you have to do is put it back in the truck, reconnect everything and your good to go. Takes aprox. 1 hour to complete this.
then tilt the cluster towards you to be able to reach the wiring harnesses on the back of it
^^ that ones a little difficult to remove since you cannot reach it good
This is what the truck will look like without the cluster
and heres the back of the cluster after its removed, and it might take a while to remove the cluster
next unscrew the bolts on the back cover of the cluster using a T15 torx bit
this is the back of the circuit board
Then you need to locate the ribbon wire on the bottom and pull the harness straight up to disconnect it
Then gently pry the circuit board off and flip it over, this is what the front looks like
This is the point that your going to have to re-solder
You will probably need a little extra solder to do this right, then after I finished I used my shirt and wiped off all of the lights just in case I touched them.
To reassemble just press the board back in place, reconnect the ribbon wire, and bolt the cover back on. Then all you have to do is put it back in the truck, reconnect everything and your good to go. Takes aprox. 1 hour to complete this.
The following 4 users liked this post by 2000MTZ:
 05-07-2011, 08:49 PM
#5
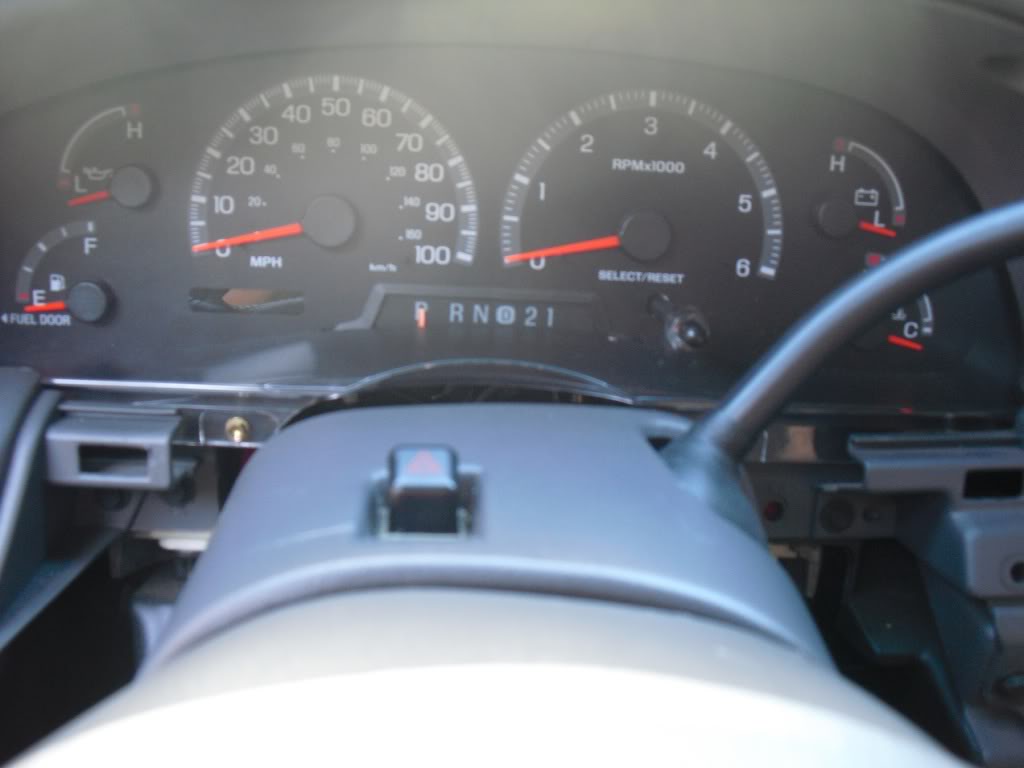
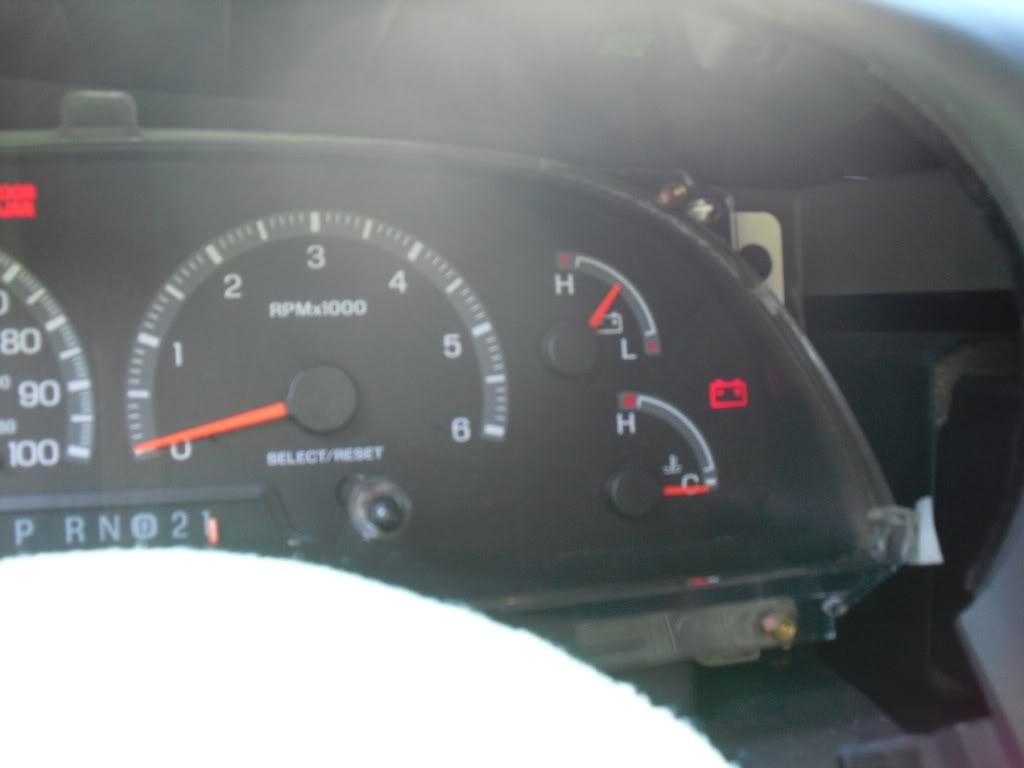
and if anybody was wondering about the problem if you look at pic #2 with the key turned to 'on' the odometer is not working, then if you look at pic #10 with the key also turned to 'on' the odometer is working, so thats what this fixes
The following users liked this post:
dualfuel (12-05-2017)
05-08-2011, 10:12 PM
#6

once you get all of them out, cover the end of a screwdriver with electrical tape and pry the headlight switch out, starting with the top

Then pull the switch out and disconnect all of the wiring harnesses
Popular belief is that theirs a bolt that needs to be removed behind the headlight switch, this is not true - atleast not for my 2000 model, but it may just be missing the bolt, idk.
Then pull the switch out and disconnect all of the wiring harnesses
Popular belief is that theirs a bolt that needs to be removed behind the headlight switch, this is not true - atleast not for my 2000 model, but it may just be missing the bolt, idk.
Don't pry the switch out of the dash - you'll break it (speaking from experience). There's another write up that has a step by step to get the switch out of the dash, but it's easy... turn the switch to on and pull out. Then use a mini-flathead screwdriver on the bottom of the switch handle (the part that turns and pulls out to activate fog lights) to release the handle from the shaft, then turn it 180* and put it back on the shaft. Turn the lights off, then back on while holding the switch on the shaft and the whole assembly will release from the dash and pull right out.
Also, the screw is there, just missing in your truck. You can see where the screw hole is in your picture - it's the top right hole behind the switch (you can even see where the screw used to be in your photo).
05-09-2011, 03:35 PM
#7
yea i see that now ill change it, but i dont believe that the switch removal you speak of works for this model, i may be wrong but it dont take much effort to pry it out, it just pops out with not much force-not near enough to break it
The following users liked this post:
dualfuel (12-05-2017)
Trending Topics

The following users liked this post:
dualfuel (12-05-2017)
07-03-2011, 01:13 PM
#9
Senior Member
Don't pry the switch out of the dash - you'll break it (speaking from experience). There's another write up that has a step by step to get the switch out of the dash, but it's easy... turn the switch to on and pull out. Then use a mini-flathead screwdriver on the bottom of the switch handle (the part that turns and pulls out to activate fog lights) to release the handle from the shaft, then turn it 180* and put it back on the shaft. Turn the lights off, then back on while holding the switch on the shaft and the whole assembly will release from the dash and pull right out.
The following users liked this post:
dualfuel (12-05-2017)
