Dash Mount CB Install How to:
 05-13-2013, 10:53 PM
#1
King Ranchin' Member
Thread Starter
Decided while I had some time that I was going to install my Cobra 29LX Cb back on the dash of my truck. Here's a How to with Pics! Enjoy!
Total Install Time: 1hr
Difficulty 1-10: 5
Beers Consumed: 0
Total Cost: $140 (depends on CB)
Materials Needed:
(1) Spool of 18 ga wire (red)
(1) Spool of 18 ga wire (black)
(2) Butt Connectors
(2) O Wire Connectors
Various Screws depending on mount used
Washers
Tools Needed:
Wire Cutters
Wire Crimpers
Pliers
Flat Head Screw Driver
Philips Head Screw Driver
7mm Socket
Directions:
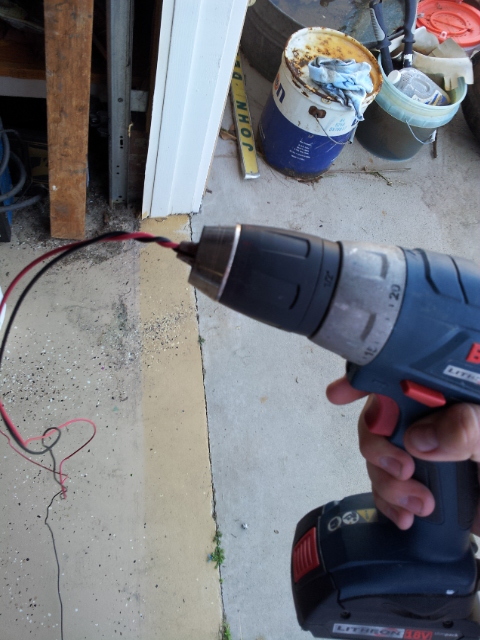
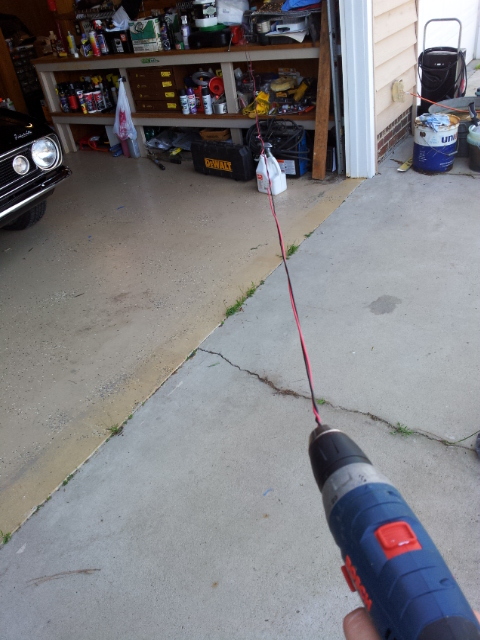
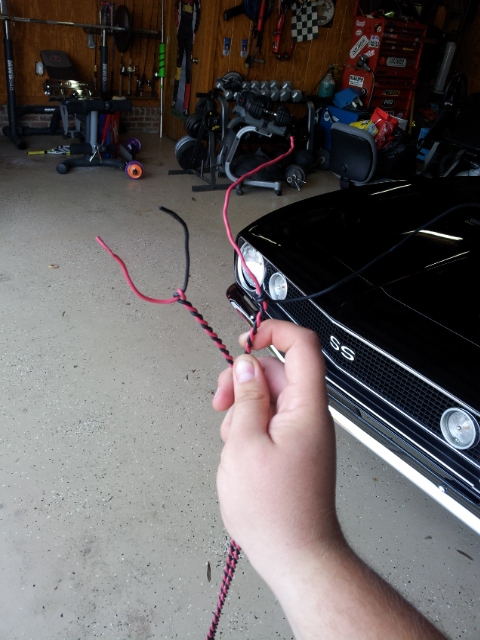
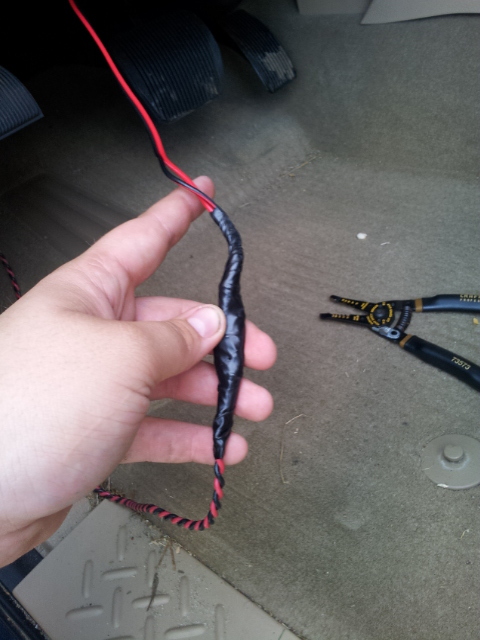
First, start with the CB itself. Unpackage it and determine if you have all parts needed. Next determine the length of wire you will need. One thing I recommend doing is brading the cable if you plan on running both the positive and ground to the battery. This is really easy to do and makes your wiring so much cleaner and easier to manage. First you measure your cable and cut both wires the same length. Make sure to give yourself about a foot extra though, when brading the wire will loose a good bit in length. Start by twisting one end a few times and putting them in a vise. take the other end and twist it a few times and insert it into the end of a drill. Tighten down and twist till desired braid.
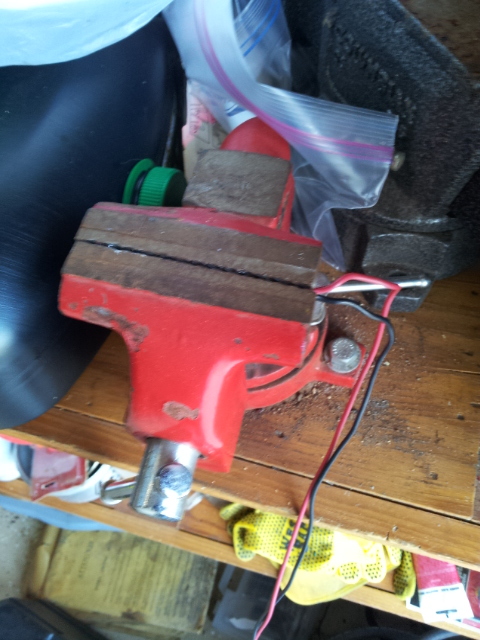
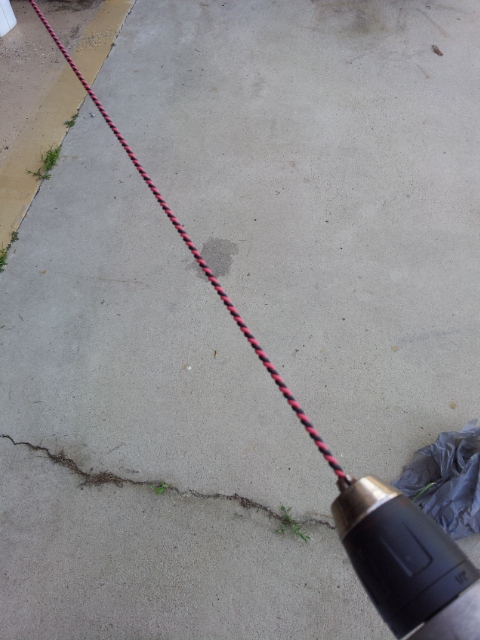
Once you have braid to desired length and tightness, knot the ends just to make sure they do not come loose. Also instead of knotting you can heat shrink the ends for the same effect.
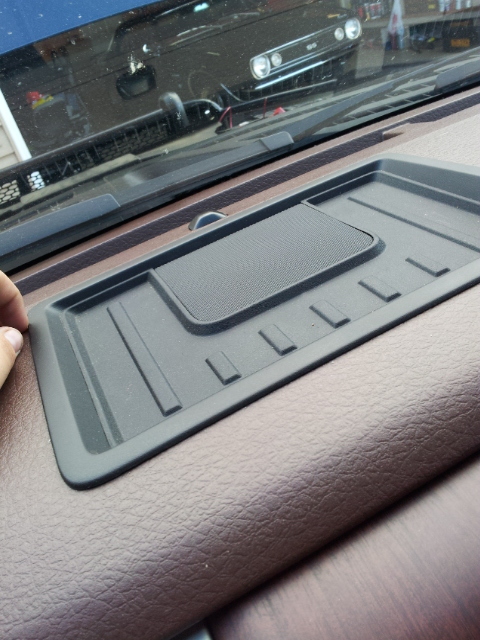
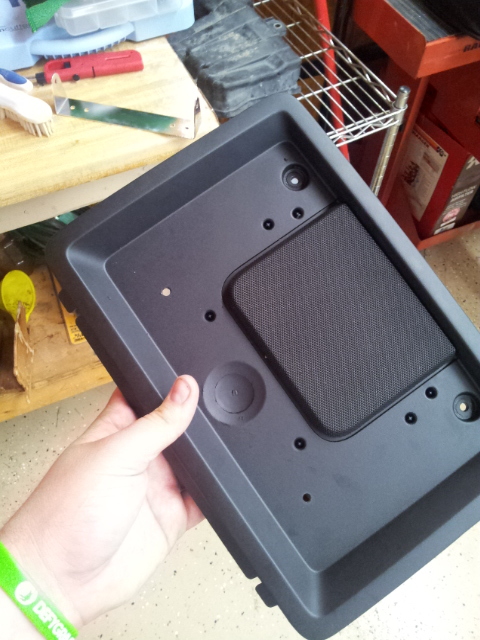
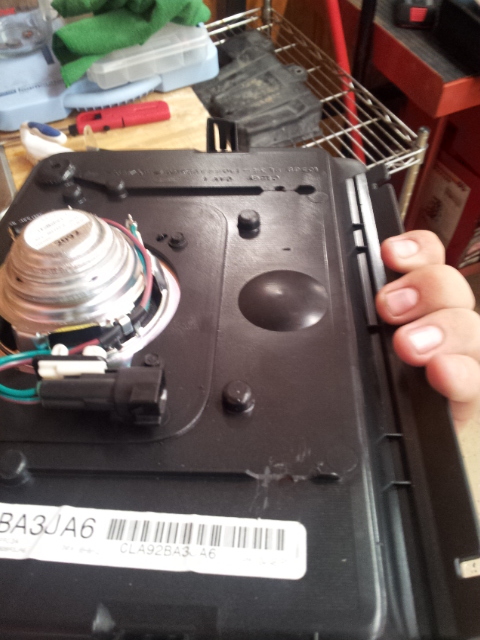
Now that we have braided the cable, let's move to the interior. Let's start by inspecting the tray. Remove the rubber pad off of the top.
Under the tray you will notice two 7mm bolts, these must be removed to loosen the tray.
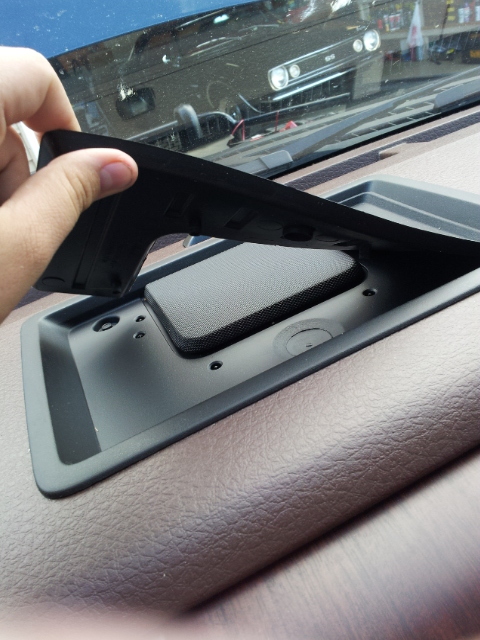
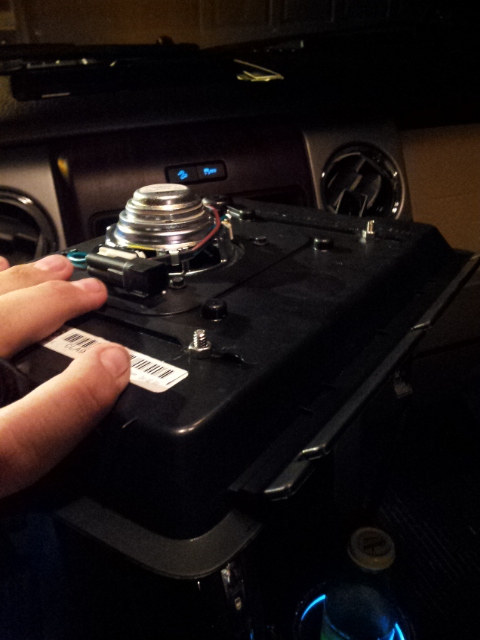
Once you remove these two, lift the tray up from the back and pull it towards the windshield. Be careful because it is tight and you can pull too hard and hit the windshield.
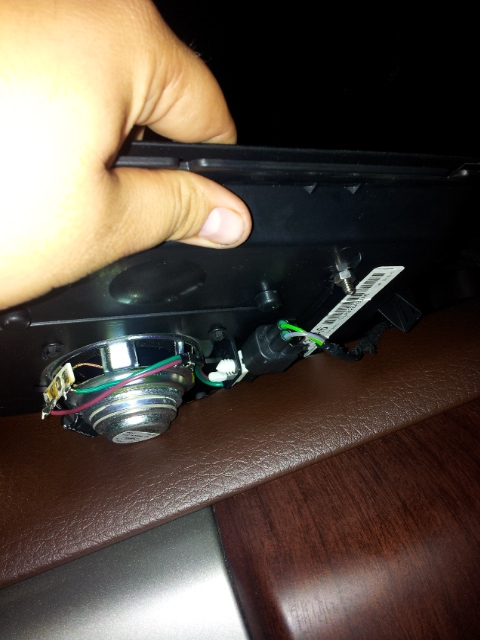
Next, you must unhook the the cable from the speaker if yours have one. Very easy, just push the tab and it comes right off.
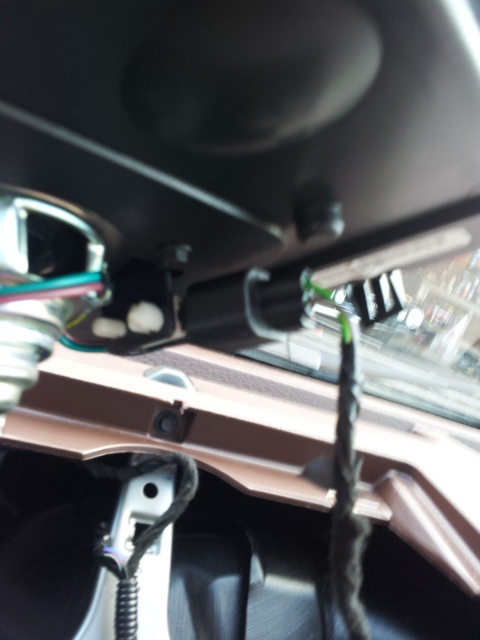
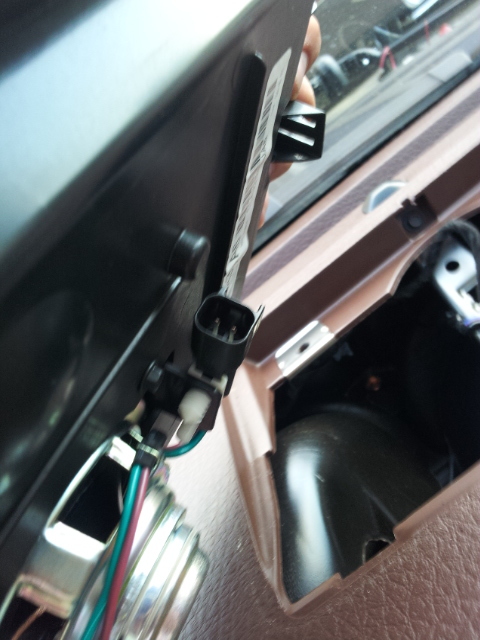
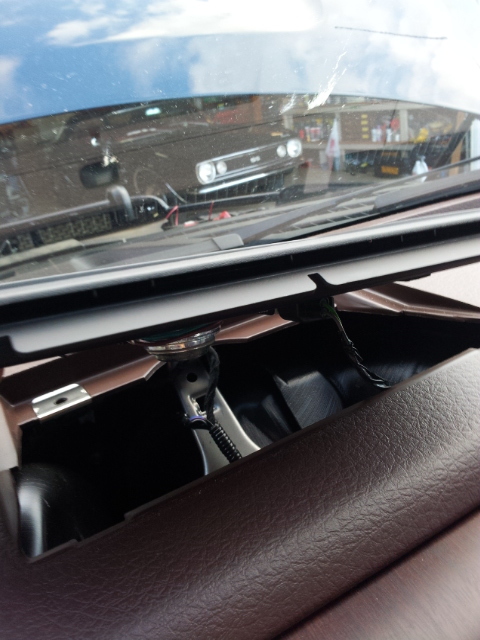
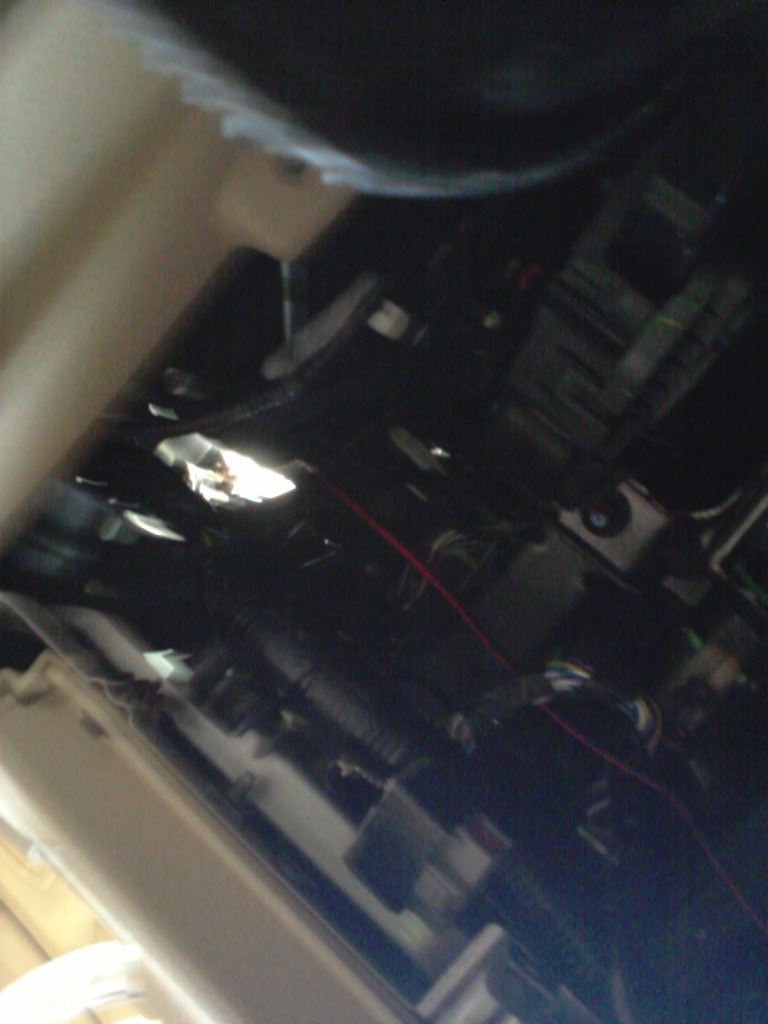
This is what the the hole under the tray looks like.
Total Install Time: 1hr
Difficulty 1-10: 5
Beers Consumed: 0
Total Cost: $140 (depends on CB)
Materials Needed:
(1) Spool of 18 ga wire (red)
(1) Spool of 18 ga wire (black)
(2) Butt Connectors
(2) O Wire Connectors
Various Screws depending on mount used
Washers
Tools Needed:
Wire Cutters
Wire Crimpers
Pliers
Flat Head Screw Driver
Philips Head Screw Driver
7mm Socket
Directions:
First, start with the CB itself. Unpackage it and determine if you have all parts needed. Next determine the length of wire you will need. One thing I recommend doing is brading the cable if you plan on running both the positive and ground to the battery. This is really easy to do and makes your wiring so much cleaner and easier to manage. First you measure your cable and cut both wires the same length. Make sure to give yourself about a foot extra though, when brading the wire will loose a good bit in length. Start by twisting one end a few times and putting them in a vise. take the other end and twist it a few times and insert it into the end of a drill. Tighten down and twist till desired braid.
Once you have braid to desired length and tightness, knot the ends just to make sure they do not come loose. Also instead of knotting you can heat shrink the ends for the same effect.
Now that we have braided the cable, let's move to the interior. Let's start by inspecting the tray. Remove the rubber pad off of the top.
Under the tray you will notice two 7mm bolts, these must be removed to loosen the tray.
Once you remove these two, lift the tray up from the back and pull it towards the windshield. Be careful because it is tight and you can pull too hard and hit the windshield.
Next, you must unhook the the cable from the speaker if yours have one. Very easy, just push the tab and it comes right off.
This is what the the hole under the tray looks like.
 05-13-2013, 10:55 PM
#2
King Ranchin' Member
Thread Starter
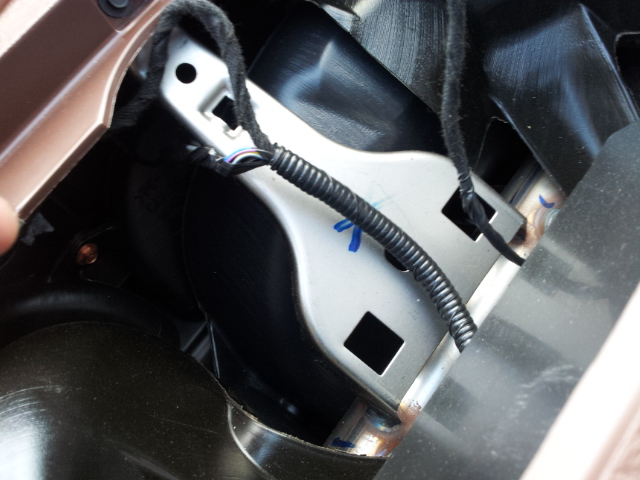
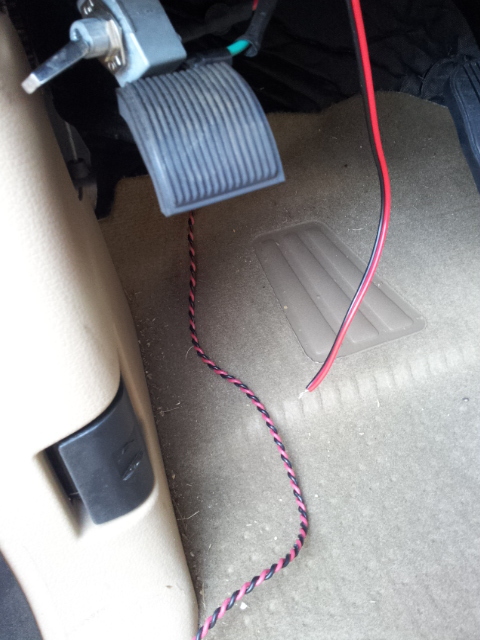
Next if included, get the cable that came with your CB and connect it to your braided cable. I ran my cable from the battery under the radiator support. Then I tucked it under the the airbox and the hood rails. I went through the main grommet on the drivers side. I looped it under the dash so it would not interfere with steering or pedals. Next I would recommend dropping the cb power cable down from the dash. It is easier to do this vs trying to pull i up from under the dash.
Now that you have the wires in place, you can connect them. I used simple Butt connectors.
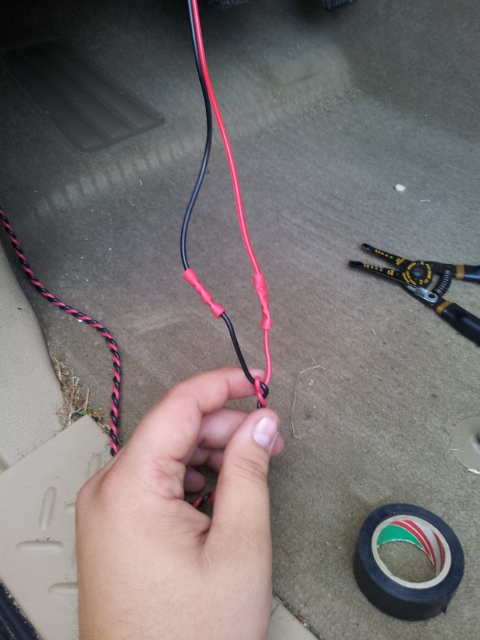
Next wrap them in electric tape or heat shrink.
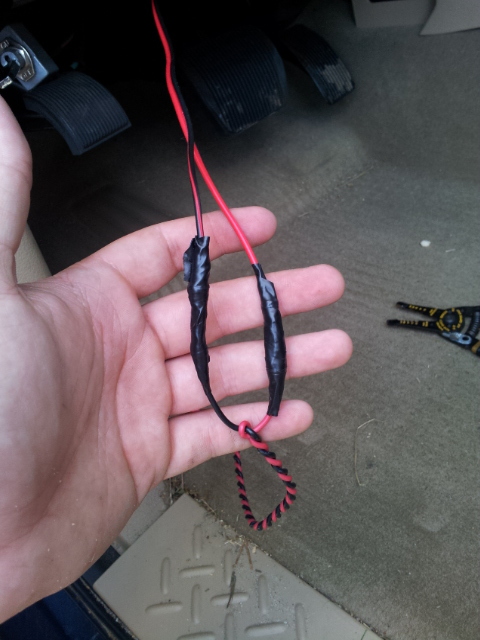
I recommend taping them together after you have protected each individual butt connector to keep them from getting caught under the dash.
Now pull your wire tight and seal the grommet under the dash. Make sure to not let the CB power cable fall down in the dash. I made that mistake and it is so hard to fish it back out.

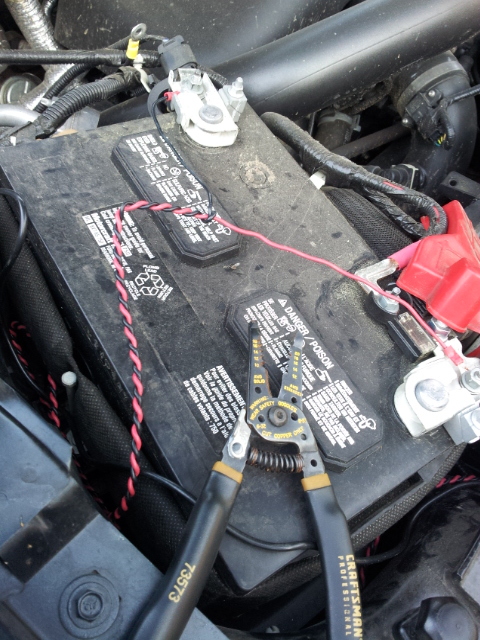
Not go around to the battery and connect your O wire connectors to the end of your braid at the battery. Make sure to double crimp these in case they become loose. Once you have connected both of them, make your connections to the battery. Once you have connected them around, walk back around to the cab and test your CB. Plug it in and make sure it comes on at full power. If your CB functions correctly, let's continue.
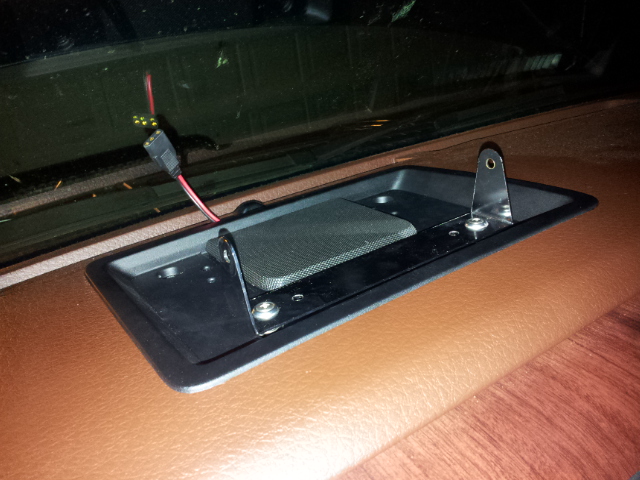
Next is one of the harder parts of the install. Take your tray and mark your mount locations of your CB mount on the tray. Once you decide on your mounting holes drill them out. Make sure to not drill into anything important for the speaker.
The following users liked this post:
joefrog (02-18-2014)
05-13-2013, 10:56 PM
#3
King Ranchin' Member
Thread Starter
Next I used some screws and washers I had laying around the shop to build up the bracket. You do not want the the Cb to sit on top of the speaker, it can muffle it! I ended up using 8 washers to give me the needed clearance. I plan on switching to rubber board later when it comes in.
Once you have this finished, lets install it back in the truck. Make sure to remember to plug your speaker back in!
Now let's remount the tray. Make sure to give yourself enough power cable so you can plug in your Cb.
Once you have slid the tray back into place, tighten the two 7mm bolts that hold the tray in place. Now you can install the Cb into the tray.

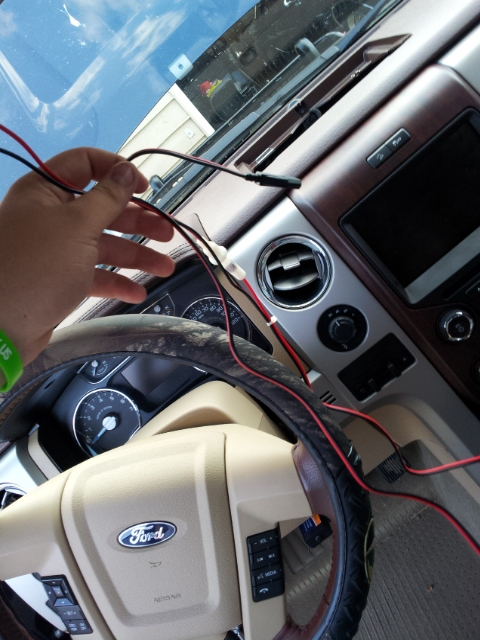
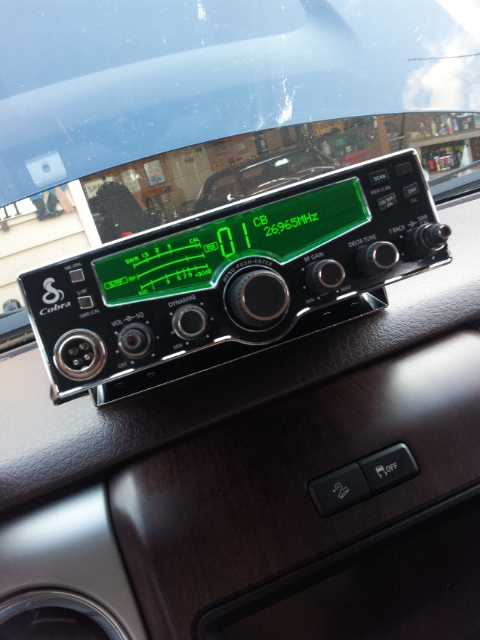
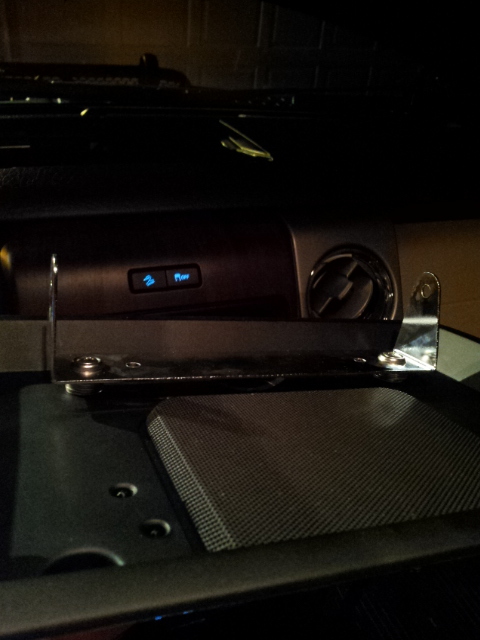
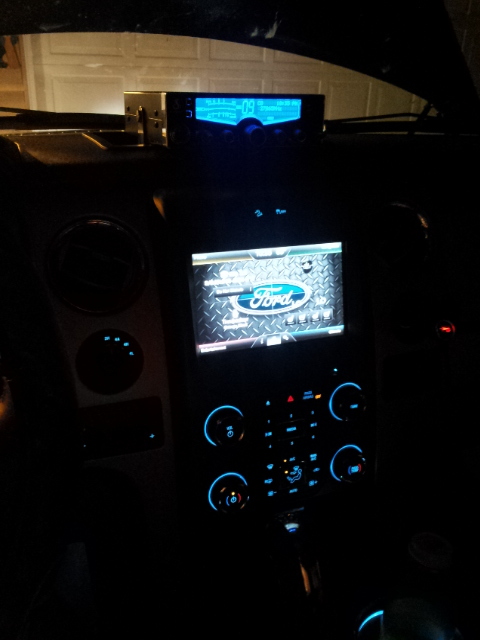
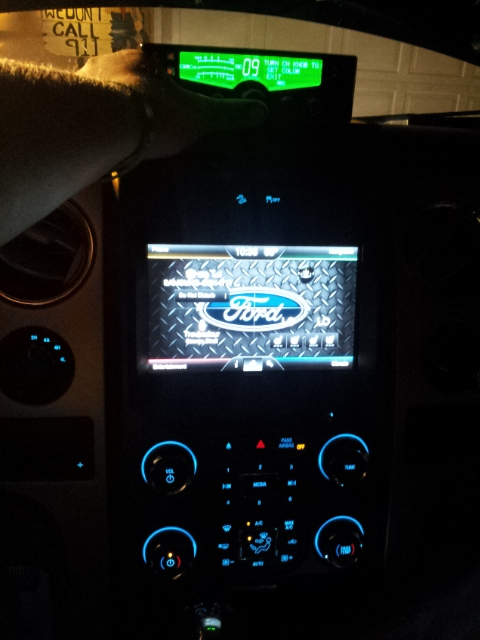
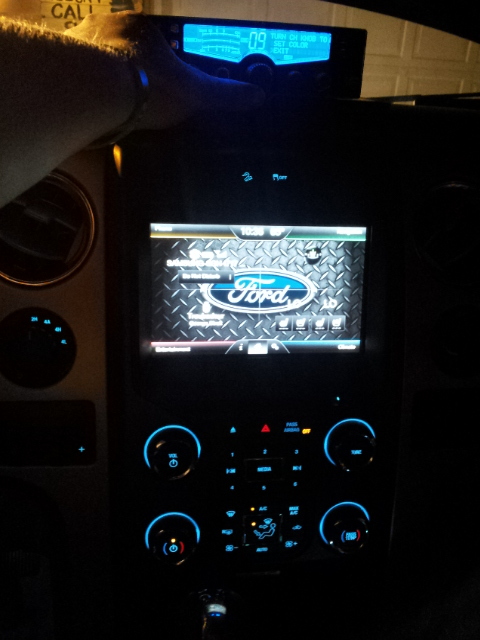
Now plug your CB in and have fun!!! In future articles I will cover how to install a PA Speaker, an external speaker, and your antennas. Here's some more pics of my new Cobra 29 LX in action! If you have any questions please ask and have fun. For now The Bandit is over and out!

The following users liked this post:
zx14_rider (01-08-2019)


The following users liked this post:
zx14_rider (01-08-2019)
08-21-2013, 07:07 AM
#5

Very cool!
Approved for "Hot-to" section.
Approved for "Hot-to" section.


Trending Topics
04-05-2014, 05:52 AM
#8
To OP - I did the same install and directions very helpful. I really was looking for the antenna install too but never saw an update. I thought about running power from the battery but instead removed the glovebox door to gain access to the back of the cigarette lighter power. Used positaps. Ran the antenna cable all the way to the back of the truck - had to mount it that way since I have a hard tonneau cover. I also got very lucky as the 4 foot Firestick antenna didn't need any adjusting - it was dead on perfect with the SWR meter. 
The following users liked this post:
EcoBoosted11 (06-10-2014)