Custom Auxiliary Switch or Guage Panel - LOTS OF PICS


 12-25-2012, 11:26 PM
#13
Senior Member

Great write-up! I'm going to use it to make a panel to mount my heated seat switches.
12-27-2012, 12:38 PM
#14
Senior Member
Thread Starter
thanks for the compliments guys.
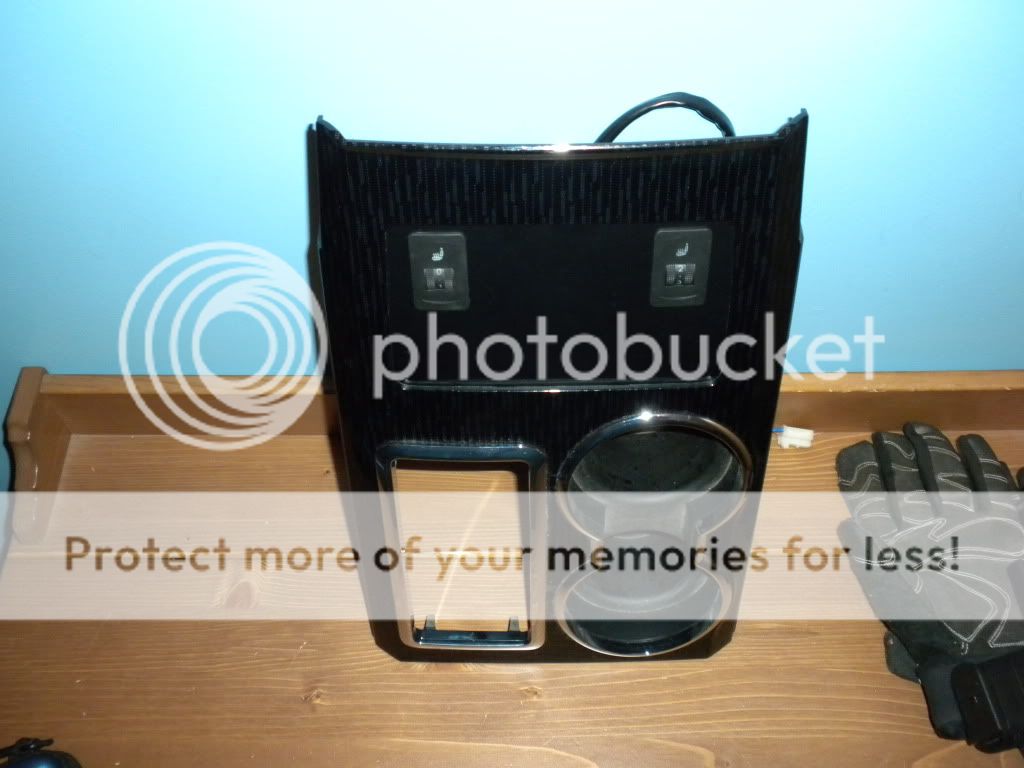
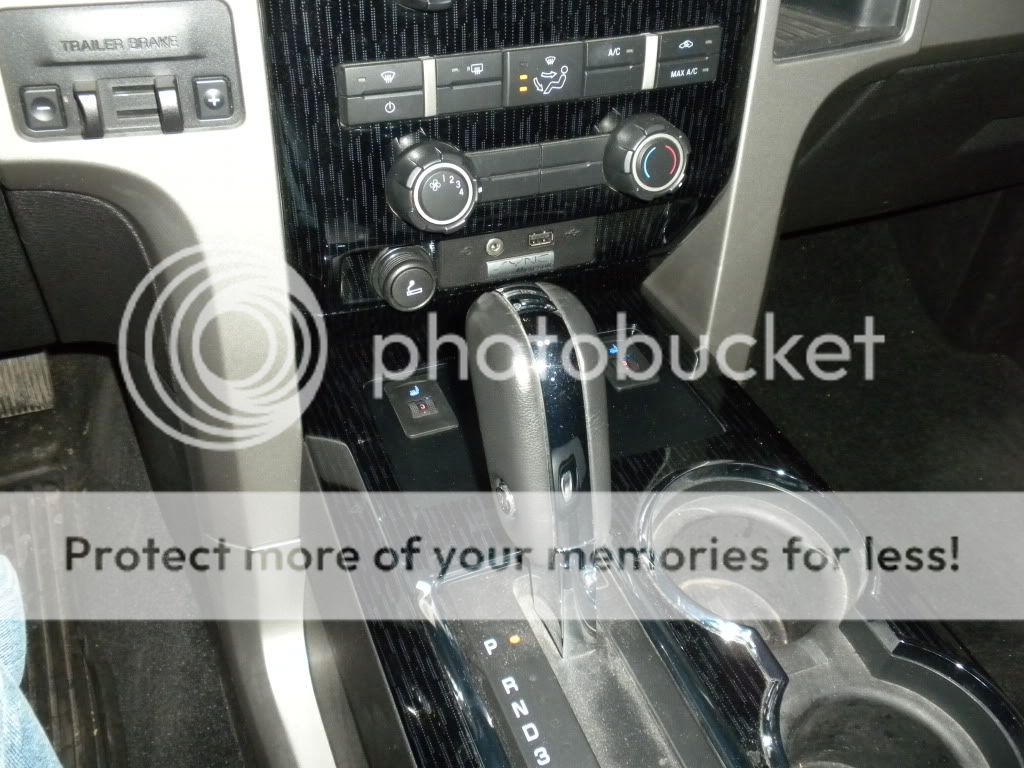
for power to the switches I used fuse taps into un-used fuse slots in the interior fuse panel on the passenger side. Make sure that you use correct amp fuse locations and fuses depending on the application of the switch.
for power to the switches I used fuse taps into un-used fuse slots in the interior fuse panel on the passenger side. Make sure that you use correct amp fuse locations and fuses depending on the application of the switch.
12-28-2012, 09:57 AM
#15
OK, I've read in some other have tapped into the #37 on the fuse panel?
12-28-2012, 10:16 AM
#16
Senior Member
Thread Starter
you can tap into any of the #'s, whether its blank or is being used by something else. Just be weary of not over-loading the circuit. Some people even splice into wires for power, but I like to use fuse taps that way it is removable without damage to any parts/wires.
08-11-2013, 09:48 PM
#17
Hightech Redneck
How does the plastidip hold up? Will it show scratches from keys and other hard objects brushing up on it? I like your idea, but I'm undecided on the best looking finish.
08-11-2013, 10:12 PM
#18
Senior Member
I covered mine with a sheet of self adhesive black vinyl. It was a couple bucks at a craft store. Tried black paint first, but it didn't stick very well. The vinyl has been perfect and doesn't show scatches.
I cut the hole for the wires in the bottom of the bin, so I could just put the rubber liner back in to hide the hole when I sell the truck. I usually try to return my vehicles to stock as much as possible.


I cut the hole for the wires in the bottom of the bin, so I could just put the rubber liner back in to hide the hole when I sell the truck. I usually try to return my vehicles to stock as much as possible.

 08-11-2013, 10:13 PM
#19
Senior Member
This is what happened when I painted it. The first coat went on nice, but the second made it wrinkle up. Flipped it over and tried the other side. It did the same thing. I also didn't cut plate to match the bin perimeter as the OP showed. I kept it simple and just made sure it fit between the clips and could be clamped down. I can't wait to add more accessories that need switches.
The wrinkly finish actually looked kinda cool, but I was afraid it wouldn't be very durable. It would probably trap dust pretty badly too. I had to sand it all off and stick on the vinyl.

The wrinkly finish actually looked kinda cool, but I was afraid it wouldn't be very durable. It would probably trap dust pretty badly too. I had to sand it all off and stick on the vinyl.

Last edited by Mike FX4; 08-11-2013 at 10:32 PM.
01-14-2014, 03:55 PM
#20
Senior Member
Thread Starter
sorry for the thread bump of this, unfortunately I have been inactive for a bit. Have a lot to catch up on haha.
the palsti-dip is holding up great, no scratches or marks and I just clean it as I clean the rest of the interior.
Mike FX4, that look good. Glad to see someone gave this a whirl haha.
Mike FX4, that look good. Glad to see someone gave this a whirl haha.