
Prep And Paint Bushwacker Fender Flares


Thread Starter
Senior Member
Joined: Apr 2012
Posts: 164
Likes: 20
I bought a set of Bushwacker Pocket Flares for my 2012 F-150 and figured I may as well take a couple pictures and do a write up for you guys. Im sure plenty of you have these flares and want to paint these but are not sure what exactly you need to do them properly.. Painted Plastic is the most common to fail because most people including shops do not prep them properly
First lets start off with a list of supplies you will need
- Bushwacker Fender Flares
- 4 Bumper stands or saw horses
- A compressor capable of at least 7 CFM with a good water trap
- Scuffing Pads
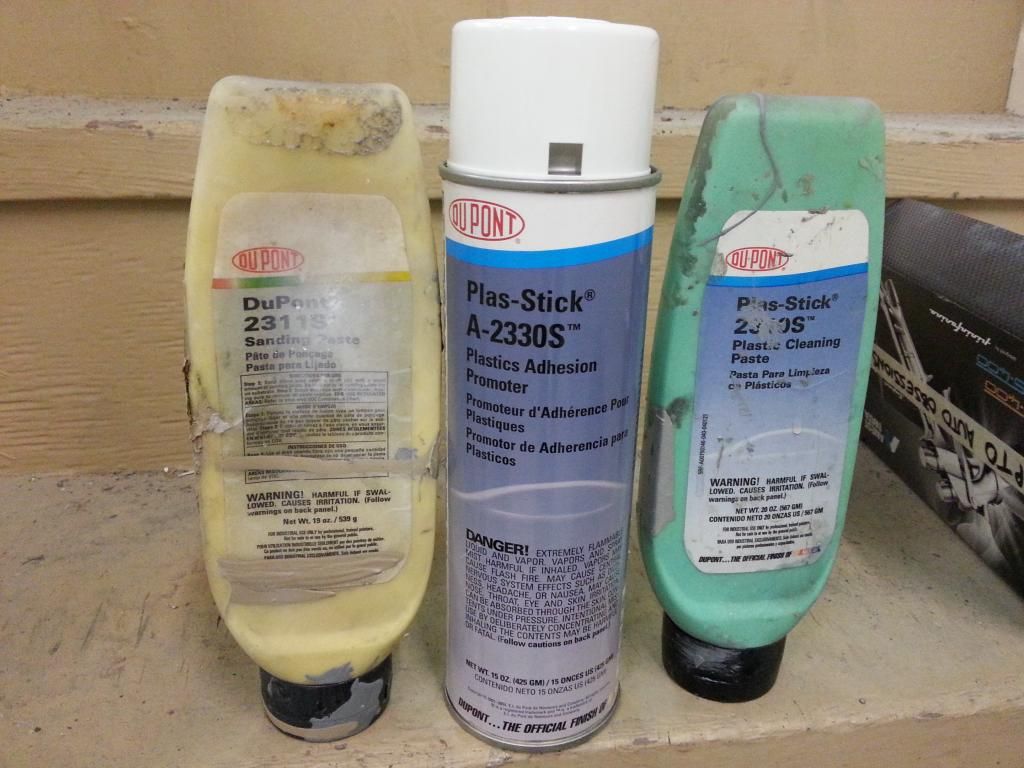
- Plastic Prep paste and cleaner ( I use Dupont Plas-Stick 2310S & 2311S sanding past)
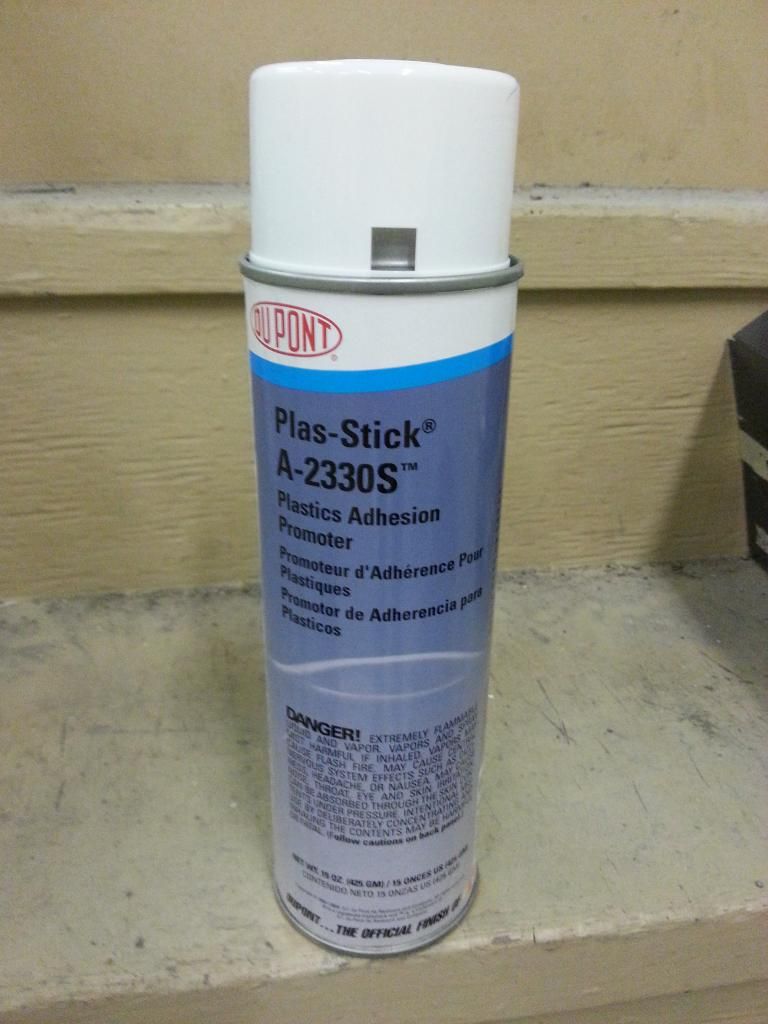
- Plastic Adhesion Promoter ( I use Dupont A-2330s )
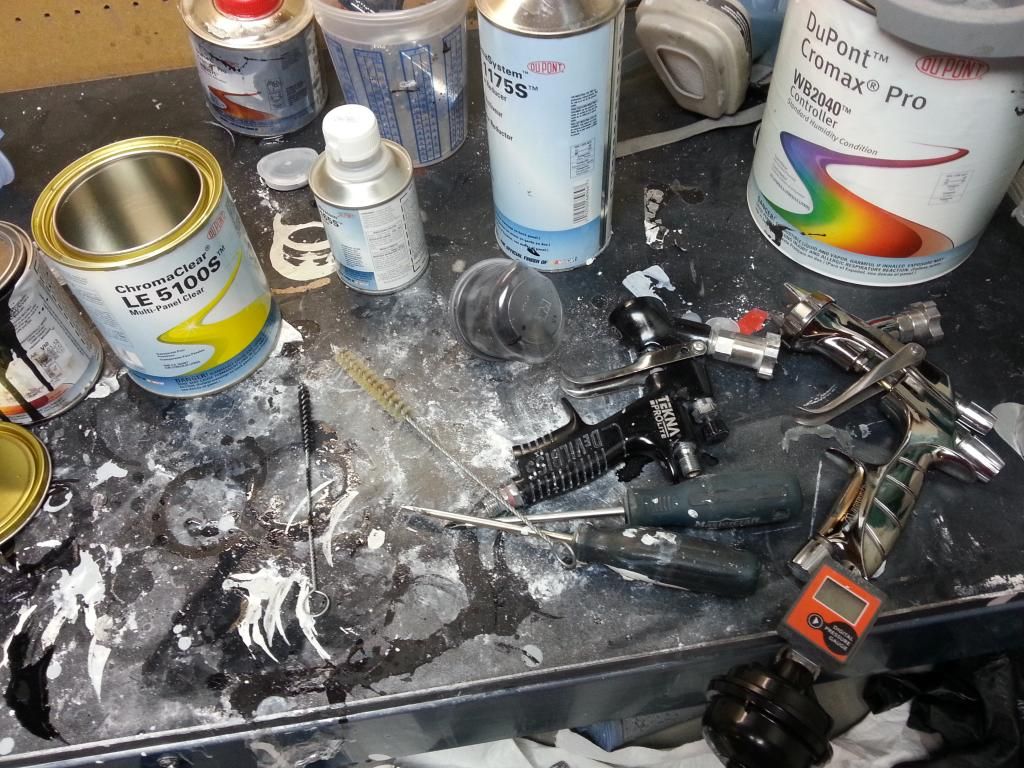
- Epoxy Sealer/Primer and Reducer/activator ( Proform Epoxy)
- Base coat ( This is an important step because if you do not get the shop mixing your paint to use your vin while matching the paint more than likely your flares will be off in color ) I use Dupont Cromax waterborne With activator
- Tack Rag
-Clearcoat ( Dont cheap out here most cheap clears lose their appearance gloss and yellow overtime )
- A good HVLP spray gun ( if using waterborne basecoat you need a transtech air cap)
-and last but certaintly not least a niosh approved respirator your are dealing with some nasty S**t here especially if you havent been around it before
Now very important before you start these flares must be kept in a warm area over the period of a few days to allow the release agents from the mold to be drawn out!!
Now the preparation
Now following the instructions of the product you use proceed to scuffing the flares make sure you do not miss ANYTHING there should be no shiny spots if there are They WILL peel. These products are designed to remove the oils in plastic from the manufacturing process very important for longevity of your paint job
Take your Scuffing past and cleaning paste and a scuffing pad. flushing with fresh water scrub the pieces
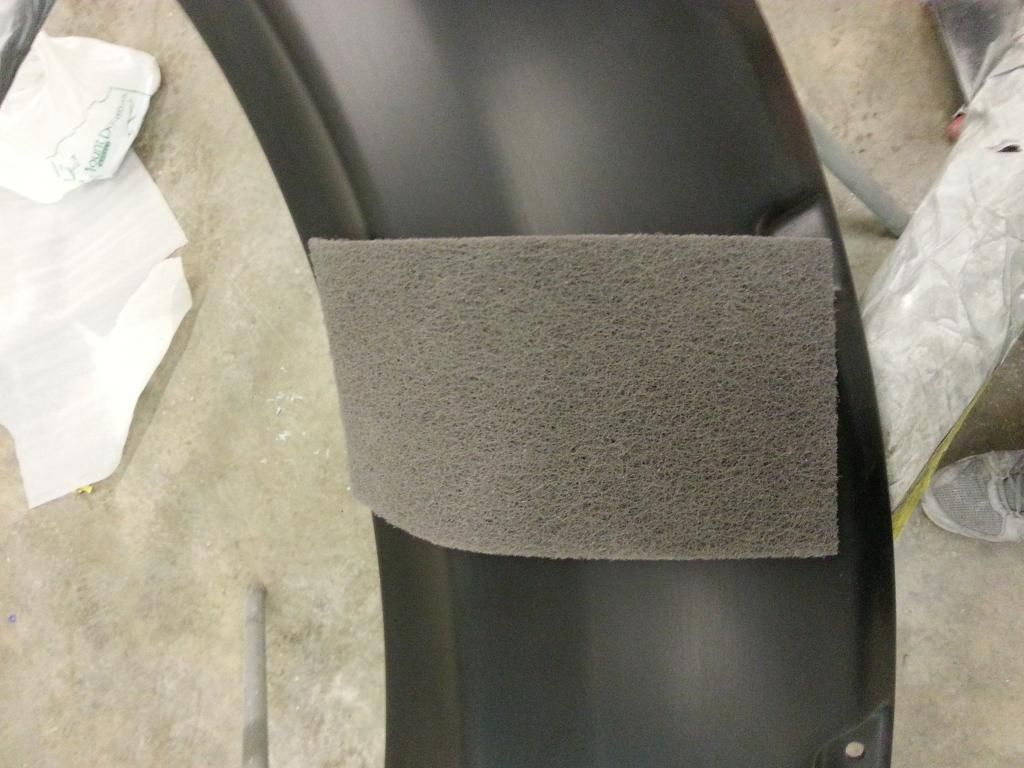
Now using a new scuffing pad clean the pieces with water and the cleaning paste rinsing them off when done be sure to leave no paste behind on the pieces to dry.
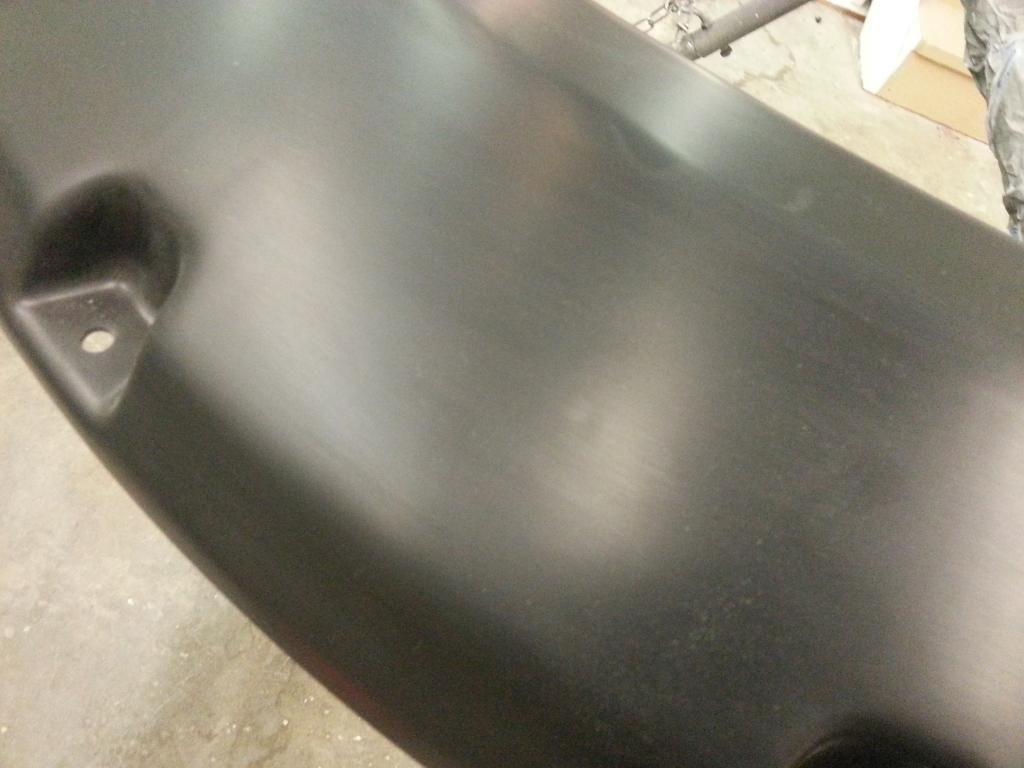
Now that you have the pieces scuffed and cleaned dry them off doing a final inspection to make sure you havent missed anything Place your pieces on stands inspect the stands to be clean blow air over your stands if you see any dust or pieces coming from them THIS WILL END UP IN YOUR PAINT so either tape them off or mask them off completely
I didnt take pictures of the adhesion promoter or the sealer going on i forgot sorry. Now take your plastics adhesion promoter
Apply one medium wet coat over all the pieces making sure to get even coverage allow 30 minutes flash time while this is drying take your time to make yourself familiar with the sealer you are about to use testing your gun settings etc
Now based on where you are doing this you can have many complications based on your environment if you are in a garage please make sure you have good ventilation and clean walls ceiling and floor no garage bags with sawdust and NO ZERO silicone products wd40 etc nothing or you may as well stop here. Before doing any of the next steps be sure to keep the floor damp and your hose clean ( This is a good time to drain your compressor and check your water trap) After tack coating the pieces Spray one wet coat of your sealer over the pieces sealer goes on very thin but will cover all your fine sanding scratches.. After following your manufacturers flash time for the sealer... Now repeat this process with your basecoat after tack coating the pieces once again if you have a metallic paint do a few test spray out cards at different pressures to make sure you are matching the metallic on your vehicle air pressure affects the way the metallics sit. If you are using waterborne paint it is recommended you use an activator. After the base has dried inspect the pieces for full coverage and any dust that should be tack clothed off..
Now the fun stuff.. Mix up your clear coat you will most likely need around just under one quart of clearcoat ( Total this means sprayable as in after activator) so if you buy a kit of one quart and an activator you will have plenty left.. For your clear coat you will want to increase your air pressure from previous to when you were applying your basecoat this will help atomize the clearcoat and give you less orange peel . On your first coat do a medium wet coat this means by no means dry or dull but also not complete gloss manufacturers reccomend normally 8 minutes flash time between coats however on your first one given this is also probably your first time shootin clear allow it to flash for closer to 12 minutes letting it set up a bit more lessening your chances of runs.. Runs are normally easy to fix however on a flare like this a run into one of the rivet pockets would be a huge pain. Finish your second coat of clear if you are new to this turn your fluid down and go slow it is better to build it up to a shine with a few passes instead of just hammer it on and run it especially when you are new.
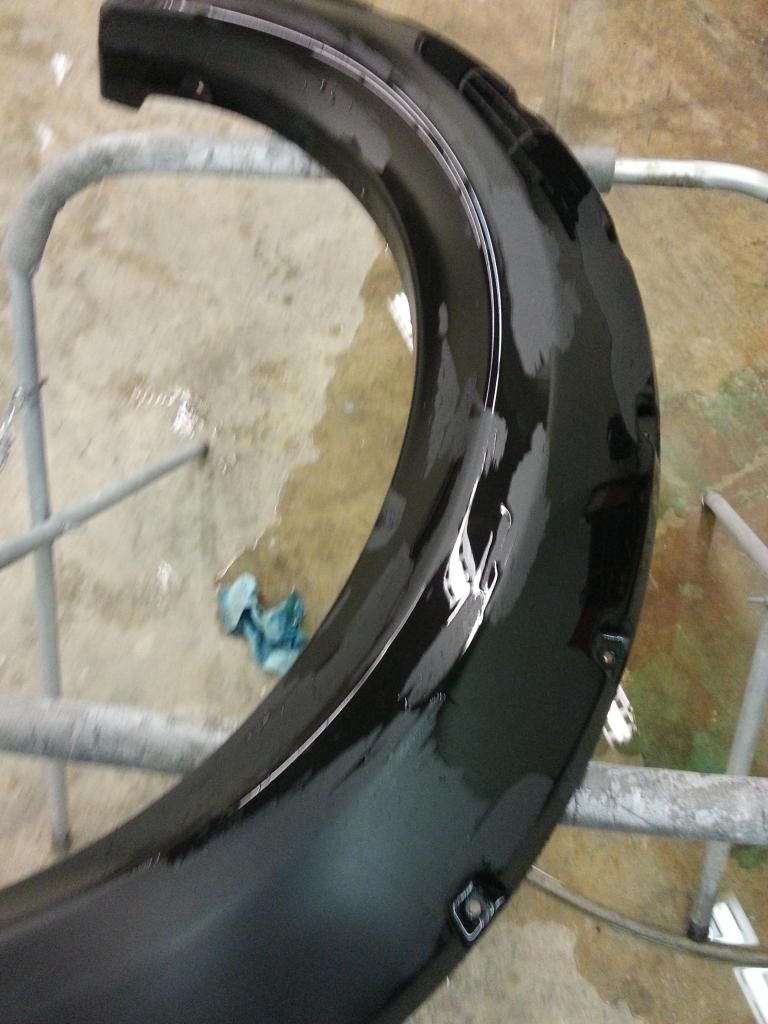
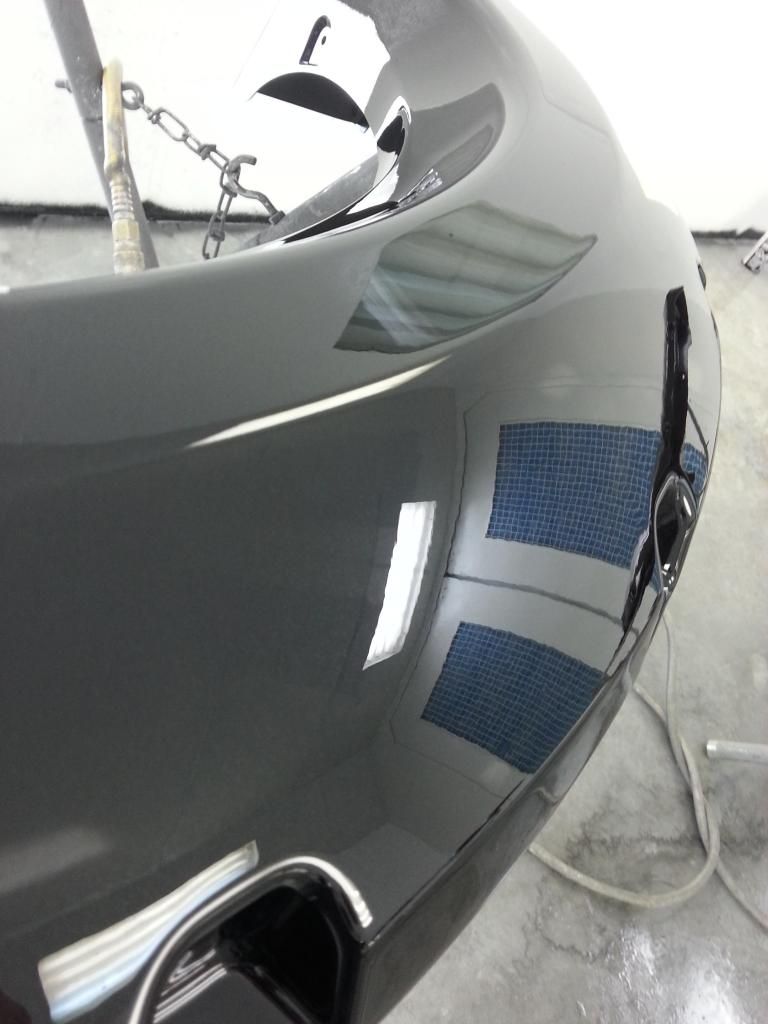
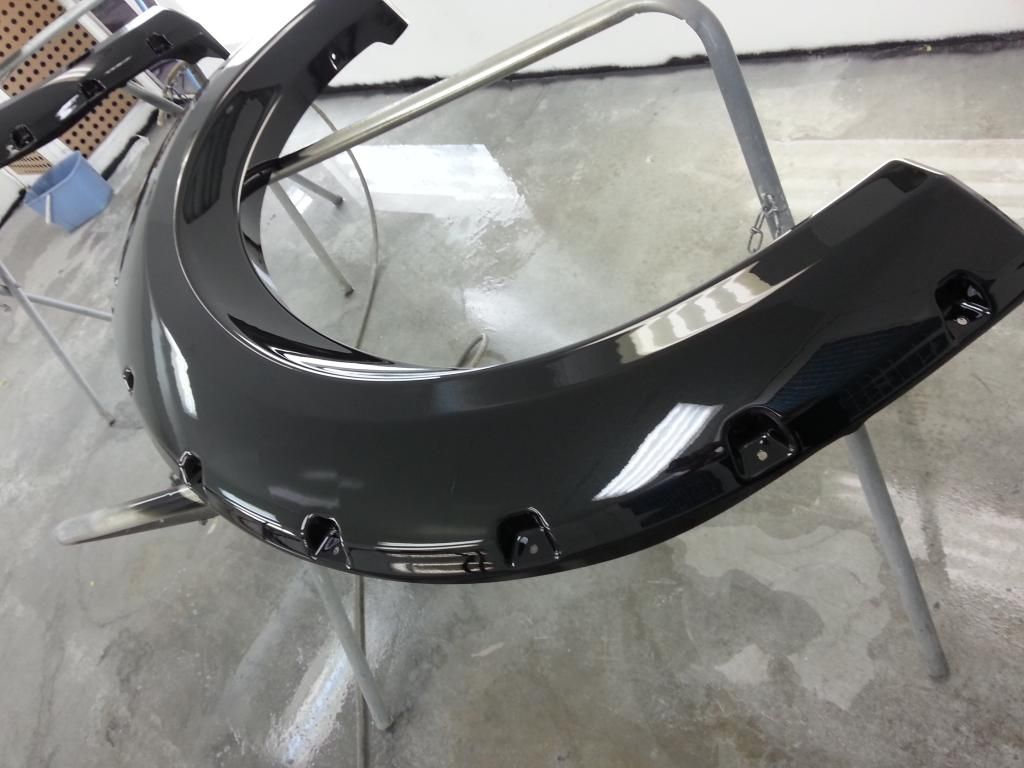
the hard part: When you are done WALK AWAY. dont stare at them or try and put more clear on just leave them alone they will flow out more as the cure and the more you stand around them the more dust you kick up let the area ventilate and get the overspray out of the air then allow them to dry overnight before attempting to install them the rest of the install i will photograph and update this write up later today enjoy Oh and they should look something like this ( Not my best work it was REALLY cold so i had to use a very low temp hardner which never flows as nice that and tried a new gun and i did them at midnight because i was bored lol )

If you followed these instructions your flares should have a very long life span
DO NOT WAX THESE FOR ATLEAST 30 DAYS IF WEATHER IS WARM ENOUGH
First lets start off with a list of supplies you will need
- Bushwacker Fender Flares
- 4 Bumper stands or saw horses
- A compressor capable of at least 7 CFM with a good water trap
- Scuffing Pads
- Plastic Prep paste and cleaner ( I use Dupont Plas-Stick 2310S & 2311S sanding past)
- Plastic Adhesion Promoter ( I use Dupont A-2330s )
- Epoxy Sealer/Primer and Reducer/activator ( Proform Epoxy)
- Base coat ( This is an important step because if you do not get the shop mixing your paint to use your vin while matching the paint more than likely your flares will be off in color ) I use Dupont Cromax waterborne With activator
- Tack Rag
-Clearcoat ( Dont cheap out here most cheap clears lose their appearance gloss and yellow overtime )
- A good HVLP spray gun ( if using waterborne basecoat you need a transtech air cap)
-and last but certaintly not least a niosh approved respirator your are dealing with some nasty S**t here especially if you havent been around it before
Now very important before you start these flares must be kept in a warm area over the period of a few days to allow the release agents from the mold to be drawn out!!
Now the preparation
Now following the instructions of the product you use proceed to scuffing the flares make sure you do not miss ANYTHING there should be no shiny spots if there are They WILL peel. These products are designed to remove the oils in plastic from the manufacturing process very important for longevity of your paint job
Take your Scuffing past and cleaning paste and a scuffing pad. flushing with fresh water scrub the pieces
Now using a new scuffing pad clean the pieces with water and the cleaning paste rinsing them off when done be sure to leave no paste behind on the pieces to dry.
Now that you have the pieces scuffed and cleaned dry them off doing a final inspection to make sure you havent missed anything Place your pieces on stands inspect the stands to be clean blow air over your stands if you see any dust or pieces coming from them THIS WILL END UP IN YOUR PAINT so either tape them off or mask them off completely
I didnt take pictures of the adhesion promoter or the sealer going on i forgot sorry. Now take your plastics adhesion promoter
Apply one medium wet coat over all the pieces making sure to get even coverage allow 30 minutes flash time while this is drying take your time to make yourself familiar with the sealer you are about to use testing your gun settings etc
Now based on where you are doing this you can have many complications based on your environment if you are in a garage please make sure you have good ventilation and clean walls ceiling and floor no garage bags with sawdust and NO ZERO silicone products wd40 etc nothing or you may as well stop here. Before doing any of the next steps be sure to keep the floor damp and your hose clean ( This is a good time to drain your compressor and check your water trap) After tack coating the pieces Spray one wet coat of your sealer over the pieces sealer goes on very thin but will cover all your fine sanding scratches.. After following your manufacturers flash time for the sealer... Now repeat this process with your basecoat after tack coating the pieces once again if you have a metallic paint do a few test spray out cards at different pressures to make sure you are matching the metallic on your vehicle air pressure affects the way the metallics sit. If you are using waterborne paint it is recommended you use an activator. After the base has dried inspect the pieces for full coverage and any dust that should be tack clothed off..
Now the fun stuff.. Mix up your clear coat you will most likely need around just under one quart of clearcoat ( Total this means sprayable as in after activator) so if you buy a kit of one quart and an activator you will have plenty left.. For your clear coat you will want to increase your air pressure from previous to when you were applying your basecoat this will help atomize the clearcoat and give you less orange peel . On your first coat do a medium wet coat this means by no means dry or dull but also not complete gloss manufacturers reccomend normally 8 minutes flash time between coats however on your first one given this is also probably your first time shootin clear allow it to flash for closer to 12 minutes letting it set up a bit more lessening your chances of runs.. Runs are normally easy to fix however on a flare like this a run into one of the rivet pockets would be a huge pain. Finish your second coat of clear if you are new to this turn your fluid down and go slow it is better to build it up to a shine with a few passes instead of just hammer it on and run it especially when you are new.
the hard part: When you are done WALK AWAY. dont stare at them or try and put more clear on just leave them alone they will flow out more as the cure and the more you stand around them the more dust you kick up let the area ventilate and get the overspray out of the air then allow them to dry overnight before attempting to install them the rest of the install i will photograph and update this write up later today enjoy Oh and they should look something like this ( Not my best work it was REALLY cold so i had to use a very low temp hardner which never flows as nice that and tried a new gun and i did them at midnight because i was bored lol )
If you followed these instructions your flares should have a very long life span
DO NOT WAX THESE FOR ATLEAST 30 DAYS IF WEATHER IS WARM ENOUGH


