
How to Remove & Paint Factory Fender Flares


Thread Starter
American Muscle
Joined: Nov 2008
Posts: 2,304
Likes: 25
From: El Paso Texas
I think it depends on the depth of the scratches. If they are light, I would say no, the pain should cover them up no problem. If they are deep, you may try to in order to even it out and smooth out the surface.

Joined: Aug 2012
Posts: 2,183
Likes: 1,565
From: Sonoma wine country/Left coast is the best coast
I'm kicking around the idea of adding fender flares to XLT...either matching Candy Red or textured black plastic. I like the mixture of black and chrome on the red truck, but don't want chrome flares.
Thanks for showing.

Thanks for showing.

Texas A&M Aggie


Joined: Feb 2013
Posts: 7,527
Likes: 1,352
From: Pasadena, TX
Excellent write-up. I tackled mine yesterday. Krylon fusion tells you that it is scratch proof in 7 days so guess I'll be waiting 7 days because I'd rather not remove them again. Thanks for the walkthrough!

Junior Member
Joined: Jun 2013
Posts: 2
Likes: 0
From: NW Washington, Go HAWKS
A quick write up of hot to remove and paint factory fender flares.
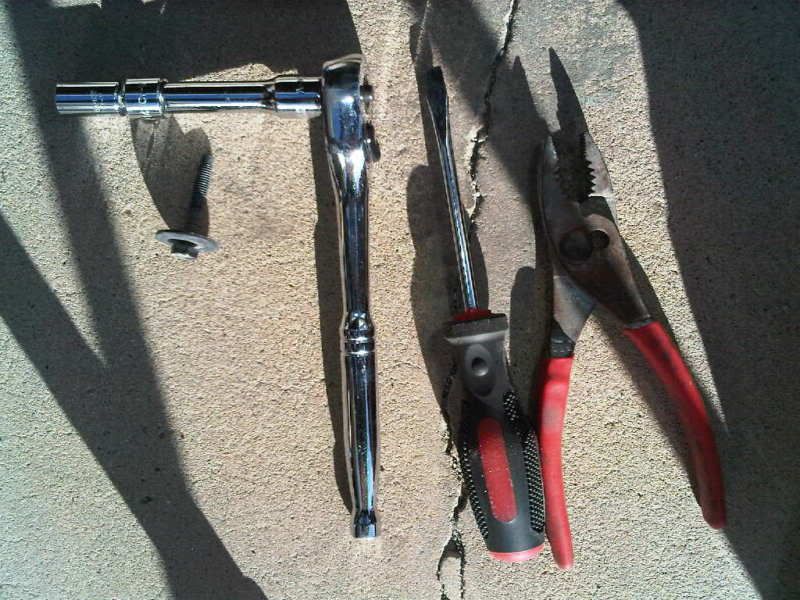
Required:
Flat head screw driver.
10mm wrench/socket
Pliars
Wire Cutters (Optional but helpful)
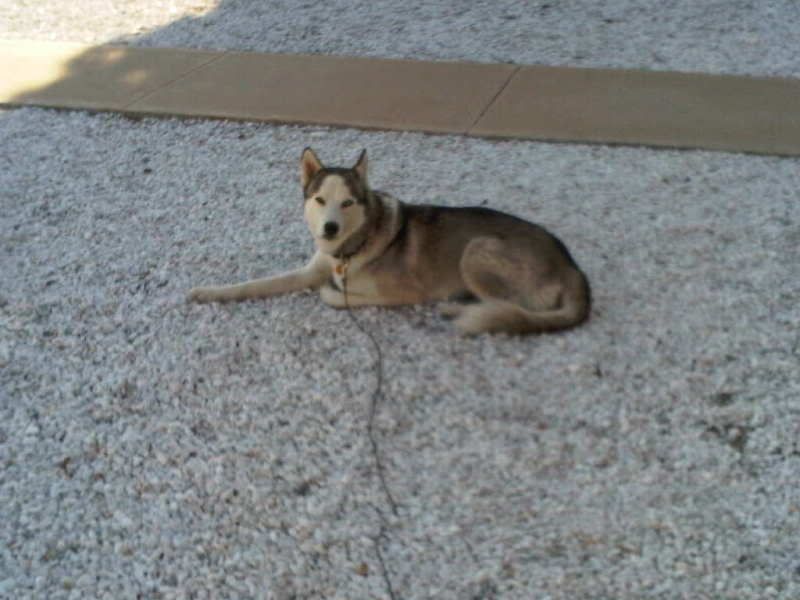
Dog (Dog may be substituted for lazy friend, small child, or non nagging wife)
Cold adult beverage (beverage may be substituted for coke or water if Under 21)
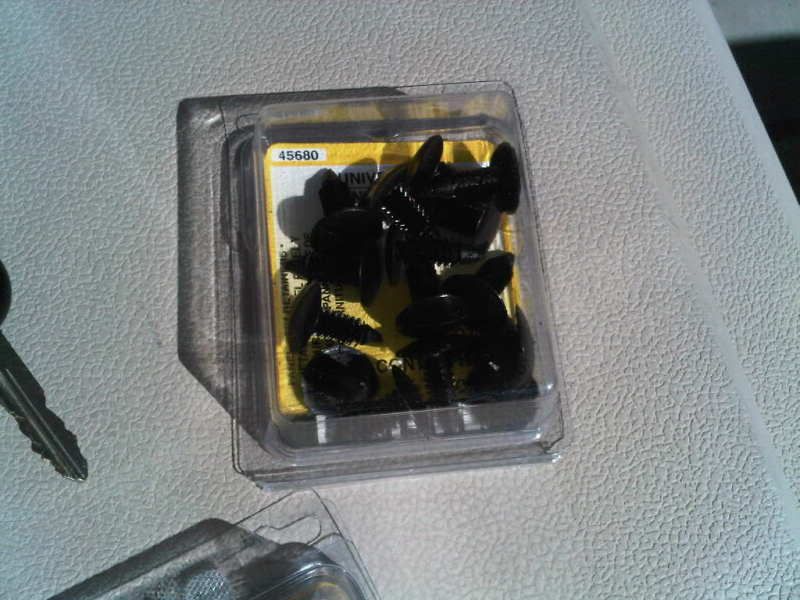
18 Replacement plastic...things (shown below) 5 per front, 4 per rear. Im going to call them "Push Plugs" If you have the correct name, let me know and Ill edit the post.
To begin, use the 10mm socket and remove the 4 screws located on each end of the wheel well. There are 2 per side in the rear.
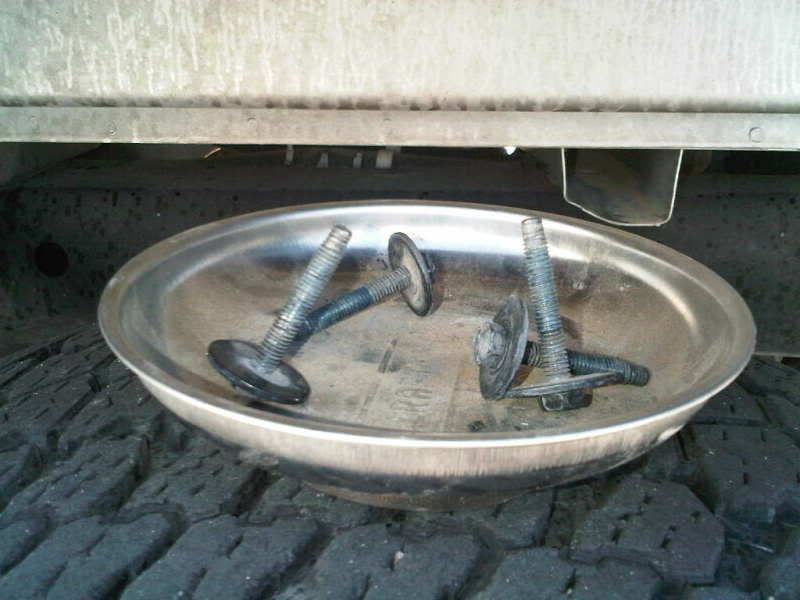
Then, move to the front, there are 4 nuts here that need to be removed. 2 per side as well. However, both of these are located on the front side of the wheel well.

Then, use the flat head screw driver and pliars to remove the plastic "push plugs" I did this by first using the flat head to slightly bend out the flat part so that I could grab the edge with the pliars. In some cases i was able to easily pull the plugs out with the pliars. However, some were very stubborn. I then used the wire cutters to cut the flat piece off then then pushed the plug through the other side. (Not Shown)
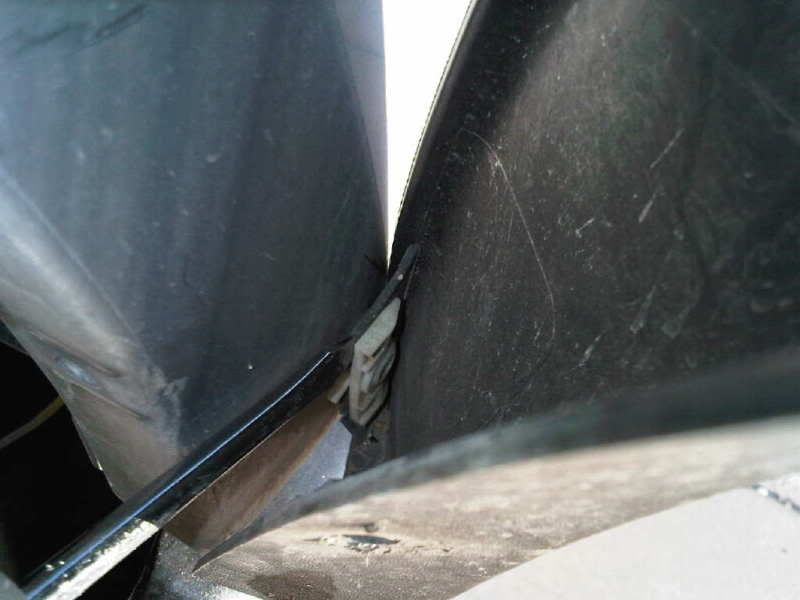
Once you have removed all of these (4 per rear, 5 per front) start with one side of the fender flare and slightly pull out. I was paranoid about breaking something so I used a flat head screw driver to assist me. (shown below)
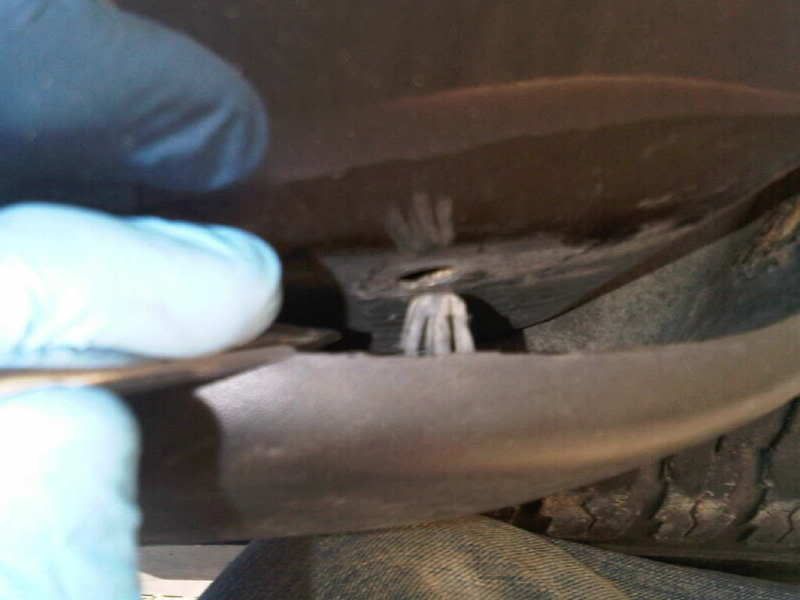
There are multiple pins per side so go slow.
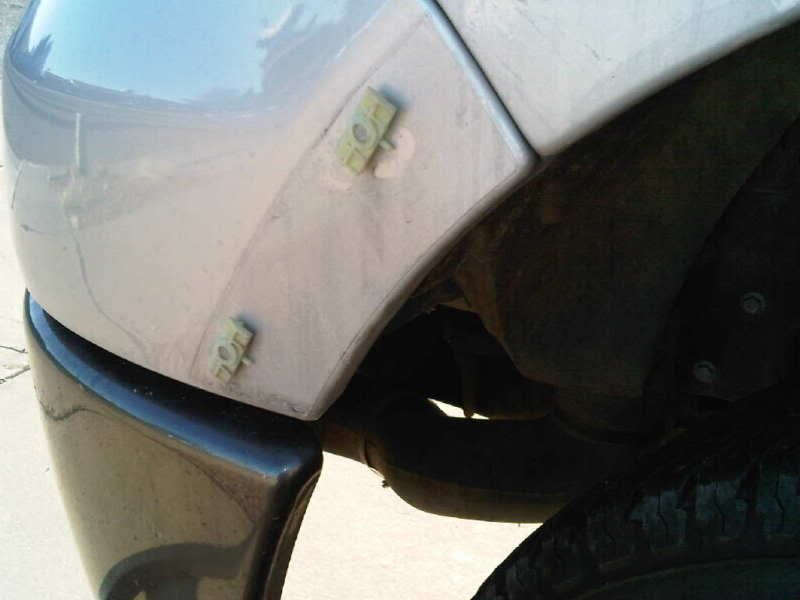
If one happens to stay in, dont worry, simply remove it and place it back on the flare.

If you failed to remove the front 2 10mm nuts (as I did) you will need to use a screw driver to pop them off the flare. This is why I highly suggest you remove the nuts. You have to remove them either way in order to put the flares back on.
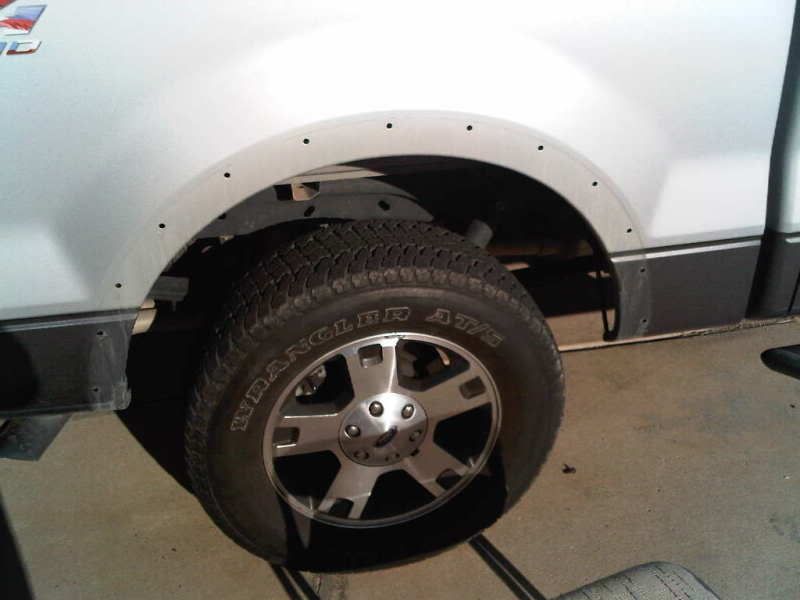
Repeat the process for all 4 wheels and your done with the removal!
Required:
Flat head screw driver.
10mm wrench/socket
Pliars
Wire Cutters (Optional but helpful)
Dog (Dog may be substituted for lazy friend, small child, or non nagging wife)
Cold adult beverage (beverage may be substituted for coke or water if Under 21)
18 Replacement plastic...things (shown below) 5 per front, 4 per rear. Im going to call them "Push Plugs" If you have the correct name, let me know and Ill edit the post.
To begin, use the 10mm socket and remove the 4 screws located on each end of the wheel well. There are 2 per side in the rear.
Then, move to the front, there are 4 nuts here that need to be removed. 2 per side as well. However, both of these are located on the front side of the wheel well.
Then, use the flat head screw driver and pliars to remove the plastic "push plugs" I did this by first using the flat head to slightly bend out the flat part so that I could grab the edge with the pliars. In some cases i was able to easily pull the plugs out with the pliars. However, some were very stubborn. I then used the wire cutters to cut the flat piece off then then pushed the plug through the other side. (Not Shown)
Once you have removed all of these (4 per rear, 5 per front) start with one side of the fender flare and slightly pull out. I was paranoid about breaking something so I used a flat head screw driver to assist me. (shown below)
There are multiple pins per side so go slow.
If one happens to stay in, dont worry, simply remove it and place it back on the flare.
If you failed to remove the front 2 10mm nuts (as I did) you will need to use a screw driver to pop them off the flare. This is why I highly suggest you remove the nuts. You have to remove them either way in order to put the flares back on.
Repeat the process for all 4 wheels and your done with the removal!

Senior Member
Joined: May 2013
Posts: 174
Likes: 9