Puddle Light LED Retrofit - PICTURES

Thread Starter
Senior Member
Joined: Jan 2012
Posts: 198
Likes: 12
From: Henderson NV
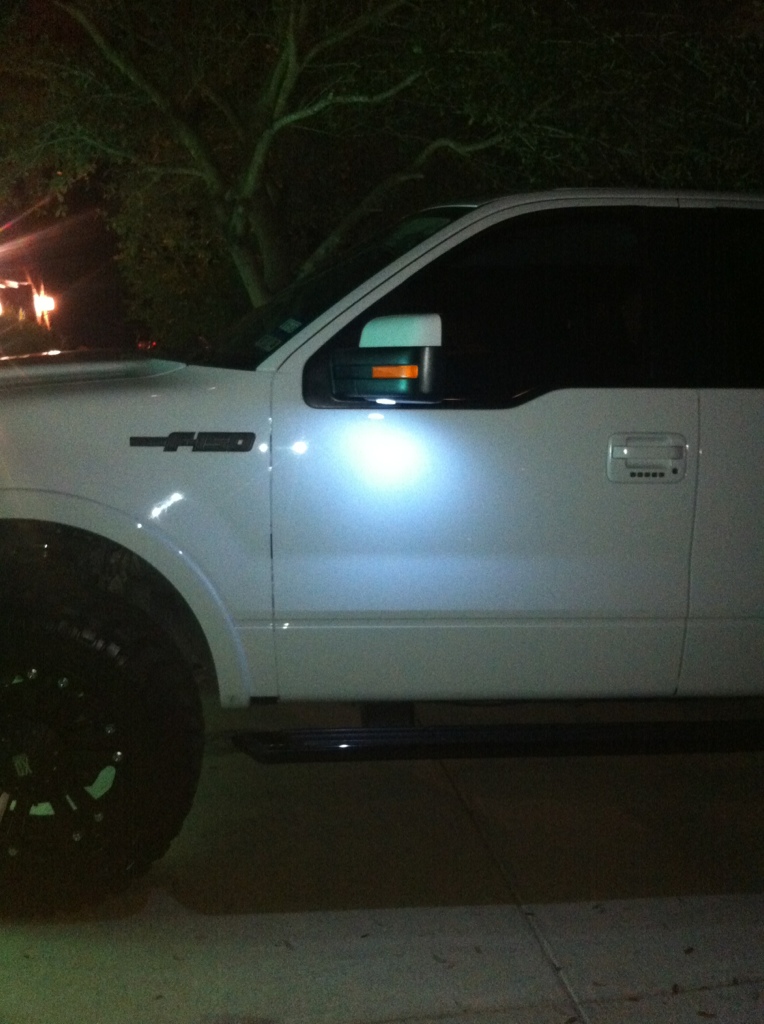
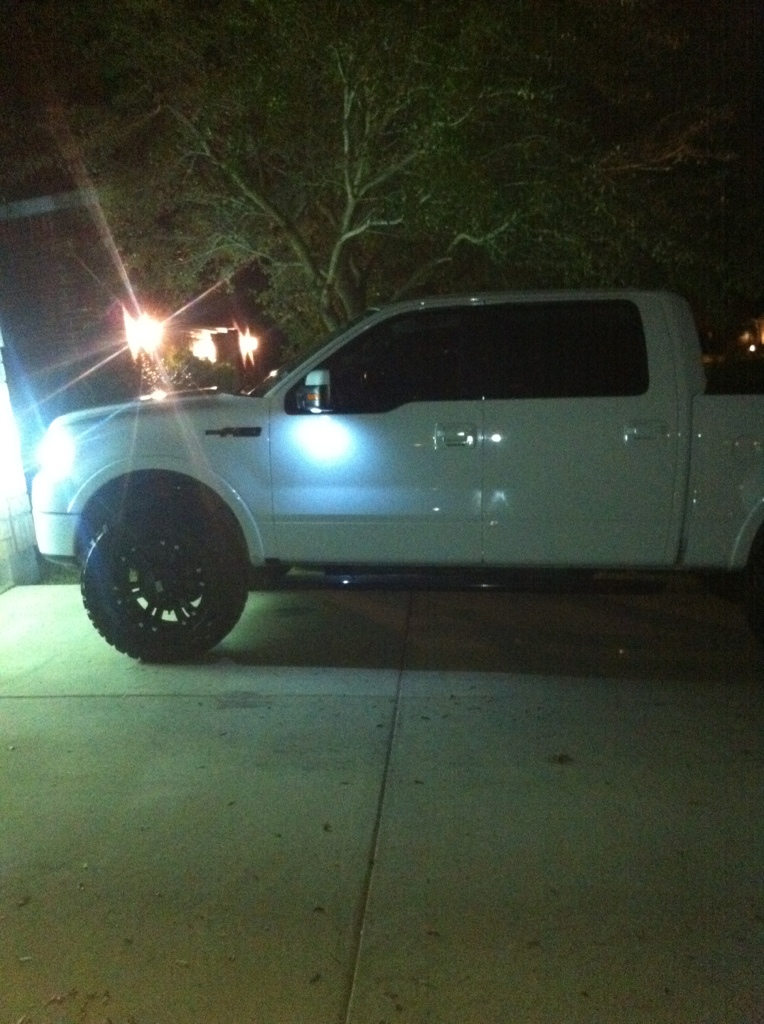
This was a mod that I had considered doing for a while but was a little nervous due to the lense not just "popping off" to change the lamp. I'm not sure how most people do this mod but let me walk you through how I did it. Besides for waiting for the silicone to dry, it took me less than 20 minutes to do 2 puddle lamps.
Here is everything you need.
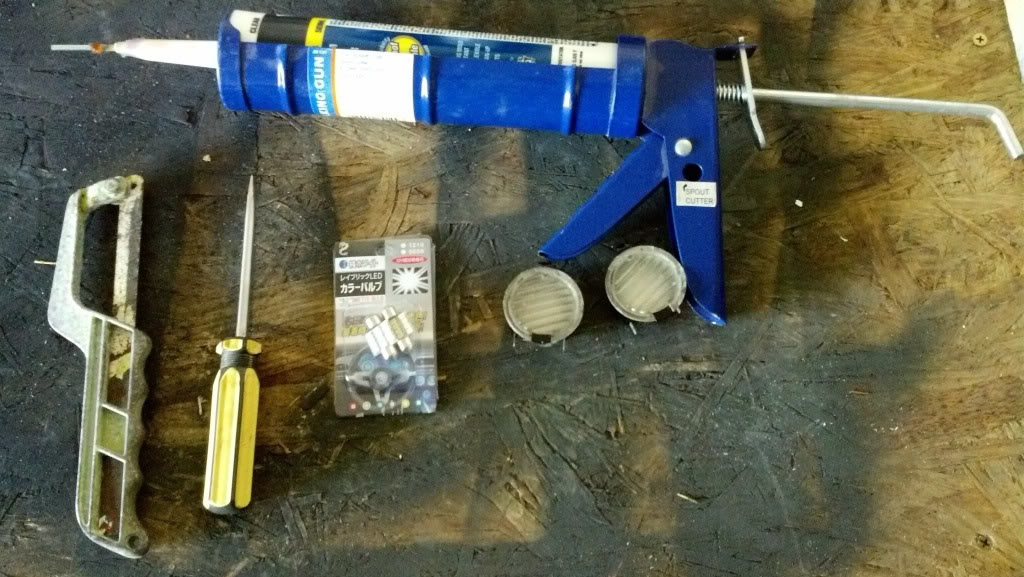
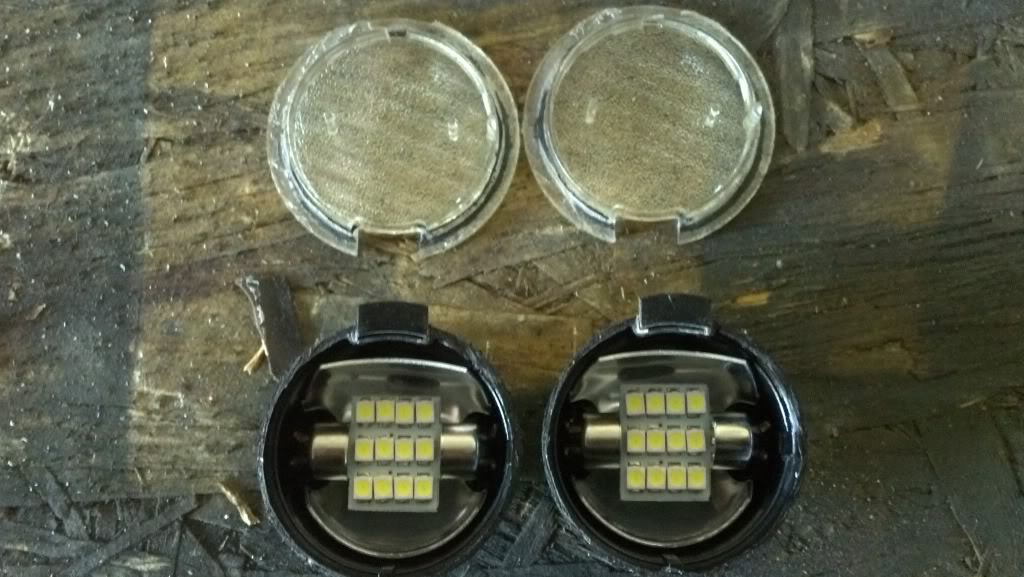
This where I picked up the festoon lamps. They were only $2.99!!
http://cgi.ebay.com/ws/eBayISAPI.dll...ht_5668wt_1106
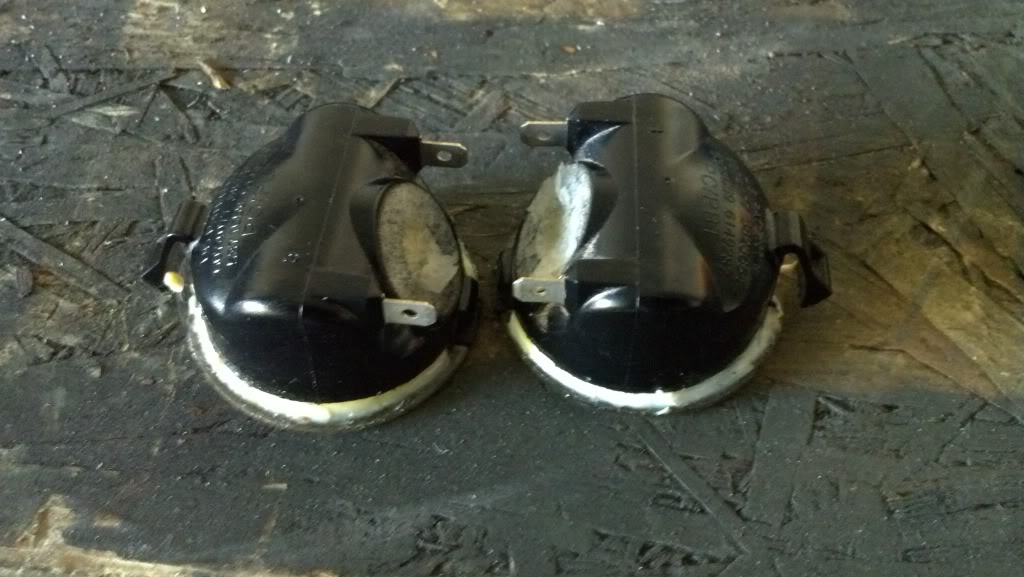
I used a hacksaw to cut around the black housing on the edge of the clear lense until the blade hits the lense. This was way easier to do than I expected. It took maybe 5 minutes per housing.
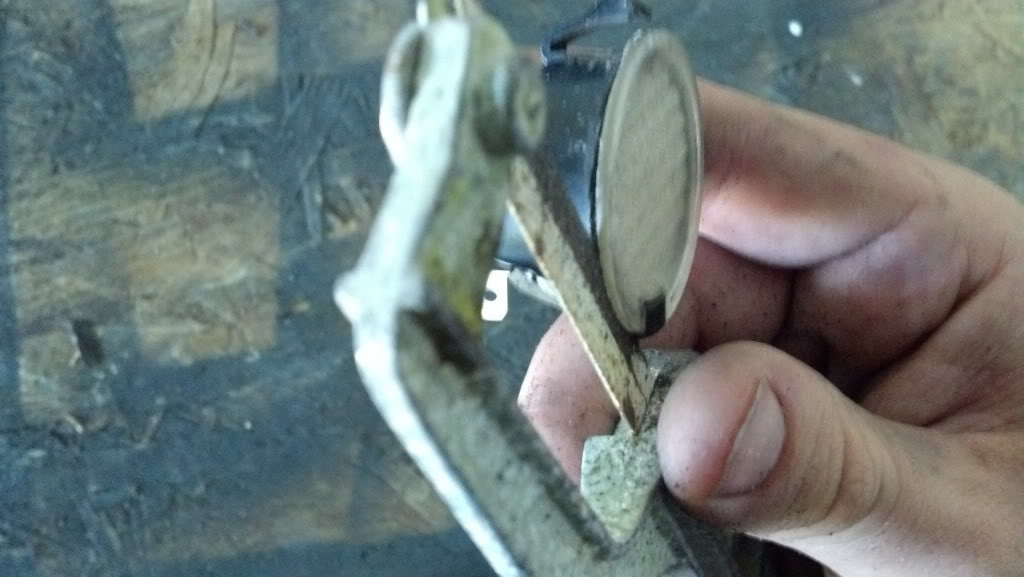
Once your through the black plastic all the way around, take a screwdriver and carefully pry the lense off.
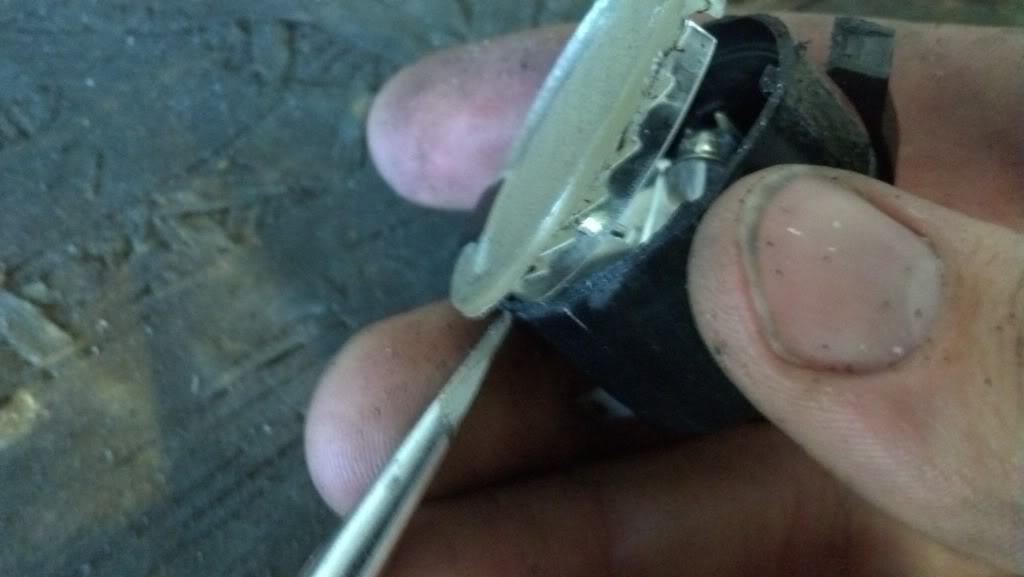
Then swap out the lamps (duh)
I probably should have used RTV or some sort of automotive silicone but I had some of the clear kitchen and bath kind around so I just used that. Put a thin bead around the outer edge of the lense.
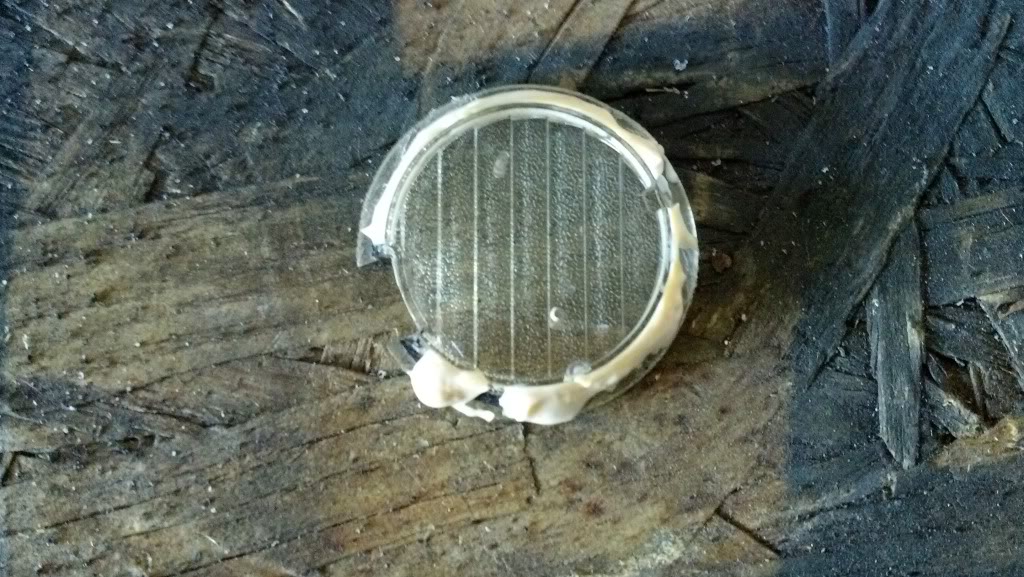
Snap the lense back on the housing and take your finger and wipe the excess silicone off.
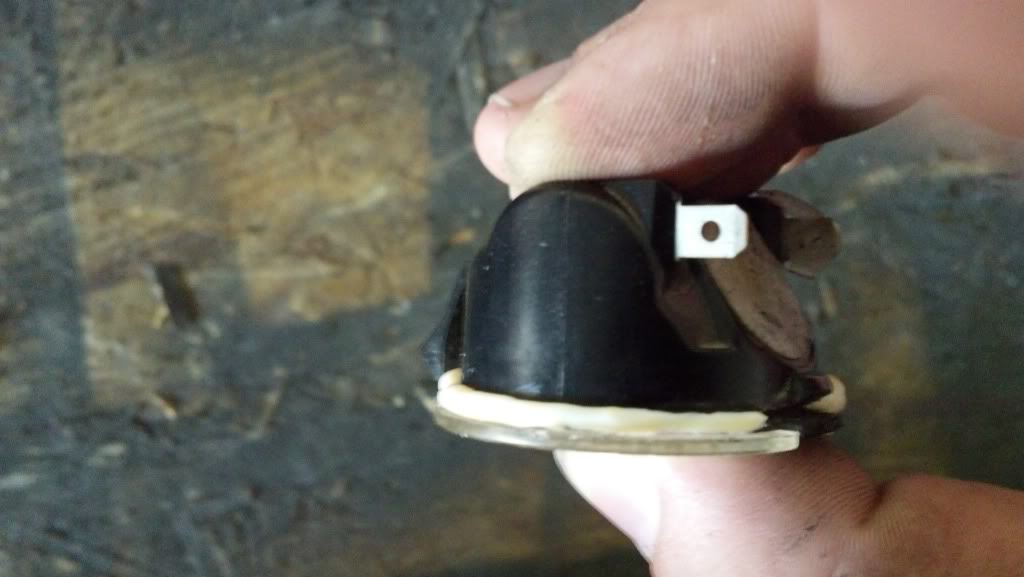
Then take something kinda heavy (I used a trailer hitch) and keep pressure on the housings like this
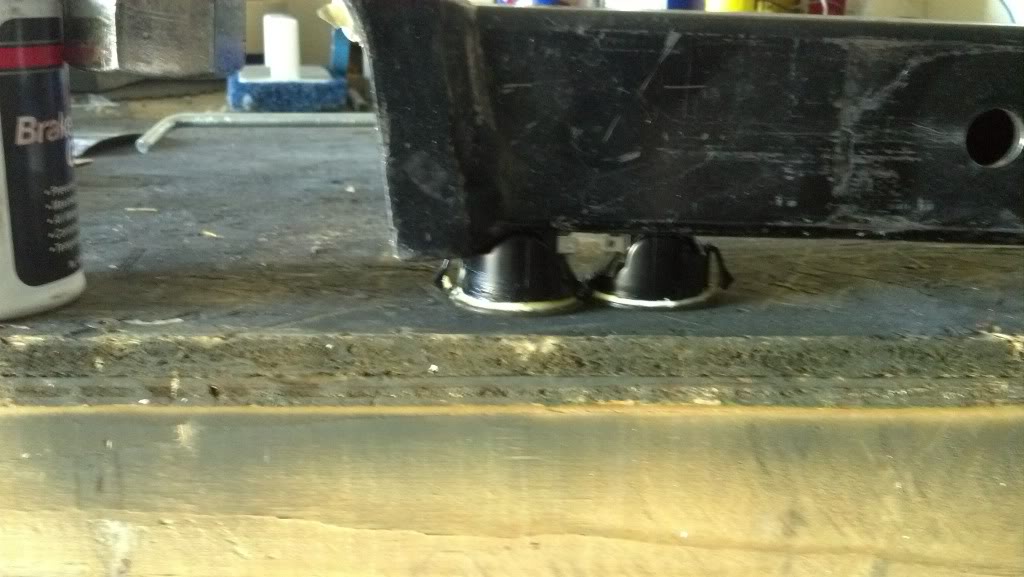
Let it sit like this for at least 24hrs
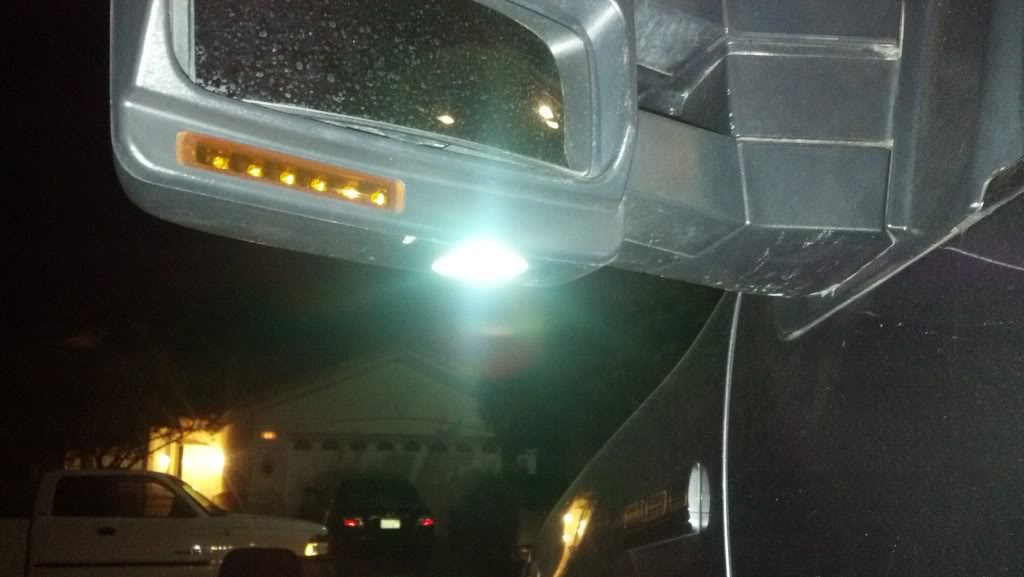
Hopefully this "How-to" will encourage you to do this very easy modification along with the rest of the lights on your truck.
Here is everything you need.
This where I picked up the festoon lamps. They were only $2.99!!
http://cgi.ebay.com/ws/eBayISAPI.dll...ht_5668wt_1106
I used a hacksaw to cut around the black housing on the edge of the clear lense until the blade hits the lense. This was way easier to do than I expected. It took maybe 5 minutes per housing.
Once your through the black plastic all the way around, take a screwdriver and carefully pry the lense off.
Then swap out the lamps (duh)
I probably should have used RTV or some sort of automotive silicone but I had some of the clear kitchen and bath kind around so I just used that. Put a thin bead around the outer edge of the lense.
Snap the lense back on the housing and take your finger and wipe the excess silicone off.
Then take something kinda heavy (I used a trailer hitch) and keep pressure on the housings like this
Let it sit like this for at least 24hrs
Hopefully this "How-to" will encourage you to do this very easy modification along with the rest of the lights on your truck.


Senior Member
Joined: Jan 2013
Posts: 134
Likes: 16
From: Louisiana
Yeah, nice job man! This was very simple. The clear lens pretty much popped away from the black housing once you got about 80% sawed around the housing. Even used the trailor hitch as a weight lol.
Dont see how someone would pay $80 for this mod with some companys when you can do it yourself for $4.00
Dont see how someone would pay $80 for this mod with some companys
when you can do it yourself for $4.00