UPR Dual Valve Catch Can Install and Review
 08-25-2014, 03:54 PM
#1

Overall Impression:
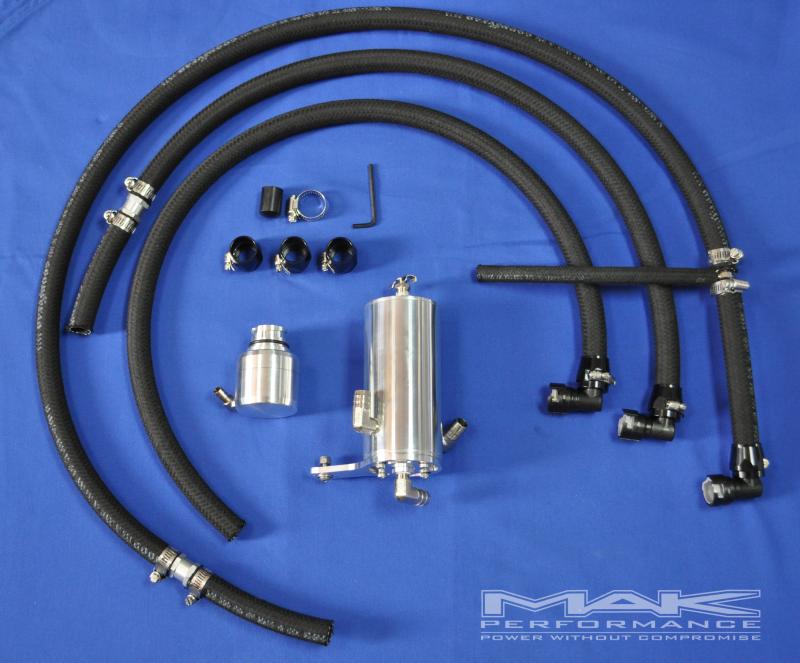
The kit Includes everything needed for the install. All components look to be high quality and UPR even pre-assembles the lines for you so that there is no risk of mixing up the direction of the check valves and/or location of which line goes where. The can and clean side are extremely detailed and look great. UPR also uses high quality braided hose and factory press to connect fittings at all locations on the engine for a true oem look and feel. They provide AN style clamps for the connections to the catch can.
Installation:
The installation is very straight forward and the instructions provided by UPR should suffice. A couple of pictures would help the process out, but nothing that will leave you lost.
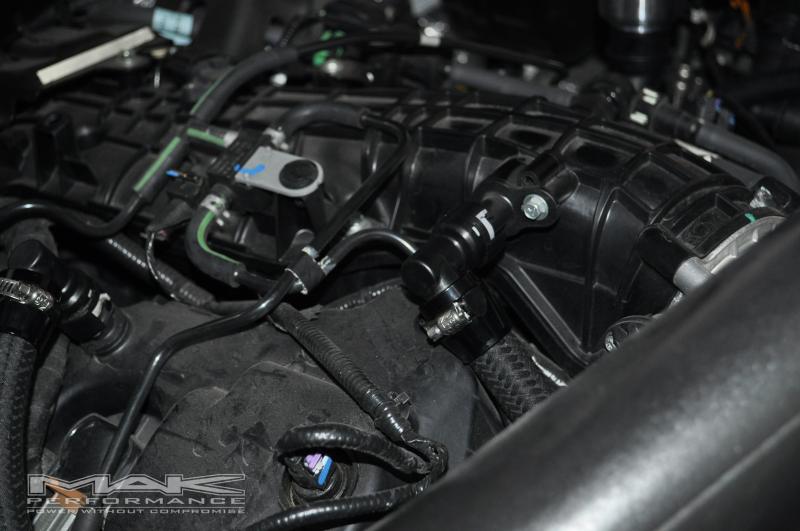
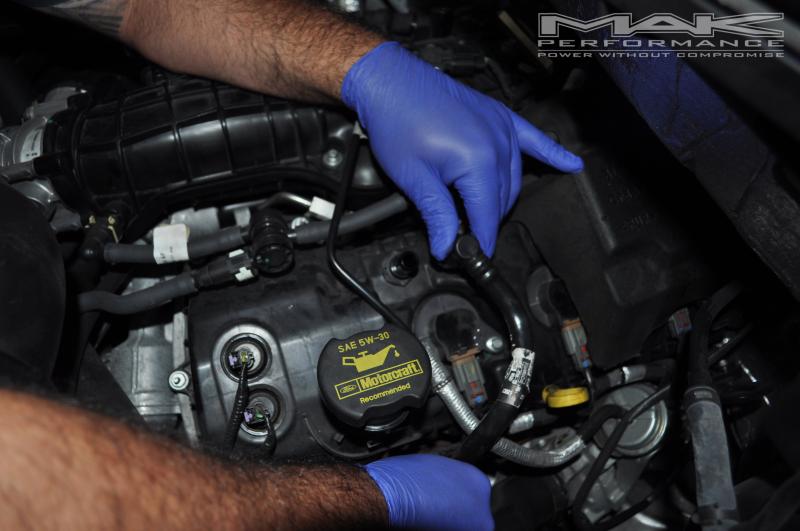
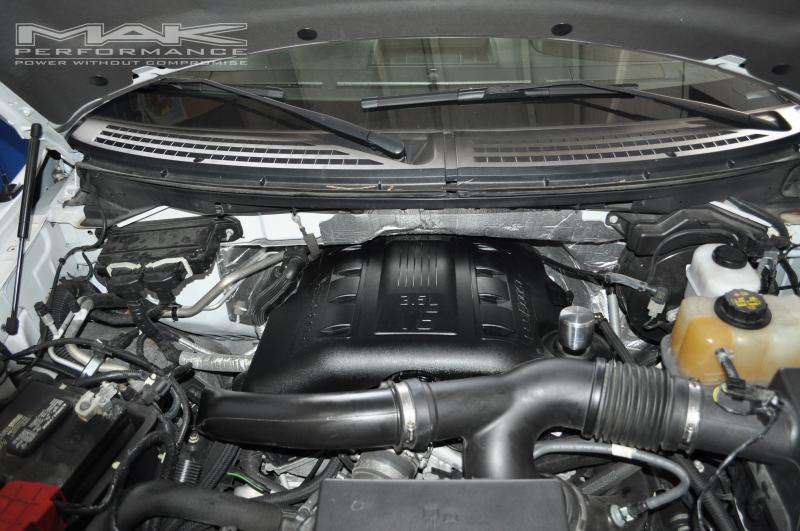
Start by removing your engine oil fill cap and engine cover to prepare for the hose routing. Remove the factory PCV line that goes from the passenger side valve cover to the Intake manifold.
Relocate the Ambient Air Temp Sensor. We moved to the horn bracket and tied it up with a ziptie, seemed easier than relocating it to the bottom bracket.
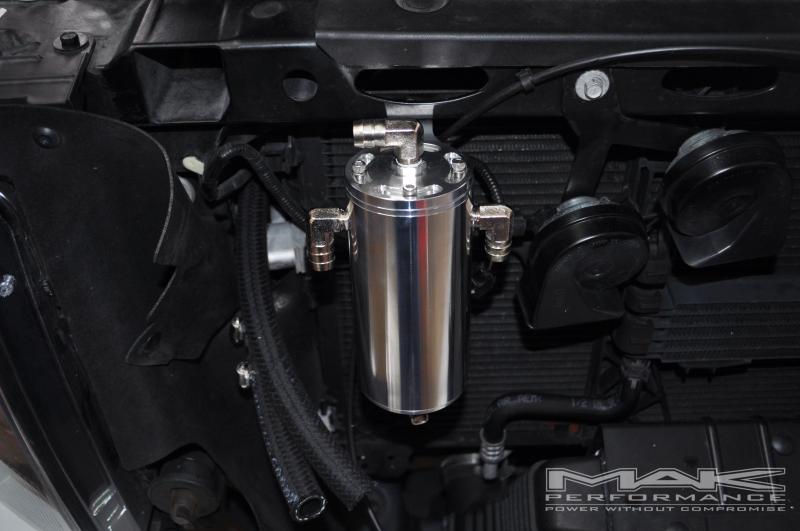
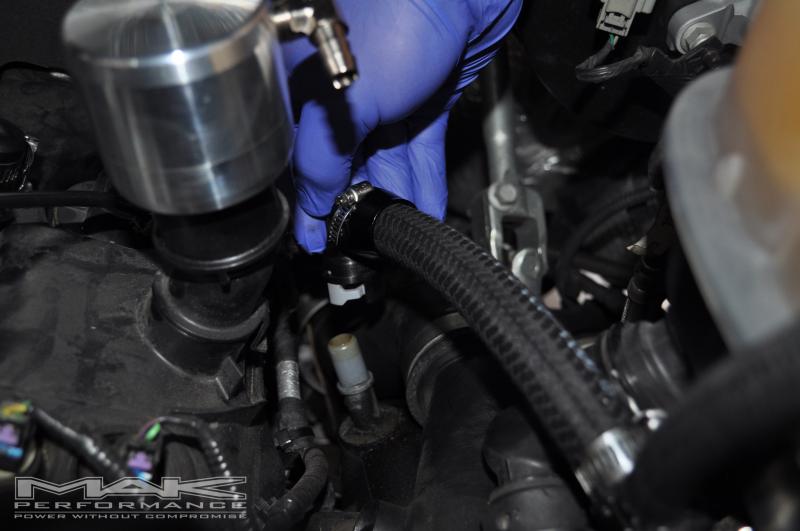
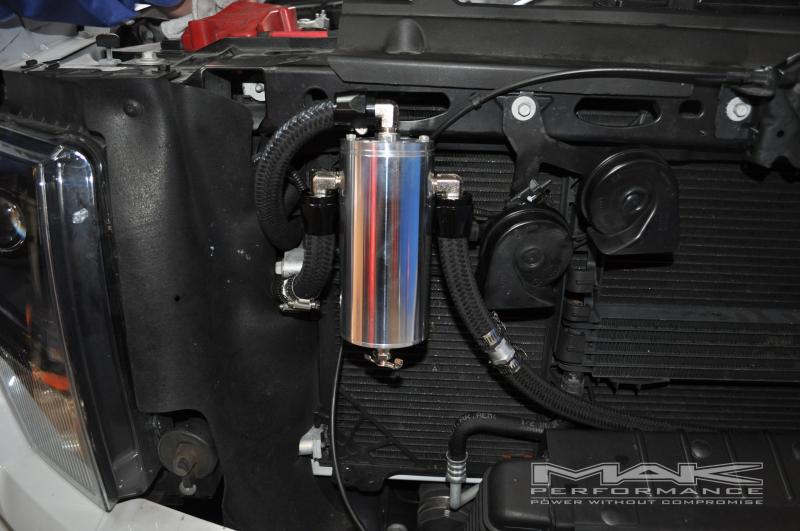
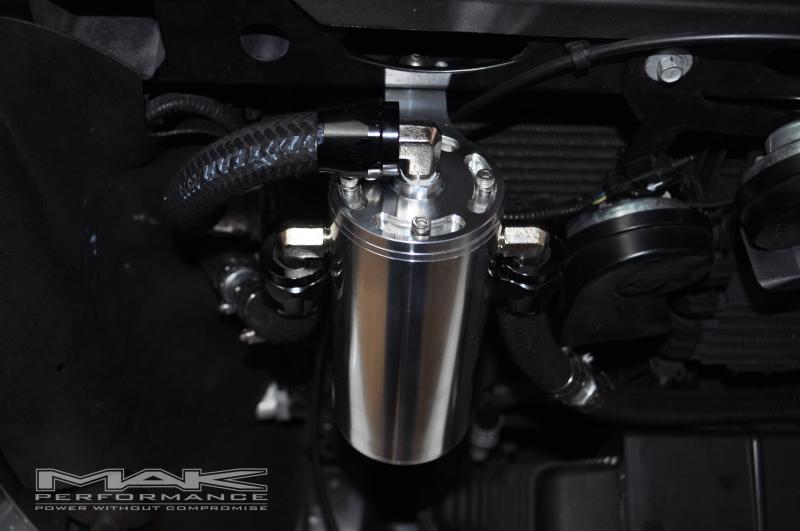
We recommend that, before mounting the can, you remove all the fittings from it and add Teflon sealant. Reinstall fittings and tighten until snug. Do not tighten all the way as you may need to maneuver them once you install the lines. Mount the can in the location depicted below with the included hardware.

The lines come preassembled and in different lengths.
The two shorter hoses go on the passenger side of the truck. You will run them under the harness, along the battery tray between the Radiator to the front where the can is located. The hose with the check valve goes connected to the passenger side fitting of the catch can and to the intake manifold with the OEM push to connect fitting.
The line with no check valve goes from the top of the catch can to the passenger side valve cover with the OEM push to connect fitting.
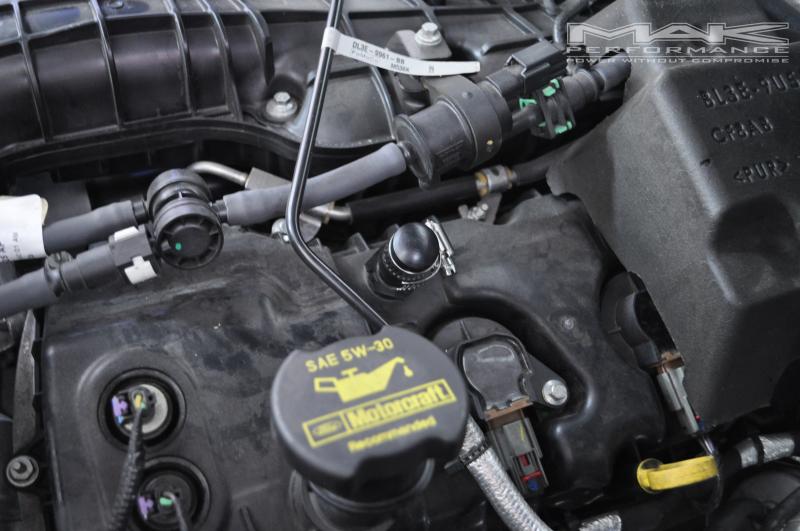
Remove the Factory PCV Hose that goes from the Drive Side Valve Cover to the Driver side Lower Intake Tube. Cap off the Driver Side Valve Cover with the Provided Vacuum Cap and Clamp.
The kit Includes everything needed for the install. All components look to be high quality and UPR even pre-assembles the lines for you so that there is no risk of mixing up the direction of the check valves and/or location of which line goes where. The can and clean side are extremely detailed and look great. UPR also uses high quality braided hose and factory press to connect fittings at all locations on the engine for a true oem look and feel. They provide AN style clamps for the connections to the catch can.
Installation:
The installation is very straight forward and the instructions provided by UPR should suffice. A couple of pictures would help the process out, but nothing that will leave you lost.
Start by removing your engine oil fill cap and engine cover to prepare for the hose routing. Remove the factory PCV line that goes from the passenger side valve cover to the Intake manifold.
Relocate the Ambient Air Temp Sensor. We moved to the horn bracket and tied it up with a ziptie, seemed easier than relocating it to the bottom bracket.
We recommend that, before mounting the can, you remove all the fittings from it and add Teflon sealant. Reinstall fittings and tighten until snug. Do not tighten all the way as you may need to maneuver them once you install the lines. Mount the can in the location depicted below with the included hardware.
The lines come preassembled and in different lengths.
The two shorter hoses go on the passenger side of the truck. You will run them under the harness, along the battery tray between the Radiator to the front where the can is located. The hose with the check valve goes connected to the passenger side fitting of the catch can and to the intake manifold with the OEM push to connect fitting.
The line with no check valve goes from the top of the catch can to the passenger side valve cover with the OEM push to connect fitting.
Remove the Factory PCV Hose that goes from the Drive Side Valve Cover to the Driver side Lower Intake Tube. Cap off the Driver Side Valve Cover with the Provided Vacuum Cap and Clamp.

 08-25-2014, 03:54 PM
#2
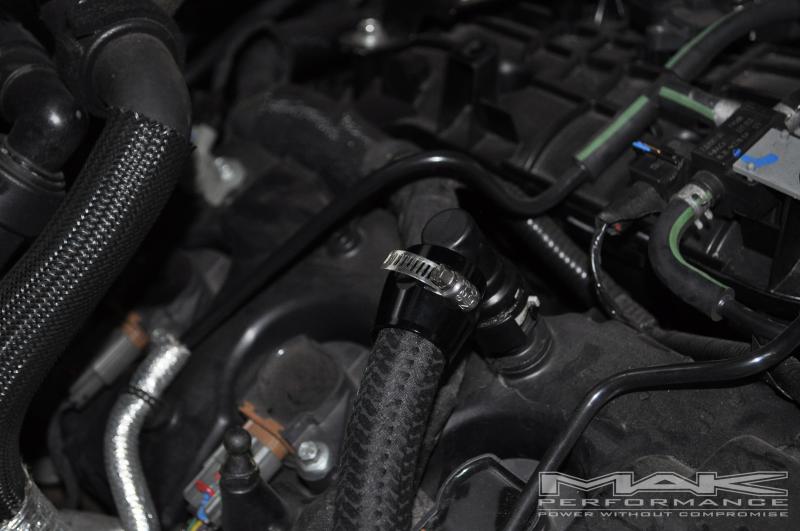
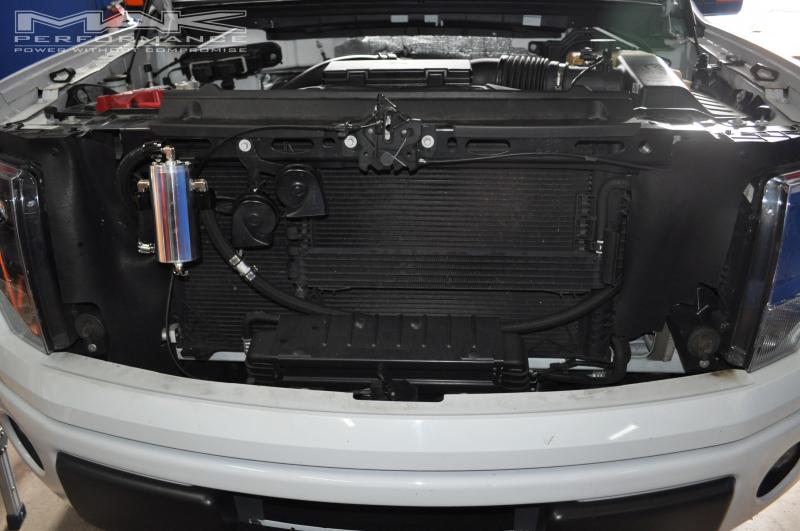
Now connect the longer provided hose with the check valve to the lower Intake tube with the OEM push to connect fitting. Run it to the front of the truck between the Radiator along the front to the Driver side fitting on the Catch Can.Reference one of the completed pictures to see routing.
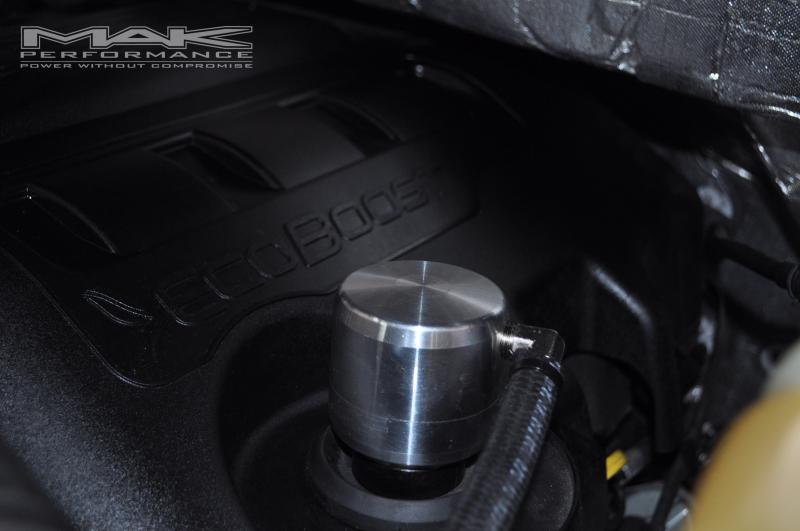
Install the clean side separator in place of the oil fill cap. Some downward pressure may be needed. Ours took some pressure to get it to lock. Once it looks keep rotating the clean side until the barbed elbow faces the driver side fender between the strut tower and the headlight. Connect the 3/8 braided line that is tee�d into the driver side hose to the clean side fitting.
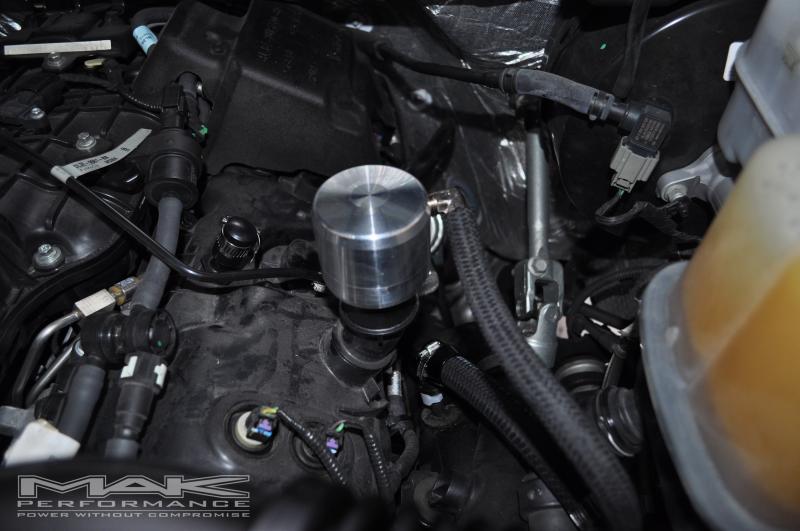
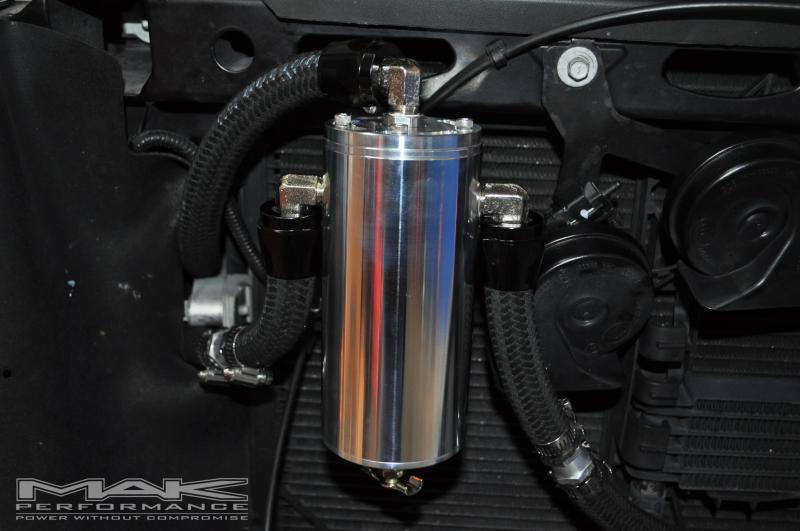
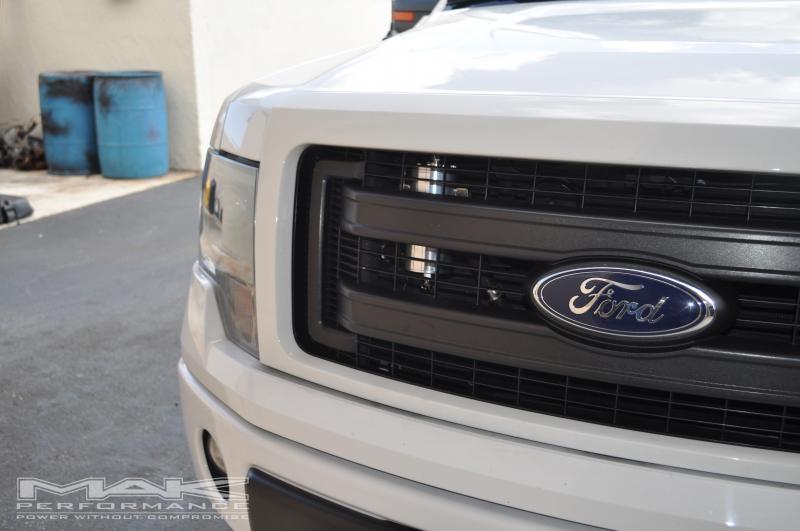
Make sure all you connections are tight, secure the catch can in its place. Check for clearance with the front grill, you may need to rotate the can accordingly for clearance. Start the engine and check for leaks around all connections. Reinstall your engine cover and you are done. This is a quick, no drill, installation that should take no more than an hour to complete.
Finished Pictures:
For those interested in purchasing this catch can follow the link below:
http://www.makperformance.com/2011-2...age_p_265.html
Install the clean side separator in place of the oil fill cap. Some downward pressure may be needed. Ours took some pressure to get it to lock. Once it looks keep rotating the clean side until the barbed elbow faces the driver side fender between the strut tower and the headlight. Connect the 3/8 braided line that is tee�d into the driver side hose to the clean side fitting.
Make sure all you connections are tight, secure the catch can in its place. Check for clearance with the front grill, you may need to rotate the can accordingly for clearance. Start the engine and check for leaks around all connections. Reinstall your engine cover and you are done. This is a quick, no drill, installation that should take no more than an hour to complete.
Finished Pictures:
For those interested in purchasing this catch can follow the link below:
http://www.makperformance.com/2011-2...age_p_265.html
08-26-2014, 12:18 AM
#3
Senior Member
Install the clean side separator in place of the oil fill cap. Some downward pressure may be needed. Ours took some pressure to get it to lock. Once it looks keep rotating the clean side until the barbed elbow faces the driver side fender between the strut tower and the headlight. Connect the 3/8 braided line that is tee�d into the driver side hose to the clean side fitting.
UPR has definitely put together a very quality looking system.
How easy is it to remove and replace the clean side separator for oil changes if it took a quite a bit of pressure to get it on?
I've been experimenting with a different can but a similar set up on the dirty side to avoid drilling the passenger side turbo inlet pipe, and I have doubts that only using the driver side barb is providing enough vacuum when under boost based on what I am seeing. Tapping this line for the fresh air source would further reduce the vacuum being supplied. What's your take on this?
 08-28-2014, 01:00 PM
#4
UPR has definitely put together a very quality looking system.
How easy is it to remove and replace the clean side separator for oil changes if it took a quite a bit of pressure to get it on?
I've been experimenting with a different can but a similar set up on the dirty side to avoid drilling the passenger side turbo inlet pipe, and I have doubts that only using the driver side barb is providing enough vacuum when under boost based on what I am seeing. Tapping this line for the fresh air source would further reduce the vacuum being supplied. What's your take on this?
We will be draining our UPR can tomorrow we will see then what the results are and if anything needs to be changed around.