
2011 Ford Raptor Dynaudio Esotar2 and Ipad Mini Build Log
 02-12-2014, 11:22 AM
#1
Junior Member
Thread Starter

Join Date: Feb 2014
Posts: 15
Likes: 0
Received 0 Likes
on
0 Posts
How do you improve on a DynAudio system? You do another one. David brought in his Raptor last year for a complete DynAudio Esotec system after demoing my resident DynAudio Esotar demo vehicle. Here is the link to the previous build http://www.diymobileaudio.com/forum/...ntensive*.html A week after the system was finished David was more than pleased but asked what�s the next step. Well the next step is here. He brought the Raptor back in to get the next step towards sonic bliss.

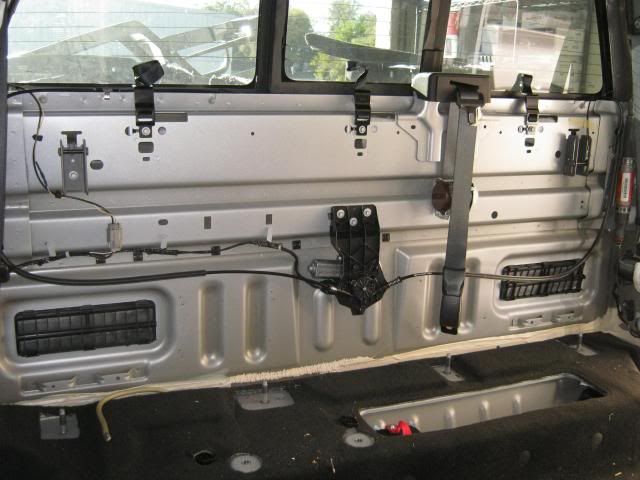
First thing was to tear into this beast and get the interior apart because every metal surface was going to get a treatment of Hush Mat sound deadening and acoustical foam.
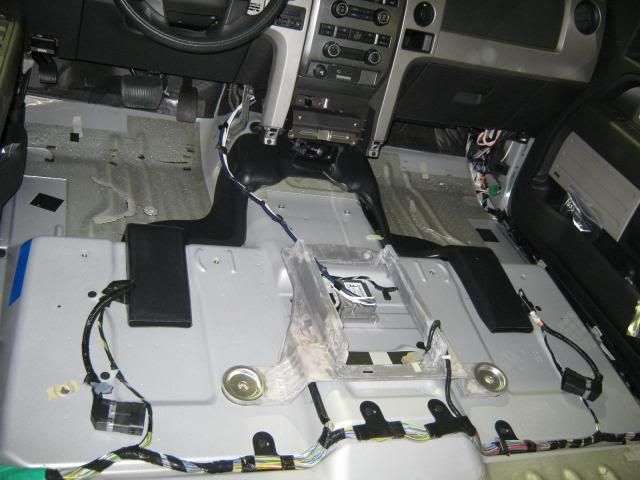
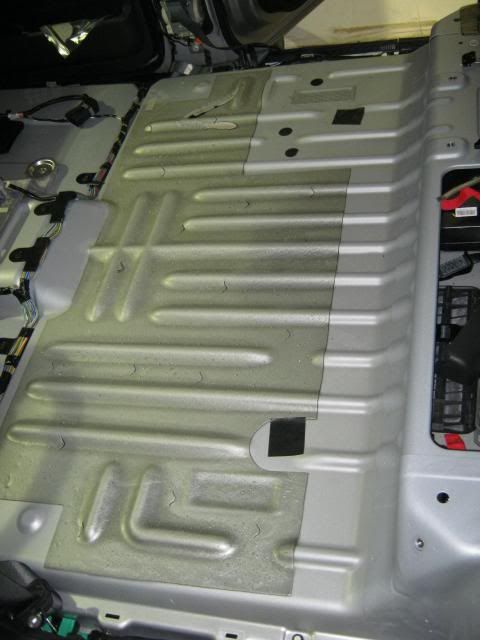
First was a layer of the Hush Mat Ultra Sound Deadening in black for a more OEM approach.

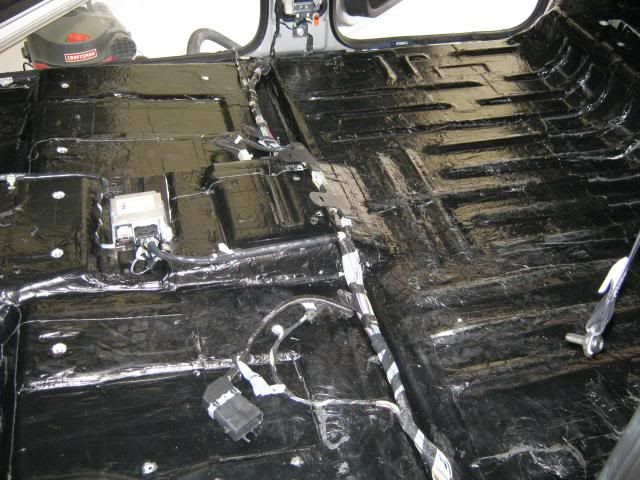
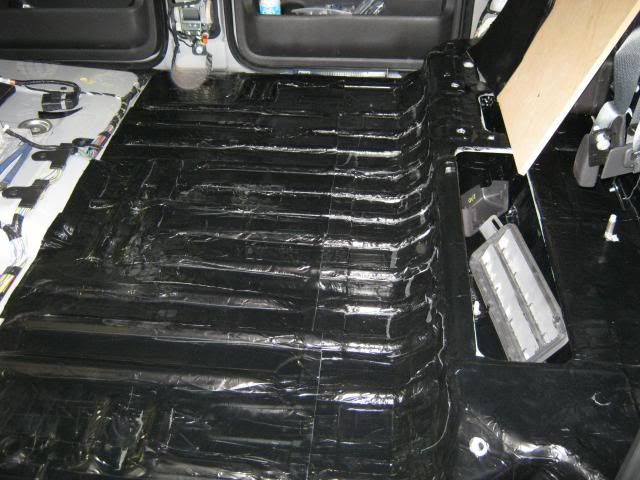
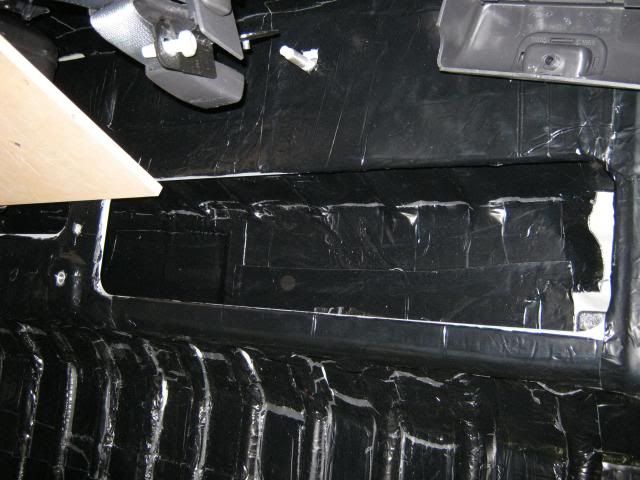
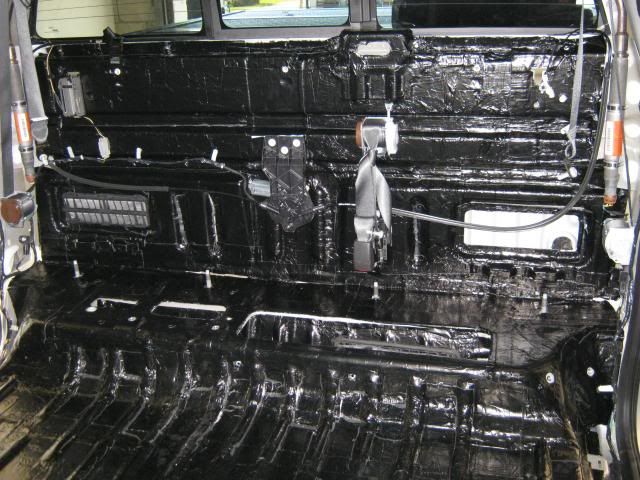
With that done a layer of Hush Mat Silencer Megabond was applied over the sound deadening for further noise cancelation.

First thing was to tear into this beast and get the interior apart because every metal surface was going to get a treatment of Hush Mat sound deadening and acoustical foam.


First was a layer of the Hush Mat Ultra Sound Deadening in black for a more OEM approach.


With that done a layer of Hush Mat Silencer Megabond was applied over the sound deadening for further noise cancelation.
 02-12-2014, 11:23 AM
#2
Junior Member
Thread Starter
Join Date: Feb 2014
Posts: 15
Likes: 0
Received 0 Likes
on
0 Posts


To keep up with the new power requirements the OEM wiring was upgraded. New power lines were run from the alternator to battery, alternator to chassis ground, battery to chassis ground, and 0 gauge power and ground wire was run to the back. All wiring was covered with flexloom and heat shrunk at the ends to give an OEM appearance. With that done the engine bay has an untouched look. The 0 gauge wires were passed through the fire wall using weatherproof screw grommets that was also siliconed for extra weatherproofing.


 02-12-2014, 11:25 AM
#4
Junior Member
Thread Starter
Join Date: Feb 2014
Posts: 15
Likes: 0
Received 0 Likes
on
0 Posts
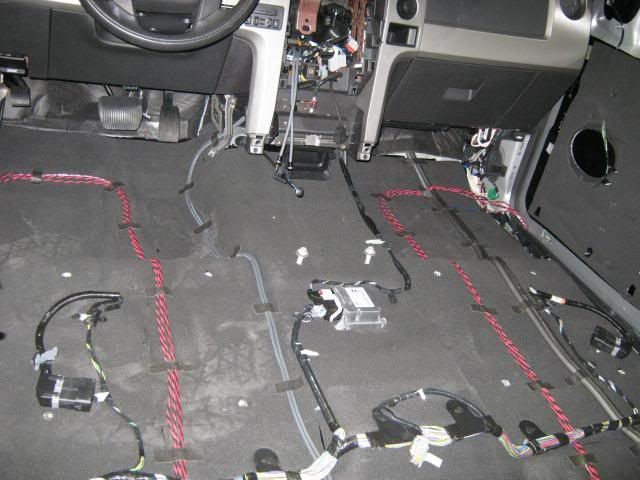
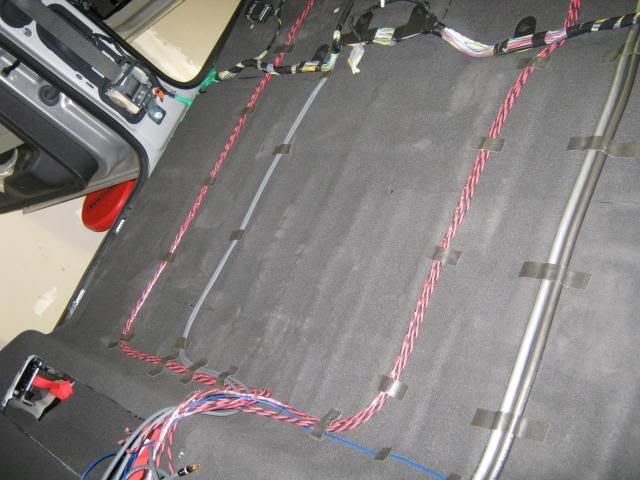
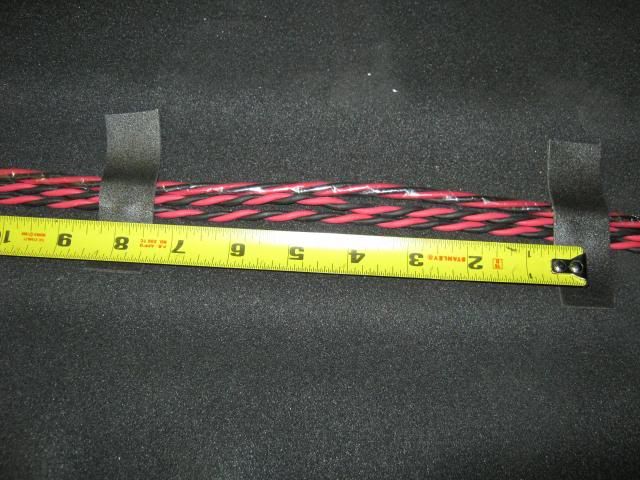
Straight Wire provided the speaker wire and the Symphony RCAs. Under suggestion from Steven Hill of Straight Wire their twisted 2-16ga TPR speaker cable was run to the DynAudio Esotar E110s and E430 while the 4-16ga TPR speaker cable was run to the E650s. Everything was held down with Hush Mat Quiet tape at 8� intervals.
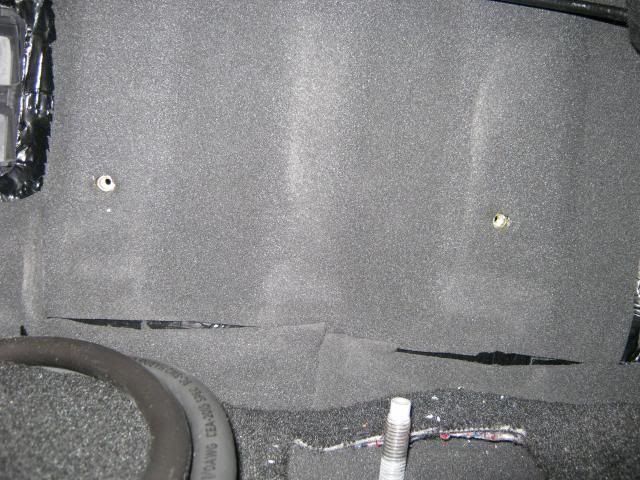
A carpeted panel was mounted to the back using nutserts to provide a mounting surface for the power distribution blocks. T-Spec V12 ground and fused distribution blocks were used to distribute the power. 4 gauge power and ground were run to the amplifiers.


A carpeted panel was mounted to the back using nutserts to provide a mounting surface for the power distribution blocks. T-Spec V12 ground and fused distribution blocks were used to distribute the power. 4 gauge power and ground were run to the amplifiers.


 02-12-2014, 11:28 AM
#5
Junior Member
Thread Starter
Join Date: Feb 2014
Posts: 15
Likes: 0
Received 0 Likes
on
0 Posts
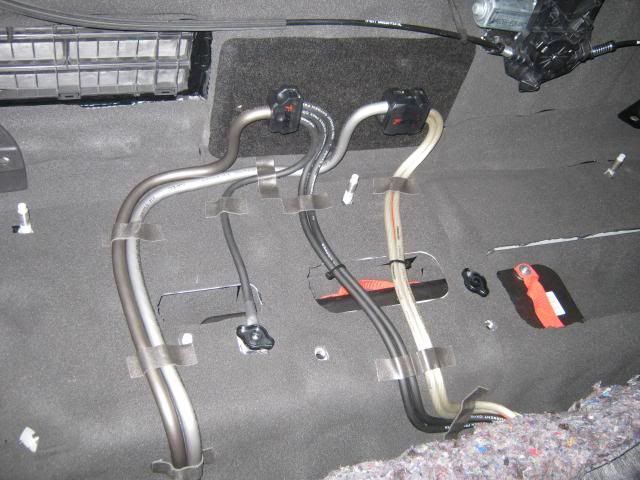
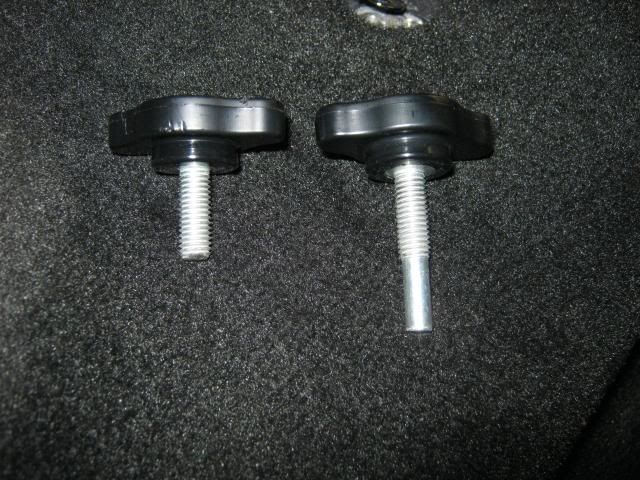
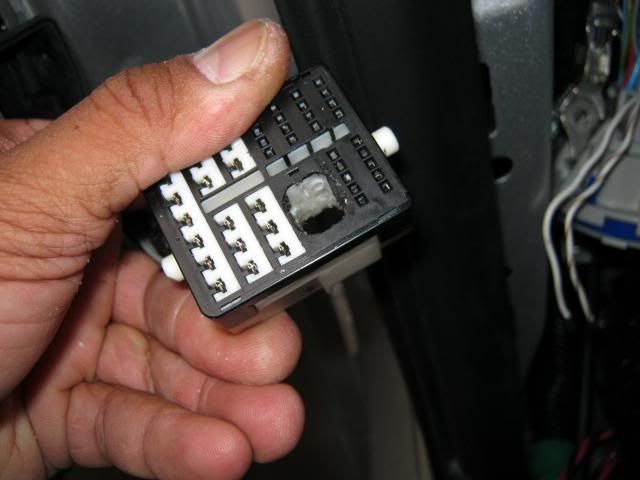
To finish off the power wire runs a line was run from the ground distribution block to chassis ground. One of the screw mounts for the jack was modified to be a grounding screw. After it was cut down it was able to be screw down and tighten without locking down the jack. The second screw mount still locks down the jack.
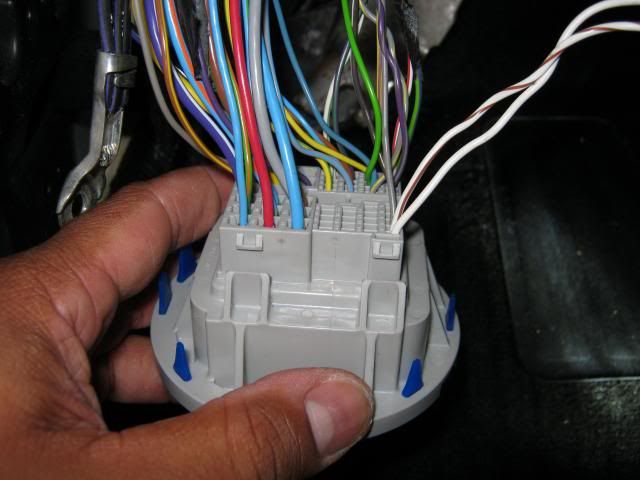
Once the wires were ran the speakers could be put in the front doors. Running wire into the doors was a bit of a challenge but with space available in the plug pins were moved out of the way to provide a pass through for a wire run.
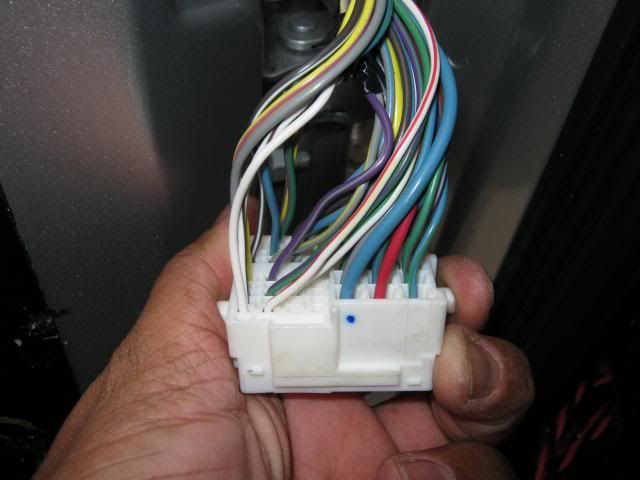
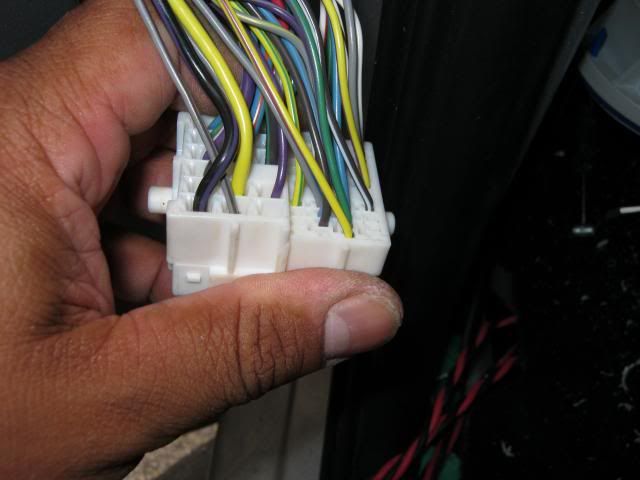
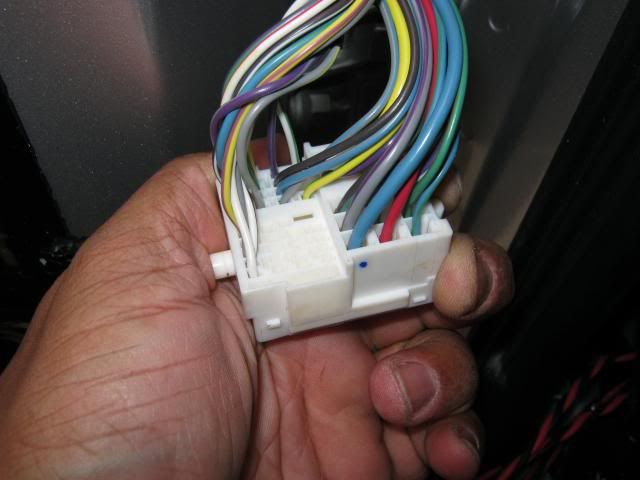

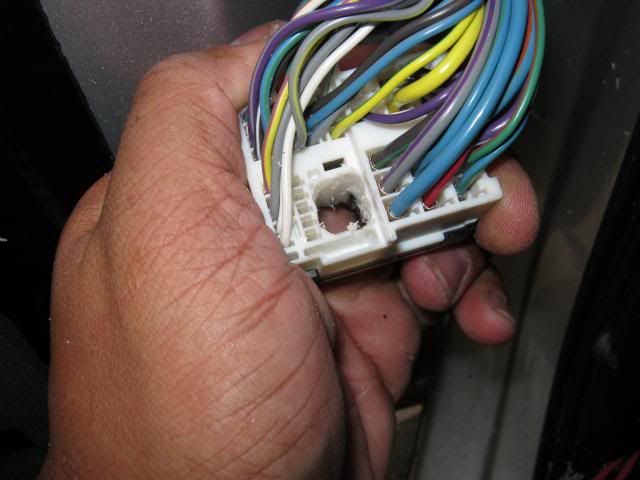
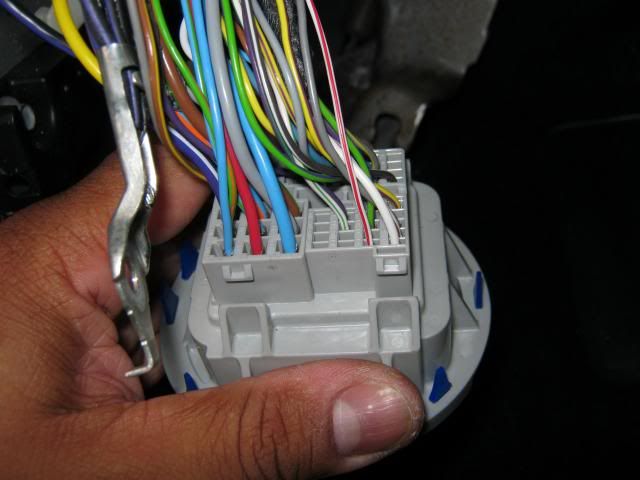

Once the wires were ran the speakers could be put in the front doors. Running wire into the doors was a bit of a challenge but with space available in the plug pins were moved out of the way to provide a pass through for a wire run.


 [/UR
[/UR


Trending Topics


 02-12-2014, 11:34 AM
#9
Junior Member
Thread Starter
Join Date: Feb 2014
Posts: 15
Likes: 0
Received 0 Likes
on
0 Posts

Thankfully the DynAudio Esotar E650 shares the same mounting whole as the DynAudio Esotec MW 162 so all that was needed to be done were new screw holes to be drilled into the mounting ring.


With the front doors done more Hush Mat was applied to the rear doors. Hush Mat Ultra Sound Deadener was applied to the outside skin of the door and on the inside door skin. Once that was done it was covered with Hush Mat Silencer Megabond. As like the front doors removable ABS access panels were made to seal up the door while still allowing convenient access to the mechanics of the door.


